FACE-2-FACE Periscope Teleprompter
USER MANUAL
For more information please visit our website: www.glidegear.net
Periscope Setup Teleprompter Setup
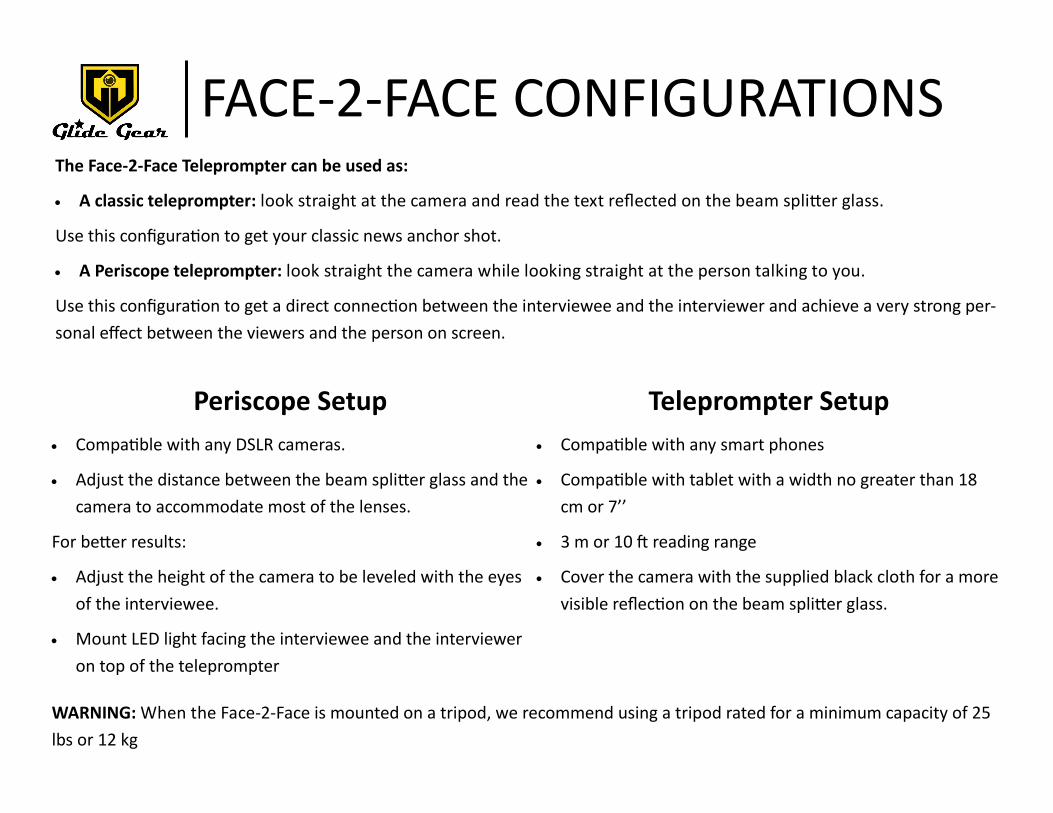
Periscope Setup
Compatible with any DSLR cameras.
Adjust the distance between the beam splitter glass and the
camera to accommodate most of the lenses.
For better results:
Adjust the height of the camera to be leveled with the eyes
of the interviewee.
Mount LED light facing the interviewee and the interviewer
on top of the teleprompter
The Face-2-Face Teleprompter can be used as:
A classic teleprompter: look straight at the camera and read the text reflected on the beam splitter glass.
Use this configuration to get your classic news anchor shot.
A Periscope teleprompter: look straight the camera while looking straight at the person talking to you.
Use this configuration to get a direct connection between the interviewee and the interviewer and achieve a very strong per-
sonal effect between the viewers and the person on screen.
FACE-2-FACE CONFIGURATIONS
Teleprompter Setup
Compatible with any smart phones
Compatible with tablet with a width no greater than 18
cm or 7’’
3 m or 10 ft reading range
Cover the camera with the supplied black cloth for a more
visible reflection on the beam splitter glass.
WARNING: When the Face-2-Face is mounted on a tripod, we recommend using a tripod rated for a minimum capacity of 25
lbs or 12 kg

FACE-2-FACE ASSEMBLY
Prior to using the Face-2-Face Prompter, you will need to assemble the
beam splitter glass on the main frame.
To do so:
1 Slide the beam splitter glass into the frame through the
opening on the opposite side of the camera.
Warning: The beam splitter glass needs to be in the
correct orientation. The yellow sticker on the glass
frame needs to be facing the camera.
2
1
Use the 2 supplied thumb screws to
lock the beam splitter glass in place to
the top of the Face-2-Face.
2

PERISCOPE CONFIGURATION
Interviewee
Interviewer
Mounting holes for:
Microphones,
Lights,
Accessories..etc
CA
MER
A
Mirror
Overall Layout
Beam Splitter Glass
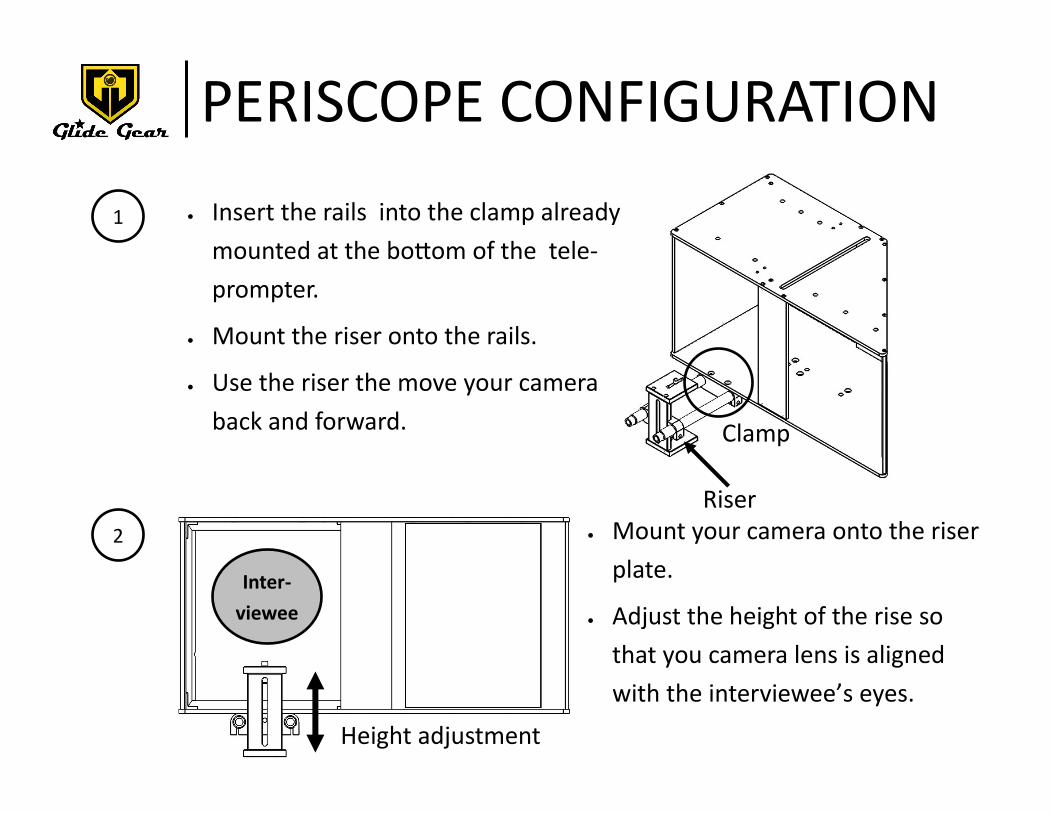
PERISCOPE CONFIGURATION
1
2
Inter-
viewee
Insert the rails into the clamp already
mounted at the bottom of the tele-
prompter.
Mount the riser onto the rails.
Use the riser the move your camera
back and forward.
Mount your camera onto the riser
plate.
Adjust the height of the rise so
that you camera lens is aligned
with the interviewee’s eyes.
Clamp
Height adjustment
Riser
TELEPROMPTER CONFIGURATION
Speaker
Mounting holes for:
Microphones,
Lights,
Accessories..etc
CA
MER
A
Mirror
Tablet/Cellphone
Insert your tablet or cell-
phone in the slot with
the screen facing the di-
rection in which the ar-
row is pointing.
Overall Layout
Beam Splitter Glass

TELEPROMPTER CONFIGURATION
Cellphone Tablet
When using a tablet:
Insert the tablet in a portrait through the slot on
the top of the teleprompter.
The tablet must be facing the beam splitter glass.
When using a cellphone:
Place cellphone in a portrait or landscape orienta-
tion in the supplied holder.
Insert the holder through the slot on the top of the
teleprompter.
The Phone must be facing the beam splitter glass.