USB DMR Installation Instructions
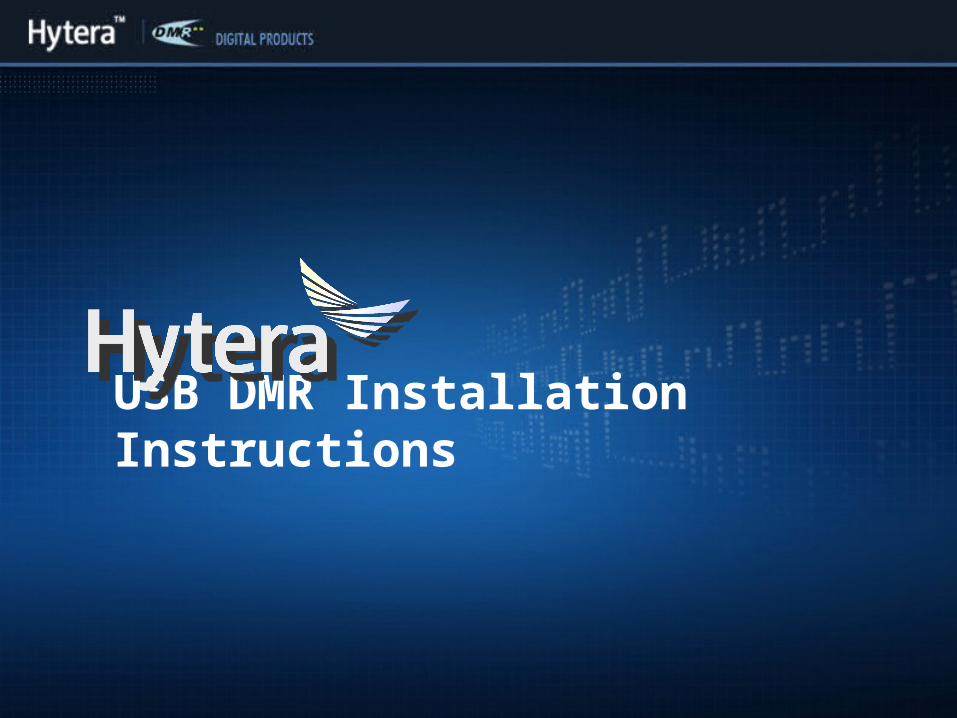
After installing the programming cable to the radio and plugging the USB connector end to the computer USB port, then power up the radio. The following message will appear. Choose “Install from a specific location” & click [Next].

Select the “Search for the best driver in these locations” option, & click [BROWSE]
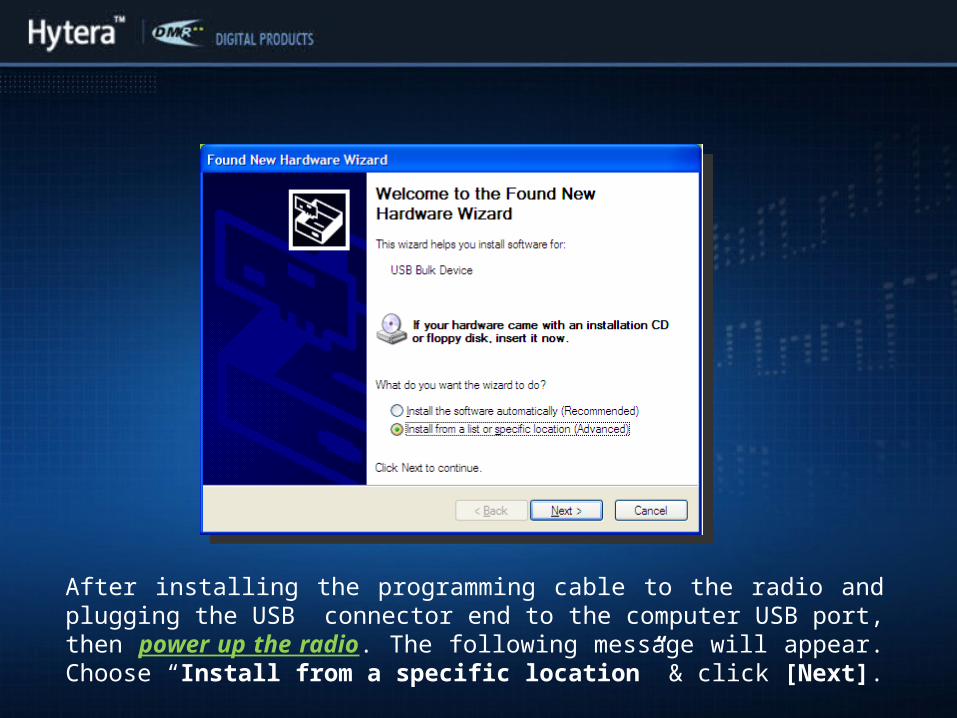
If the following message appears, just press “Continue Anyway” to proceed with installation process.

Browse for the folder that contains the Hytera DMR files that you downloaded and expand it. Select the file usb_driver within the NA2 folder & press [OK].
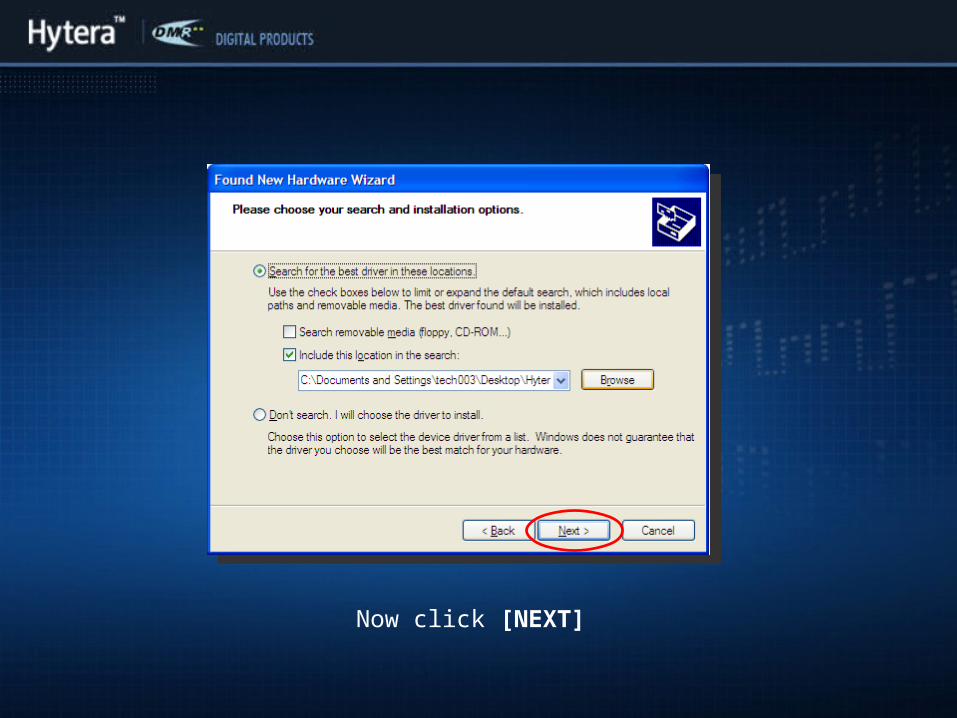
Now click [NEXT]

If the following message appears, just press “Continue Anyway”.

From within the Hytera DMRX82 CPS 1.00.00.0233 folder, Select the NA2 folder.
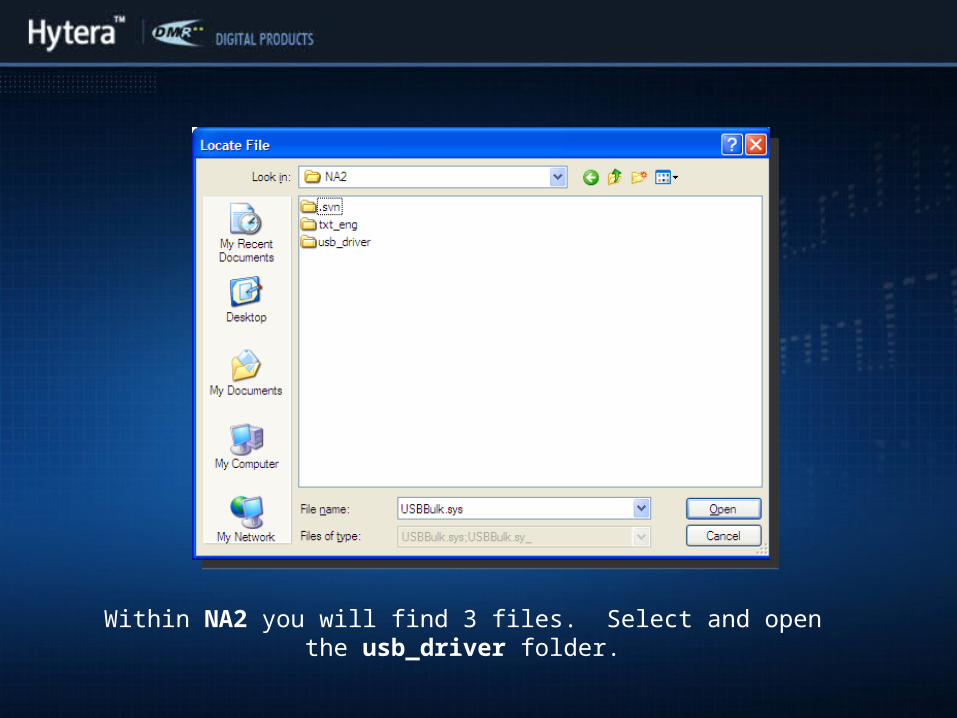
Within NA2 you will find 3 files. Select and open the usb_driver folder.

The above should be what your are looking at on your screen , click [OPEN].

At this time you should only need to press [OK]. If for some reason it does not respond, select [BROWSE] and select the USBBulk file.

After installation, the above screen should indicate that the USB driver has been installed successfully.
If you have any further questions, please contact [email protected].