Theme Development with Sage !1
Theme Development with Sage
Build well organized & easily maintained WordPress themes using a modern web
development workflow
by Ben Word
First edition June 2015
https://roots.io © 2015 Ben Word
Thanks for purchasing! Thanks for purchasing a copy of the book. I plan to release updates
as the Sage starter theme goes through changes. Please write to
[email protected] with any corrections or feedback!
Licensing and cost
Unlike the Sage starter theme, this book is not open source. I
reserve all commercial and moral rights to the book and supplied
code (where not under an existing license).
Please buy a copy if you’ve received this book without paying.
Acknowledgement & thank you
Much 💙 to the Roots team — Scott Walkinshaw, Nick Fox, Chris
Carr, Austin Pray, Craig, Julien Melissas, Kalen Johnson, Phil
Nelson, and Michael Silber.
Thank you to everyone who has contributed to Roots in any way —
committing code, opening issues, helping others on the forum, and
by spreading the word.
Theme Development with Sage !2
Table of contents What is Sage? 5
Why Sage? 6
Professionally maintained 6
Perfect amount of boilerplate 6
A modern build process 6
The theme wrapper 7
Sage helps you become a better developer 9
Starting a project 10
Requirements (before you start) 10
Installing the Sage starter theme 11
Installing Node.js, gulp, and Bower 12
Planning out the theme 14
Theme setup 17
Customizing templates 20
Theme wrapper & template hierarchy 21
Page templates 24
Building template partials 26
Customizing the front-end 28
Default CSS and JS 28
Theme Development with Sage !3

gulp watch and BrowserSync 29
Bower packages 31
Enqueuing additional CSS and JS 34
CSS setup and organization 37
JS and DOM-based routing 41
Referencing assets in CSS and templates 43
Theme functionality 44
Namespaces 44
Take advantage of newer PHP features 46
Where to put custom code 47
Theme customizations 48
WordPress Customizer API 48
Advanced Custom Fields 50
Theme deployment 51
Theme updates and maintenance 53
Resources 55
Theme Development with Sage !4
What is Sage? Sage was originally called Roots and initially released in early 2011.
The theme has evolved a lot over the years and has gone through
several major changes. I originally created Roots when I was
working at a website factory and had to pump out several new
themes every day. I’ve worked with several agencies and created
countless WordPress sites.
Sage is not a theme framework, it is a starter theme. You should
rarely need to update it and you shouldn’t create child themes from
it. Being a starter theme, Sage is meant to be used as a starting
point on a new project.
The Roots team and community sustain the development of the
theme. Contributions are welcome from everyone.
Sage can be implemented on any sort of WordPress installation
independent of Bedrock or Trellis (our other major projects) since it
is just a theme. Sage combines:
• Asset/dependency management
• Optimization
• Template inheritance
Theme Development with Sage !5

Why Sage?
Professionally maintained
At the time of writing, the Sage starter theme has over 5,700 stars
on GitHub. In the last two weeks there were over 1,100 unique
cloners. Issues are squashed extremely fast. The project
maintainers communicate daily and are generally very accepting of
feedback and improvements.
Perfect amount of boilerplate
Sage helps you get started then gets out of the way. The different
features are loosely coupled. Don’t want to use Bootstrap? You can
quickly remove it, or even replace it with a different front-end
framework of your choice.
A modern build process
By using the Sage build process and asset management, you will see
orders of magnitude of difference in page load time compared to
non-optimized assets.
The Sage build process implements a bunch of best-practices. A few
of which are:
Theme Development with Sage !6
• Eliminating unnecessary downloads
• Optimizing encoding and transfer size of text-based assets
• Image optimization
The theme wrapper
Outside of WordPress land, most templating engines like Twig and
Jade implement the concept of template inheritance.
With template inheritance, a base layout template defines blocks
containing the common website elements, which are inherited by
child templates. It is more flexible than alternative techniques, such
as including common page elements (like header and footer files)
because each block can be overridden within a child.
The Sage theme wrapper is a compromise between a full templating
engine like Twig, and the default WordPress templating structure.
Template inheritance is a good idea for WordPress specifically
because it:
• Keeps things DRY — don’t repeat yourself.
• Supports the presentation and scaling of different content
types while still maintaining a consistent user experience. One
Theme Development with Sage !7
modification will cascade across multiple templates.
• Facilitates the separation of application logic and presentation
without requiring complex conditional statements to
differentiate post types and such - just define separate
template partials for each.
The theme wrapper code originally comes from Cristi “scribu”
Burcă, a developer who used to contribute to WordPress core.
My primary wheelhouse over the years has been building web applications utilizing whatever modern framework or set of technologies is appropriate for the job. Consequently: I have run the gamut of modern templating engines. One thing is clear: they all implement the concept of template inheritance. Nobody likes repeating themselves.Sage has always been my go-to WordPress starter theme. The fact that Sage goes against “the WordPress way” means it is far more ergonomic for someone like me who does most of his work outside of the WordPress bubble. What’s more, I never even noticed that the Sage “wrapper” was there for the longest time. I just assumed that’s how WordPress templating worked. After inheriting my first Underscores based project, I realized how wrong I was. To my horror, I immediately found entire blocks of boilerplate markup copied between templates. My appreciation for Sage shot up tenfold after that.
Austin Pray
�
Theme Development with Sage !8

Sage helps you become a better developer
Roots has helped me understand Gulp on a much deeper level than if I’d just ventured into that world on my own. It’s even forced me to actually utilize the modularity of Bootstrap more effectively. I used to discount frameworks as being unnecessary overhead, but I didn't really get them until I started using Bootstrap as it's included in Roots.
I’ve been back and forth between Bones and Sage for my work, but it’s Roots that has had the biggest impact on my learning, my efficiency and the quality of my work. The various Roots projects have always pushed me to learn new things (even when I wasn’t comfortable with them) over the last 3 or so years. Less, Sass, Grunt, Gulp, Bower and Yeoman all come immediately to mind as technologies I dove into as a direct result of using Sage.
Vincent Magilone
�
Jimmy Smutek
�
Theme Development with Sage !9
Starting a project
Requirements (before you start)
• WordPress (latest version)
• PHP >= 5.4.x
• Git
• Node.js 0.12.x
This book assumes that you already have a local development
environment with a working WordPress installation running at
least PHP 5.4.
We recommend using our Trellis project — Ansible playbooks for a
Bedrock based WordPress LEMP app server. Trellis will get you set
up with a local development environment using Vagrant. You do not
need to use Trellis or Bedrock to use Sage.
You’ll be using the terminal (or Git Bash command prompt)
throughout the development of the theme to perform tasks such as:
• Changing directories — cd
• Copying files — cp
• Creating empty files — touch
• Using WP-CLI to manage your WordPress installation — wp
Theme Development with Sage !10

Throughout the book you’ll notice “app” in file paths. “app” is the
same as “wp-content” for Bedrock based installations. If you’re on
a normal WordPress installation, ignore “app” and assume “wp-
content”.
Installing the Sage starter theme
From your WordPress themes directory, clone the git repo to a new
folder named after your theme.
Now that you’ve got the latest version of Sage, you’re going to want
to open up style.css and update the theme meta information. At
the very least, you’ll want to update the “Theme Name”.
You won’t be placing any CSS in this file, it’s only used to provide
WordPress with information that’s displayed in the admin.
After updating the theme meta information, go ahead and activate
your theme from either the WordPress admin or via WP-CLI.
You’ll also need to make sure that your development environment
has the WP_ENV constant set to development. Bedrock automatically
TERMINAL
➜ ~ cd Sites/example.dev/site/web/app/themes/➜ themes git clone https://github.com/roots/sage.git theme-name
Theme Development with Sage !11

does this for you, but if you’re not using Bedrock you’ll need to add
the following to your wp-config.php on your development
installation:
Installing Node.js, gulp, and Bower
Sage uses a modern front-end development workflow that requires
gulp and Bower. Before you touch any stylesheets, JavaScript,
images, or fonts, you’ll need to install the required tools.
Install the latest Node.js and then pull up the command line. We
recommend using nvm for managing Node versions.
First, install gulp and Bower globally (you only need to do this once
on your machine):
Now install the Node dependencies that are required by Sage:
define('WP_ENV', 'development');
TERMINAL
➜ theme-name npm install -g gulp bower
TERMINAL
➜ theme-name npm install
Theme Development with Sage !12
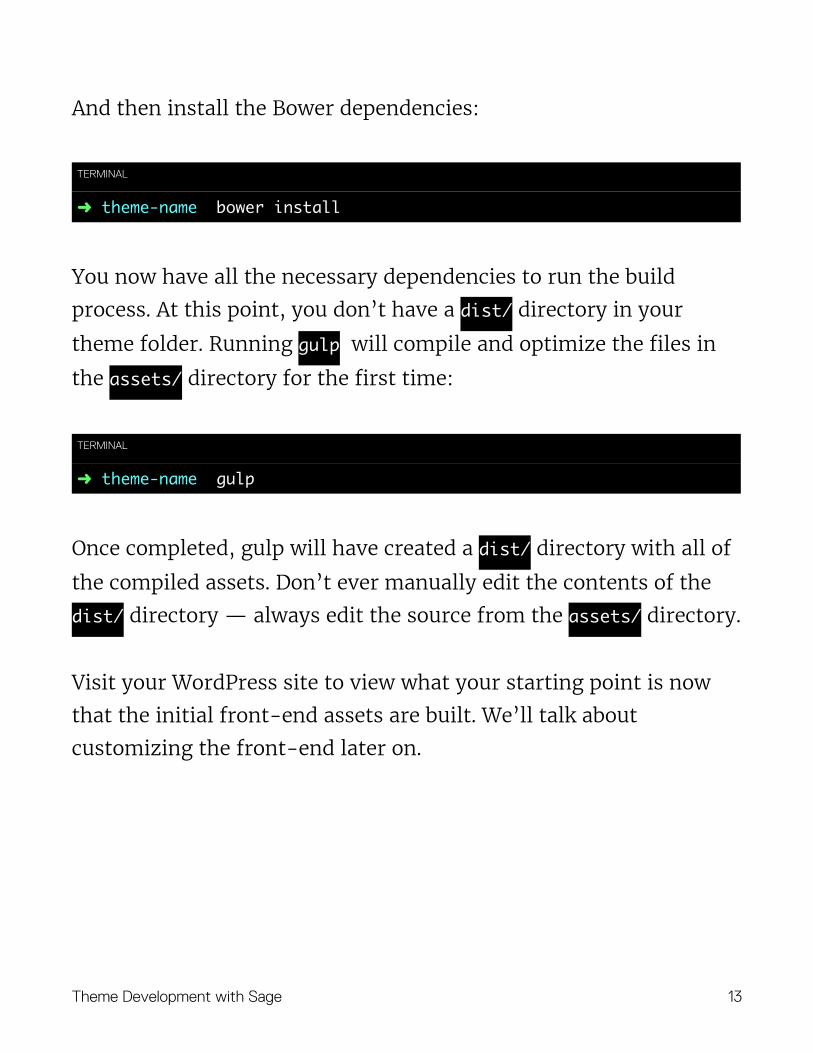
And then install the Bower dependencies:
You now have all the necessary dependencies to run the build
process. At this point, you don’t have a dist/ directory in your
theme folder. Running gulp will compile and optimize the files in
the assets/ directory for the first time:
Once completed, gulp will have created a dist/ directory with all of
the compiled assets. Don’t ever manually edit the contents of the
dist/ directory — always edit the source from the assets/ directory.
Visit your WordPress site to view what your starting point is now
that the initial front-end assets are built. We’ll talk about
customizing the front-end later on.
TERMINAL
➜ theme-name bower install
TERMINAL
➜ theme-name gulp
Theme Development with Sage !13

Planning out the theme
Content precedes design. Design in the absence of content is not design, it's decoration.
Before touching the theme code or doing anything in the WordPress
admin, come up with a game plan for your project.
Site map
Your site map doesn’t need to be completely figured out in order to
start working on your theme, but you’ll want to know what’s going
to be in your navigation menus — especially the primary
navigation. An example primary navigation would be:
• Home
• Product
• Pricing
• Resources
• Blog
• About
• Contact Us
Jeffrey Zeldman via Twitter �
Theme Development with Sage !14

Once you’ve got your primary navigation roughly figured out, go
ahead and create the appropriate pages for them.
You’ll also want to update your Reading Settings in the WordPress
admin to reflect having a static front page that isn’t a blog:
�
Now is also a good time to go ahead and build out the primary
navigation menu, along with setting its location:
�
Theme Development with Sage !15

Content and meta data checklist
Do you have what you need to get started on your theme? It’s not
necessary to have all of your content ready to go, but it’s a good
idea to make a list of the various pages, sections, and components
that will make up your site.
For example, if you’re going to be selling products on your website,
you’ll want to have the product data and pictures ready so that
you’ll be prepared when it comes to the point where you need to
make your product templates.
If you’re building a portfolio site, you’ll want to have items with
details prepared so that you can properly write your templates to
account for the content that will be displayed.
Keep site functionality outside of the theme
Make sure that you’re not registering any custom post types or
taxonomies in your theme. Restrict the code in your theme to
presentation and create site functionality plugins (or mu-plugins)
for things such as:
• Custom post types
• Taxonomies
• Shortcodes
• Widgets
Theme Development with Sage !16
• Admin tweaks (CSS & JS)
• Miscellaneous functions not related to your theme
Theme setup
Sage uses lib/config.php to enable theme features and define which
pages shouldn’t have a sidebar. If you install and activate the Soil
plugin, Sage will automatically enable additional features including:
• Cleaner WordPress markup
• Load jQuery from the Google CDN
• Cleaner walker for navigation menus
• Nice search
• Root relative URLs
The lib/init.php file is used to register navigation menus, sidebars,
and define theme support for WordPress core functionality.
Navigation menus
If you plan on having additional navigation menus that aren’t the
same as your primary navigation, add them in the
register_nav_menus array. Here we’re adding utility navigation and
footer navigation menus to the array:
Theme Development with Sage !17
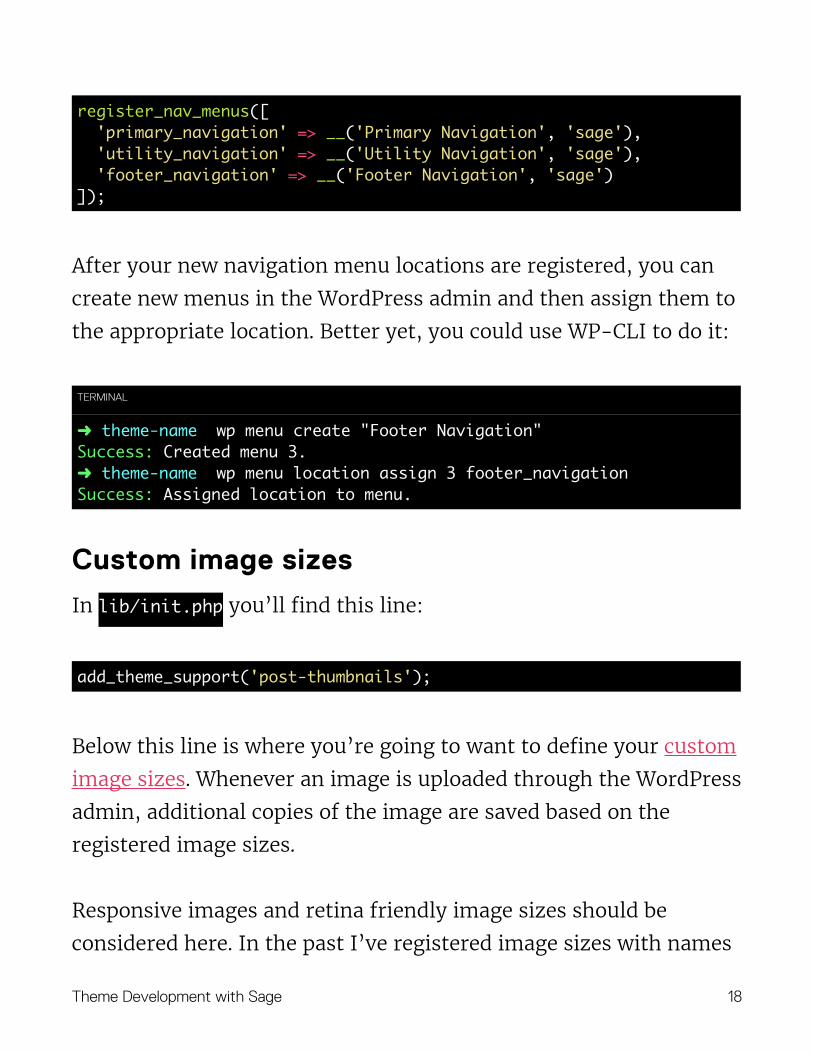
After your new navigation menu locations are registered, you can
create new menus in the WordPress admin and then assign them to
the appropriate location. Better yet, you could use WP-CLI to do it:
Custom image sizes
In lib/init.php you’ll find this line:
Below this line is where you’re going to want to define your custom
image sizes. Whenever an image is uploaded through the WordPress
admin, additional copies of the image are saved based on the
registered image sizes.
Responsive images and retina friendly image sizes should be
considered here. In the past I’ve registered image sizes with names
register_nav_menus([ 'primary_navigation' => __('Primary Navigation', 'sage'), 'utility_navigation' => __('Utility Navigation', 'sage'), 'footer_navigation' => __('Footer Navigation', 'sage')]);
TERMINAL
➜ theme-name wp menu create "Footer Navigation" Success: Created menu 3. ➜ theme-name wp menu location assign 3 footer_navigation Success: Assigned location to menu.
add_theme_support('post-thumbnails');
Theme Development with Sage !18
such as category-thumb, but lately I’ve been rolling with names that
reflect the sizes of the images. This makes it easier to understand
exactly what sizes you’re working with when setting up responsive
images in your templates.
Defining sidebars
Sage includes two sidebar areas by default: primary sidebar &
footer. The registered sidebars are shown in the WordPress admin
where widgets are customized — both in the theme customizer as
well as the widgets page.
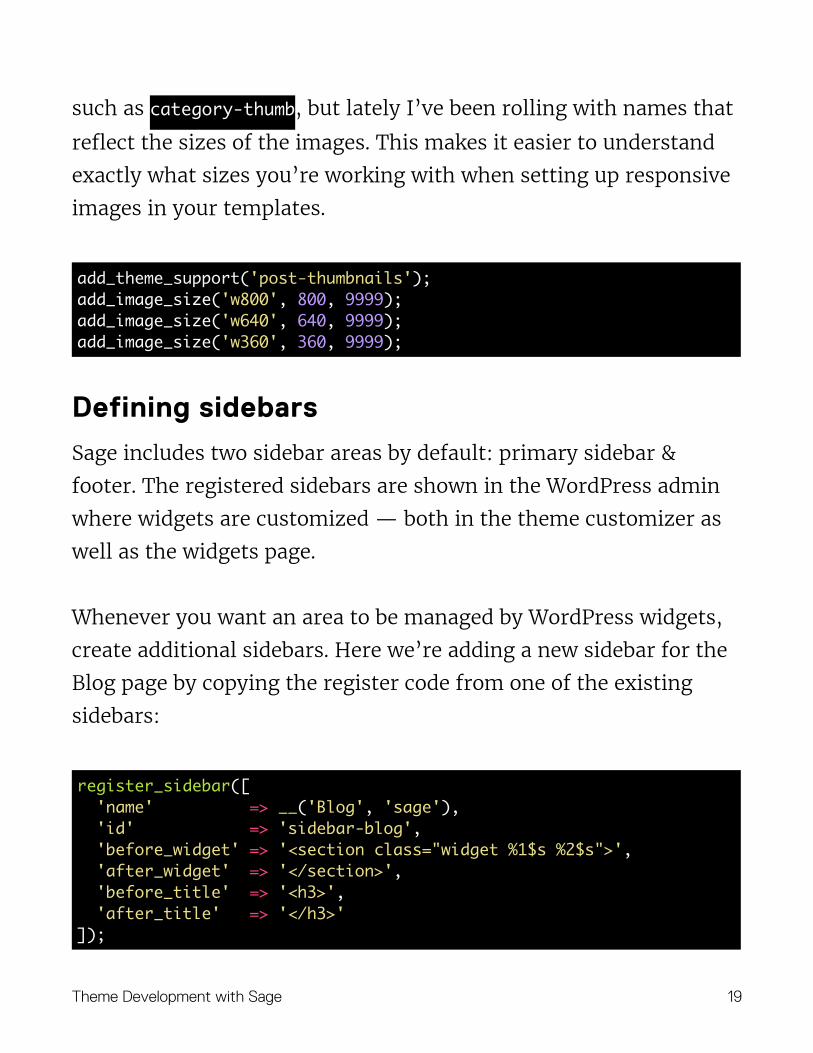
Whenever you want an area to be managed by WordPress widgets,
create additional sidebars. Here we’re adding a new sidebar for the
Blog page by copying the register code from one of the existing
sidebars:
add_theme_support('post-thumbnails');add_image_size('w800', 800, 9999);add_image_size('w640', 640, 9999);add_image_size('w360', 360, 9999);
register_sidebar([ 'name' => __('Blog', 'sage'), 'id' => 'sidebar-blog', 'before_widget' => '<section class="widget %1$s %2$s">', 'after_widget' => '</section>', 'before_title' => '<h3>', 'after_title' => '</h3>']);
Theme Development with Sage !19
Customizing templates Before diving into making changes that involve writing HTML, CSS,
and JS, go and take a look at some coding style guides.
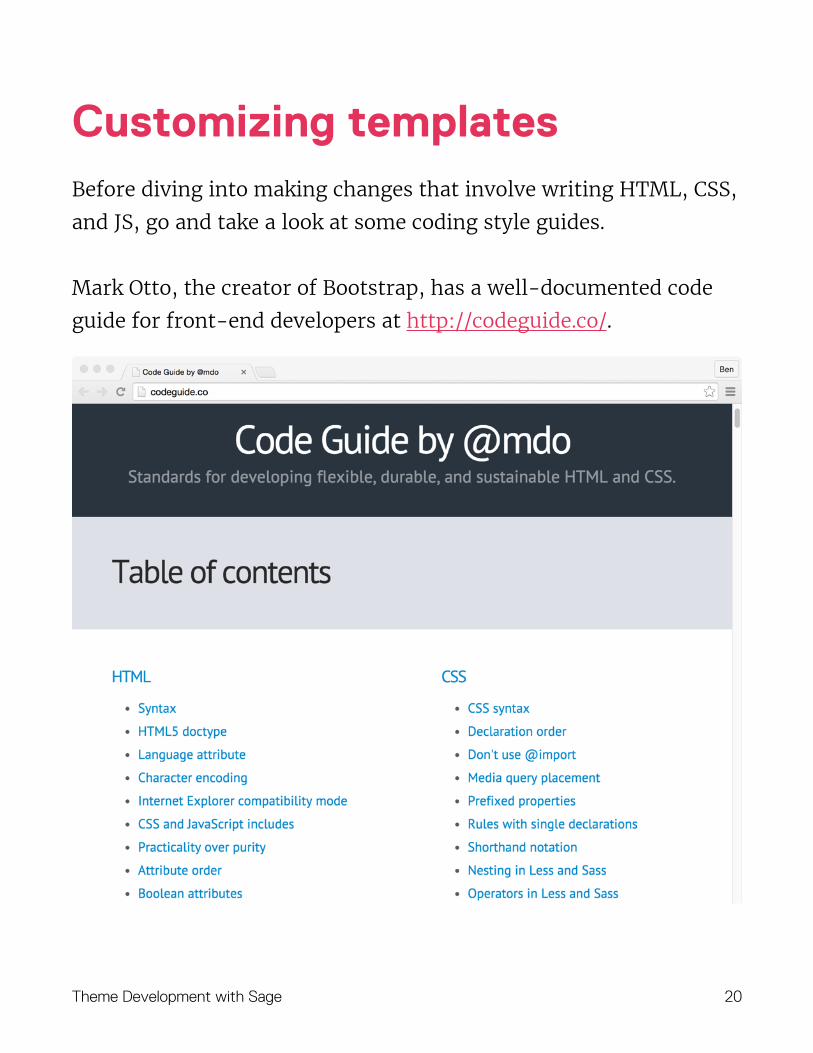
Mark Otto, the creator of Bootstrap, has a well-documented code
guide for front-end developers at http://codeguide.co/.
Theme Development with Sage !20
The code examples in this book follows these guidelines, including:
• Avoid superfluous parent elements when writing HTML
• Keep classes lowercase and use dashes for class names
• Keep classes as short and succinct as possible
• Use meaningful names; use structural or purposeful names
over presentational
• Prefix classes based on the closest parent or base class
• Use soft-tabs set to two spaces
Theme wrapper & template hierarchy
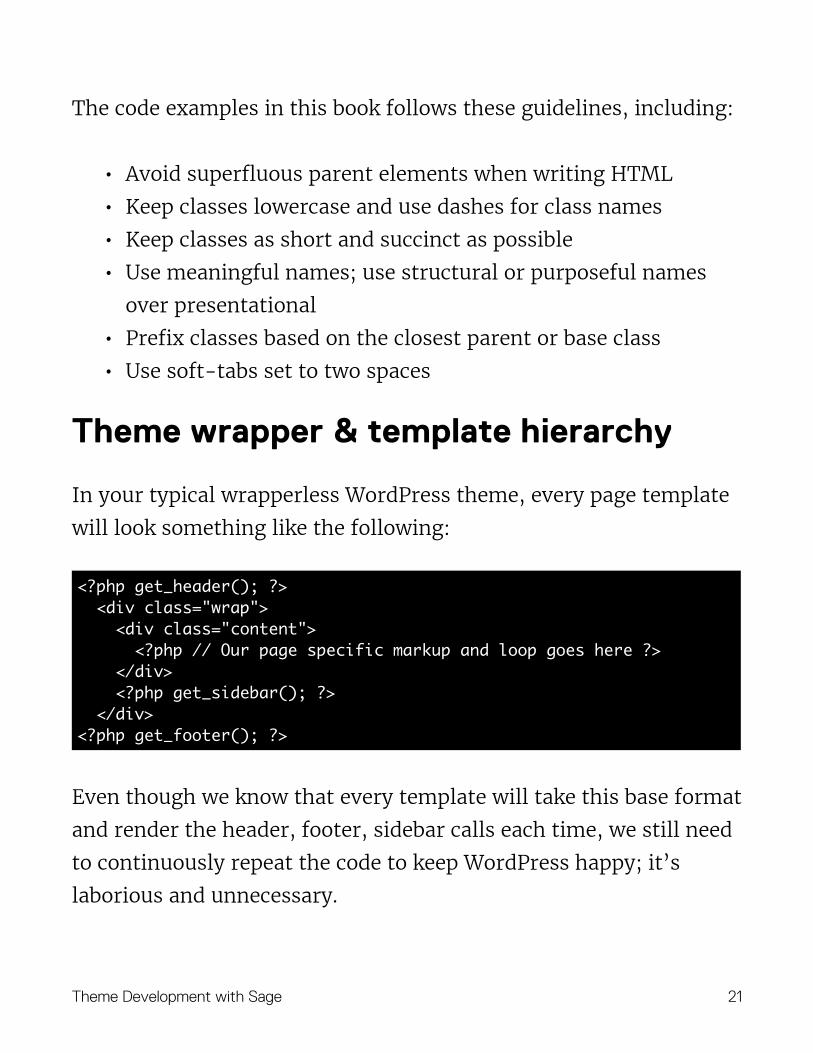
In your typical wrapperless WordPress theme, every page template
will look something like the following:
Even though we know that every template will take this base format
and render the header, footer, sidebar calls each time, we still need
to continuously repeat the code to keep WordPress happy; it’s
laborious and unnecessary.
<?php get_header(); ?> <div class="wrap"> <div class="content"> <?php // Our page specific markup and loop goes here ?> </div> <?php get_sidebar(); ?> </div><?php get_footer(); ?>
Theme Development with Sage !21

The goal of the theme wrapper is to remove any repeated markup
from individual templates and put it into a single file. This file,
base.php, becomes the base layout file. By doing this we can put the
focus entirely on the page specific markup and loop, simplifying
our templates to look like this:
It’s neat. It’s tidy. You never need to make calls to get_header(),
get_footer(), or get_sidebar() again. You can also refactor the base
layout of your site by editing base.php.
The theme wrapper starts and finishes with the standard
WordPress template hierarchy. This means that all of the
standard WordPress templates will work as intended.
The only change is that the templates will not need to call the
header, sidebar and footer because the base layout file does this for
them.
The WordPress templates go in the theme root, as they would with
any other theme.
You can create new base.php files for templates as long as the
template files exist. For example, base-page-contact.php is not
<?php // Our page specific markup and loop goes here ?>
Theme Development with Sage !22
going to work if page-contact.php doesn’t already exist. This is also
applicable to regular templates, not just custom page templates.
base-front-page.php is used as the wrapper if front-page.php exists.
Try to avoid creating new wrapper files whenever possible.
Remember that you don’t want to repeat yourself — use
conditional statements in the default base.php layout file whenever
possible.
There are times where creating new wrapper files is warranted.
Here’s a few examples:
• Landing pages — some pages might not want a header/footer
or might just have a design that differs quite significantly
from the rest of the site
• Your blog might have a different design from your eCommerce
store
• Serve a more accessible/screenreader version of the site
• Output JSON or XML instead of HTML
Theme Development with Sage !23
Page templates
Remember that there’s nothing different about the normal
WordPress template hierarchy in Sage. Until you get the hang of the
naming conventions, keep a template hierarchy reference close by.
Home page template
Sage doesn’t include a specific page template for a static front page.
The first thing you need to do is copy page.php to front-page.php.
During your initial template development it’s completely okay to
put content in your template files. Further down the line while
developing your theme, you’ll want to revisit your hardcoded
template files and update them to be managed by custom fields or
the theme customizer.
WRAPPER TIPS
• Get the Roots Wrapper Override plugin to override templates
from the WordPress dashboard
• Get the Roots Wrapper Toolbar plugin to quickly see which
templates are being used on your site. There’s also an addon for
Query Monitor for the theme wrapper.
Theme Development with Sage !24
Blog template
Sage doesn’t include a specific page template for the main blog
page. The first thing you need to do is copy index.php, the default
archive template, to home.php.
Page templates
Use template-custom.php as a guide to create your own custom page
templates. Custom page templates are similar to a normal page.php
but with the template name defined in a PHP comment.
Avoid creating templates with names that are based on the slug,
such as page-<slug>.php. Page templates based on the slug
automatically load, don’t require the template name in a PHP
comment, and don’t require you to manually select the page
template. That might be convenient at first, but the template would
stop working if the page slug were to be changed. Instead, create
templates based on template-custom.php
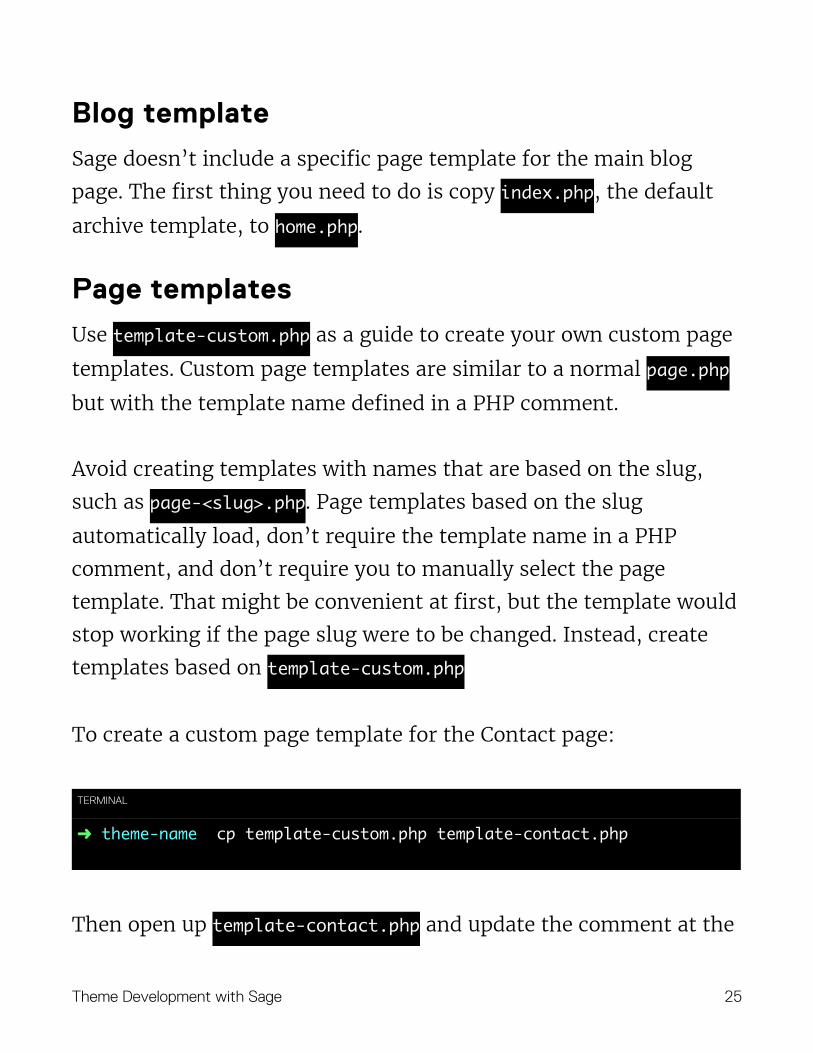
To create a custom page template for the Contact page:
Then open up template-contact.php and update the comment at the
TERMINAL
➜ theme-name cp template-custom.php template-contact.php
Theme Development with Sage !25
top of the file to reflect the template name:
Other templates
Copy existing templates to new files when necessary to fit your
needs. Follow the WordPress template hierarchy to find out the
appropriate file names to use.
Building template partials
A partial is a template snippet which can be inserted into templates,
or even other partials. They help to keep templates uncluttered and
easy to read.
Are you going to be using any forms on your site that appear in
different areas or templates? Create a partial template for the
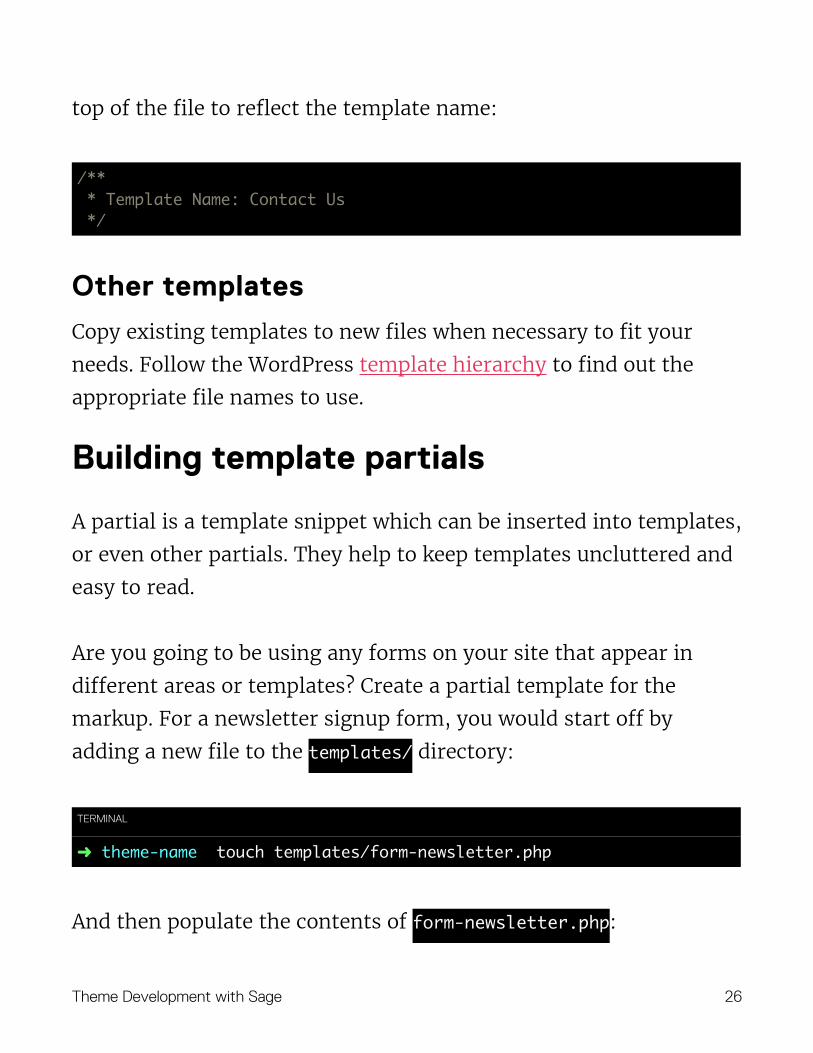
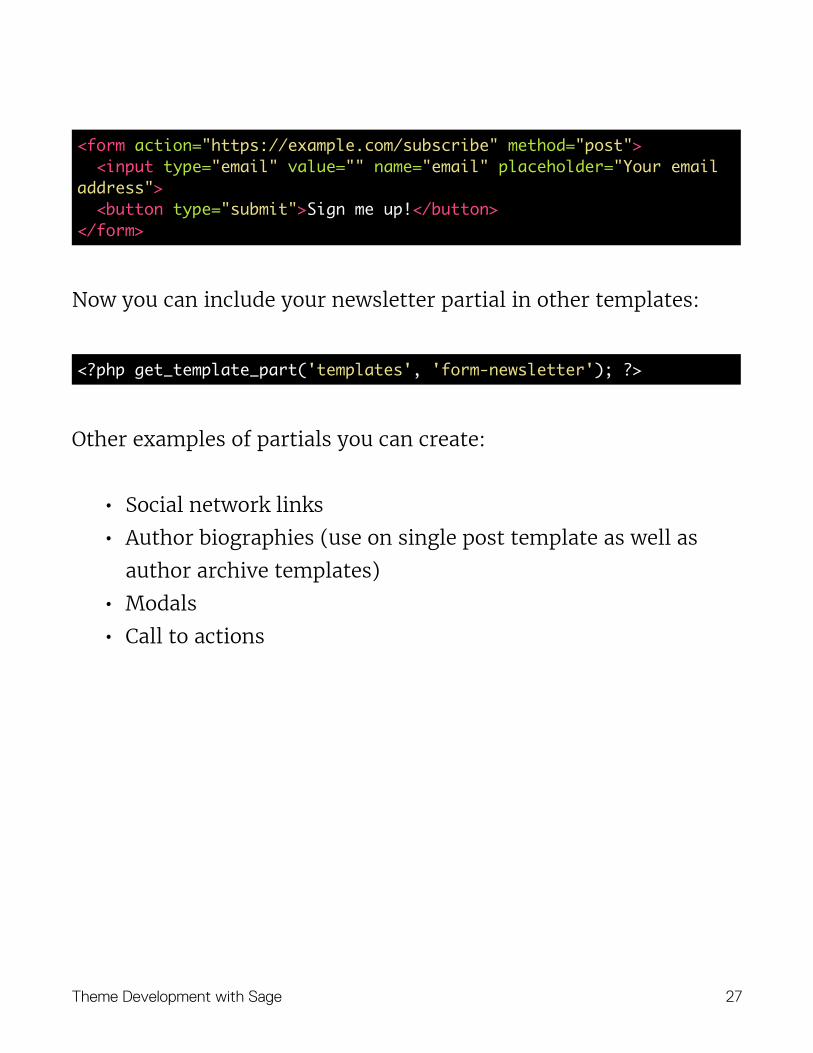
markup. For a newsletter signup form, you would start off by
adding a new file to the templates/ directory:
And then populate the contents of form-newsletter.php:
/** * Template Name: Contact Us */
TERMINAL
➜ theme-name touch templates/form-newsletter.php
Theme Development with Sage !26
Now you can include your newsletter partial in other templates:
Other examples of partials you can create:
• Social network links
• Author biographies (use on single post template as well as
author archive templates)
• Modals
• Call to actions
<form action="https://example.com/subscribe" method="post"> <input type="email" value="" name="email" placeholder="Your email address"> <button type="submit">Sign me up!</button></form>
<?php get_template_part('templates', 'form-newsletter'); ?>
Theme Development with Sage !27
Customizing the front-end
Default CSS and JS
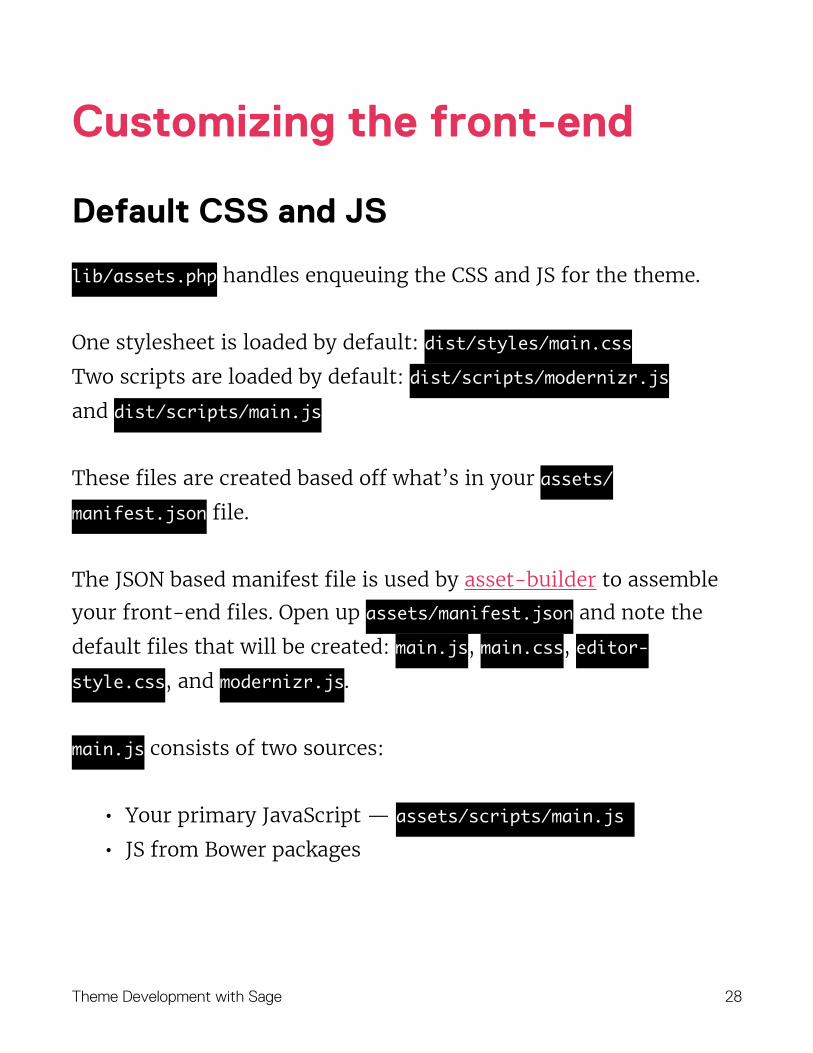
lib/assets.php handles enqueuing the CSS and JS for the theme.
One stylesheet is loaded by default: dist/styles/main.css
Two scripts are loaded by default: dist/scripts/modernizr.js
and dist/scripts/main.js
These files are created based off what’s in your assets/
manifest.json file.
The JSON based manifest file is used by asset-builder to assemble
your front-end files. Open up assets/manifest.json and note the
default files that will be created: main.js, main.css, editor-
style.css, and modernizr.js.
main.js consists of two sources:
• Your primary JavaScript — assets/scripts/main.js
• JS from Bower packages
Theme Development with Sage !28
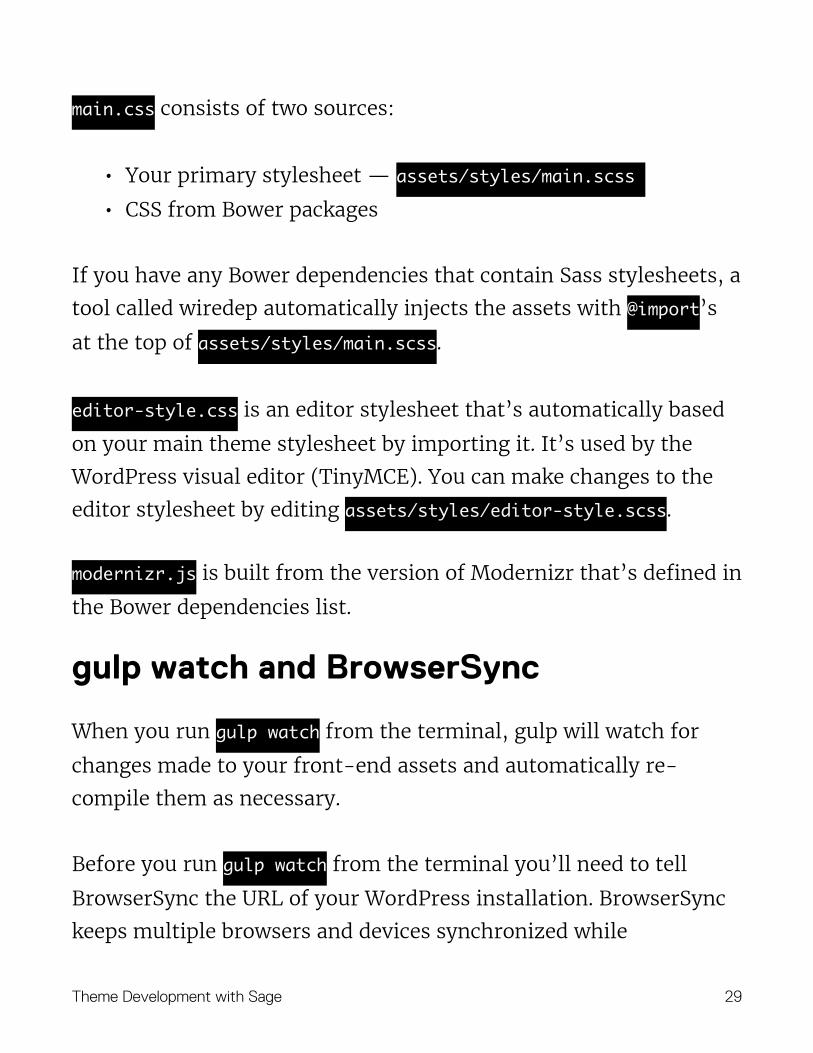
main.css consists of two sources:
• Your primary stylesheet — assets/styles/main.scss
• CSS from Bower packages
If you have any Bower dependencies that contain Sass stylesheets, a
tool called wiredep automatically injects the assets with @import’s
at the top of assets/styles/main.scss.
editor-style.css is an editor stylesheet that’s automatically based
on your main theme stylesheet by importing it. It’s used by the
WordPress visual editor (TinyMCE). You can make changes to the
editor stylesheet by editing assets/styles/editor-style.scss.
modernizr.js is built from the version of Modernizr that’s defined in
the Bower dependencies list.
gulp watch and BrowserSync
When you run gulp watch from the terminal, gulp will watch for
changes made to your front-end assets and automatically re-
compile them as necessary.
Before you run gulp watch from the terminal you’ll need to tell
BrowserSync the URL of your WordPress installation. BrowserSync
keeps multiple browsers and devices synchronized while
Theme Development with Sage !29
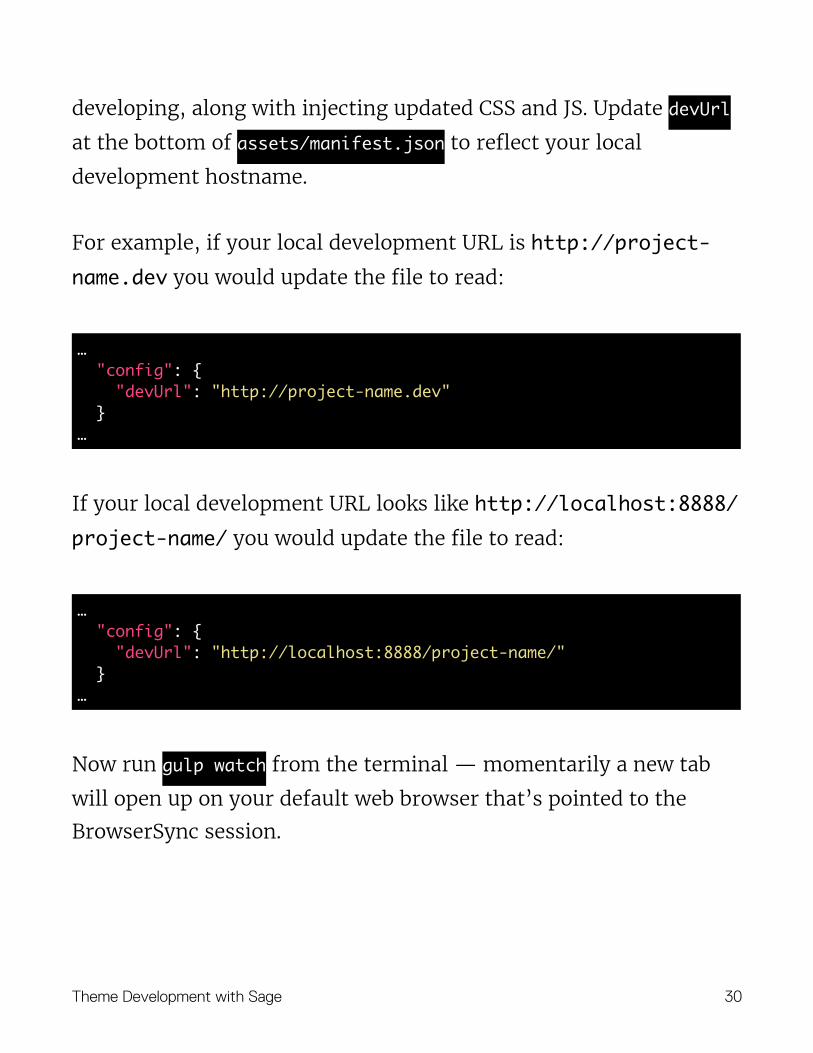
developing, along with injecting updated CSS and JS. Update devUrl
at the bottom of assets/manifest.json to reflect your local
development hostname.
For example, if your local development URL is http://project-name.dev you would update the file to read:
If your local development URL looks like http://localhost:8888/project-name/ you would update the file to read:
Now run gulp watch from the terminal — momentarily a new tab
will open up on your default web browser that’s pointed to the
BrowserSync session.
… "config": { "devUrl": "http://project-name.dev" }…
… "config": { "devUrl": "http://localhost:8888/project-name/" }…
Theme Development with Sage !30
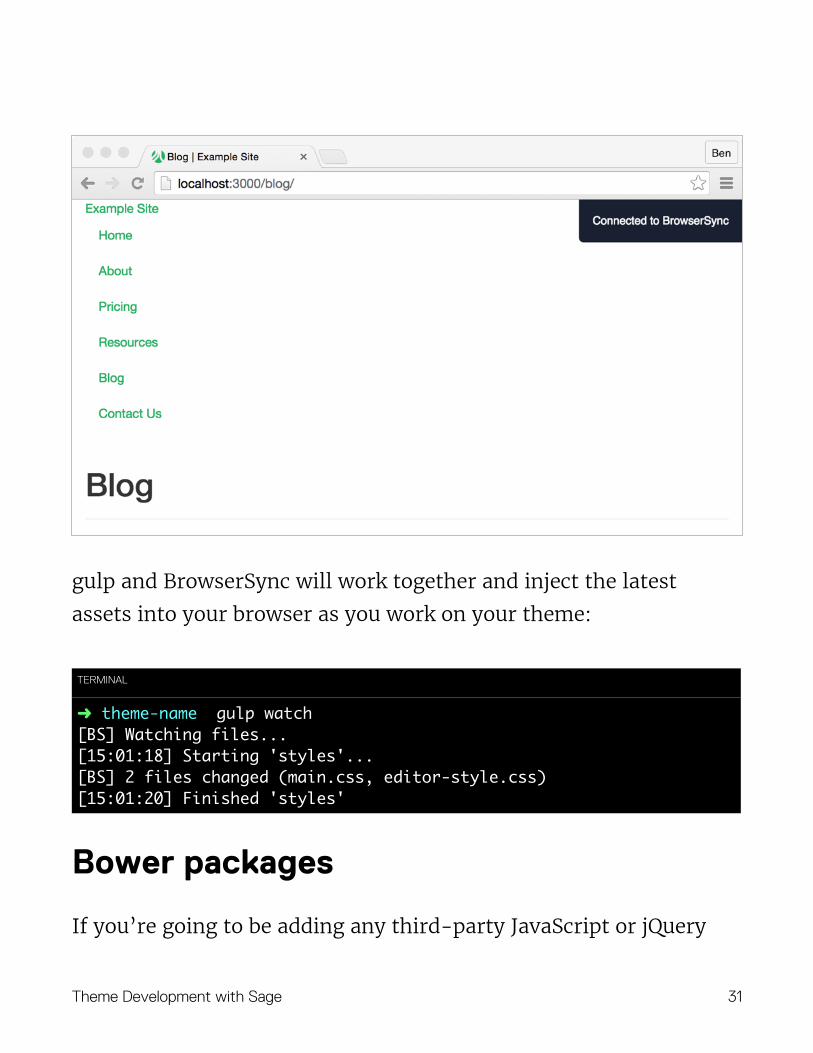
gulp and BrowserSync will work together and inject the latest
assets into your browser as you work on your theme:
Bower packages
If you’re going to be adding any third-party JavaScript or jQuery
TERMINAL
➜ theme-name gulp watch [BS] Watching files... [15:01:18] Starting 'styles'... [BS] 2 files changed (main.css, editor-style.css) [15:01:20] Finished 'styles'
Theme Development with Sage !31
plugins to your theme, it’s best to do so with Bower whenever
possible. Most jQuery plugins and JS libs are available as Bower
packages.
If you open up bower.json, you’ll notice Modernizr and Bootstrap
are both listed as dependencies. asset-builder uses a project called
main-bower-files to read your bower.json file and automatically
collect CSS and JS from files defined in the main property from your
included Bower packages.
Override Bower packages
You can override the main files from Bower packages with the
overrides property.
We manually override the main Bower files for Modernizr and
Bootstrap. Modernizr doesn’t officially support Bower, so we have
to tell main-bower-files that we want to include modernizr.js from
the package.
Bootstrap doesn’t actually need any overrides to work out of the
box, but in bower.json we’ve added a list of files as a boilerplate for
you to modify. This way you could quickly remove any JavaScript
components, or the fonts, if you’re not using them.
If you want to remove the styles for Bootstrap components, you’ll
Theme Development with Sage !32
need to replace the single reference to _bootstrap.scss with a list of
the Sass files you want to include.
Reference this Gist for a bower.json file that has the full list of Sass files from Bootstrap in the overrides.
Installing Bower packages
Install Bower packages with bower install --save <package-name>.
Using the --save flag will add the package into your project’s
bower.json dependencies. You can also manually define packages
but it's easier to use the above command to avoid writing JSON by
hand.
As long as the Bower package you’ve installed has defined the files
you want loaded in its bower.json file, you won’t need to add any
overrides. You should inspect the bower.json of each package you
install so that you are aware of exactly what is going to be included
in your theme assets.
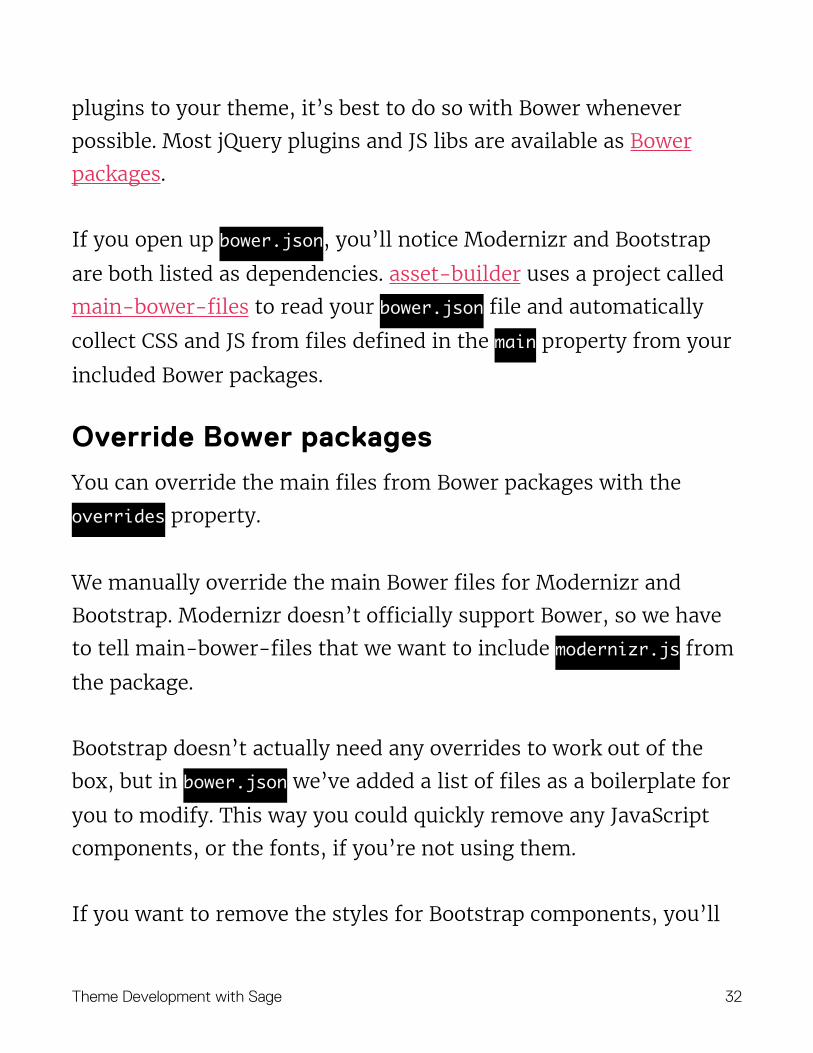
Let’s take a look at the bower.json file from Font Awesome:
{ "name": "font-awesome", "main": [ "./css/font-awesome.css", "./fonts/*" ]}
Theme Development with Sage !33
The main property defines a CSS file along with files in the fonts
directory. If you were to add Font Awesome to your Bower
dependencies, your theme CSS would have the contents of font-
awesome.css, and your fonts folder will have the same fonts from
Font Awesome’s fonts directory.
Enqueuing additional CSS and JS
You can use the JSON manifest to define how new CSS and JS files
are created. Open up assets/manifest.json along with the asset-
builder spec.
The asset-builder spec is very flexible when it comes to piecing
your assets together. You can create new JS files that load specific
Bower dependencies that you might not want to include by default
in your primary theme JavaScript file.
If you wanted to enqueue a new homepage.js file that was built from
assets/scripts/homepage.js you would first add the following to the
JSON manifest:
Theme Development with Sage !34

The next step would be to enqueue the new homepage.js file from
lib/assets.php.
Find where the enqueues are at the bottom of lib/assets.php and
add a new enqueue for our new file:
Make sure you use a conditional if statement to only enqueue the
file on the home page as well.
You can even include assets from WordPress plugins and add them
to your theme assets. If you do this, make sure you dequeue the
plugin assets. You should add the dequeues to lib/assets.php.
A more extensive manifest.json file would look like:
{ "dependencies": { "homepage.js": { "files": [ "scripts/homepage.js" ] },…
wp_enqueue_script('theme_homepage', asset_path('scripts/homepage.js'), ['jquery'], null, true);
Theme Development with Sage !35

• The main.js dependency is pulling in a vendor file from a
directory outside the project directory.
• The homepage.js dependency has specified an external as true.
This means it will expect to find custom-dir/homepage.js and
{ "dependencies": { "main.js": { "files": [ "scripts/main.js" ], "vendor": [ "../../plugins/example-plugin/assets/plugin.js" ], "main": true }, "main.css": { "files": "styles/main.scss", "vendor": [ "../../plugins/example-plugin/assets/style.css" ], "main": true }, "homepage.js": { "files": [ "custom-dir/homepage.js" ], "external": true, "bower": ["slick-carousel"] }, "modernizr.js": { "bower": ["modernizr"] }, }, "config": { "devUrl": "example.dev" }}
Theme Development with Sage !36

not assets/custom-dir/homepage.js.
• homepage.js has also specified that it requires slick-carousel
as a Bower dependency. In this case, slick-carousel will be
excluded from being automatically included in main.js and
will be included in homepage.js.
• The main.css dependency is pulling in a vendor file from a
directory outside the project directory.
CSS setup and organization
The assets/styles/ directory contains barebones partials that are
imported from the primary stylesheet to help get your styling
started.
If you open up assets/styles/main.scss, you’ll see the breakdown
and order of stylesheets:
1. common/_variables — Use this file to define your Sass variables
that you can reference from other stylesheets
2. Bower dependencies injected via wiredep — Make sure you
don’t ever edit this block manually, as your changes will be
removed whenever your styles are built again. Any .scss files
that are defined in the main property of a Bower package you’ve
Theme Development with Sage !37
installed will be added here.
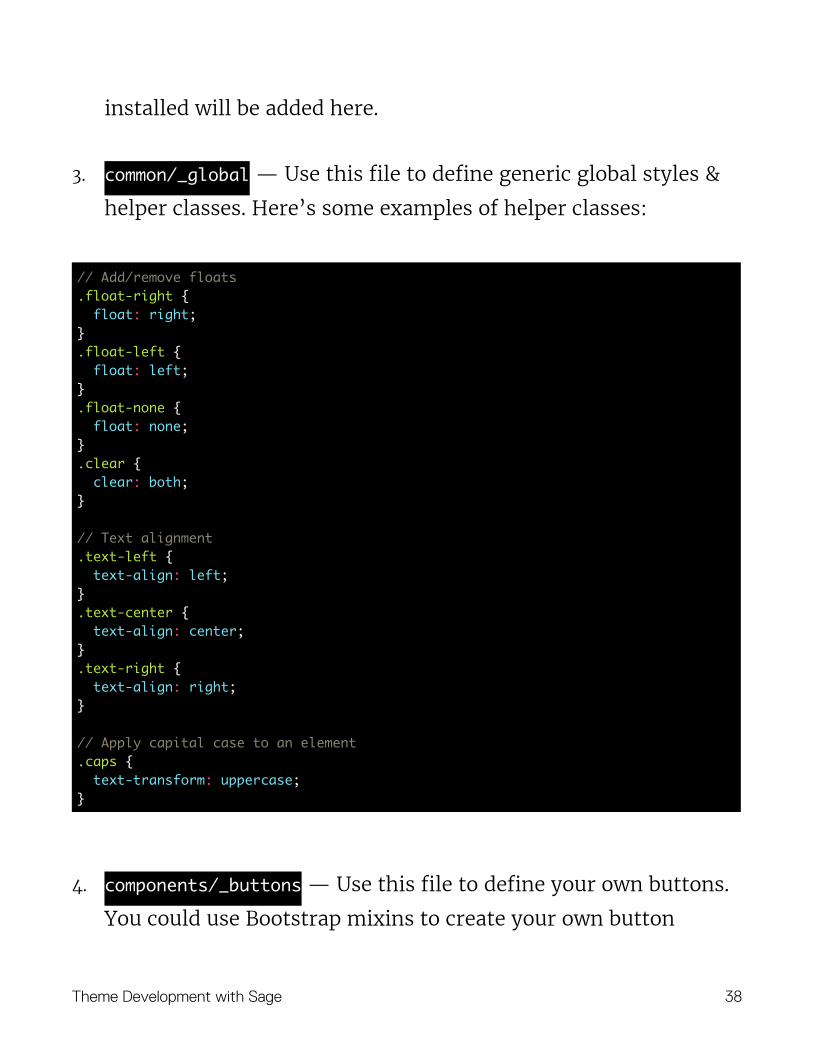
3. common/_global — Use this file to define generic global styles &
helper classes. Here’s some examples of helper classes:
4. components/_buttons — Use this file to define your own buttons.
You could use Bootstrap mixins to create your own button
// Add/remove floats.float-right { float: right;}.float-left { float: left;}.float-none { float: none;}.clear { clear: both;}
// Text alignment.text-left { text-align: left;}.text-center { text-align: center;}.text-right { text-align: right;}
// Apply capital case to an element.caps { text-transform: uppercase;}
Theme Development with Sage !38

variants:
5. components/_comments — This file contains some basic styling for
the default WordPress comments. If you use Disqus, Facebook,
Google+, or another commenting system, you can remove this
file. When removing files, make sure to also delete the relevant
import line in main.scss.
6. components/_forms — Place form specific styles in this file. If you wanted to override Bootstrap’s .form-control styling, this is the place to do it.
7. components/_grid — This file is used to apply Bootstrap’s grid to the main content area and the sidebar.
8. components/_wp-classes — WordPress uses specific classes when dealing with media items. Sage applies some mobile-first styles to these classes to make sure left and right aligned images don’t start floating until the small device breakpoint.
.btn-outline { @include button-variant($text-color, transparent, $text-color);}
// Remove the extra shadow on input focus.form-control { &:focus { box-shadow: inset 0 1px 1px rgba(0,0,0,.075); }}
Theme Development with Sage !39
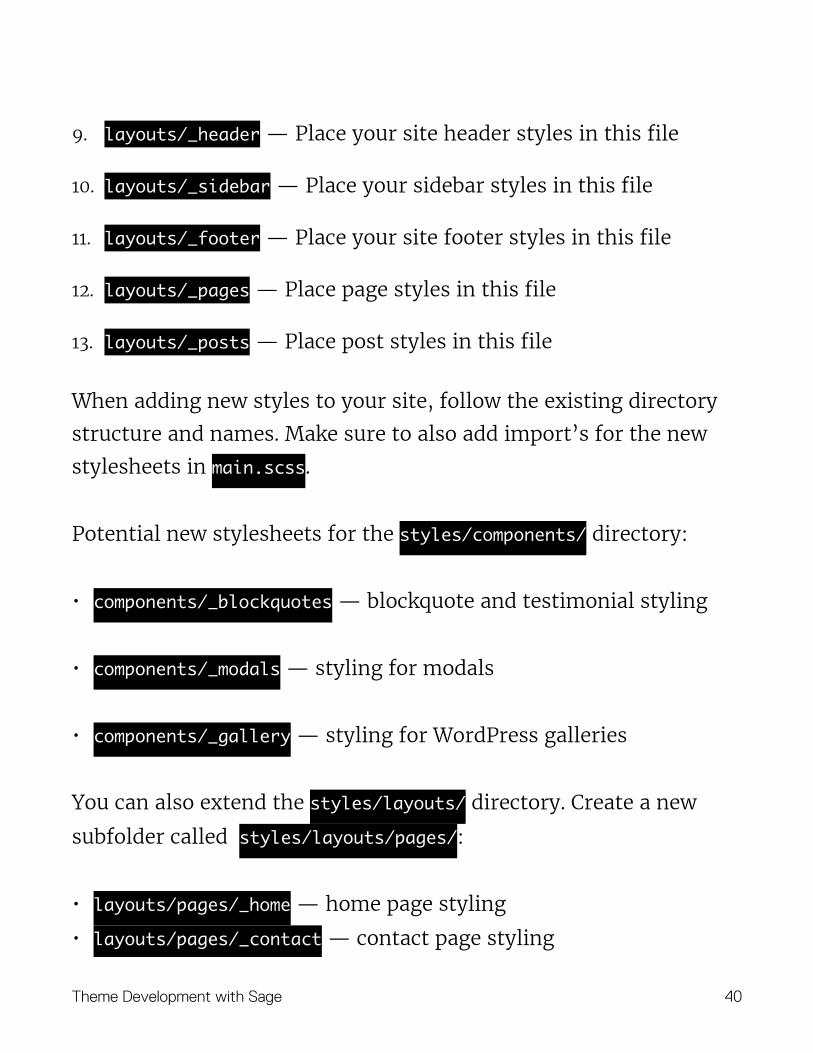
9. layouts/_header — Place your site header styles in this file
10. layouts/_sidebar — Place your sidebar styles in this file
11. layouts/_footer — Place your site footer styles in this file
12. layouts/_pages — Place page styles in this file
13. layouts/_posts — Place post styles in this file
When adding new styles to your site, follow the existing directory
structure and names. Make sure to also add import’s for the new
stylesheets in main.scss.
Potential new stylesheets for the styles/components/ directory:
• components/_blockquotes — blockquote and testimonial styling
• components/_modals — styling for modals
• components/_gallery — styling for WordPress galleries
You can also extend the styles/layouts/ directory. Create a new
subfolder called styles/layouts/pages/:
• layouts/pages/_home — home page styling
• layouts/pages/_contact — contact page styling
Theme Development with Sage !40
JS and DOM-based routing
The primary theme JavaScript file located at assets/scripts/main.js
contains a DOM-based routing boilerplate. DOM-based routing lets
you conditionally execute JS on certain pages based on the page’s
body classes.
Any code placed within 'common'’s init function will fire on all pages
on the site.
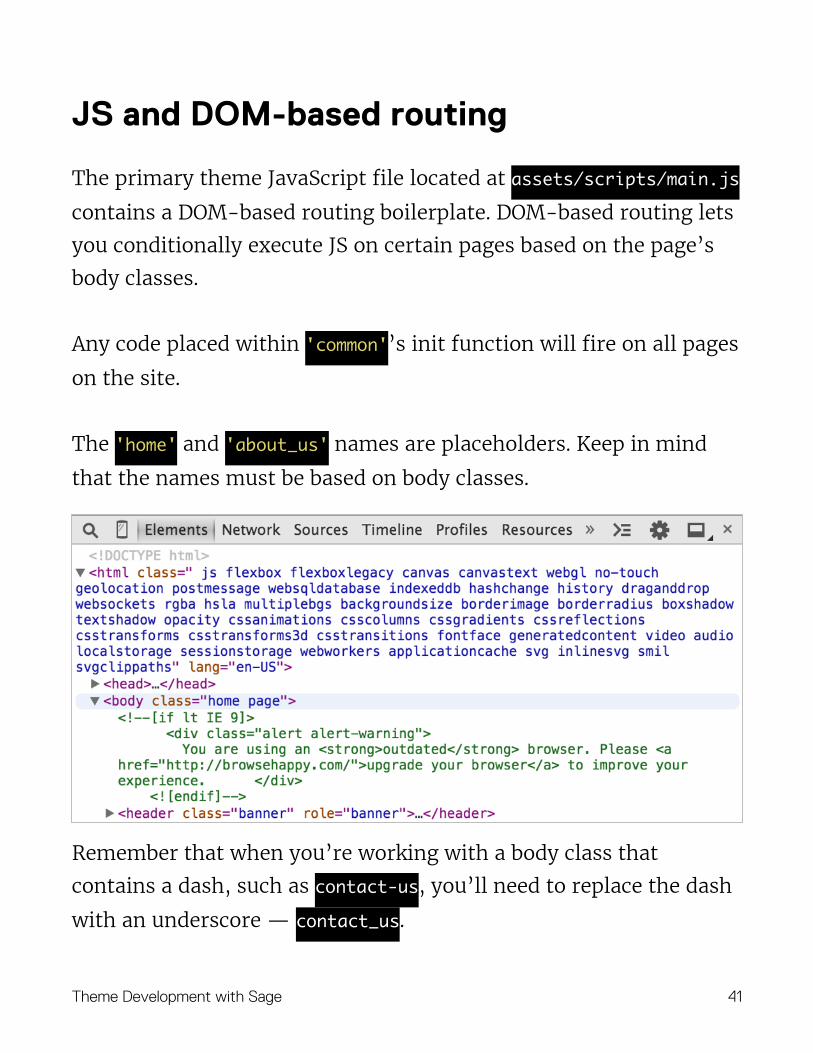
The 'home' and 'about_us' names are placeholders. Keep in mind
that the names must be based on body classes.
Remember that when you’re working with a body class that
contains a dash, such as contact-us, you’ll need to replace the dash
with an underscore — contact_us.
Theme Development with Sage !41

Here’s a better example:
Sage includes a function in lib/extras.php for modifying the
WordPress body class. Feel free to update the function to reflect any
body class modifications you’d want to make. For example, on the
Roots site we add a “product” body class if you’re viewing a single
post from multiple custom post types. Before the return in the
var Sage = { // All pages 'common': { init: function() { // Run FitVids on the main content area $('.main').fitVids(); } }, // Home page 'home': { init: function() { // Run Skrollr var s = skrollr.init(); } }, // Contact Us page 'contact_us': { init: function() { // gmaps.js new GMaps({ div: '#map', lat: -12.043333, lng: -77.028333 }); } } };
Theme Development with Sage !42
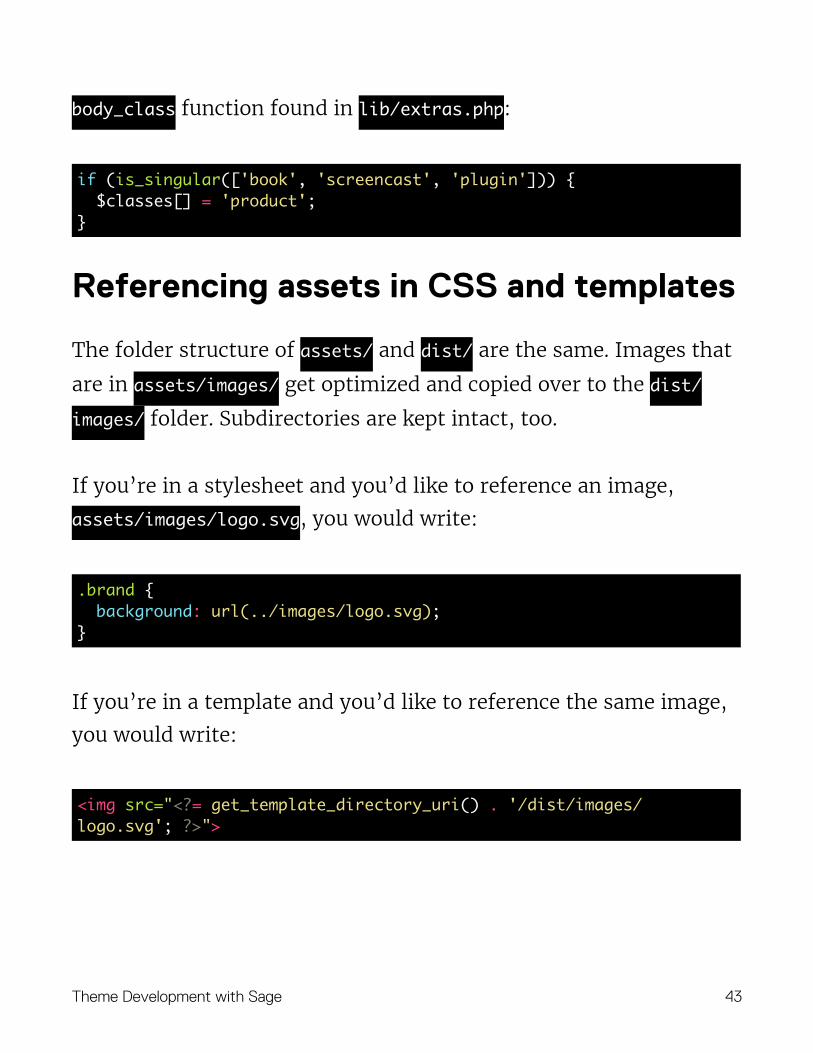
body_class function found in lib/extras.php:
Referencing assets in CSS and templates
The folder structure of assets/ and dist/ are the same. Images that
are in assets/images/ get optimized and copied over to the dist/
images/ folder. Subdirectories are kept intact, too.
If you’re in a stylesheet and you’d like to reference an image,
assets/images/logo.svg, you would write:
If you’re in a template and you’d like to reference the same image,
you would write:
if (is_singular(['book', 'screencast', 'plugin'])) { $classes[] = 'product';}
.brand { background: url(../images/logo.svg);}
<img src="<?= get_template_directory_uri() . '/dist/images/logo.svg'; ?>">
Theme Development with Sage !43
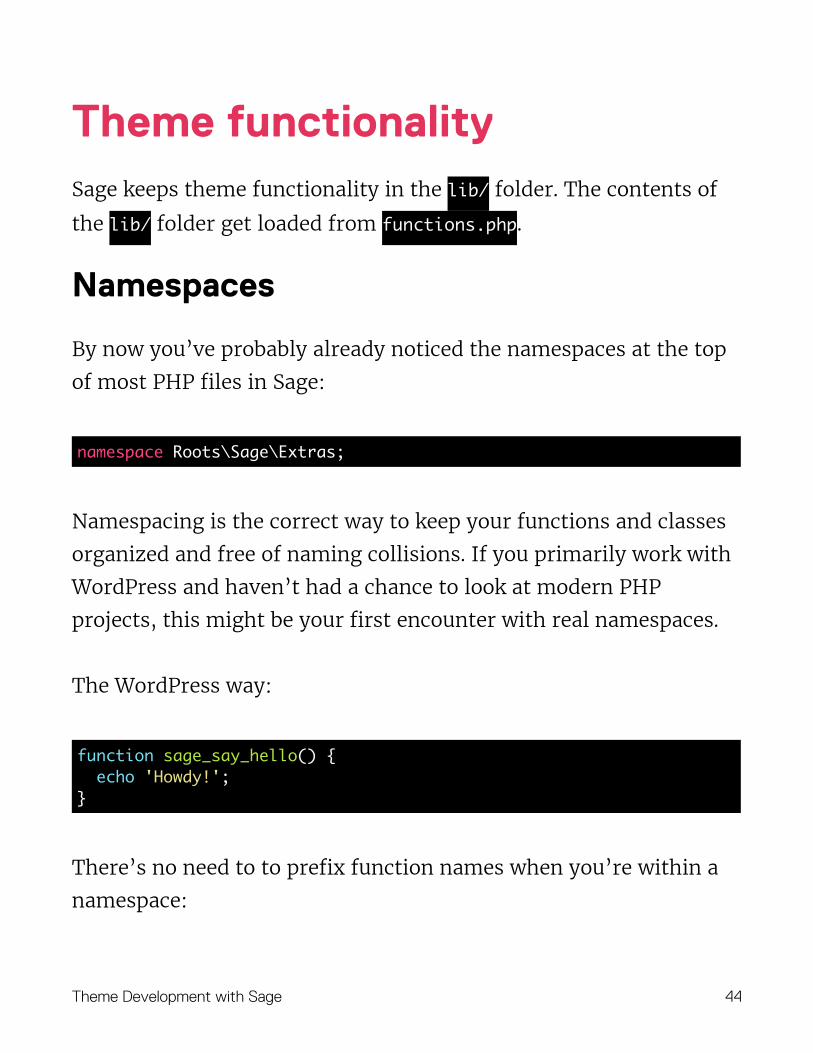
Theme functionality Sage keeps theme functionality in the lib/ folder. The contents of
the lib/ folder get loaded from functions.php.
Namespaces
By now you’ve probably already noticed the namespaces at the top
of most PHP files in Sage:
Namespacing is the correct way to keep your functions and classes
organized and free of naming collisions. If you primarily work with
WordPress and haven’t had a chance to look at modern PHP
projects, this might be your first encounter with real namespaces.
The WordPress way:
There’s no need to to prefix function names when you’re within a
namespace:
namespace Roots\Sage\Extras;
function sage_say_hello() { echo 'Howdy!';}
Theme Development with Sage !44
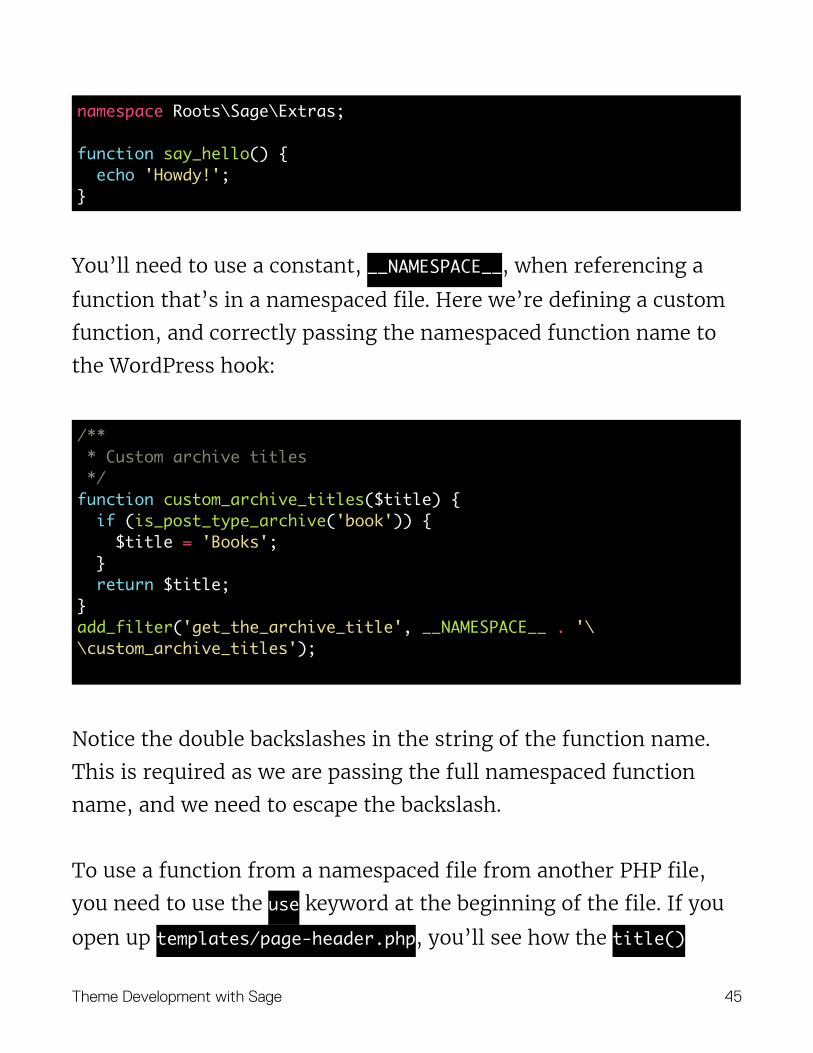
You’ll need to use a constant, __NAMESPACE__, when referencing a
function that’s in a namespaced file. Here we’re defining a custom
function, and correctly passing the namespaced function name to
the WordPress hook:
Notice the double backslashes in the string of the function name.
This is required as we are passing the full namespaced function
name, and we need to escape the backslash.
To use a function from a namespaced file from another PHP file,
you need to use the use keyword at the beginning of the file. If you
open up templates/page-header.php, you’ll see how the title()
namespace Roots\Sage\Extras;
function say_hello() { echo 'Howdy!';}
/** * Custom archive titles */function custom_archive_titles($title) { if (is_post_type_archive('book')) { $title = 'Books'; } return $title;}add_filter('get_the_archive_title', __NAMESPACE__ . '\\custom_archive_titles');
Theme Development with Sage !45
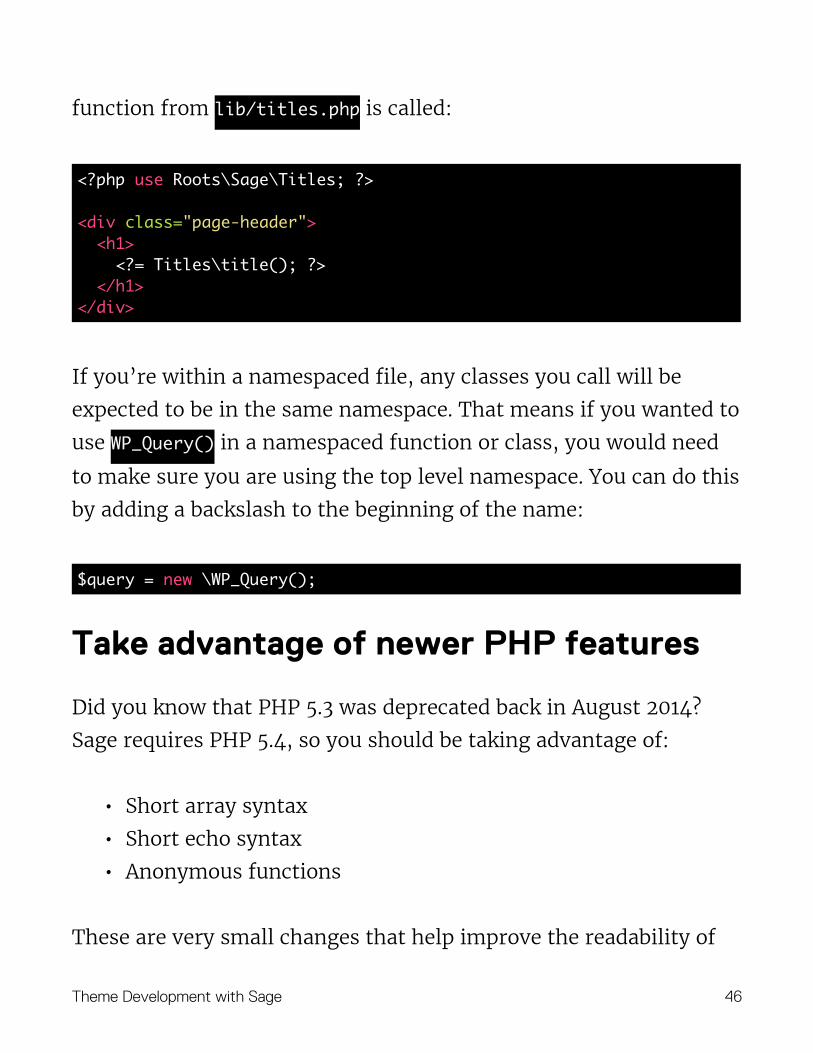
function from lib/titles.php is called:
If you’re within a namespaced file, any classes you call will be
expected to be in the same namespace. That means if you wanted to
use WP_Query() in a namespaced function or class, you would need
to make sure you are using the top level namespace. You can do this
by adding a backslash to the beginning of the name:
Take advantage of newer PHP features
Did you know that PHP 5.3 was deprecated back in August 2014?
Sage requires PHP 5.4, so you should be taking advantage of:
• Short array syntax
• Short echo syntax
• Anonymous functions
These are very small changes that help improve the readability of
<?php use Roots\Sage\Titles; ?>
<div class="page-header"> <h1> <?= Titles\title(); ?> </h1></div>
$query = new \WP_Query();
Theme Development with Sage !46

your code.
The short array syntax is as simple as replacing array() with [].
If you’re familiar with JavaScript, it uses the same array syntax. I find this especially beneficial if the array is short enough to be on one line, it looks even cleaner when only using brackets rather than the entire array word.
The short echo syntax is as simple as replacing <?php echo with <?=.
Instead of writing out <?php echo get_template_directory_uri(),
you would just write: <?= get_template_directory_uri()
Where to put custom code
Sage comes with a lib/extras.php file that you can use to throw
some custom snippets in. Before you start adding code in the
theme, make sure that you’ve determined that the theme is the
appropriate place for the code. Remember that you don’t want to
put site functionality in your theme, such as custom post types.
You can also organize your custom code into new files within the
lib/ directory, just make sure you add them to the loader in
functions.php.
Kalen Johnson via Upping PHP Requirements in Your WordPress Themes and Plugins
�
Theme Development with Sage !47

Theme customizations As of April 2015, WordPress.org is requiring theme authors to use
the Customizer API for theme options.
While most Sage themes are handcrafted and built for a specific
site, some users also use Sage as a starting point for themes that
they release publicly either as open source, or as paid themes.
The Customizer API is very useful for creating custom theme
settings, but there’s still a place for tools such as Advanced Custom
Fields.
WordPress Customizer API
The WordPress Theme Handbook says, “The Customizer is the
canonical way to add options to your theme.”
It’s a good idea to leverage the Customizer API when adding theme
options. To use the Customizer API in a Sage based theme, start out
by adding a new file, lib/customizer.php, and add it to the
functions.php loader.
You’ll also want to create a new JS file for adding instant live
previews, and then enqueue it:
Theme Development with Sage !48
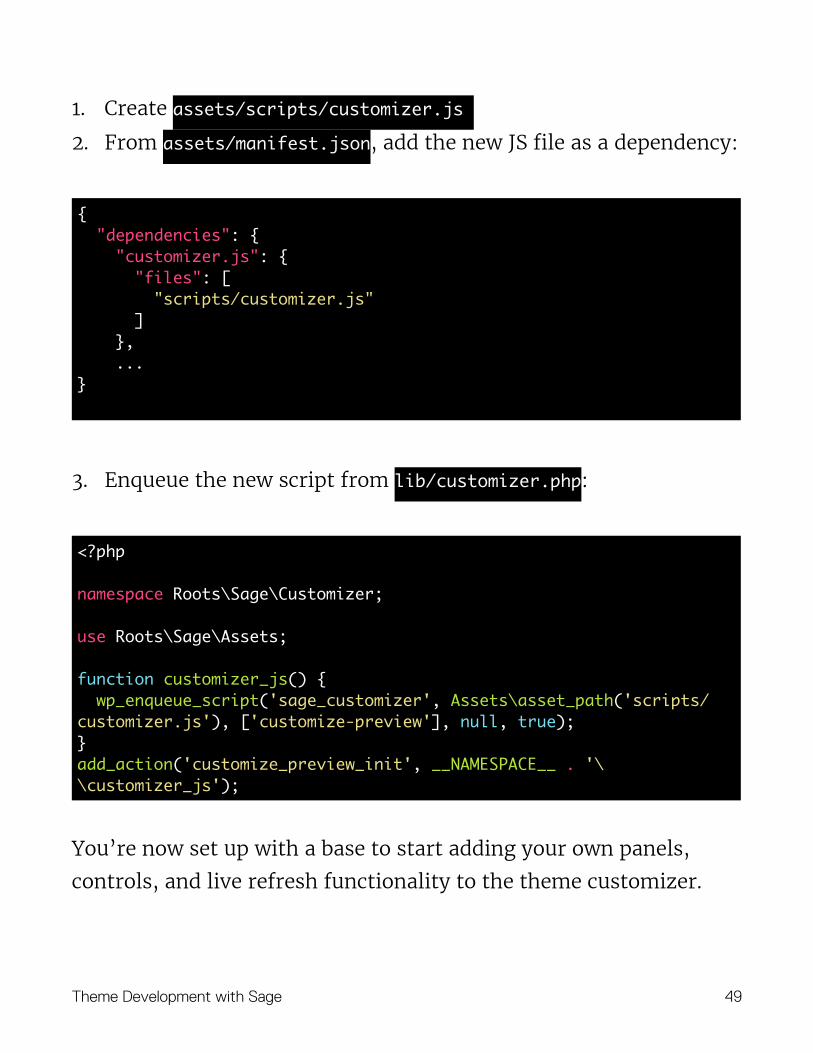
1. Create assets/scripts/customizer.js
2. From assets/manifest.json, add the new JS file as a dependency:
3. Enqueue the new script from lib/customizer.php:
You’re now set up with a base to start adding your own panels,
controls, and live refresh functionality to the theme customizer.
{ "dependencies": { "customizer.js": { "files": [ "scripts/customizer.js" ] }, ...}
<?php
namespace Roots\Sage\Customizer;
use Roots\Sage\Assets;
function customizer_js() { wp_enqueue_script('sage_customizer', Assets\asset_path('scripts/customizer.js'), ['customize-preview'], null, true);}add_action('customize_preview_init', __NAMESPACE__ . '\\customizer_js');
Theme Development with Sage !49

The theme customizer is currently going through rapid changes as
WordPress has been pushing harder for theme authors to use it for
all theme options. Lots of tutorials and example code exists out in
the wild right now — do your research, and find out how you can
use the theme customizer to offer more flexibility to the users of
your theme.
Tools such as Kirki help with quickly working with advanced theme
customizer controls.
Advanced Custom Fields
Advanced Custom Fields is a popular WordPress plugin that’s used
to create custom edit screens.
Instead of having hardcoded data in your custom page templates,
use ACF to create an easy-to-use interface for your site editors to
manage custom content.
Theme Development with Sage !50
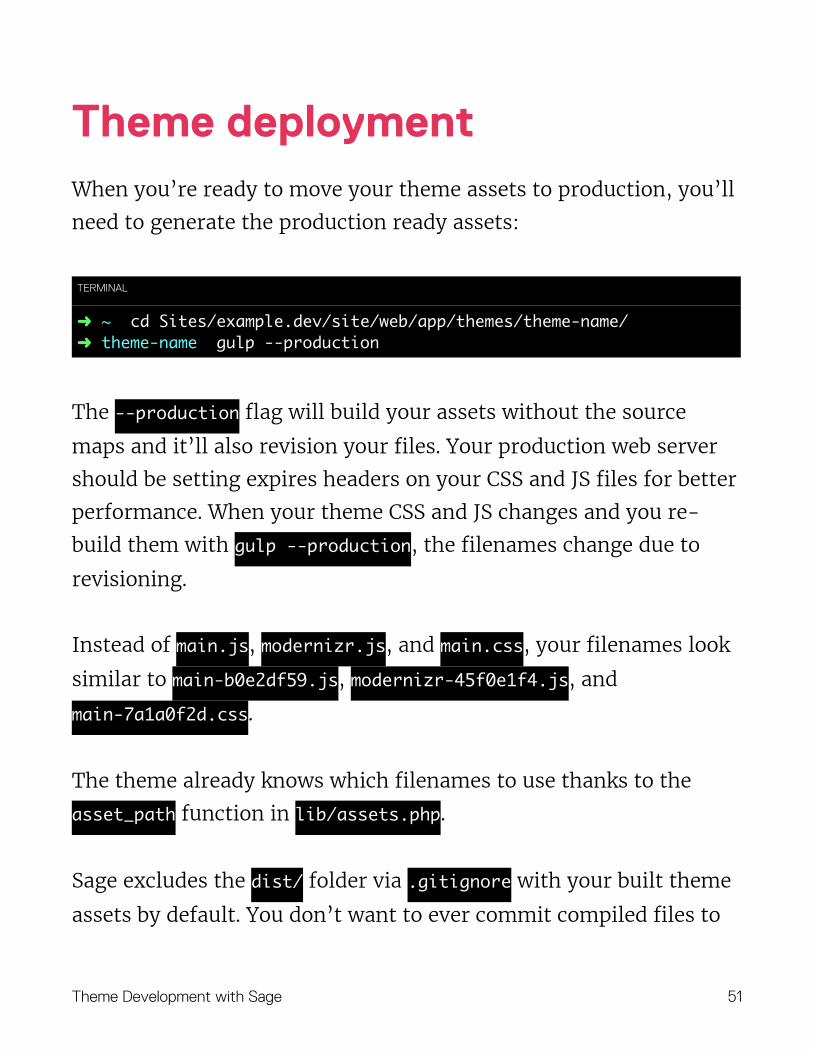
Theme deployment When you’re ready to move your theme assets to production, you’ll
need to generate the production ready assets:
The --production flag will build your assets without the source
maps and it’ll also revision your files. Your production web server
should be setting expires headers on your CSS and JS files for better
performance. When your theme CSS and JS changes and you re-
build them with gulp --production, the filenames change due to
revisioning.
Instead of main.js, modernizr.js, and main.css, your filenames look
similar to main-b0e2df59.js, modernizr-45f0e1f4.js, and
main-7a1a0f2d.css.
The theme already knows which filenames to use thanks to the
asset_path function in lib/assets.php.
Sage excludes the dist/ folder via .gitignore with your built theme
assets by default. You don’t want to ever commit compiled files to
TERMINAL
➜ ~ cd Sites/example.dev/site/web/app/themes/theme-name/➜ theme-name gulp --production
Theme Development with Sage !51
your Git repository.
Since your assets don’t exist in your Git repository, you’ll need to
compile them somehow during your deploy process. One option is
to compile the assets locally and then copy them over. Another
option is to compile them on the server during your deploy.
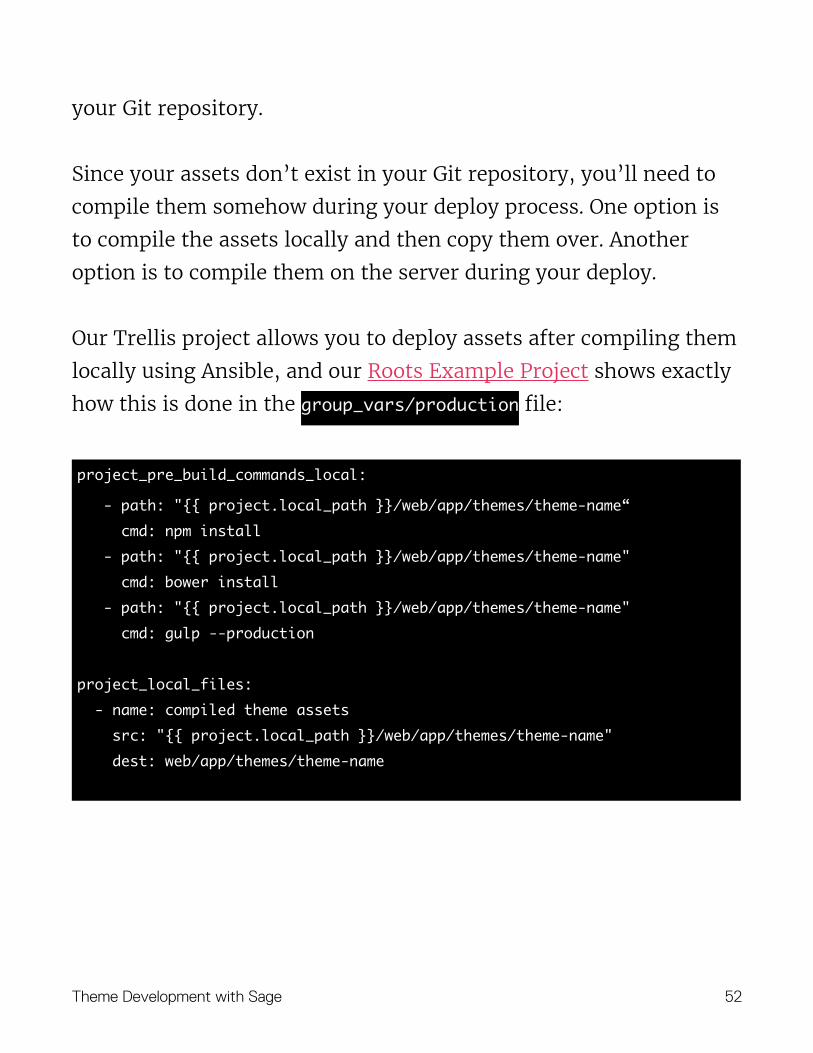
Our Trellis project allows you to deploy assets after compiling them
locally using Ansible, and our Roots Example Project shows exactly
how this is done in the group_vars/production file:
project_pre_build_commands_local:
- path: "{{ project.local_path }}/web/app/themes/theme-name“ cmd: npm install - path: "{{ project.local_path }}/web/app/themes/theme-name" cmd: bower install - path: "{{ project.local_path }}/web/app/themes/theme-name" cmd: gulp --production
project_local_files: - name: compiled theme assets src: "{{ project.local_path }}/web/app/themes/theme-name" dest: web/app/themes/theme-name
Theme Development with Sage !52

Theme updates and maintenance Since Sage is a starter theme, there’s usually not a need to update
your project after you’ve already started it.
We don’t recommend trying to keep your theme always up to date
with the latest changes to Sage. If you happen to encounter a bug,
you can usually make quick, minor changes to a few files to apply
fixes to your theme.
One recent example is when a bug popped up that used an incorrect
file path for assets in stylesheets. This bug was caused by one of the
Node dependencies introducing a bug. By looking at the git diff on
GitHub, you can see that only a few lines needed to be updated in
the gulpfile. Those types of changes are very quick to manually
update on your theme. If you’d like to merge in bigger changes,
follow these steps.
If you’re doing ongoing work on a theme, you should keep an eye
on updates to your dependencies, including:
• Bower packages — Modernizr, Bootstrap, other packages
you’ve included
Theme Development with Sage !53
• Node dependencies — asset-builder, browser-sync, and gulp
packages such as gulp-sass
David is a Node project that tells you when your npm dependencies
are out of date. If you have a public GitHub project you can add a
badge to make it easier to see the current status:
There’s several ways to stay on top of the latest changes to Sage:
• GitHub — If you Watch the https://github.com/roots/sage
project, you’ll get notifications for any new pull requests and
issues that are created.
• RSS feeds — You can watch for new versions from the
project’s GitHub releases feed at https://github.com/roots/
sage/releases.atom. You can also subscribe to our blog at
https://roots.io/feed/, but we don’t always post about minor
updates.
• Twitter — I try to usually only tweet about WordPress/web
development things at @retlehs, but there’s also the
@rootswp account for Roots-only updates.
• Discourse — Join us at https://discourse.roots.io/.
Theme Development with Sage !54
Resources • Code Guide
http://codeguide.co/
• nvm — Node Version Manager https://github.com/creationix/nvm
• asset-builder — the manifest.json asset pipeline used by Sage https://github.com/austinpray/asset-builderhttps://github.com/austinpray/asset-builder/tree/master/helphttps://github.com/austinpray/asset-builder/blob/master/
help/spec.md
• BrowserSync http://www.browsersync.io/
• Autoprefixer https://github.com/postcss/autoprefixer-core
Theme Development with Sage !55
Wrapping up I hope this book has helped you get more familiar with Sage and
pushes you to learn new tools to help you improve your
development workflow.
Things always change fast in the web world, and Sage will continue
to change as both the web and WordPress move forward.
This book will be updated as major changes to Sage are made —
you’ll get notified via email when new editions are released. You’ll
be able to immediately download new releases for free if you’ve
purchased this book through https://roots.io/.
Please write to [email protected] with any corrections or feedback
and join us at the Roots Discourse (https://discourse.roots.io/) for
discussion.
Theme Development with Sage !56