Scrubbing and Gowning for Surgery
Purpose
• Before each operation, all members of the surgical team – that is, those who will touch the sterile surgical field, surgical instruments or the wound – should scrub their hands and arms to the elbows. Scrubbing cannot completely sterilize the skin, but will decrease the bacterial load and risk of wound contamination from the hands.
http://www.steinergraphics.com/surgical/001_02.3A.html

Procedure
• Remove all jewelry• Assure trimmed fingernails• Don the surgical cap• Place the surgical mask
http://www.acog.org/departments/downoad/surgicalcurriculum
Procedure
• Place surgical mask with shield or mask and goggles.
• Cover nose• Tie strings at crown of head• Tie strings at neck
Procedure
• Open sterile gown and towel packet• Open 1 pair of gloves – flip onto sterile
gown packet• Open second pair of gloves – flip onto
sterile gown packet
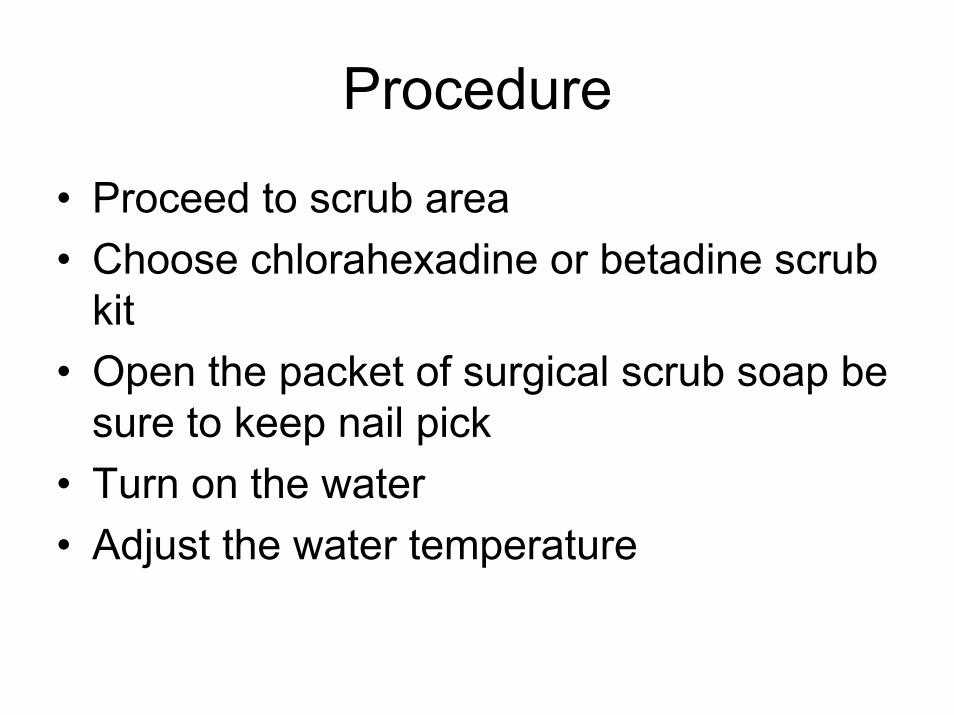
Procedure
• Proceed to scrub area• Choose chlorahexadine or betadine scrub
kit• Open the packet of surgical scrub soap be
sure to keep nail pick • Turn on the water• Adjust the water temperature
Procedure

Procedure
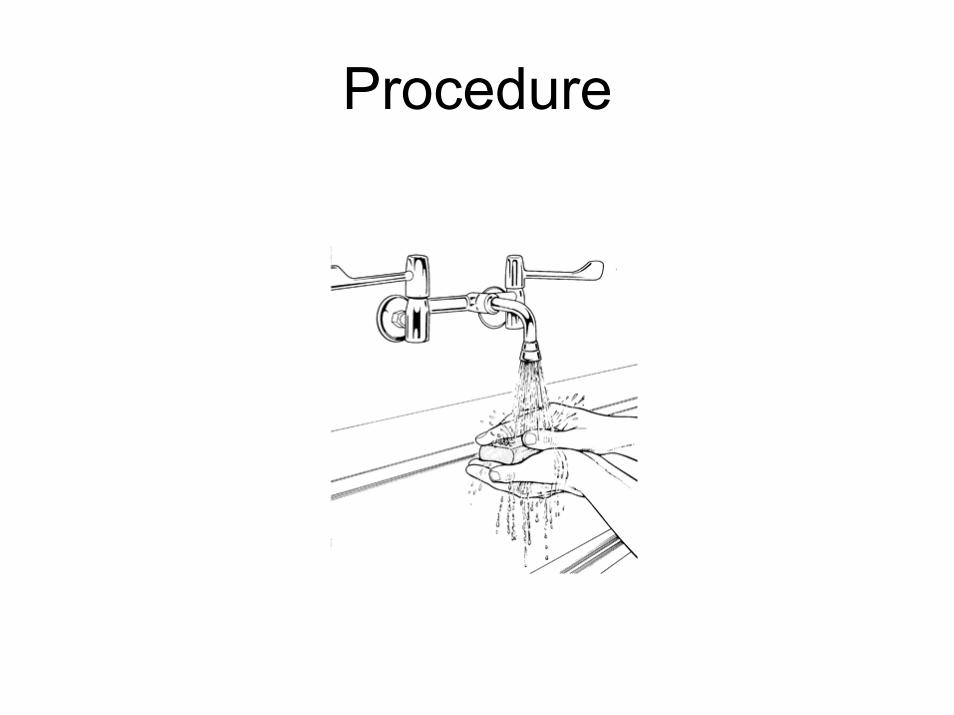
• Wet hands and arms to two inches above the elbow
• Lather arms and hands with sponge• Leaving lather on arms, under running
water clean nails and cuticles with pick• Discard nail pick
Procedure

Procedure
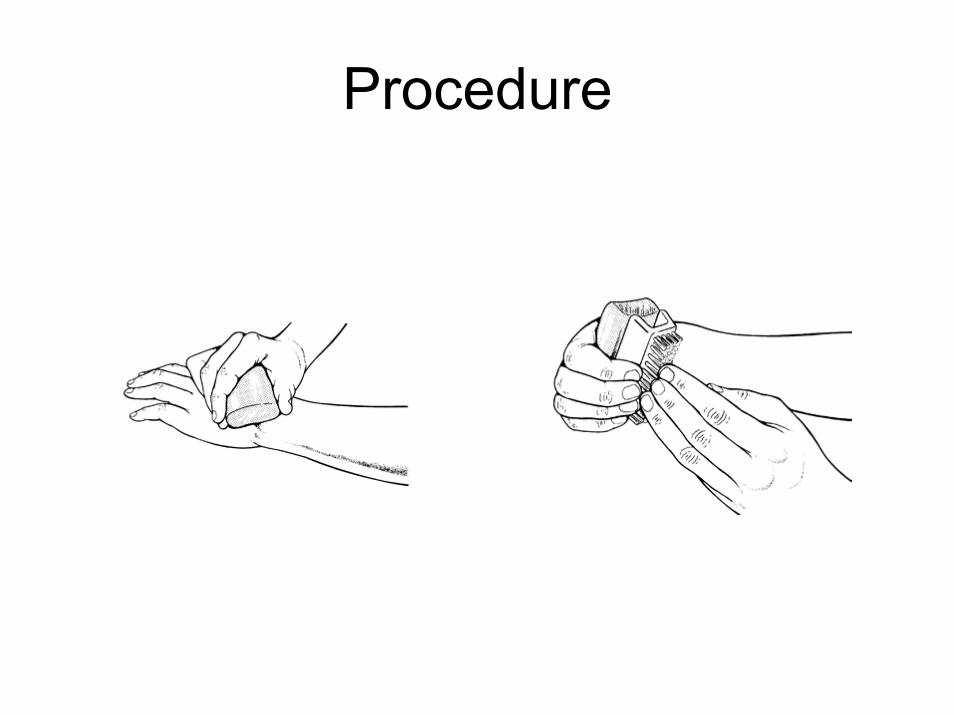
• Scrub nails with the bristles for 30 circular motions. Repeat other hand
• Turn over to sponge side • Proceed to scrub each of the four planes
(palmar/plantar/right lateral/left lateral of each finger with 5 strokes (up and down)
• Proceed to scrub each of the 3 plains (right lateral/ center/left lateral) of the palmar and plantar aspects of the hand with 10 strokes each

Scrub 3 plains palmar and plantar surface of hand

Procedure
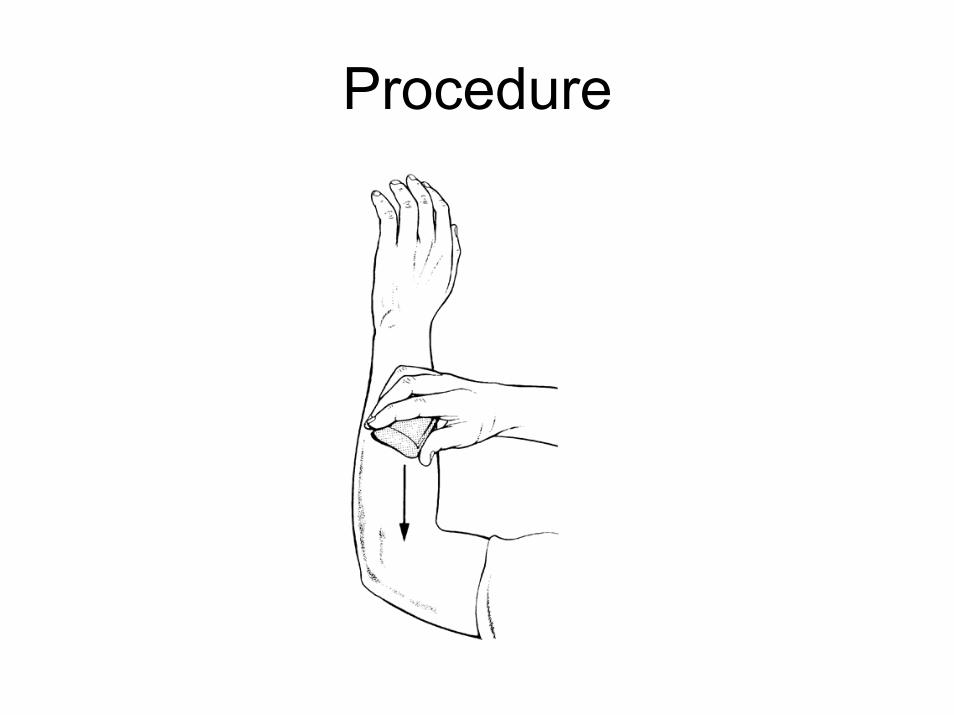
• Imagine the forearm and arm to 2 inches about the elbow to be divided into 3 sections.
• Scrub each of the four plains (plantar/palmar/right lateral/left lateral) of each section the arm with 5 strokes. Proceed from most distal to proximal.
• Repeat on other arm
Procedure

Procedure
• Slowly rinse hands and arms –preventing back tracking of water (clean to dirty: hands to elbows)
• Keep hands and forearms elevated and avoid contamination when turning off water and entering the operating room.
Procedure
Procedure
• Approach the table with the sterile field where you have the gown, towel and gloves.
• Carefully pick up the towel from the sterile field. Do not allow towel to touch your scrubs

Grasp towel
http://cal.vet.upenn.edu/surgery
Procedure
• Carefully dry one hand then the forearm with one end and one side of the towel.
• Always dry in the direction of hand to elbow so that contamination of the upper arm is not spread by the towel to the surgeon's hand
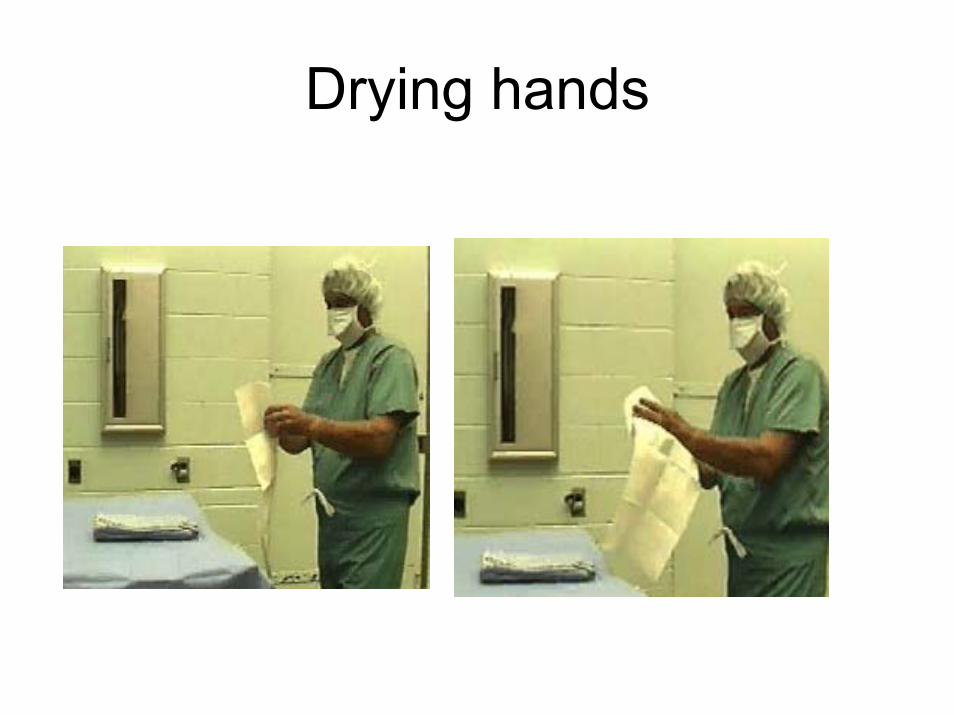
Drying hands
Drying hands
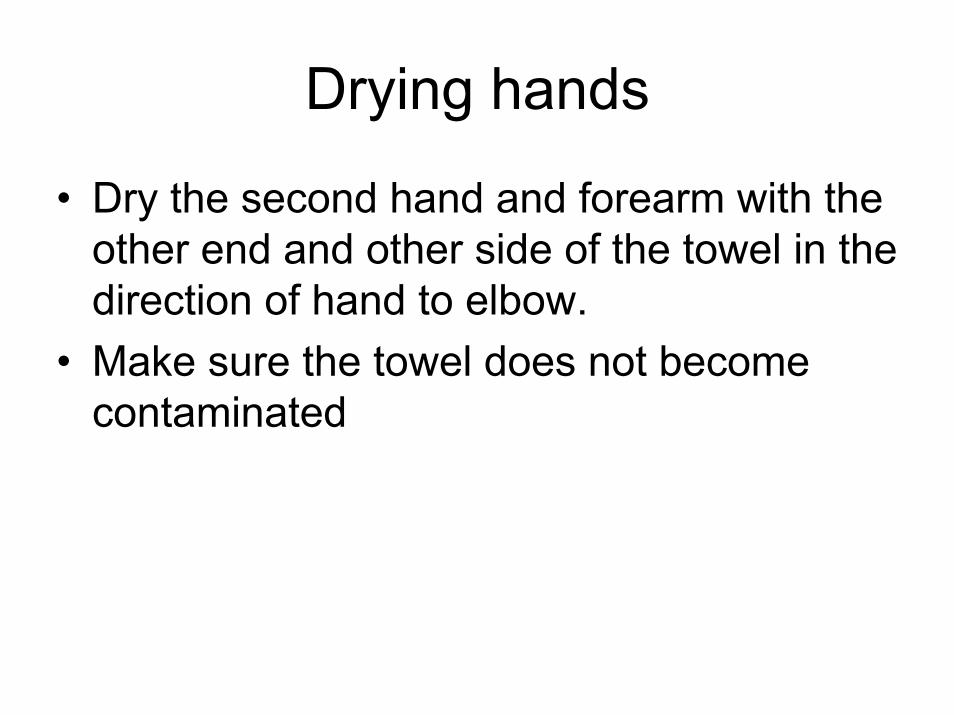
• Dry the second hand and forearm with the other end and other side of the towel in the direction of hand to elbow.
• Make sure the towel does not become contaminated

Drying hands

Procedure
• Dispose of the used towel• Hold your hands and forearms away from
your body and higher than your elbows • Grasp the exposed inside of the gown and
lift the gown away from the sterile field • Note that the collar is upright and the arm
holes face so that you may enter your arms

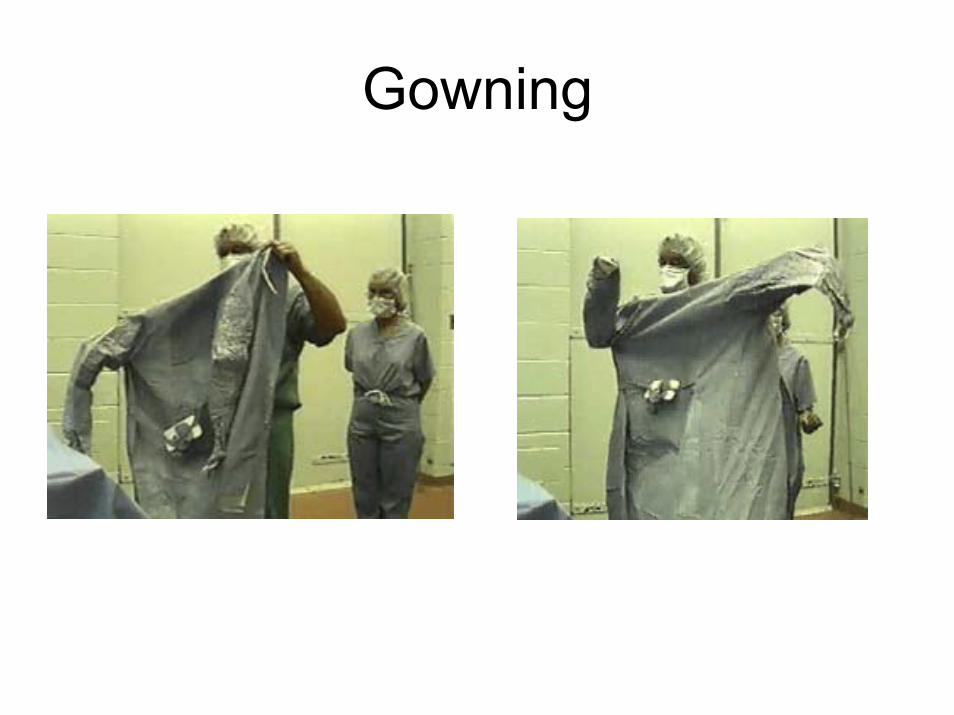
Gowning
Procedure
• Open gown• Placing hands and arms through the
sleeves. • If you are planning on closed gloving, do
not thrust hands through the cuffs. • Manipulate gown to above your shoulders• Someone will tie
Gowning

Tying gown

Closed gloving
• Proceed with closed gloving before the fastening of the final outside tie.
• Closed gloving is performed after the surgeon has donned his/her gown, but BEFORE the surgeon pulls his/her hands through the cuffs of the gown
• Approach the sterile table and open the glove packet with your hands inside the gown about the cuff

Closed gloving• Left hand (within the
gown) lifts the right glove by its cuff

Closed gloving• Right glove is laid on the
palm of the right hand (cuff to cuffwith the gown sleeve) with fingers of the glove pointing toward the elbow and the thumb of the glove positioned on top of the surgeon's covered right thumb

Closed gloving
• The inside of the cuff of the glove is grasped by the right hand (still within the gown)

Closed gloving
• The left hand folds the cuff of the glove over the back of the right hand.
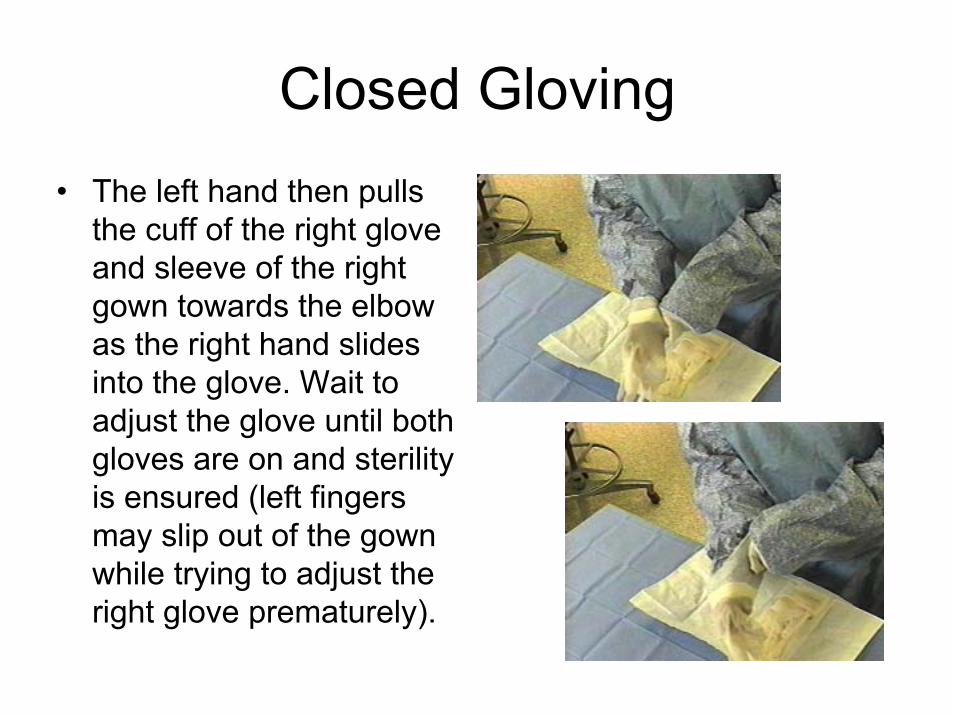
Closed Gloving• The left hand then pulls
the cuff of the right glove and sleeve of the right gown towards the elbow as the right hand slides into the glove. Wait to adjust the glove until both gloves are on and sterility is ensured (left fingers may slip out of the gown while trying to adjust the right glove prematurely).
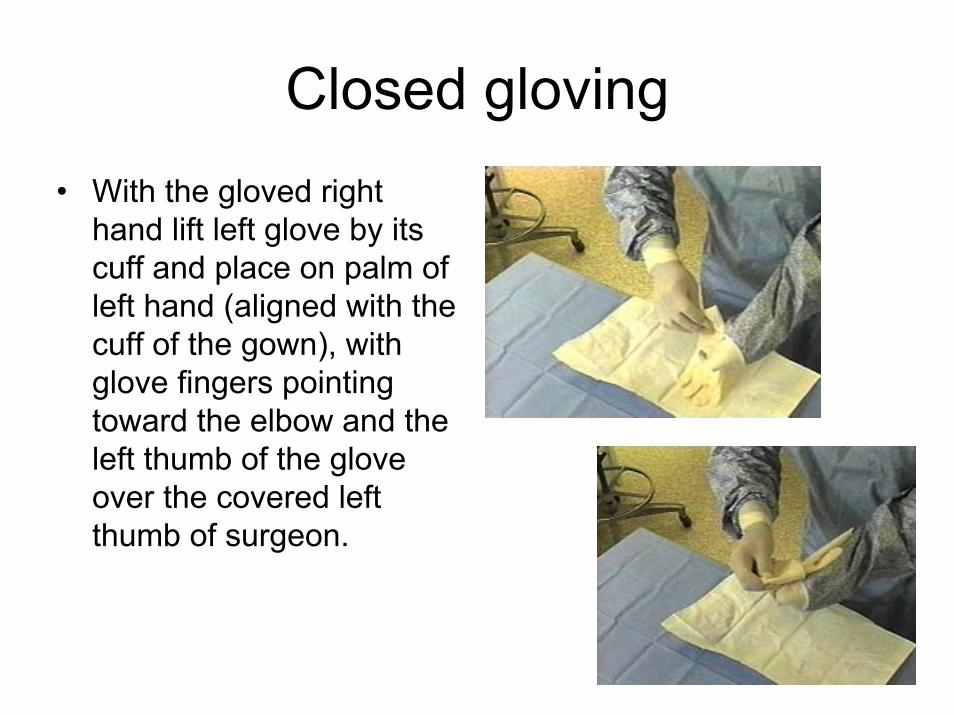
Closed gloving• With the gloved right
hand lift left glove by its cuff and place on palm of left hand (aligned with the cuff of the gown), with glove fingers pointing toward the elbow and the left thumb of the glove over the covered left thumb of surgeon.
Closed gloving
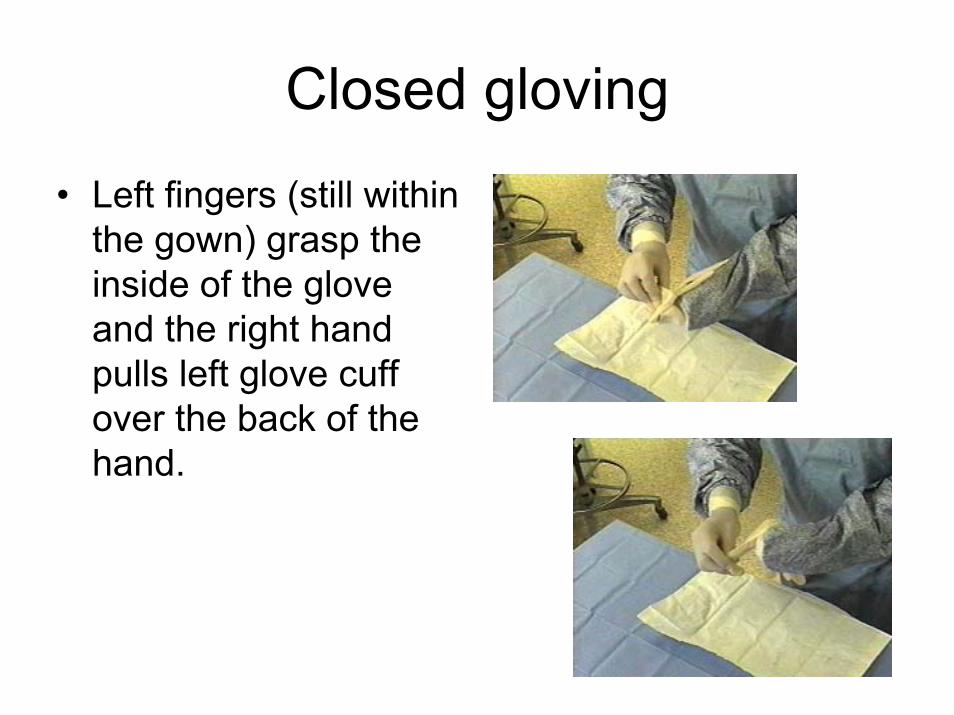
• Left fingers (still within the gown) grasp the inside of the glove and the right hand pulls left glove cuff over the back of the hand.

Closed gloving
• Pull the glove cuff and gown sleeve toward elbow as left hand slides into the glove

Closed gloving• Now that both gloves
are on, pull glove cuffs over gown sleeves and adjust gloves for comfort
• Proceed to put on second pair of gloves from sterile tray using open glove technique, as learned in MSI and II surgical skills lab

Precaution
• Surgical gloves prevent transmission of HIV through contact with blood, but there is always the possibility of accidental injury and of a glove being punctured. Promptly change a glove punctured during an operation and rinse your hand with antiseptic or re-scrub if the glove has leaked during the puncture. Patient safety is of primary concern; do not compromise it. Change your gloves only when it is safe for the patient.
http://www.steinergraphics.com/surgical/001_02.3A.html

Final tie
• Once the surgeon is gloved, the sterile left tie is grasped by the surgeon and the white tab is handed to an assistant

Closing outside tie

Closing final tie
• The assistant pulls the back tie around the surgeon using the white tab.
• The surgeon grasps the right tie from the white tab (not touching the now contaminated white tab) and right and left are tied together.

Closing final tie