Automating Automating Analyses with Analyses with ModelBuilderModelBuilder

OverviewOverview
Why Use ModelBuilder?Why Use ModelBuilder? ModelBuilder BasicsModelBuilder Basics Common ModelBuilder ProblemsCommon ModelBuilder Problems Advanced ModelBuilder Advanced ModelBuilder

Why Use ModelBuilder?Why Use ModelBuilder? An automation tool…An automation tool… But comes with some startup overheadBut comes with some startup overhead Most useful in two circumstancesMost useful in two circumstances
Documents models & their parameterizationDocuments models & their parameterization Allows experimentation with model Allows experimentation with model
parameters – particularly for “weighting and parameters – particularly for “weighting and rating”rating”
Common Types of ModelsCommon Types of Models ETL – Extract, transform and convert raw ETL – Extract, transform and convert raw
datadata Suitability – Building attractiveness mapsSuitability – Building attractiveness maps

ModelBuilder BasicsModelBuilder Basics Basic idea is that of a “dependency Basic idea is that of a “dependency
diagram”diagram” User specifies inputs, processing and outputsUser specifies inputs, processing and outputs If inputs change, system repeats intermediate If inputs change, system repeats intermediate
operations as neededoperations as needed Diagram has three kinds of elementsDiagram has three kinds of elements
InputsInputs Geoprocessing OperationsGeoprocessing Operations OutputsOutputs
Output from one operation can be used as Output from one operation can be used as input to an other, allowing “chaining”input to an other, allowing “chaining”

ModelBuilder SetupModelBuilder Setup Rather obscure to start…implemented as Rather obscure to start…implemented as
a custom toolbox toola custom toolbox tool Open toolbox panelOpen toolbox panel Create empty toolboxCreate empty toolbox
Right mouse on Toolboxes, select New ToolboxRight mouse on Toolboxes, select New Toolbox Create empty modelCreate empty model
Right mouse on new Toolbox, select New ModelRight mouse on new Toolbox, select New Model Then populate model by drag and dropThen populate model by drag and drop
Of data layers from map table of contentsOf data layers from map table of contents Of geoprocessing operations from the toolboxOf geoprocessing operations from the toolbox
Finally, wire data and processing boxes Finally, wire data and processing boxes togethertogether
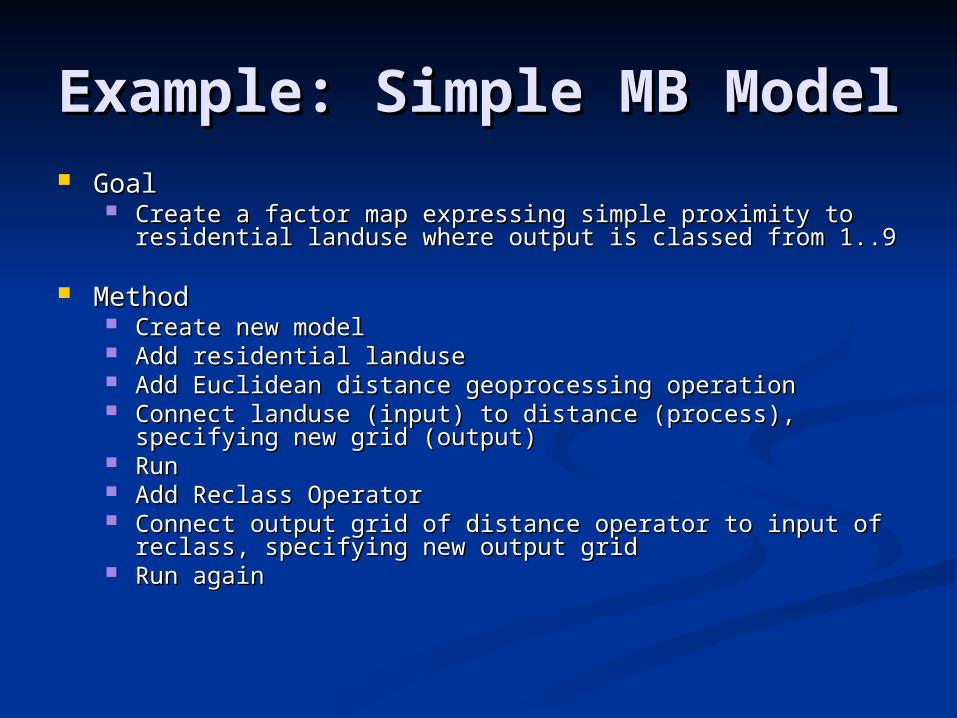
Example: Simple MB Example: Simple MB ModelModel
GoalGoal Create a factor map expressing simple proximity to residential Create a factor map expressing simple proximity to residential
landuse where output is classed from 1..9landuse where output is classed from 1..9
MethodMethod Create new modelCreate new model Add residential landuseAdd residential landuse Add Euclidean distance geoprocessing operationAdd Euclidean distance geoprocessing operation Connect landuse (input) to distance (process), specifying new Connect landuse (input) to distance (process), specifying new
grid (output)grid (output) RunRun Add Reclass OperatorAdd Reclass Operator Connect output grid of distance operator to input of reclass, Connect output grid of distance operator to input of reclass,
specifying new output gridspecifying new output grid Run againRun again

Review of Simple ModelReview of Simple Model BenefitsBenefits
Multiple logical steps encapsulated in a single stepMultiple logical steps encapsulated in a single step Model Logic Recorded in DiagramModel Logic Recorded in Diagram Model Parameters RecordedModel Parameters Recorded
Problems / CaveatsProblems / Caveats Default is not to show results…Default is not to show results… Model as Created is 100% specific to particular Model as Created is 100% specific to particular
data paths/locations on diskdata paths/locations on disk Model Saving Bizarre..Model Saving Bizarre.. Default operation names make no sense to end Default operation names make no sense to end
usersusers Spatial Analyst Toolbar Options do *not* inheritSpatial Analyst Toolbar Options do *not* inherit

Showing ResultsShowing Results
Simple, but not ObviousSimple, but not Obvious Right Mouse on Output -> Add to Right Mouse on Output -> Add to
DisplayDisplay If at first you don’t succeed, try toggling If at first you don’t succeed, try toggling
againagain

Saving / Finding ModelsSaving / Finding Models
By default, models saved in “My By default, models saved in “My Toolboxes” folderToolboxes” folder Main menu Tools->Options->My Main menu Tools->Options->My
ToolboxesToolboxes Default is C:\Documents and Settings\Default is C:\Documents and Settings\
(Username) \Application Data\ESRI\(Username) \Application Data\ESRI\ArcToolbox\My ToolboxesArcToolbox\My Toolboxes
Easiest to find in ArcCatalog/My Easiest to find in ArcCatalog/My ToolboxesToolboxes
Can “Add Toolbox” stored on diskCan “Add Toolbox” stored on disk

Making Models Making Models GeneralizableGeneralizable
Running ModelsRunning Models Can Double Click on Models in Toolbox PanelCan Double Click on Models in Toolbox Panel By default, not too useful, because no user control By default, not too useful, because no user control
of outputsof outputs
Generalizing ModelsGeneralizing Models By default, models only use exact data originally By default, models only use exact data originally
specifiedspecified To make a model into a true “tool” need to specify To make a model into a true “tool” need to specify
which inputs / outputs are variable parameterswhich inputs / outputs are variable parameters Right mouse on input or outputRight mouse on input or output Select “Parameter” (toggle)Select “Parameter” (toggle)
After Parameters are set, double clicking brings After Parameters are set, double clicking brings up user dialogup user dialog

Making MB Diagrams Making MB Diagrams LegibleLegible
All elements can be “renamed” from All elements can be “renamed” from right mouse menuright mouse menu Rename layers if necessary to clarifyRename layers if necessary to clarify Explain intent of geoprocessing operationsExplain intent of geoprocessing operations
i.e. Isolate Residential Landuse instead of i.e. Isolate Residential Landuse instead of reclass1reclass1
If Desired, change diagram propertiesIf Desired, change diagram properties Square – Circle – SquareSquare – Circle – Square Box Background ColorsBox Background Colors If you need better quality, export If you need better quality, export
diagram…diagram…

Environment Variables in Environment Variables in MBMB
NoteNote Spatial Analyst “Options” settings not Spatial Analyst “Options” settings not
inheritedinherited Must explicitly specify for MBMust explicitly specify for MB Two optionsTwo options
Can do once for all toolboxes (recommended)Can do once for all toolboxes (recommended) RM Top Toolbox->Environment SettingsRM Top Toolbox->Environment Settings
General Settings -> ExtentGeneral Settings -> Extent Raster Analysis Settings -> Cell SizeRaster Analysis Settings -> Cell Size
Can do once for each modelCan do once for each model
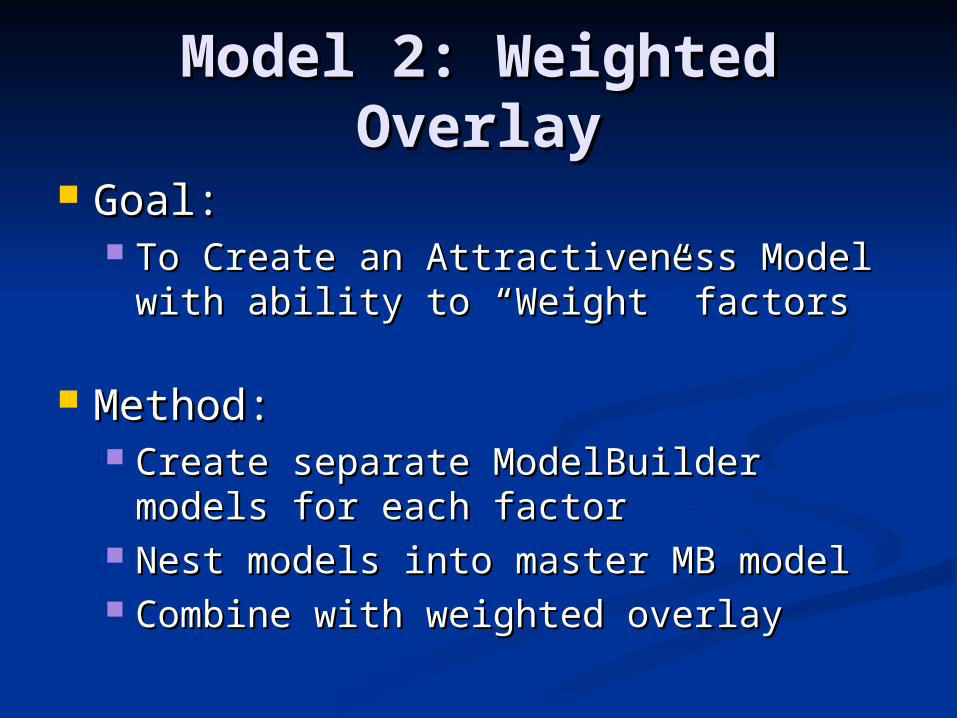
Model 2: Weighted Model 2: Weighted OverlayOverlay
Goal:Goal: To Create an Attractiveness Model with To Create an Attractiveness Model with
ability to “Weight” factorsability to “Weight” factors
Method:Method: Create separate ModelBuilder models Create separate ModelBuilder models
for each factorfor each factor Nest models into master MB modelNest models into master MB model Combine with weighted overlayCombine with weighted overlay

Model 2 ImplementationModel 2 Implementation
Factor 1: Proximity to ResidentialFactor 1: Proximity to Residential Factor 2: Proximity to Job CentersFactor 2: Proximity to Job Centers
Created by copying and pasting factor 1 Created by copying and pasting factor 1 model and adjusting inputs and outputsmodel and adjusting inputs and outputs
Weighting Weighting Factor 1 = 2X Factor 2Factor 1 = 2X Factor 2 Use Spatial Analyst Weighted Overlay Use Spatial Analyst Weighted Overlay
tooltool

Weighted OverlayWeighted Overlay
FunctionFunction Takes any number of uniformly scaled Takes any number of uniformly scaled
input (factor) gridsinput (factor) grids Outputs the arithmetically-weighted Outputs the arithmetically-weighted
average value at each grid cellaverage value at each grid cell Equal weights – similar to addition plus Equal weights – similar to addition plus
rescalerescale

NoData Treatment NoData Treatment in Weighted Overlayin Weighted Overlay
Any value averaged with NoData = Any value averaged with NoData = NoData,NoData, so must code “worst case” as some numberso must code “worst case” as some number For attractiveness, this would be value “9”For attractiveness, this would be value “9”
Make sure that areas beyond maximum distance Make sure that areas beyond maximum distance specified in distance operations is recoded to 9specified in distance operations is recoded to 9
Or, in Overlay window, be sure to recode Or, in Overlay window, be sure to recode NoData inputs to output a value of 9NoData inputs to output a value of 9

Weighted Overlay Weighted Overlay “Restricted” Category“Restricted” Category
Important and useful!Important and useful! Over-rides averaging behavior if any Over-rides averaging behavior if any
one factor is “too bad” (as you define one factor is “too bad” (as you define it)it)
Restricted output value can’t be Restricted output value can’t be specified = (range) – 1specified = (range) – 1
In case of 1..9 evaluation, becomes a 0In case of 1..9 evaluation, becomes a 0 Thus requires further reclass to of 0 to Thus requires further reclass to of 0 to
9 in order to maintain 1..9 range9 in order to maintain 1..9 range
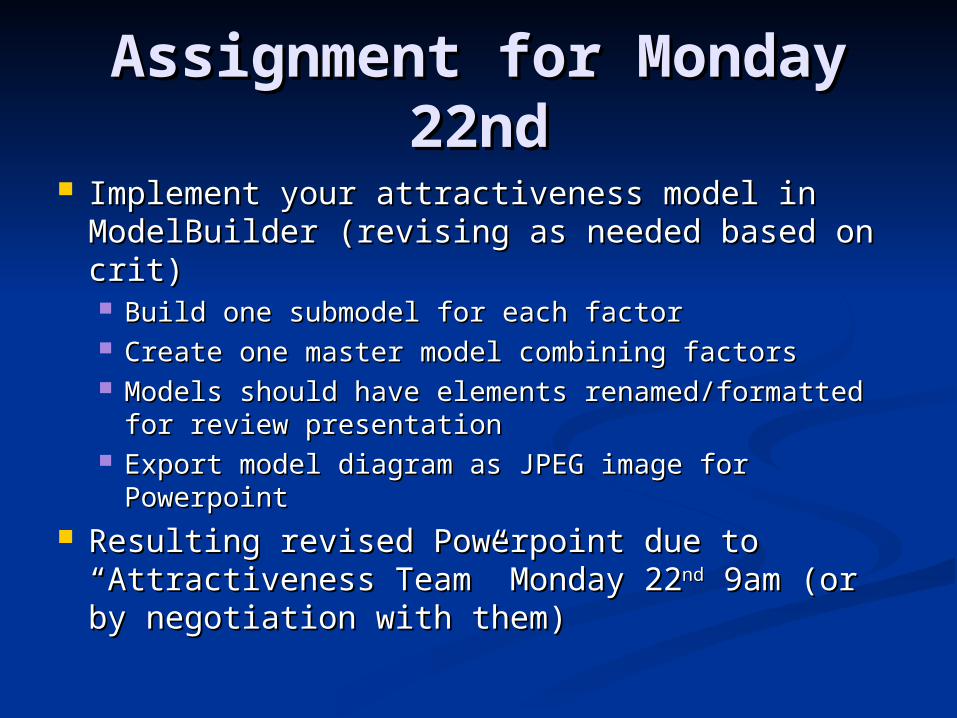
Assignment for Monday Assignment for Monday 22nd22nd
Implement your attractiveness model in Implement your attractiveness model in ModelBuilder (revising as needed based on ModelBuilder (revising as needed based on crit)crit) Build one submodel for each factorBuild one submodel for each factor Create one master model combining factorsCreate one master model combining factors Models should have elements renamed/formatted for Models should have elements renamed/formatted for
review presentationreview presentation Export model diagram as JPEG image for PowerpointExport model diagram as JPEG image for Powerpoint
Resulting revised Powerpoint due to Resulting revised Powerpoint due to “Attractiveness Team” Monday 22“Attractiveness Team” Monday 22ndnd 9am (or by 9am (or by negotiation with them)negotiation with them)

Midreview PrepMidreview Prep
Nov 1 & 2ndNov 1 & 2nd

Midreview ScheduleMidreview Schedule Two Morning SessionsTwo Morning Sessions
Thursday November 1Thursday November 1 9 – 9:45 Study Introduction, Visit & Base GIS 9 – 9:45 Study Introduction, Visit & Base GIS
OverviewOverview 9:45 – 10:15 Accessibility Analysis for Albacete9:45 – 10:15 Accessibility Analysis for Albacete 10:15 – 10:30 Coffee Break10:15 – 10:30 Coffee Break 10:30 – 12 Presentation of Scenarios10:30 – 12 Presentation of Scenarios
Friday November 2Friday November 2 9 – 10:30 Presentation of Attractiveness Models9 – 10:30 Presentation of Attractiveness Models 10:30 – 10:45 Coffee Break10:30 – 10:45 Coffee Break 10:45 – 11:30 Review of related PhD project work10:45 – 11:30 Review of related PhD project work 11:30 – 12 Summary with Reviewer Comments11:30 – 12 Summary with Reviewer Comments

Midreview LogisticsMidreview Logistics
All students expected to present one topicAll students expected to present one topic Could be Thurs or FridayCould be Thurs or Friday
Logistics issue: sensible presentation Logistics issue: sensible presentation dictates topic order, but some students can’t dictates topic order, but some students can’t stay Thursday must present Fridaystay Thursday must present Friday Therefore, will need some content swapsTherefore, will need some content swaps
Need one student team to “produce” each Need one student team to “produce” each module (based on content generated in part module (based on content generated in part by others)by others)

Production/Presentation Production/Presentation TeamsTeams
Intro / Study Visit / Base GIS TeamIntro / Study Visit / Base GIS Team Accessibility TeamAccessibility Team Scenario TeamScenario Team Attractiveness TeamAttractiveness Team
Team Assignment for Team Assignment for Thursday 25thThursday 25th
Inventory already-produced materials in sectionInventory already-produced materials in section Outline module presentation order and Outline module presentation order and
presenterspresenters Assign clean-up and production tasks as neededAssign clean-up and production tasks as needed
Thursday will be “production day”Thursday will be “production day” Review outlines with Stephen & IReview outlines with Stephen & I Gather materials from others, or schedule handoffs Gather materials from others, or schedule handoffs
for Friday, etc.for Friday, etc. Produce base maps, explanatory introduction to Produce base maps, explanatory introduction to
section slides, etc.section slides, etc.