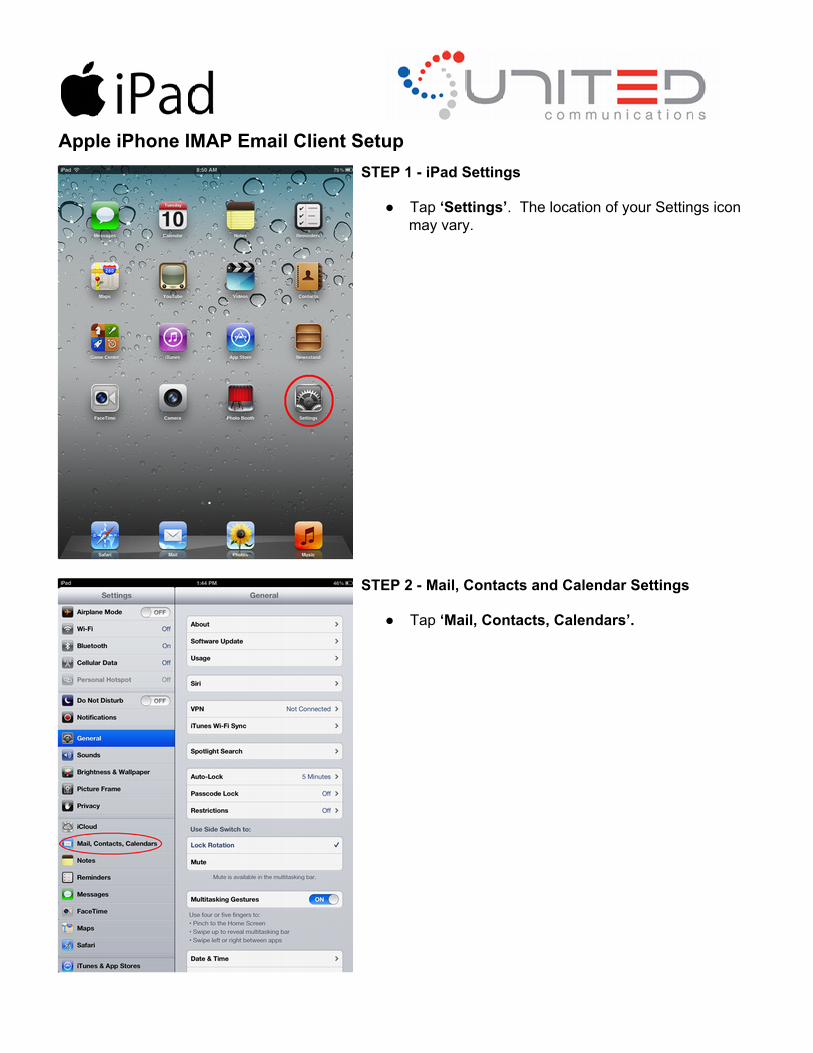
Apple iPhone IMAP Email Client SetupSTEP 1 - iPad Settings
● Tap ‘Settings’. The location of your Settings iconmay vary.
STEP 2 - Mail, Contacts and Calendar Settings
● Tap ‘Mail, Contacts, Calendars’.

STEP 3 - Add New Account
● Tap ‘Add Account’.
STEP 4 - Select Account Type
● When opening the mail application for the first timeyou should be greeted by the screen below. Select‘Other’.

STEP 5 - Add Mail Account
● Select ‘Add Mail Account’.
STEP 6 - Account User Credentials
● You will be prompted to select POP or IMAP. SelectIMAP.
● In Name, enter your name (or the real nameassociated with the email account)
● In Email, enter your full email address:[email protected]
● In Description, enter a description of the account (e.g.Home Email, etc.)

STEP 7 - Incoming Server Settings
● In Host Name (Incoming Server), enter:mail.united.net
● In User Name, enter your full email address:[email protected]
● In Password, enter your password● Tap Save
STEP 8 - Outgoing Server Settings
● In Host Name (Outgoing Server), enter:mail.united.net
● In User Name, enter your full email address:[email protected]
● In Password, enter your password● Tap Save

NOTE:
If the following message appears, select ‘Yes’ , then select‘Continue’ as we do not require SSL. If there is another errorconcerning verifying identity, select ‘Continue’
NOTE:
If there is another error concerning verifying identity, select‘Continue’
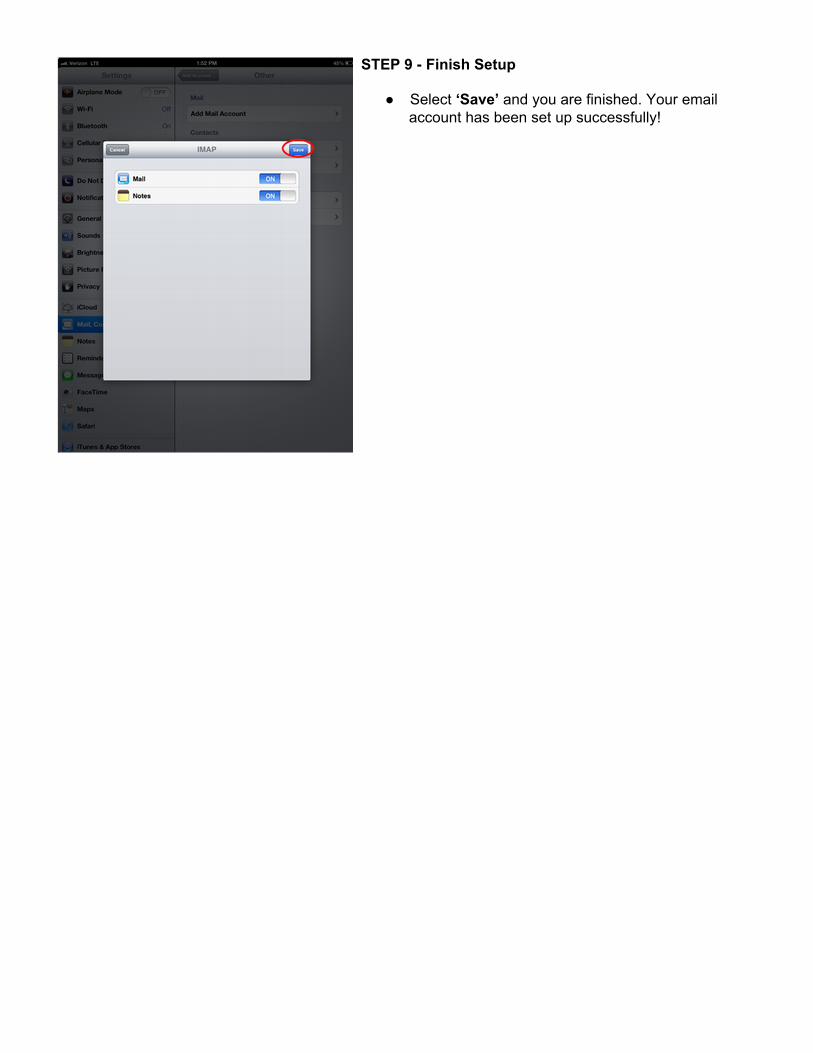
STEP 9 - Finish Setup
● Select ‘Save’ and you are finished. Your emailaccount has been set up successfully!