The Water Cycle

Welcome message from author
This document is posted to help you gain knowledge. Please leave a comment to let me know what you think about it! Share it to your friends and learn new things together.
Transcript
The Water Cycle
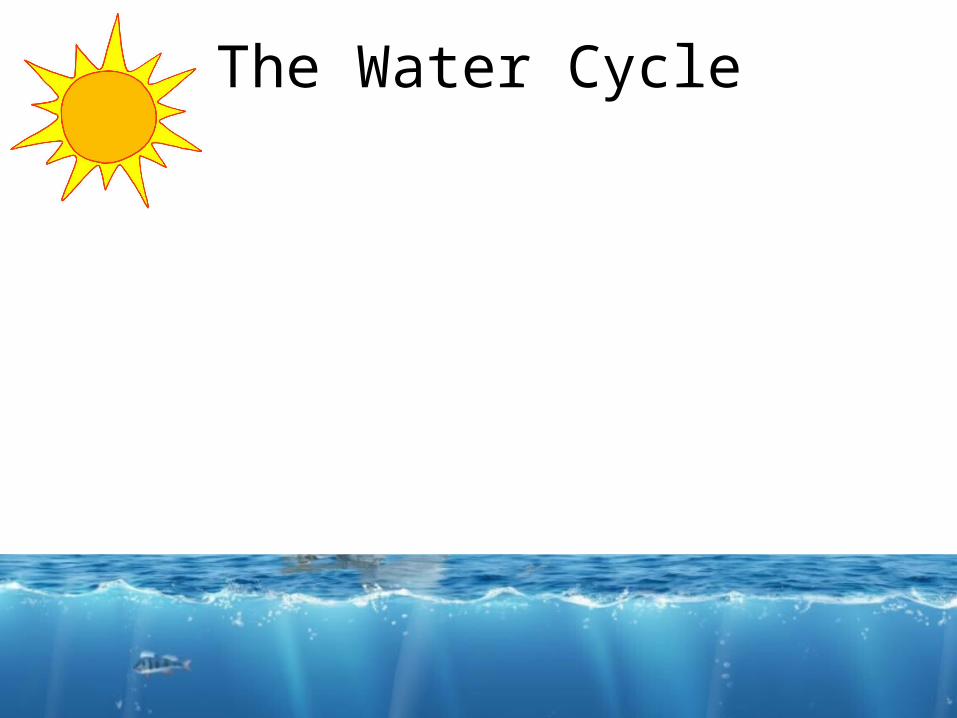
The Water Cycle
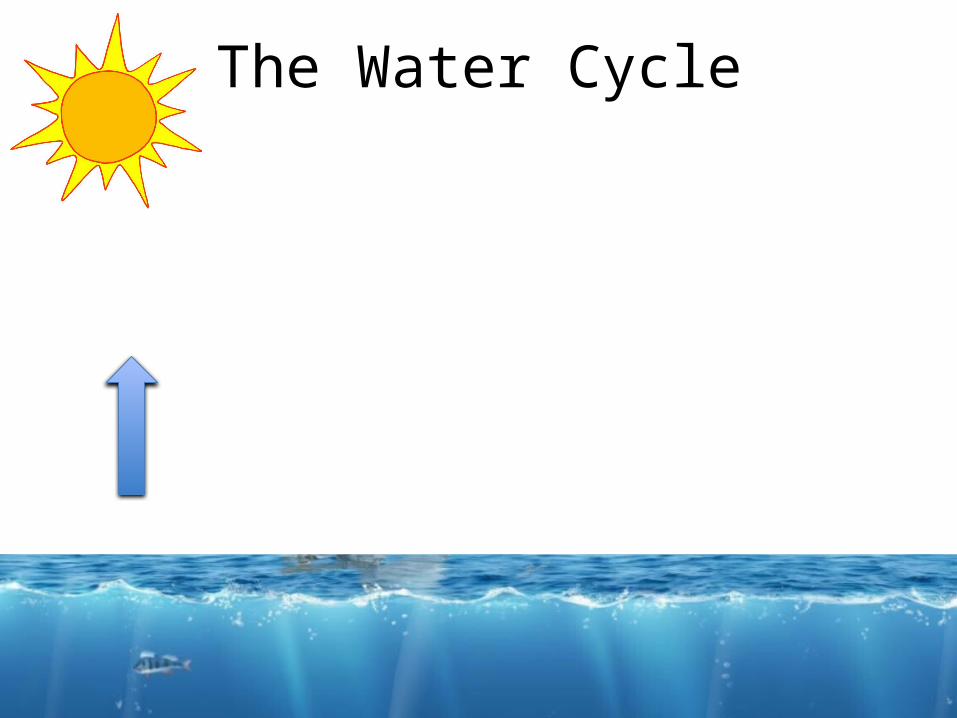
The Water Cycle
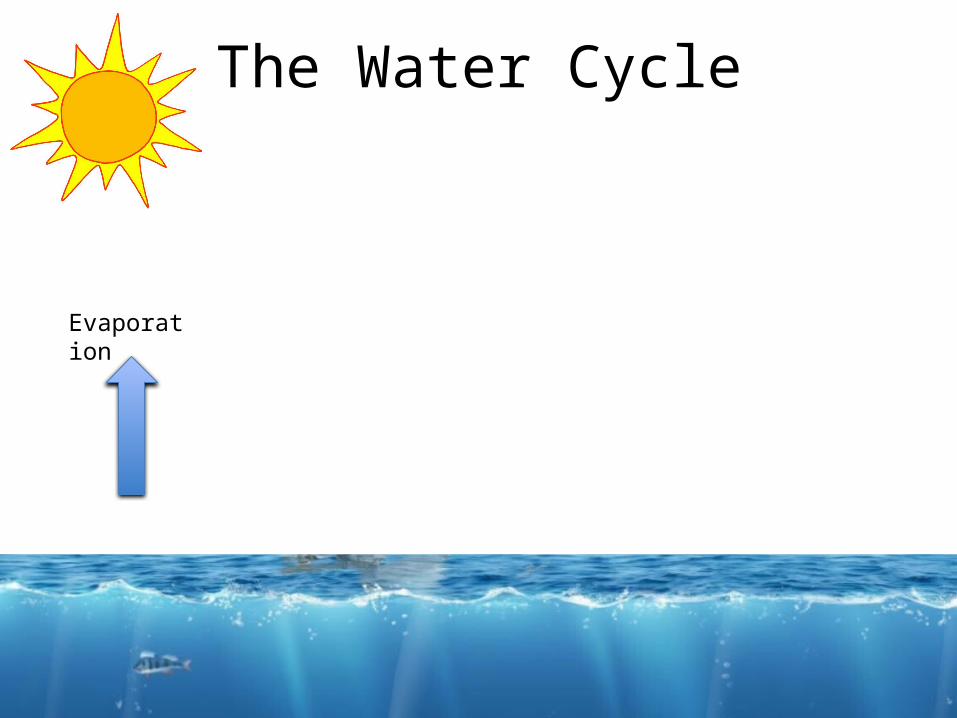
The Water Cycle
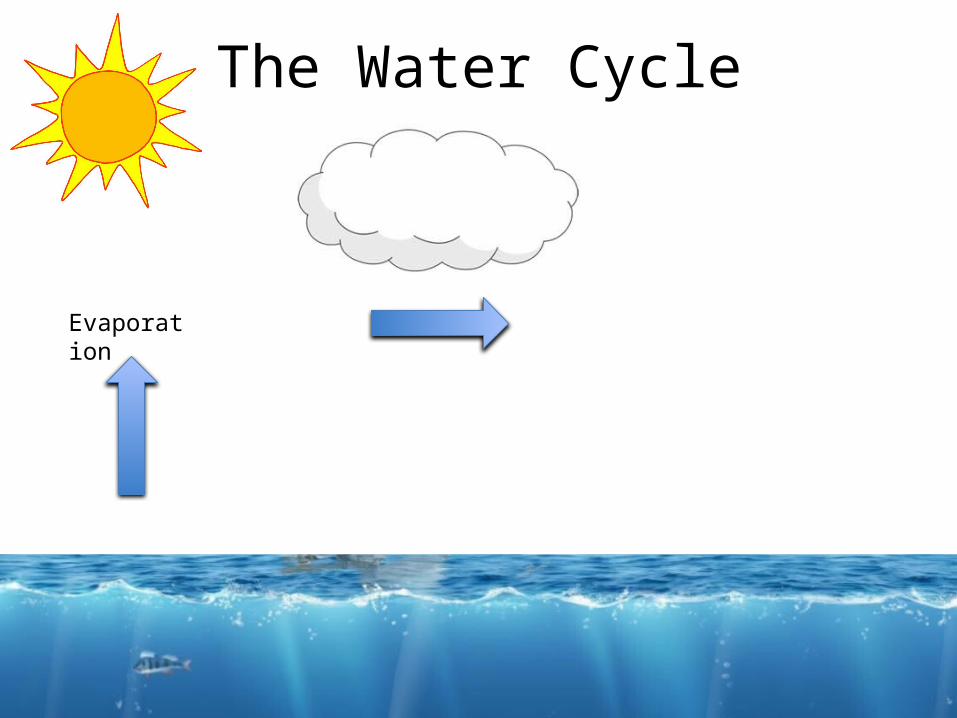
Evaporation
The Water Cycle
Evaporation
The Water Cycle
Evaporation
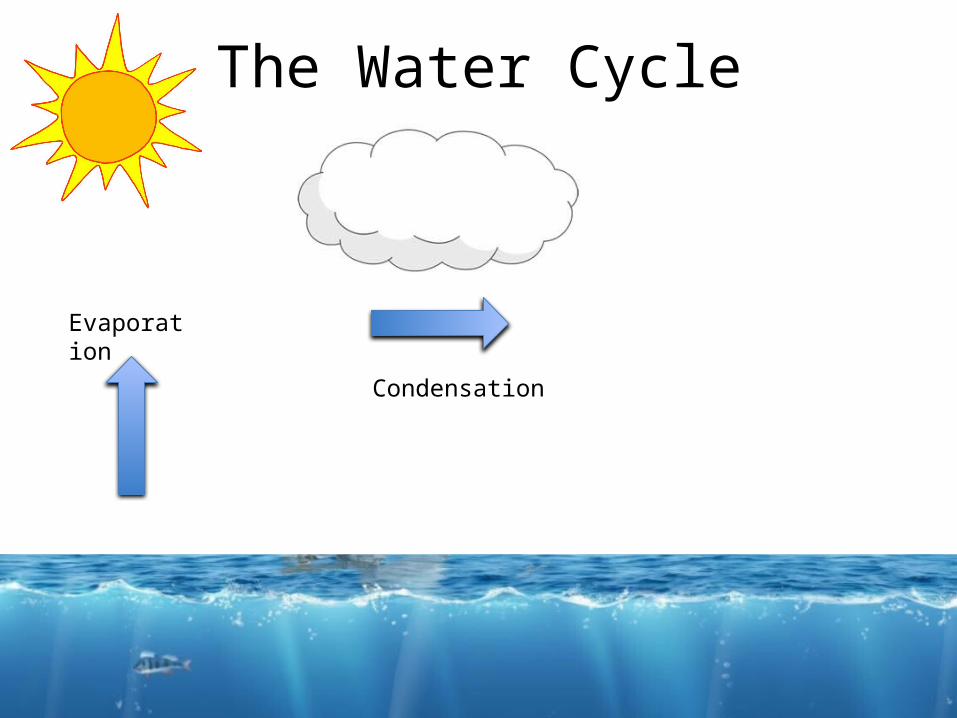
Condensation
The Water Cycle
Evaporation
Condensation
The Water Cycle
Evaporation
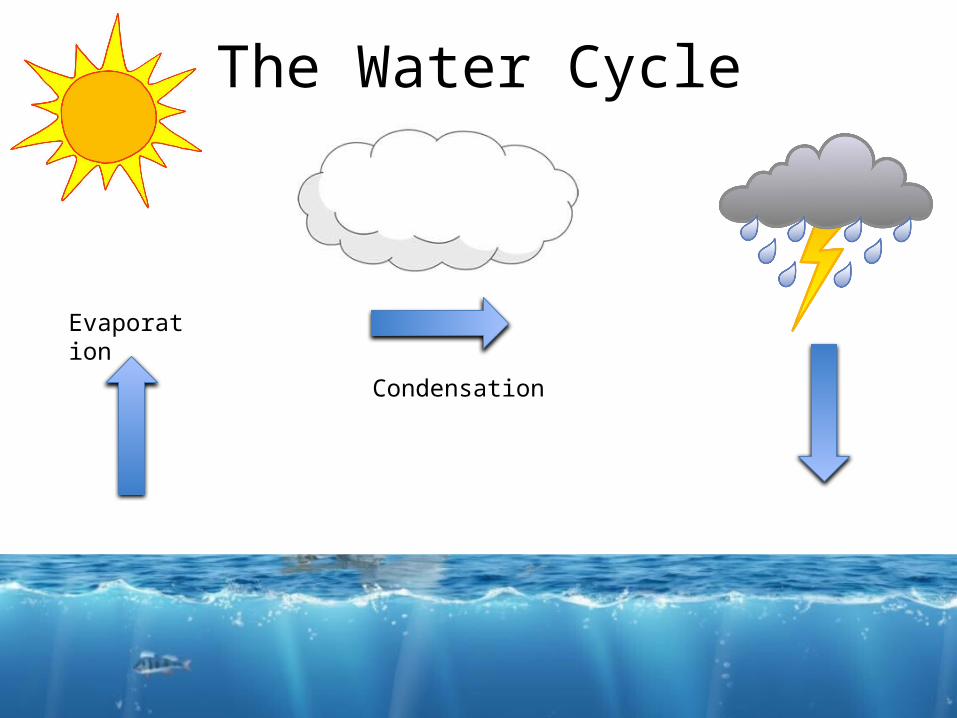
Condensation
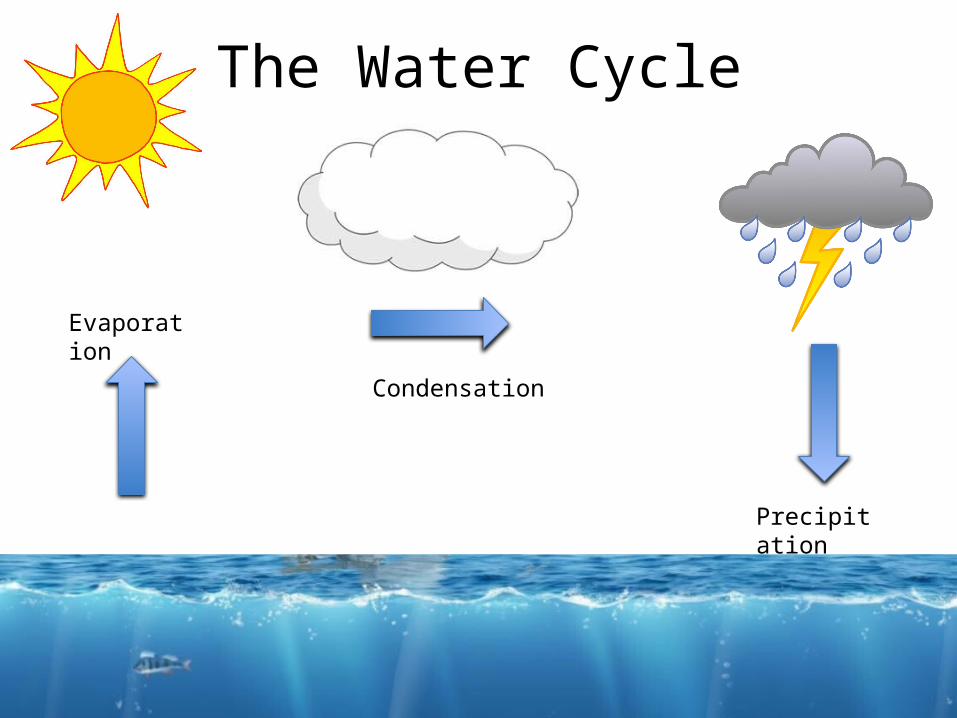
Precipitation
This slideshow presentation would be used as part of a lesson that introduces younger grades (1st or 2nd) to the water cycle. (Older grades will learn about more complex components of the water cycle – but for the introduction, these are the basics.)
The teacher would use this presentation as a supplement to the lesson, and will elaborate upon each concept as it is shown in the presentation. To further explain each concept, the teacher should lead the students in activities that demonstrate each concept. For example, to demonstrate evaporation, the teacher can swipe a damp sponge across students’ desk, and they can observe how, a few seconds later, the water is gone. (The teacher can also explain other examples – puddles disappearing, spilled soda on the couch drying, etc.) The teacher can use an iced beverage in a cup to elaborate upon condensation, and talk to the students about rain, snow, hail, etc. to be sure they understand the concept of precipitation.
As a handout, the teacher can give students a copy of the final slide of the presentation (Slide #8), and can make a larger version of the final slide to hang in the classroom.
Related Documents