Spanish Rebus Story Type your name and class period here: by: period: Title:

Spanish Rebus Story Type your name and class period here: by: period: Title:
Dec 21, 2015
Welcome message from author
This document is posted to help you gain knowledge. Please leave a comment to let me know what you think about it! Share it to your friends and learn new things together.
Transcript

Spanish Rebus Story
Type your name and class period here:by:
period:
Title:

• Main character• Type a sentence below in Spanish to introduce your character using “Hay un…” or “Hay una…”•
• Description: alto / bajo / alta / baja • Type a sentence below in Spanish describing your character using “El ____es ___.” or “La _____es ____.”
•
• Is s/he… sitting? standing? jumping? walking?• Where is s/he?_______________________________________• Type a sentence below in Spanish that tells what s/he is doing and where:
•
Use the directions on the handout to type out the rest of your story (lines 4, 5, 6):

Put it into pictures
Move the clip art around on the next slide to make your story into a rebus (a picture story).
Copy and paste the pictures and text boxes you need to use more than once.
Delete the ones you are not using. Match the story you wrote out on slides 2 and 3. Your rebus (picture story) goes on the next slide…
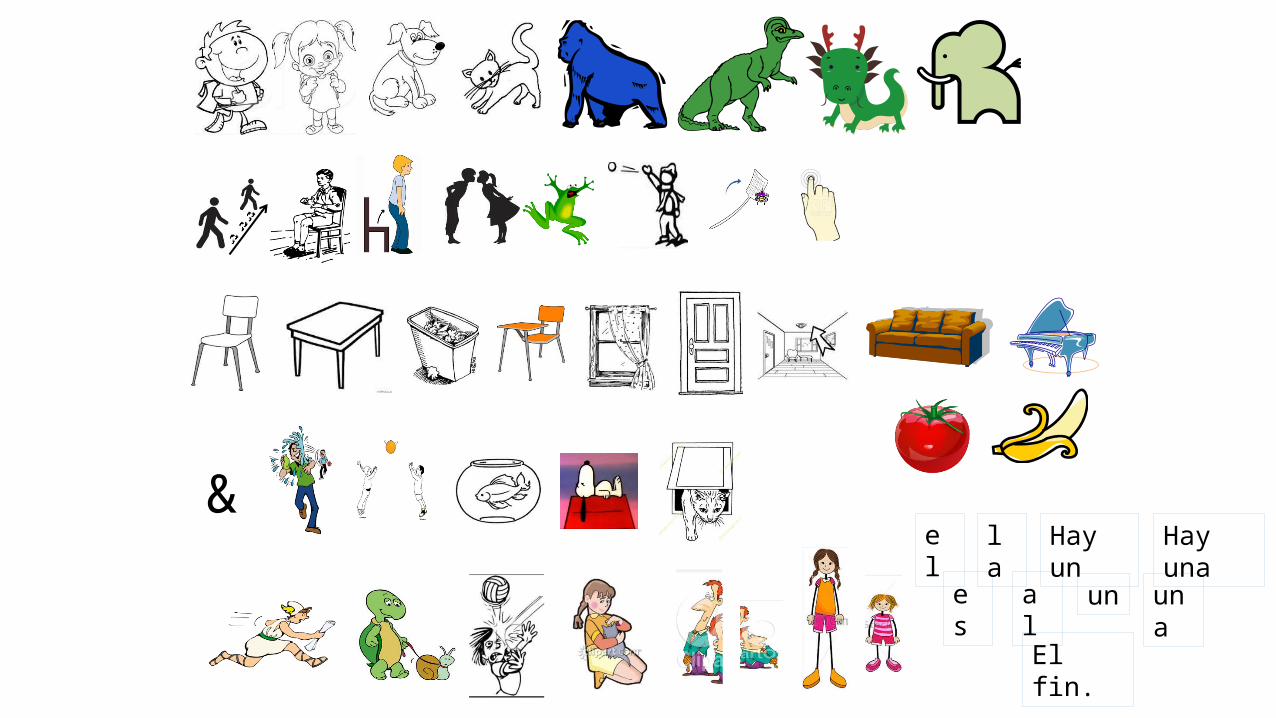
&el la Hay un Hay una
es al un una
El fin.

Write out what your story means in English.
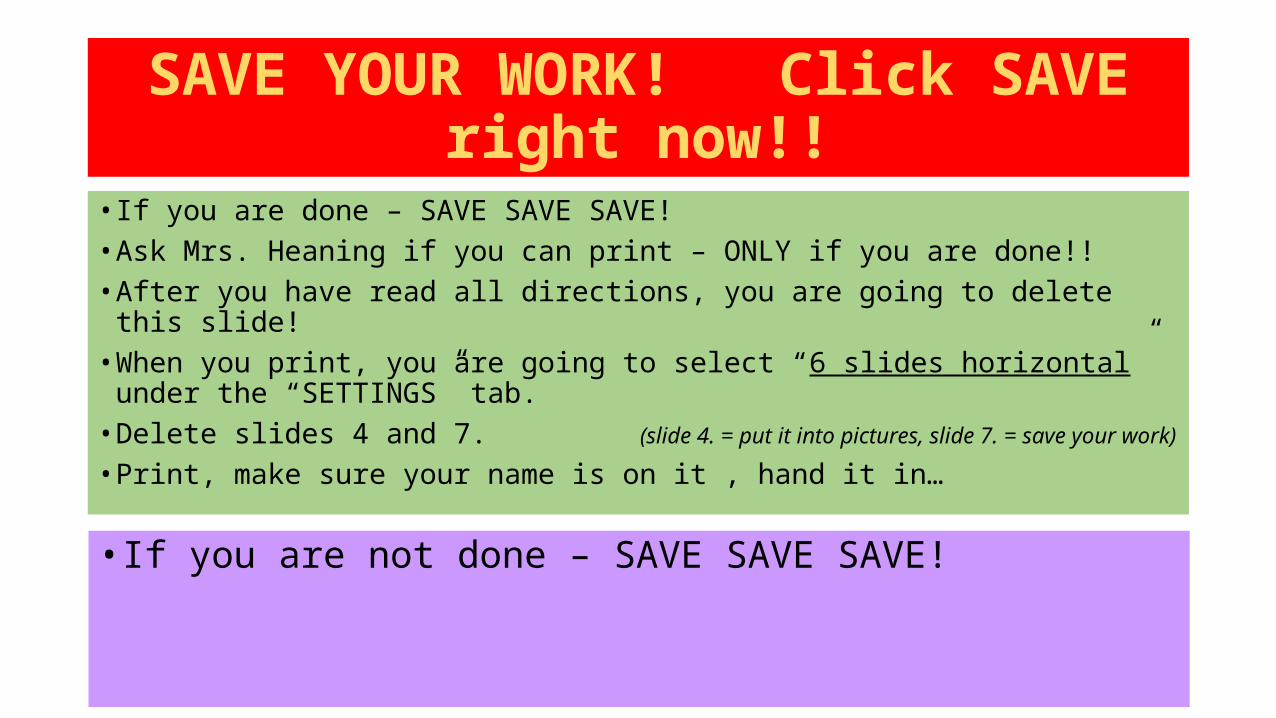
SAVE YOUR WORK! Click SAVE right now!!
• If you are done – SAVE SAVE SAVE!• Ask Mrs. Heaning if you can print – ONLY if you are done!!• After you have read all directions, you are going to delete this slide!• When you print, you are going to select “6 slides horizontal” under the
“SETTINGS” tab.• Delete slides 4 and 7. (slide 4. = put it into pictures, slide 7. = save your work)
• Print, make sure your name is on it , hand it in…
• If you are not done – SAVE SAVE SAVE!
Related Documents