Slot.it Audi R8C Snetterton This guide explains in details on how I have converted the Slot.it Audi R8C Slotcar from analog to SCX Digital. The problem to convert this car was that there is not enough space below the front lid to allow the arm from the chip „changing“ the lanes. I have tried different ways and finally found a solution which is working fine and it is a very good car on the SCX track. The motor is very fast but you can control it very good. I have so far not recognised any problems with compatibility or overheating chips. Hence I can only recommend to try as it is a totally different race experience. However I can not give any garantuee if something breaks ! more Pictures and details about the car can be found on the homepage from Slot.it This is an original picture made by myself BEFORE the conversion happened Now I explain step by step what you need and what I have done.

Welcome message from author
This document is posted to help you gain knowledge. Please leave a comment to let me know what you think about it! Share it to your friends and learn new things together.
Transcript
Slot.it Audi R8C SnettertonThis guide explains in details on how I have converted the Slot.it Audi R8C Slotcar from analog to SCX Digital.
The problem to convert this car was that there is not enough space below the front lid to allow the arm from the chip „changing“ the lanes.
I have tried different ways and finally found a solution which is working fine and it is a very good car on the SCX track.
The motor is very fast but you can control it very good. I have so far not recognised any problems with compatibility or overheating chips. Hence I can only recommend to try as it is a totally different race experience.
However I can not give any garantuee if something breaks !
more Pictures and details about the car can be found on the homepage from Slot.it
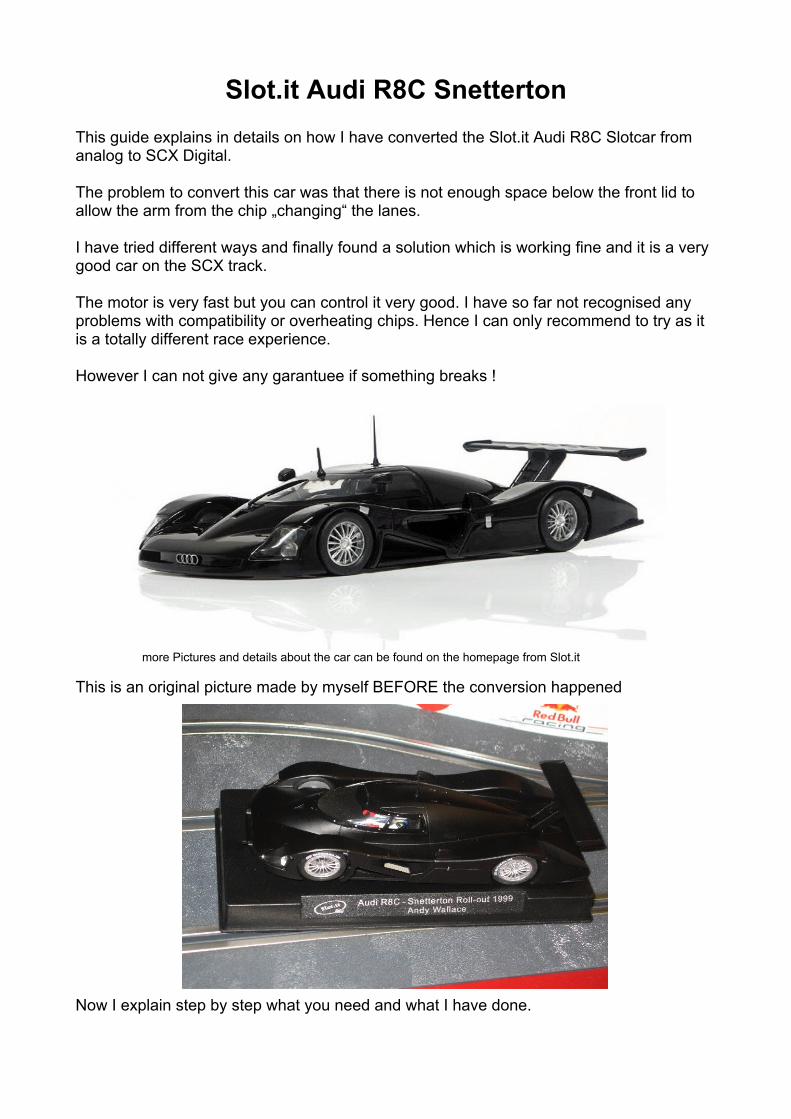
This is an original picture made by myself BEFORE the conversion happened
Now I explain step by step what you need and what I have done.
What do you need ?– a F1 guide from SCX Digital– a SCX Digital chip (the normal one)– soldering rod– a dremel (multifunctional rotary tool)– a hot glue gun– screwdriver– 2 mm, 2.5 mm and 3 mm drill– 2 original SCX Digital car body screws– and 60 min of your time
Guide and Chip preperationThe F1 guide is the only guide which is working and could be used with the car. However the whole of guide mount needs to be made bigger. Take the 3 mm drill with the dremel and make the hole bigger by moving the drill within the hole. But be very carefull, as you have to take only a little bit away.Advise: do it step by step and slowly make the hole bigger till the guide is matching.Furthermore there is a small Pin on the right side of the guide which you need to remove. This Pin is used for the F1 cars only to allow steering the front wheels
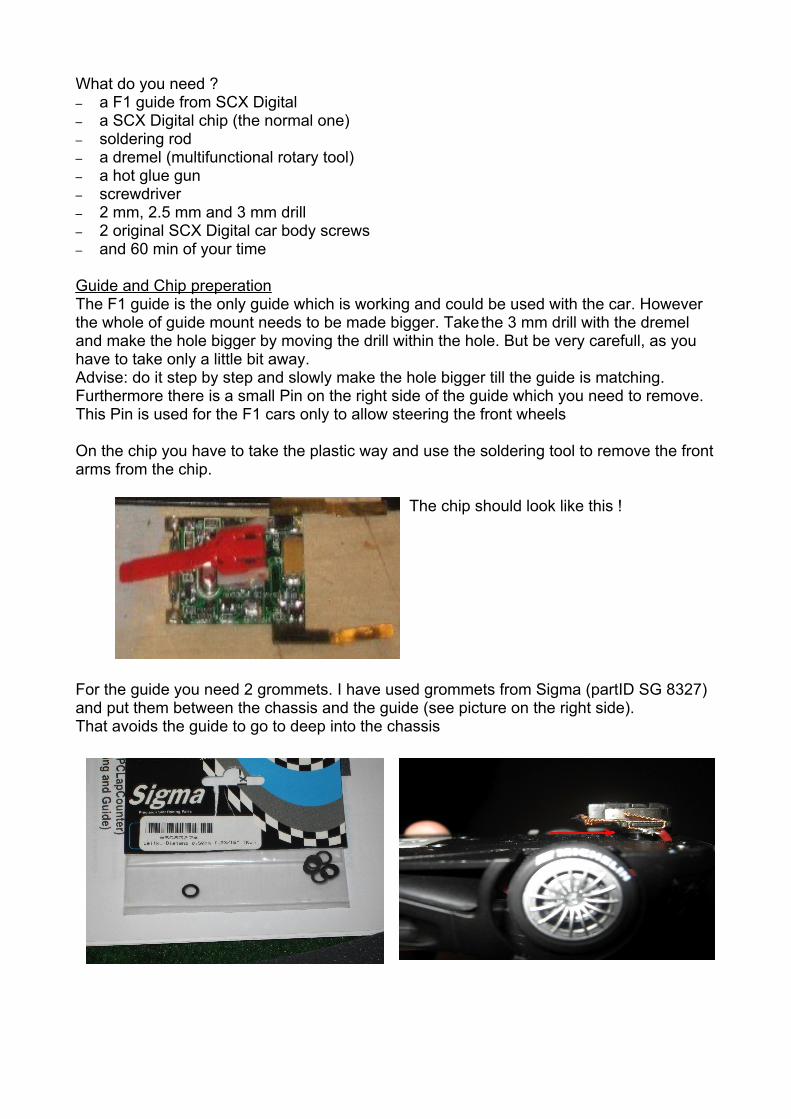
On the chip you have to take the plastic way and use the soldering tool to remove the front arms from the chip.
The chip should look like this !
For the guide you need 2 grommets. I have used grommets from Sigma (partID SG 8327) and put them between the chassis and the guide (see picture on the right side).That avoids the guide to go to deep into the chassis
Chassis and Car Body
In the chassis you have to use the dremel now to create space for the chip. The good thing with this solution is that the arm of the chip can work accross the axis and doesn´t require any changes.
The chassis could look like this
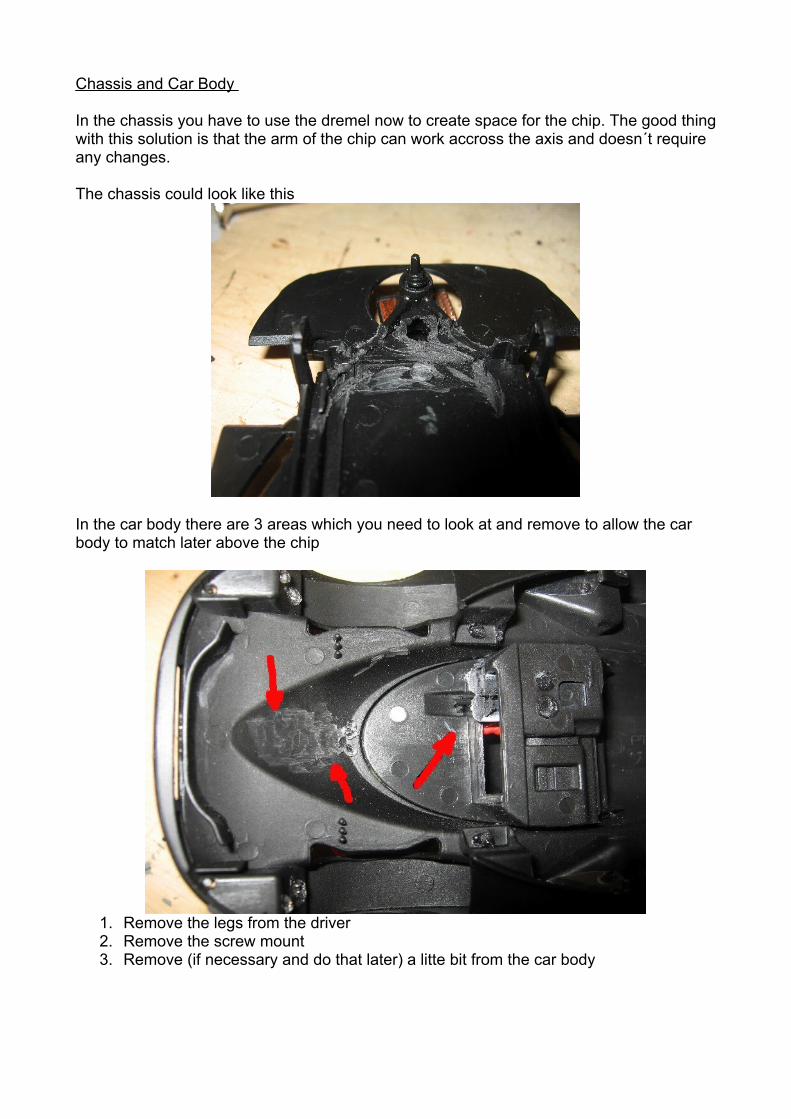
In the car body there are 3 areas which you need to look at and remove to allow the car body to match later above the chip
1. Remove the legs from the driver2. Remove the screw mount3. Remove (if necessary and do that later) a litte bit from the car body
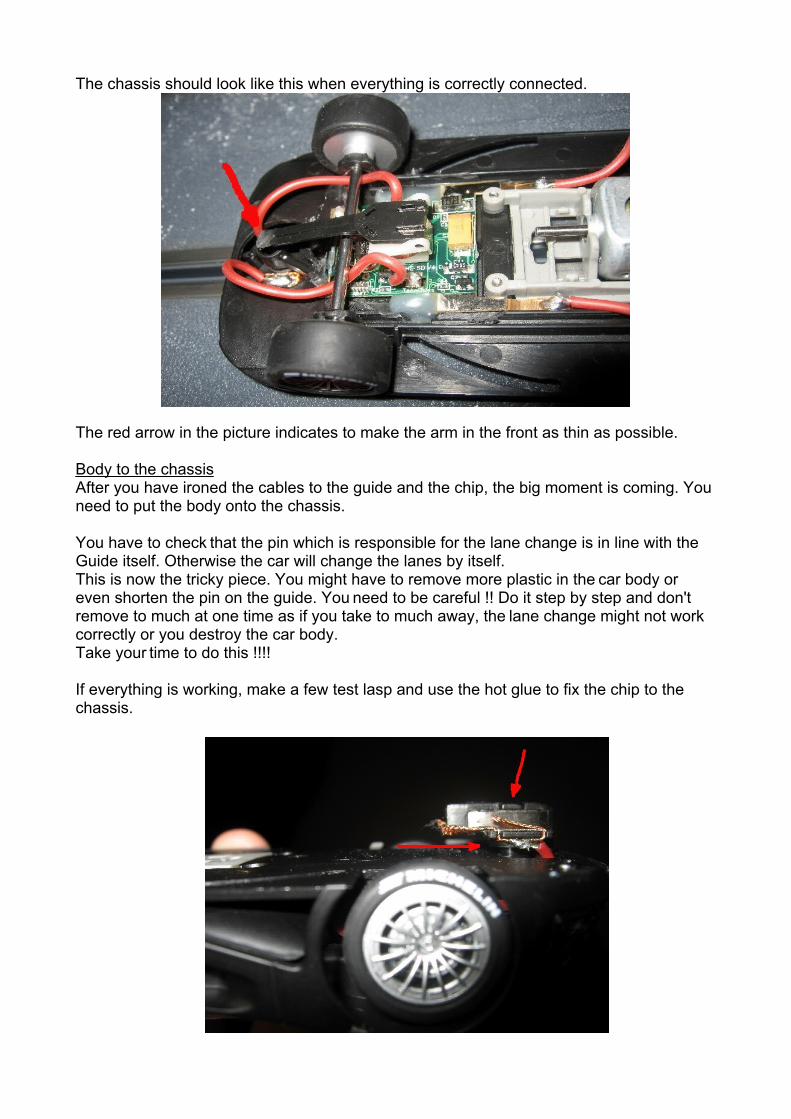
The chassis should look like this when everything is correctly connected.
The red arrow in the picture indicates to make the arm in the front as thin as possible.
Body to the chassisAfter you have ironed the cables to the guide and the chip, the big moment is coming. You need to put the body onto the chassis.
You have to check that the pin which is responsible for the lane change is in line with the Guide itself. Otherwise the car will change the lanes by itself.This is now the tricky piece. You might have to remove more plastic in the car body or even shorten the pin on the guide. You need to be careful !! Do it step by step and don't remove to much at one time as if you take to much away, the lane change might not work correctly or you destroy the car body.Take your time to do this !!!!
If everything is working, make a few test lasp and use the hot glue to fix the chip to the chassis.
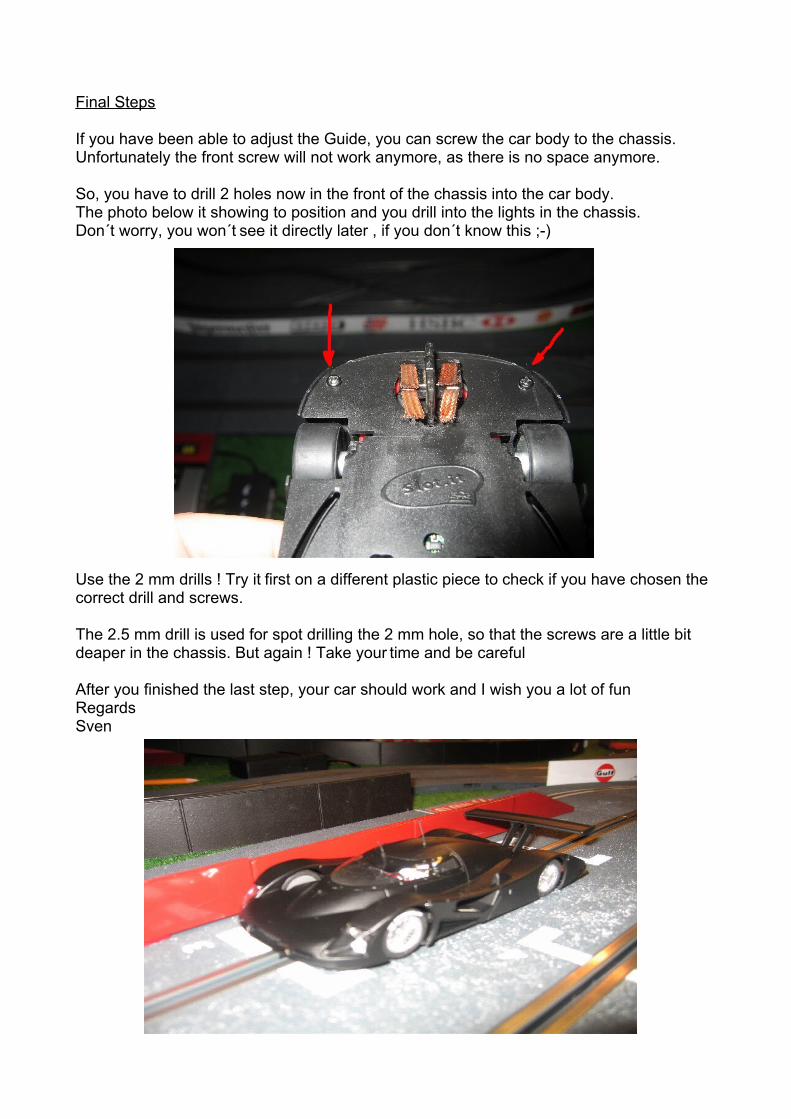
Final Steps
If you have been able to adjust the Guide, you can screw the car body to the chassis. Unfortunately the front screw will not work anymore, as there is no space anymore.
So, you have to drill 2 holes now in the front of the chassis into the car body.The photo below it showing to position and you drill into the lights in the chassis.Don´t worry, you won´t see it directly later , if you don´t know this ;-)
Use the 2 mm drills ! Try it first on a different plastic piece to check if you have chosen the correct drill and screws.
The 2.5 mm drill is used for spot drilling the 2 mm hole, so that the screws are a little bit deaper in the chassis. But again ! Take your time and be careful
After you finished the last step, your car should work and I wish you a lot of funRegardsSven
Related Documents