LP 12 1 Lesson Title 113- 012 Reprogram the DAGR and Maps Installation Lesson Number

LP 121 Lesson Title 113-012 Reprogram the DAGR and Maps Installation Lesson Number.
Dec 14, 2015
Welcome message from author
This document is posted to help you gain knowledge. Please leave a comment to let me know what you think about it! Share it to your friends and learn new things together.
Transcript
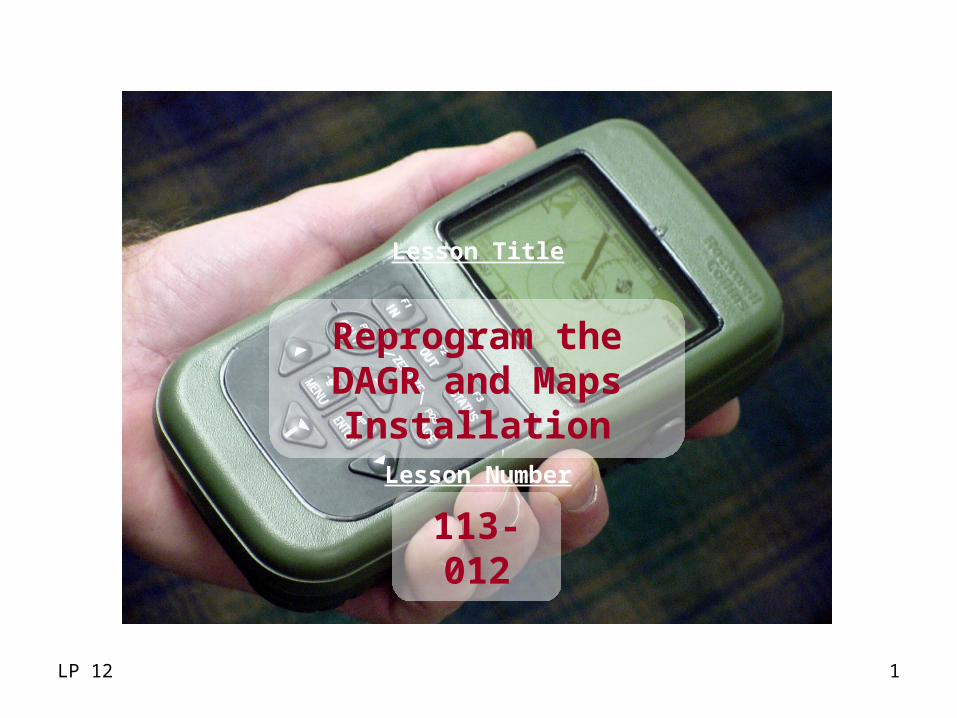
LP 12 1
Lesson Title
113-012
Reprogram the DAGR and Maps
InstallationLesson Number

LP 12 2
LESSON OBJECTIVES
• Reprogram and install maps into the DAGR receiver.– Boot-up Personal Computer – Equipment Connections– Loading Software– Verification– Self-test – Remove and Reset Hardware – Remove Reprogramming Software From PC
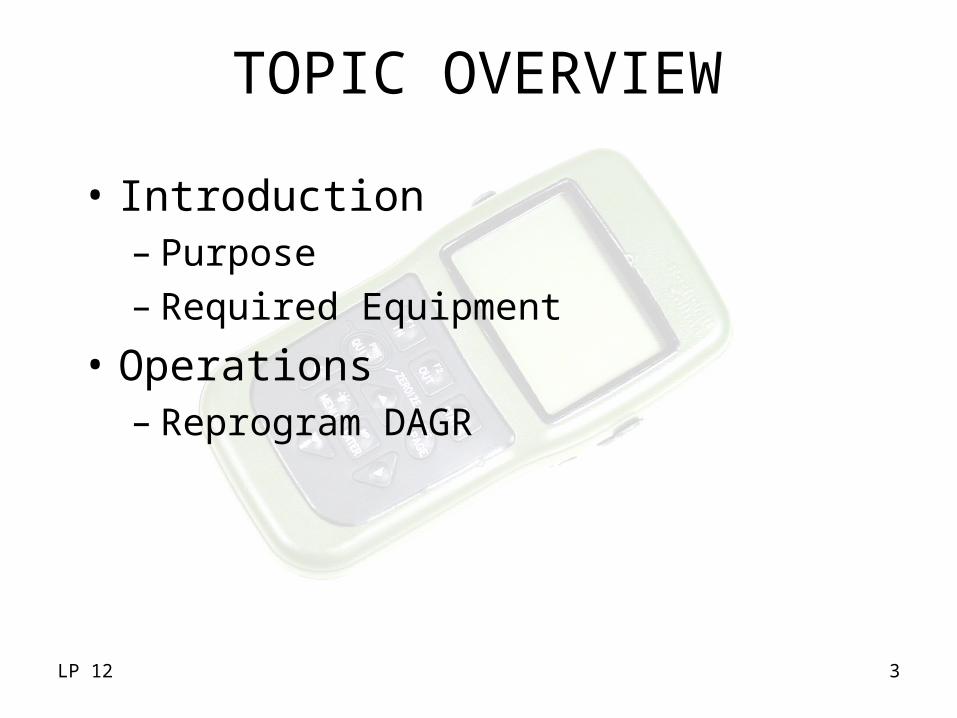
LP 12 3
TOPIC OVERVIEW
• Introduction– Purpose– Required Equipment
• Operations– Reprogram DAGR

LP 12 4
REPROGRAM THE DAGR
• Reprogramming the DAGR– All user and stored data is
erased• Waypoints• Routes• Satellite Almanac Data• User Setup Information
LP 12 5
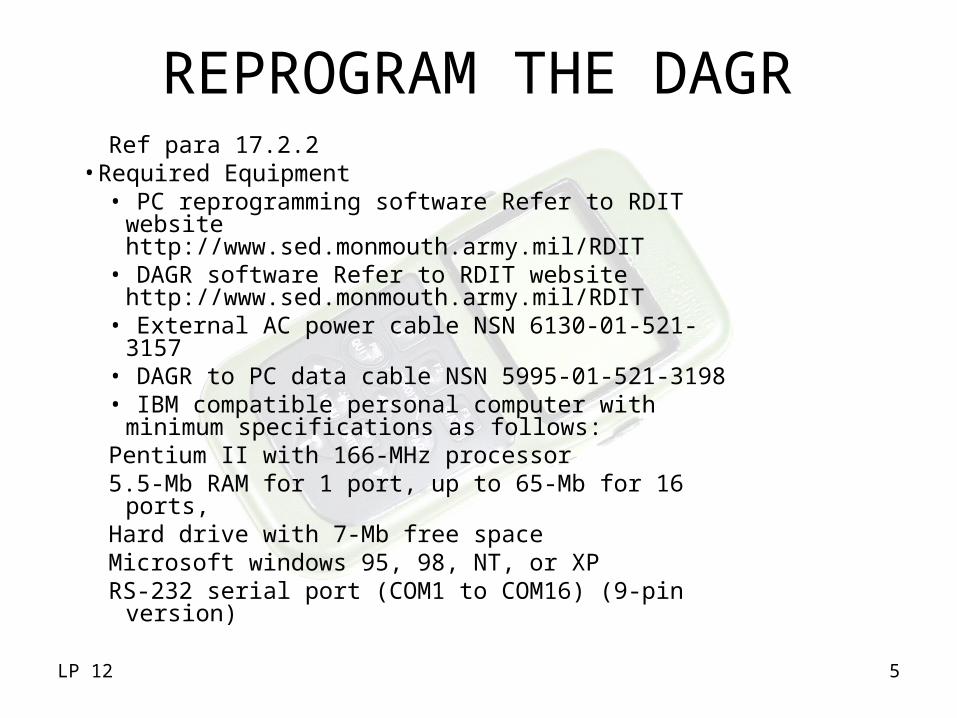
REPROGRAM THE DAGRRef para 17.2.2
• Required Equipment• PC reprogramming software Refer to RDIT
website http://www.sed.monmouth.army.mil/RDIT • DAGR software Refer to RDIT website
http://www.sed.monmouth.army.mil/RDIT • External AC power cable NSN 6130-01-521-3157• DAGR to PC data cable NSN 5995-01-521-3198• IBM compatible personal computer with minimum
specifications as follows:Pentium II with 166-MHz processor5.5-Mb RAM for 1 port, up to 65-Mb for 16 ports,Hard drive with 7-Mb free spaceMicrosoft windows 95, 98, NT, or XPRS-232 serial port (COM1 to COM16) (9-pin
version)

LP 12 6
CHECK ON LEARNING
• While reprogramming the DAGR what is erased?– All user and satellite data
stored in the DAGR.
• What is the minimum free hard drive space?– 7 Mb

LP 12 7
REPROGRAM THE DAGR
Ref para 17.2.3.1• Installing Reprogramming Software• Note
–Disable Screen Saver–Perform DAGR Commanded self-test
a. Insert the disk containing the reprogramming software into the drive of the PC (Refer to the Technical Manual for Software Number).
b. Copy the Multi_RPG.zip file to C:\, then extract all files directly to C:\.
LP 12 8
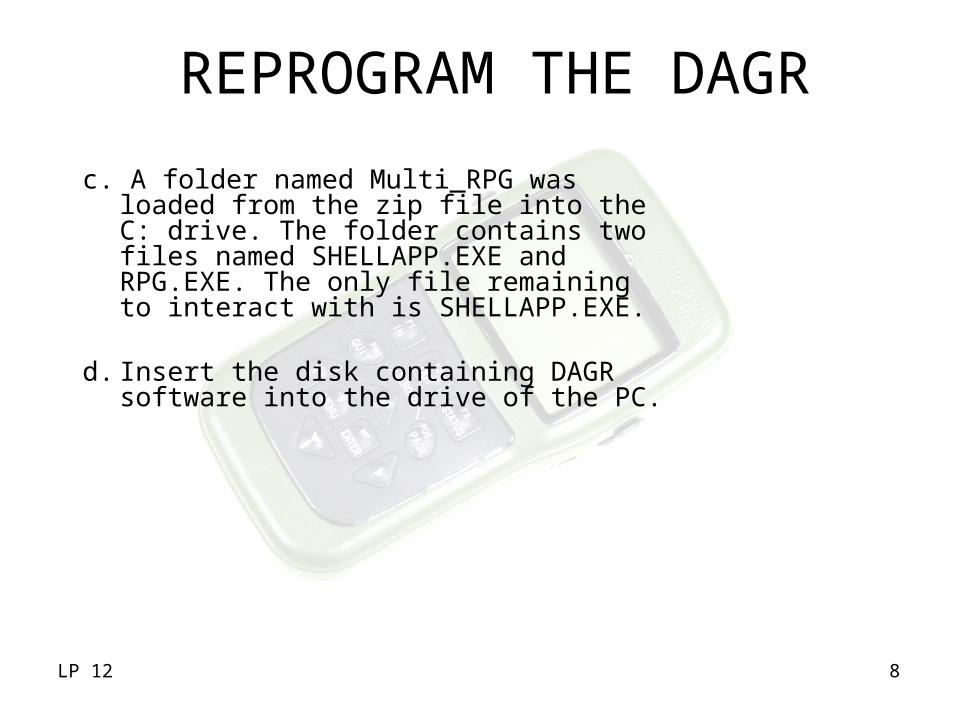
c. A folder named Multi_RPG was loaded from the zip file into the C: drive. The folder contains two files named SHELLAPP.EXE and RPG.EXE. The only file remaining to interact with is SHELLAPP.EXE.
d. Insert the disk containing DAGR software into the drive of the PC.
REPROGRAM THE DAGR
LP 12 9
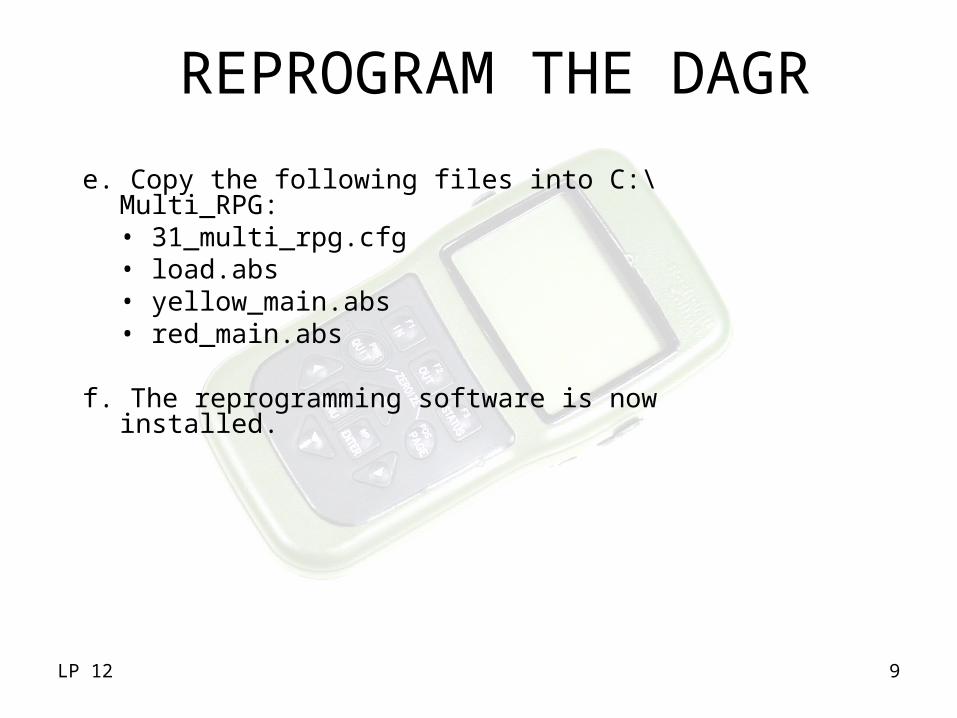
e. Copy the following files into C:\Multi_RPG:• 31_multi_rpg.cfg• load.abs• yellow_main.abs• red_main.abs
f. The reprogramming software is now installed.
REPROGRAM THE DAGR
LP 12 10
REPROGRAM THE DAGR
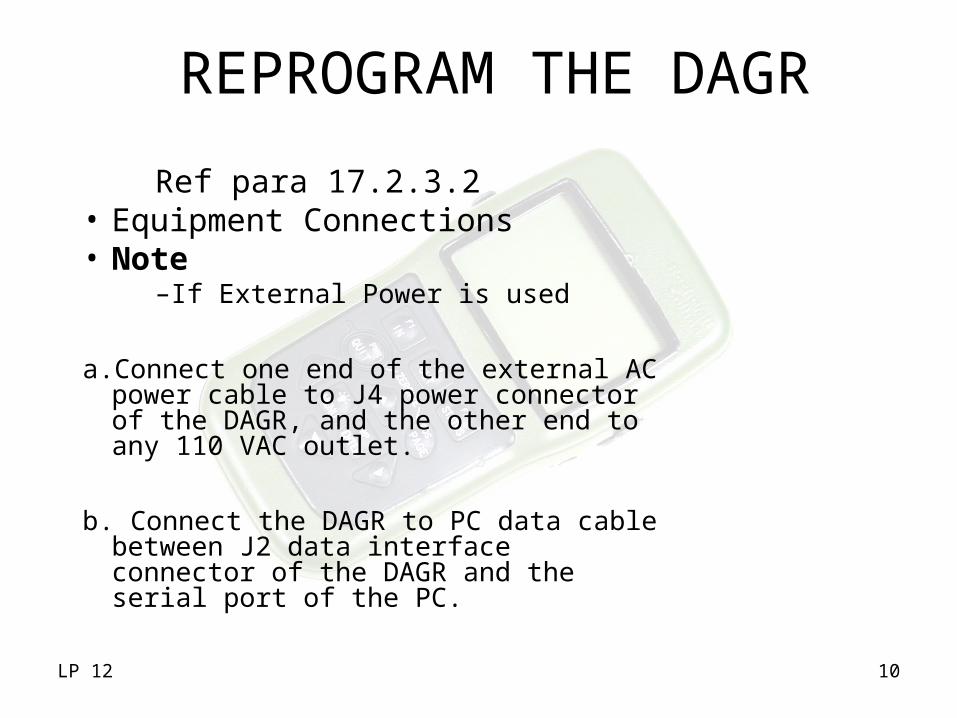
Ref para 17.2.3.2• Equipment Connections• Note
–If External Power is used
a. Connect one end of the external AC power cable to J4 power connector of the DAGR, and the other end to any 110 VAC outlet.
b. Connect the DAGR to PC data cable between J2 data interface connector of the DAGR and the serial port of the PC.
LP 12 11
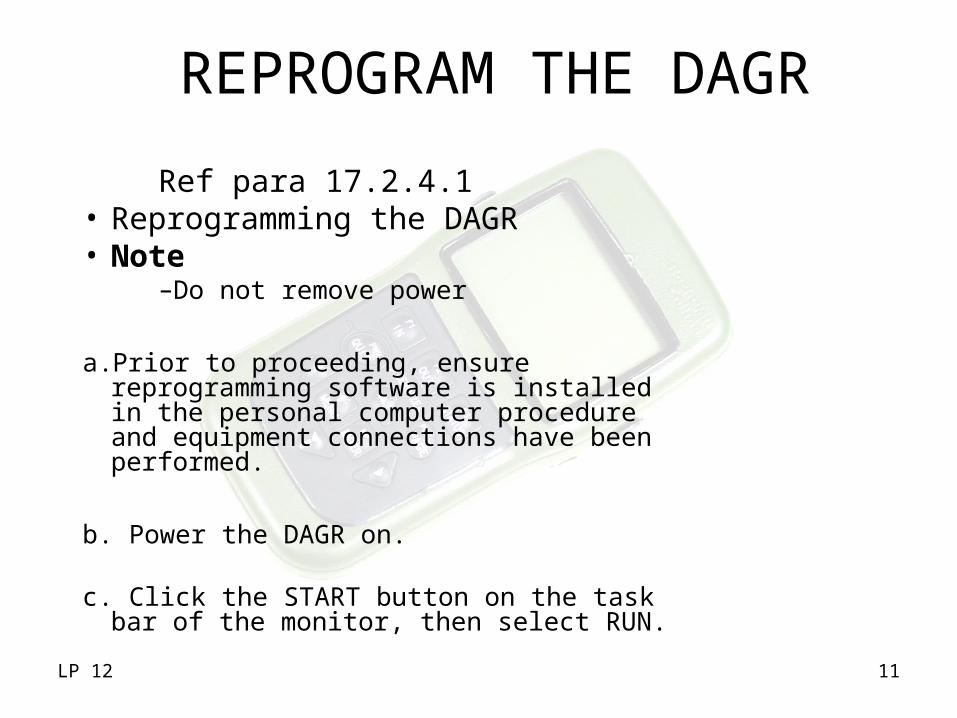
REPROGRAM THE DAGR
Ref para 17.2.4.1• Reprogramming the DAGR• Note
–Do not remove power
a. Prior to proceeding, ensure reprogramming software is installed in the personal computer procedure and equipment connections have been performed.
b. Power the DAGR on.
c. Click the START button on the task bar of the monitor, then select RUN.
LP 12 12
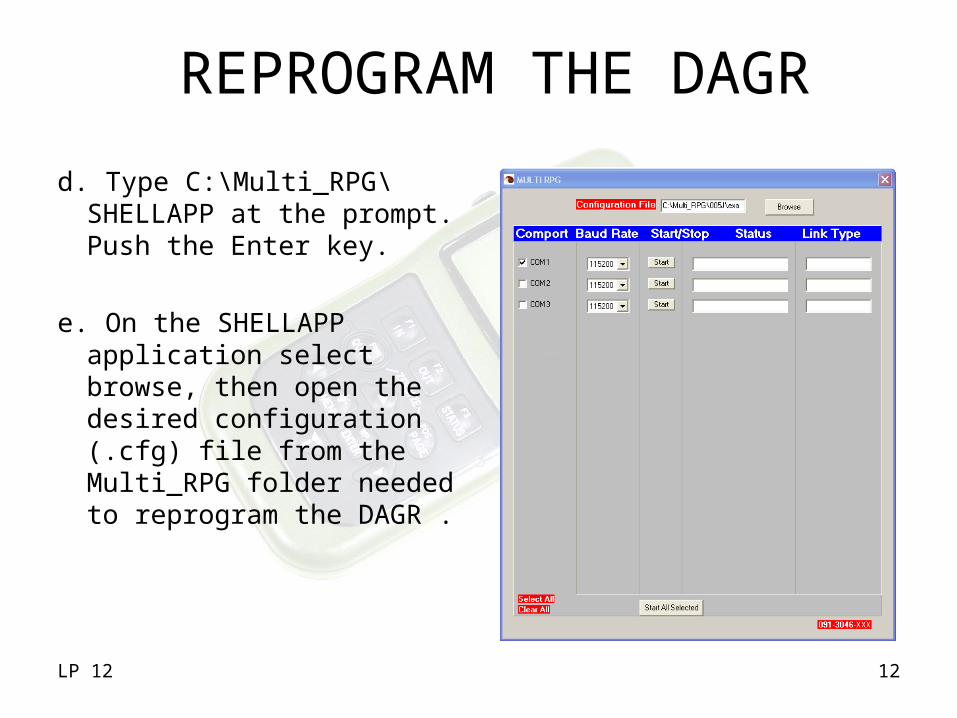
d. Type C:\Multi_RPG\SHELLAPP at the prompt. Push the Enter key.
e. On the SHELLAPP application select browse, then open the desired configuration (.cfg) file from the Multi_RPG folder needed to reprogram the DAGR .
REPROGRAM THE DAGR
LP 12 13
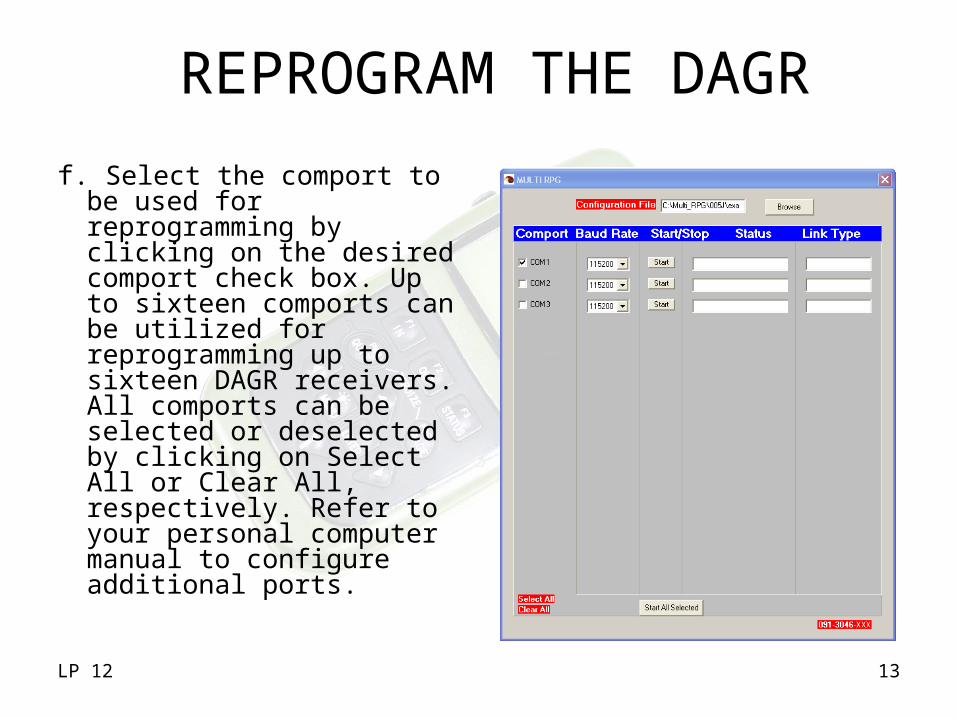
f. Select the comport to be used for reprogramming by clicking on the desired comport check box. Up to sixteen comports can be utilized for reprogramming up to sixteen DAGR receivers. All comports can be selected or deselected by clicking on Select All or Clear All, respectively. Refer to your personal computer manual to configure additional ports.
REPROGRAM THE DAGR

LP 12 14
g. Select the appropriate comport baud rate (not to exceed 115200) from the drop down list.
h. Click on the Start All Selected button at the bottom of the screen. The screen momentarily displays an additional window.
REPROGRAM THE DAGR

LP 12 15
i. The status window for the selected comport displays “Power Cycle The Unit”.
j. Power cycle the DAGR (power the DAGR off, then on). Reprogramming is started, the DAGR display remains blank, for approximately 20 seconds, and the status window on the personal computer changes color.
REPROGRAM THE DAGR

LP 12 16
k. When the status window is yellow, user action is required. Follow instructions of the status window.
Note: - Additional yellow status window
REPROGRAM THE DAGR

LP 12 17
l. Wait for the reprogramming process to be completed. This process normally requires three to six minutes. The comport status field is green indicating reprogramming in process for the comport link type displayed .
m. When reprogramming is completed, the comport status window is blue in color and displays Finished.
n. Power the DAGR off and disconnect all external cables.
REPROGRAM THE DAGR

LP 12 18
CHECK ON LEARNING
• What connector do you use on the DAGR to connect it to the PC?– J2
• What do you type in the RUN Prompt on your PC? – C:\Multi_RPG\SHELLAPP

LP 12 19
REPROGRAM THE DAGR
Ref para 17.2.4.2• Verification
a. Power the DAGR on.
b. Observe the software part number shown in the start-up display message. Verify the software part number shown matches the software part number that was loaded from the loading software procedure, step a, of this lesson step activity .
• Note–Repeat Power On Procedure
LP 12 20
REPROGRAM THE DAGR
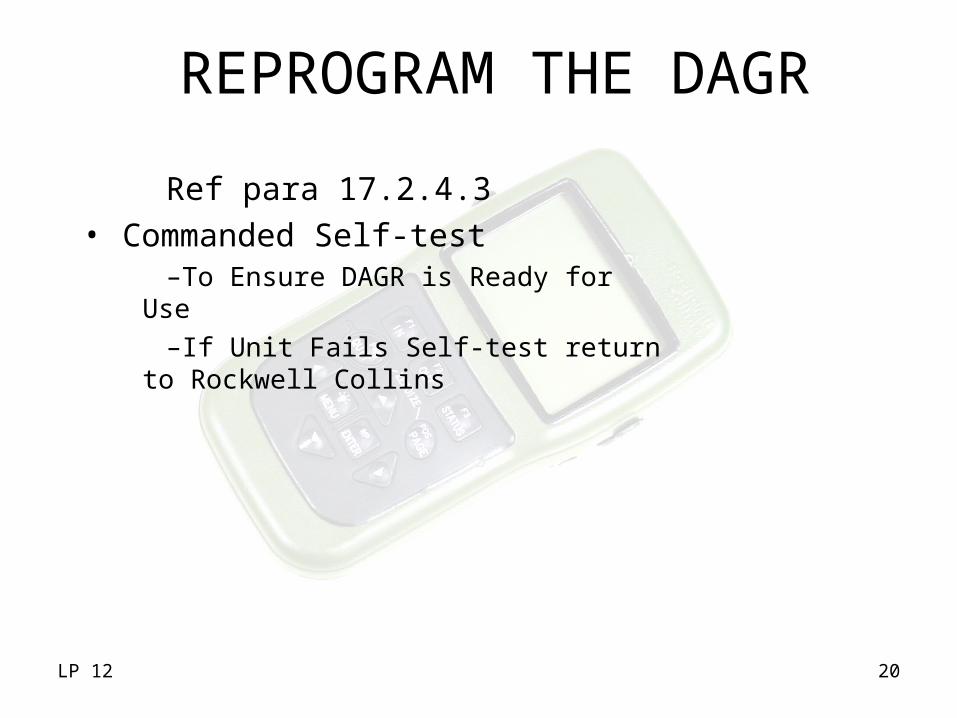
Ref para 17.2.4.3• Commanded Self-test
–To Ensure DAGR is Ready for Use–If Unit Fails Self-test return to Rockwell
Collins
LP 12 21
REPROGRAM THE DAGR
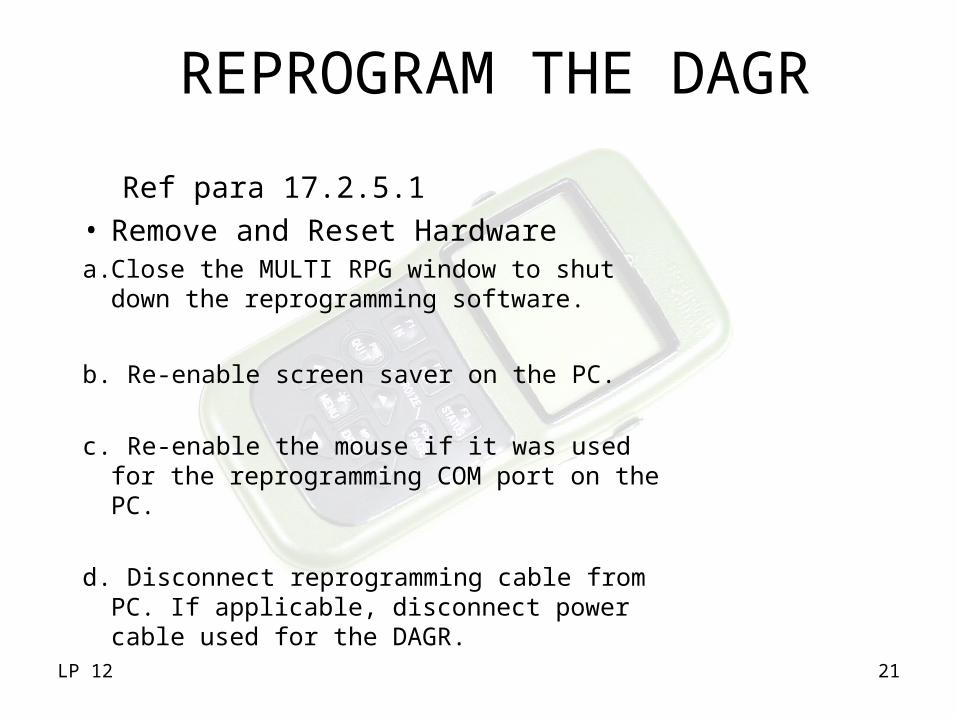
Ref para 17.2.5.1• Remove and Reset Hardwarea. Close the MULTI RPG window to shut down
the reprogramming software.
b. Re-enable screen saver on the PC.
c. Re-enable the mouse if it was used for the reprogramming COM port on the PC.
d. Disconnect reprogramming cable from PC. If applicable, disconnect power cable used for the DAGR.

LP 12 22
REPROGRAM THE DAGRRef para 17.2.5.2
• Remove Reprogramming Software from PC
a. Click the START button on the task bar, then select RUN .
b. Type EXPLORER at the prompt.
c. Go to C:\Multi_RPG, or wherever you stored the program.
d. Highlight the C:\Multi_RPG folder by right clicking on it, then click Delete.
e. A prompt asks for confirmation prior to deleting, click Yes.

LP 12 23
TOPIC SUMMARY
– Purpose– Required Equipment– Reprogram DAGR
LP 12 24
TOPIC OVERVIEW
• Introduction– Purpose– Required Equipment
• Operations– Installed Maps

LP 12 25
MAPS INSTALLATION
• Purpose– All user and stored data is
erased

LP 12 26
Ref para 17.3.2• Required Equipment
• PC Maps installation software PN 984–2517–XXX• Maps Data File Varies with map • External AC power cable NSN 6130-01-521-3157• DAGR to PC data cable NSN 5995-01-521-3198• IBM compatible personal computer with minimum specifications as follows:Pentium II with 166-MHz processor 5-Mb RAMHard drive with 33-Mb free spaceMicrosoft windows 98, NT, 2000, or XP. The personal computer should meet or exceed the minimum specifications of the installed version of Microsoft Windows.RS-232 serial port (COM1 to COM4) (9-pin version)
MAPS INSTALLATION

LP 12 27
CHECK ON LEARNING
• While installing MAPS what is erased?– All user and satellite data
stored in the DAGR.
• What is the minimum free hard dive space?– 33 Mb

LP 12 28
Ref para 17.3.3.1• Installing Maps Installation Software
–CautionCaution• Write Access
–Note • Screen Saver Program
a. Insert the disk containing the Maps installation software into the PC CD-ROM drive.
b. Right click on the Start task bar, move the mouse pointer over Explore on the list, then left click.
.
MAPS INSTALLATION
LP 12 29
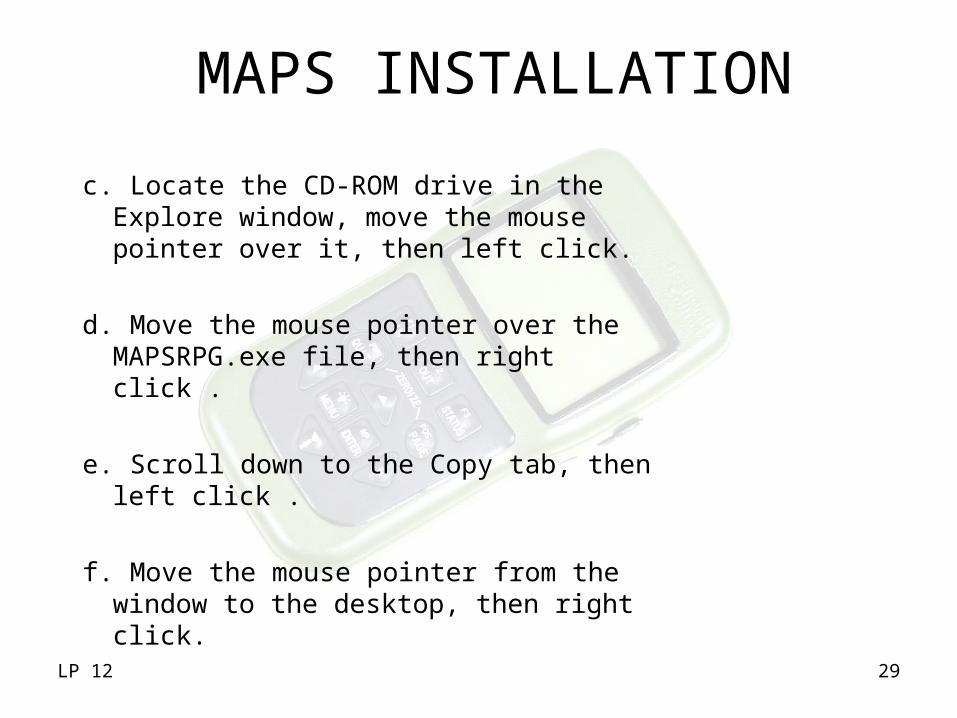
c. Locate the CD-ROM drive in the Explore window, move the mouse pointer over it, then left click.
d. Move the mouse pointer over the MAPSRPG.exe file, then right click .
e. Scroll down to the Copy tab, then left click .
f. Move the mouse pointer from the window to the desktop, then right click.
MAPS INSTALLATION

LP 12 30
g. Move the mouse pointer over Paste, then left click.
h. Verify the MAPSRPG.exe file has been copied to your desktop. If it has been copied, remove the Maps installation software CD from the CD-ROM drive. If it has not been copied, repeat steps a through h. d. Move the mouse pointer over the MAPSRPG.exe file, then right click .
MAPS INSTALLATION
LP 12 31
MAPS INSTALLATION
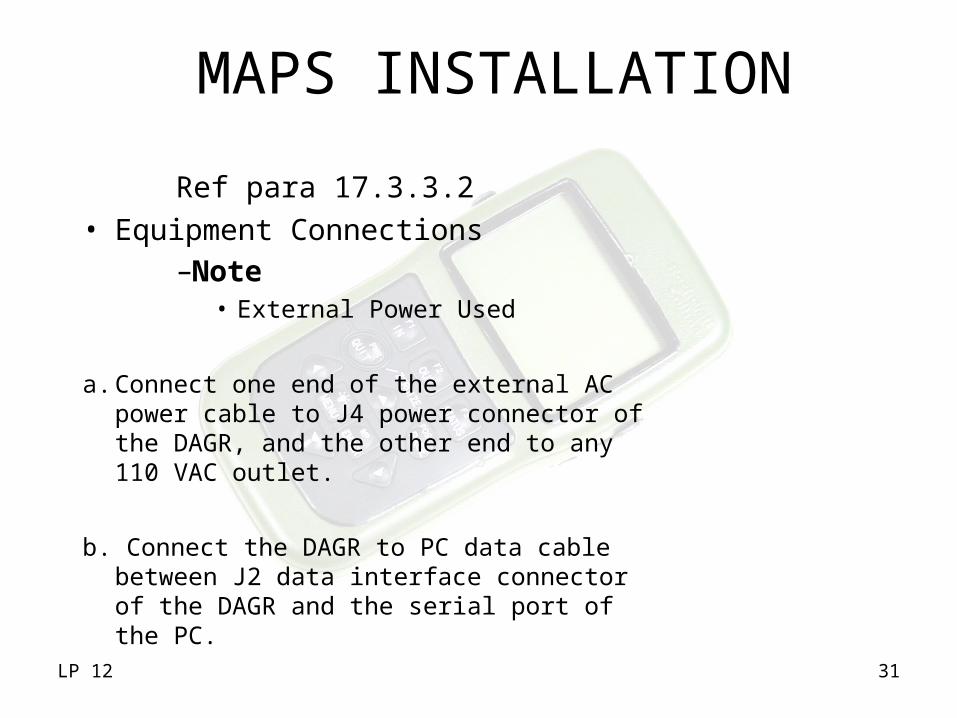
Ref para 17.3.3.2• Equipment Connections
–Note
• External Power Used
a. Connect one end of the external AC power cable to J4 power connector of the DAGR, and the other end to any 110 VAC outlet.
b. Connect the DAGR to PC data cable between J2 data interface connector of the DAGR and the serial port of the PC.

LP 12 32
MAPS INSTALLATION
Ref para 17.3.4.1• Loading Maps
–Note • Do not remove power
a. Ensure DAGR power is off.
b. Ensure the Maps installation software is installed in the personal computer and equipment connections have been performed .
c. Insert the applicable disk containing the DAGR maps data file into the PC CD-ROM drive.

LP 12 33
MAPS INSTALLATION
d. START the Maps installation software by double clicking on MAPSRPG.exe located on the desktop .
Note– Cancel to ignore
e. On the Maps installation screen, double left click inside the Program file text (located next to Program). A window appears to aid the user in finding the file to load. Left click on the drop down menu, then
select the CD-ROM drive

LP 12 34
MAPS INSTALLATIONf. Select the desired ".abs" file on
the CD, then left click the Open tab. The file is now inserted into the program file text box (e.g., D:\CedarRapidslg.abs) .
g. Power the DAGR on by pushing the PWR key once. On the PC, a red indicator periodically blinks next to “Rx” in the communications box of the MAPSRPG screen.
Note- Red Indicator- COM Port
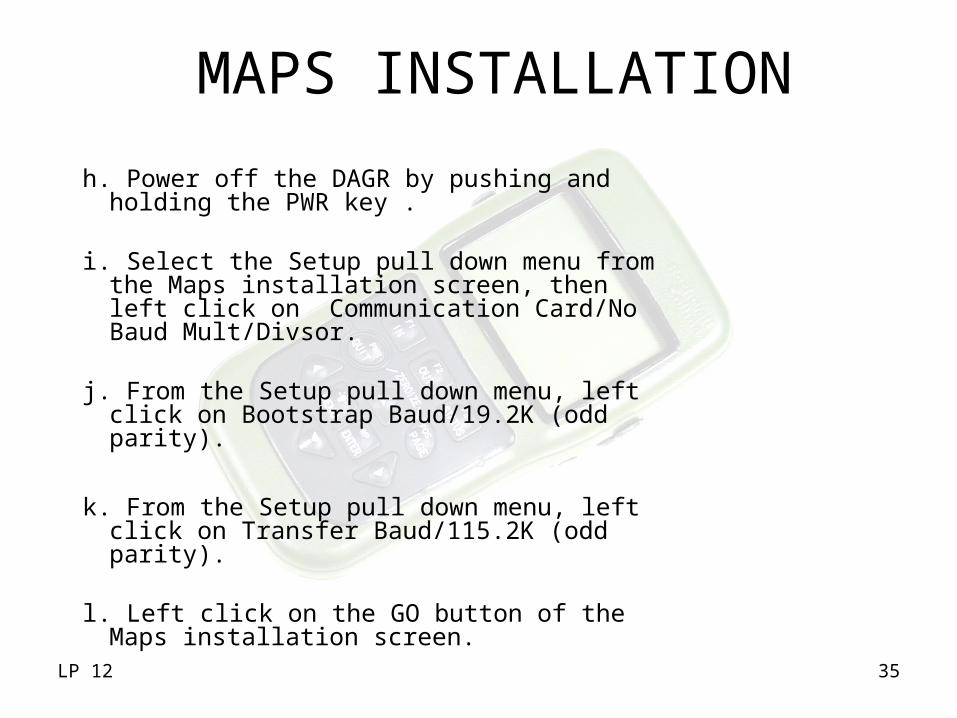
LP 12 35
MAPS INSTALLATION
h. Power off the DAGR by pushing and holding the PWR key .
i. Select the Setup pull down menu from the Maps installation screen, then left click on Communication Card/No Baud Mult/Divsor.
j. From the Setup pull down menu, left click on Bootstrap Baud/19.2K (odd parity).
k. From the Setup pull down menu, left click on Transfer Baud/115.2K (odd parity).
l. Left click on the GO button of the Maps installation screen.
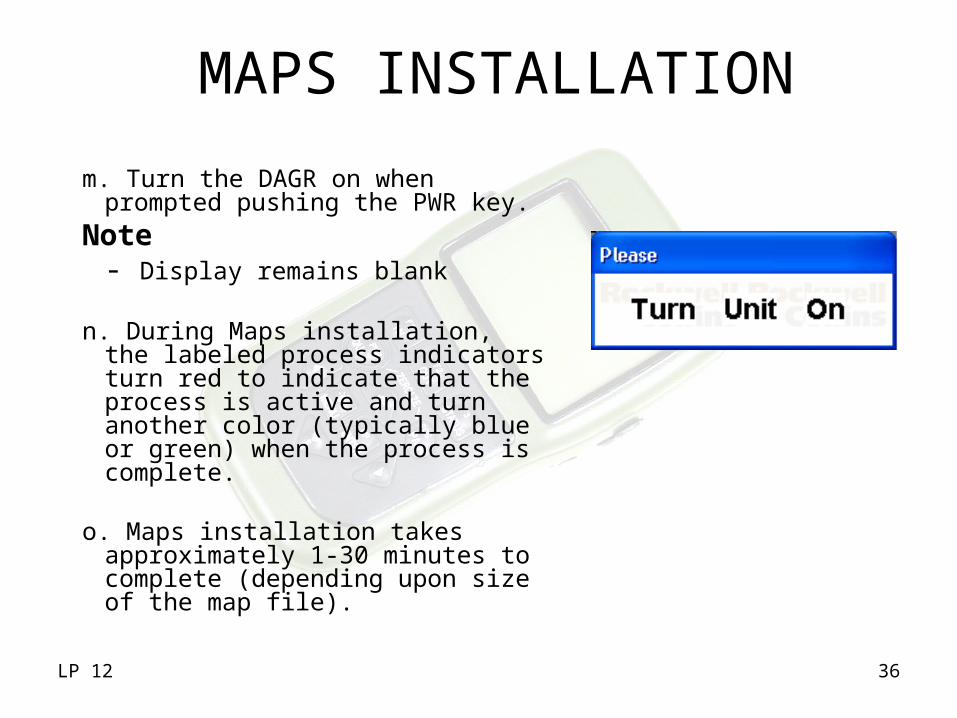
LP 12 36
MAPS INSTALLATION
m. Turn the DAGR on when prompted pushing the PWR key.
Note- Display remains blank
n. During Maps installation, the labeled process indicators turn red to indicate that the process is active and turn another color (typically blue or green) when the process is complete.
o. Maps installation takes approximately 1-30 minutes to complete (depending upon size of the map file).

LP 12 37
p. When Maps installation is complete and prompted by the program.
q. When prompted, power off the DAGR by pushing and holding the PWR key.
r. To load another map into the DAGR, repeat steps a through q.
s. Disconnect the DAGR to PC cable from the DAGR J2 connector.
MAPS INSTALLATION
LP 12 38
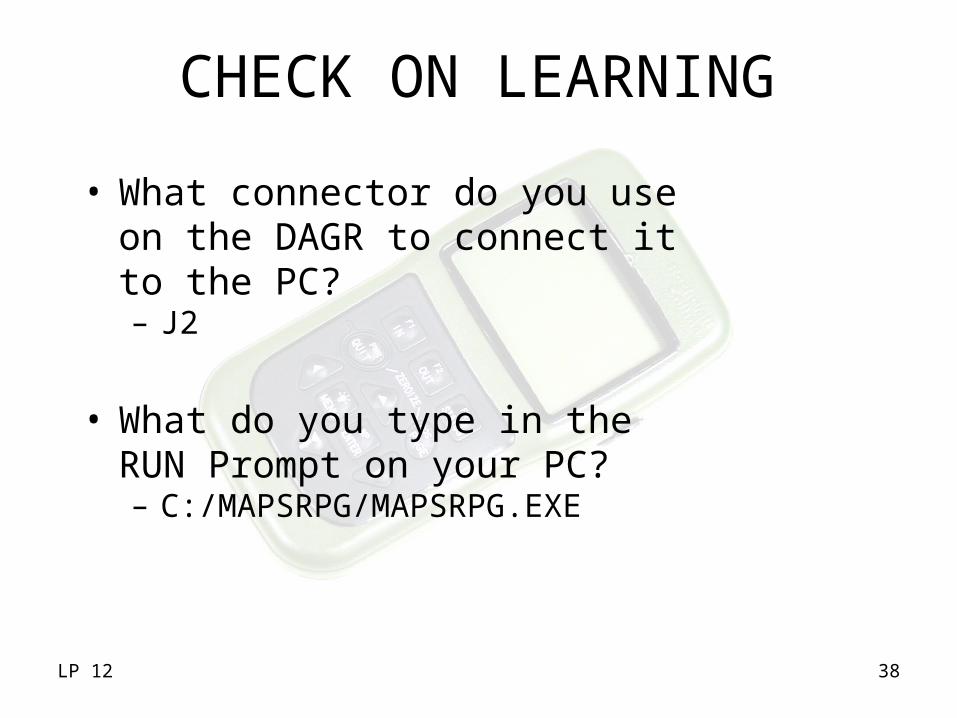
CHECK ON LEARNING
• What connector do you use on the DAGR to connect it to the PC?– J2
• What do you type in the RUN Prompt on your PC?– C:/MAPSRPG/MAPSRPG.EXE

LP 12 39
MAPS INSTALLATION
Ref para 17.3.4.2• Verificationa. Power the DAGR on by pushing the PWR key .
b. Clear all popup messages using the ENTER key.
c. When the SV Sky View page is displayed, push and release the PAGE or QUIT key until the MAP page is displayed.
d. Push the MENU key to display the MAP page menu.
e. Use the up or down cursor control keys to highlight Select Map.
LP 12 40
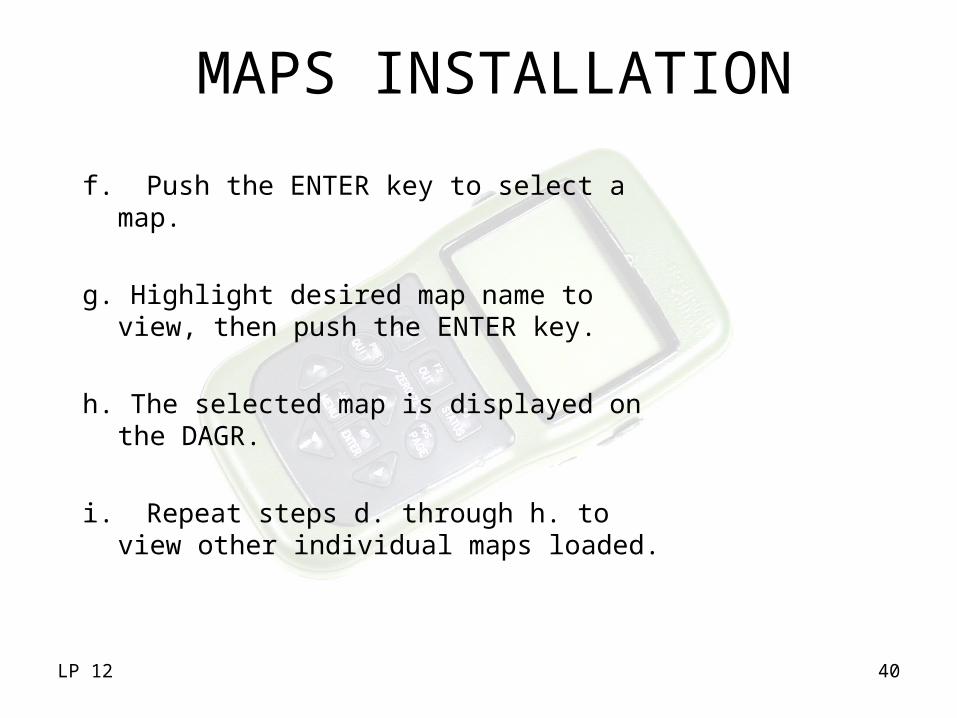
MAPS INSTALLATION
f. Push the ENTER key to select a map.
g. Highlight desired map name to view, then push the ENTER key.
h. The selected map is displayed on the DAGR.
i. Repeat steps d. through h. to view other individual maps loaded.

LP 12 41
MAPS INSTALLATION
Ref para 17.3.5.1• Remove and Reset Hardwarea. Remove the disk containing Maps data file from the
CD-ROM drive.
b. On the PC, select File/Exit to shut down the Maps installation software .
c. Re-enable screen saver on the PC.
d. Re-enable the mouse if it was previously disabled for the Maps installation COM port on the PC.
LP 12 42
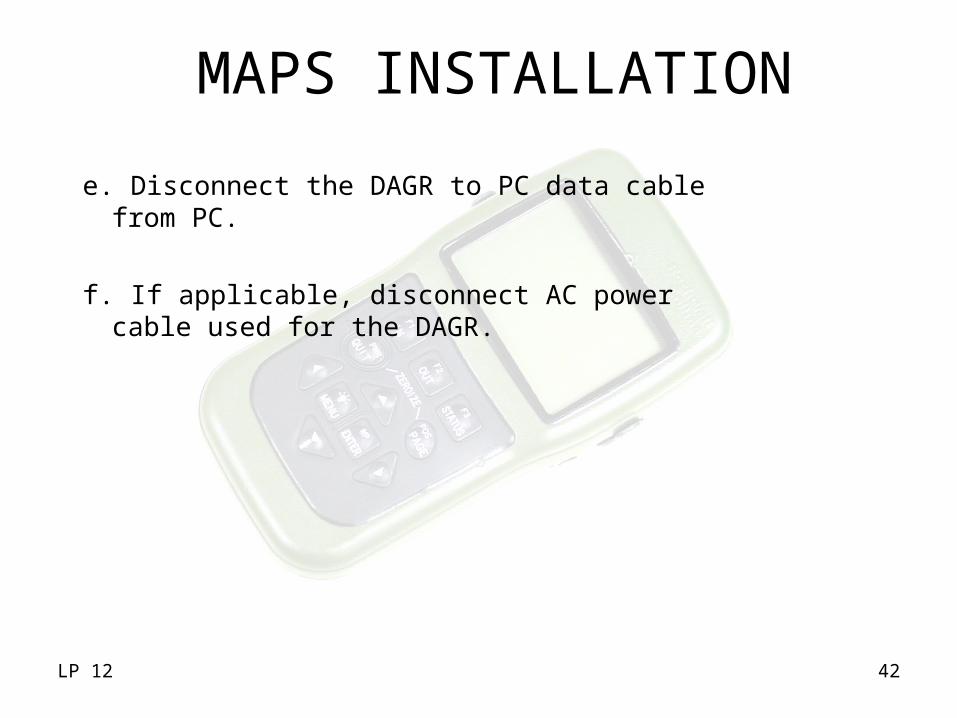
MAPS INSTALLATION
e. Disconnect the DAGR to PC data cable from PC.
f. If applicable, disconnect AC power cable used for the DAGR.

LP 12 43
MAPS INSTALLATION
Ref para 17.3.5.2• Remove Maps Installation Software
from PCa. On the PC desktop, place the mouse pointer
over MAPSRPG.exe, then right click. .
b. Move the mouse pointer over Delete, then left click.
c. Confirm file deletion by placing the mouse pointer over Yes, then left click.
d. Verify MAPSRPG.exe is removed from the desktop .

LP 12 44
MAPS INSTALLATION
e. On the PC desktop, place the mouse pointer over RPG.ini, then right click .
f. Move the mouse pointer over Delete, then left click.
g. Confirm file deletion by placing the mouse pointer over Yes, then left click.
h. Verify RPG.ini is removed from the desktop

LP 12 45
TOPIC SUMMARY
– Purpose– Required Equipment– Installed Maps

LP 12 46
Practical Exercise
• Reprogram the DAGR.
• Load a Map into the DAGR.
LP 12 47
LESSON SUMMARY
• You have now learned how to reprogram and install maps into the DAGR receiver.– Boot-up Personal Computer – Equipment Connections– Loading Software– Verification– Self-test – Remove and Reset Hardware – Remove Reprogramming Software From PC
Related Documents