Documenting the Crime Scene Getting Started

Documenting the Crime Scene Getting Started. Record Information Who? What? Where? When? How? Why?
Dec 16, 2015
Welcome message from author
This document is posted to help you gain knowledge. Please leave a comment to let me know what you think about it! Share it to your friends and learn new things together.
Transcript

Documenting the Crime Scene
Getting Started

Record Information
Who? What? Where? When? How? Why?

Field Notes
Investigative notes are a permanent written record of the facts of a case to be used in further investigation, in writing reports, and in prosecuting the case.
Detailed notes can make or break a conviction.

How to Take Notes
Don’t include words such as: a, and, and the
Use standard abbreviations such as mph, DWI, and Ave

Advantages of Photographs
They can be taken immediately They accurately represent the crime
scene and evidence They create interest and increase
attention to testimony

Disadvantages of Photographs
They are not selective They do not show actual distances They may be distorted and damaged by
mechanical errors in shooting or processing

Common Photographic Equipment
35mm Digital camera Instant print camera Fingerprint camera Video equipment

Advantages of Digital Cameras
Elimination of time and expense involved in developing photographic film
Quickly adaptable as e-mail attachments Easily incorporated into written reports Record information about each
photograph Consistency

What to Photograph
Long-range pictures of the locality Medium-range pictures of the immediate
crime scene and objects of evidence within the area or room
Close-range pictures of specific evidence

Photogrammetry
Refers to the 3-D measurements of the real world directly from photographs for use in courts
Can accurately locate and measure any object appearing in two or more photographs
Can automatically orient photographs taken from awkward angles
Can correct camera misalignment

Types of Investigative Photography
Surveillance Photography Aerial Photography Night Photography Laboratory Photography Mug Shots Lineup Photographs

Types of Laboratory Photography
Microphotography- takes pictures through a microscope
Macrophotography- enlarges a subject Laser-beam photography- reveals evidence
indiscernible to the naked eye Ultraviolet-light photography- uses the low end
of the color spectrum to make visible impressions of bruises and injuries long after their actual occurrence

What to Photograph
Take sufficient photographs to reconstruct the scene.
Such as:• The Entrance Point• The Crime Commission Area• The Exit Point

Admissibility of Photographs in Court
Photographs must be: Material Relevant Competent Accurate Free of Distortion Non-inflammatory

Crime Scene Sketches
Accurately portray the physical facts Relate to the sequence of events at the scene Establish the precise location and relationship
of objects at the scene Help create a mental picture of the scene Permanent record of the scene Usually admissible in court

Crime Scene Sketches
• Sketch all serious crime and crash scenes after photographs are taken and before anything is moved.
Assists in:• Interviewing and Interrogating people• Preparing the investigative report• Presenting the case in court

Materials for Making Scale Drawings
Materials: Drawing Kit Triangular scale rule Templates Indelible Ink Drafting Table T-square Drafting Paper Colors
Uses: Tools for drawing Accurate Scaling Curves/odd shapes Permanent Finishing Ease of drawing Accurate lines Absorbs color better Area comparison
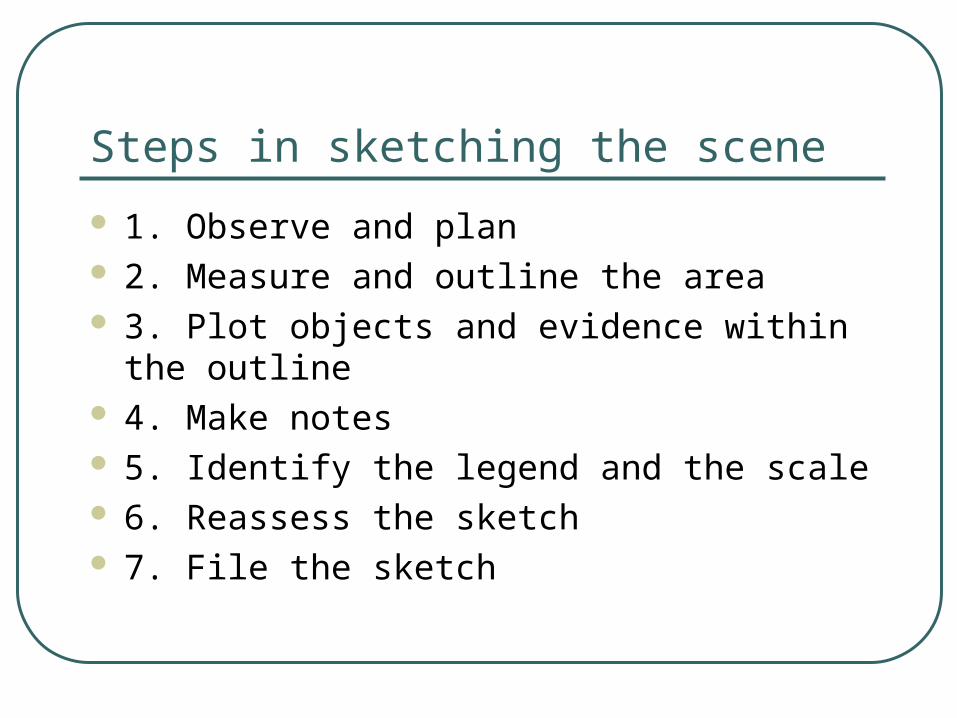
Steps in sketching the scene
1. Observe and plan 2. Measure and outline the area 3. Plot objects and evidence within the outline 4. Make notes 5. Identify the legend and the scale 6. Reassess the sketch 7. File the sketch

Step One: Observe and Plan
Observe the scene as many times as needed until you can recall facts and placement.
Plan in advance how you will process the scene to avoid damaging evidence.
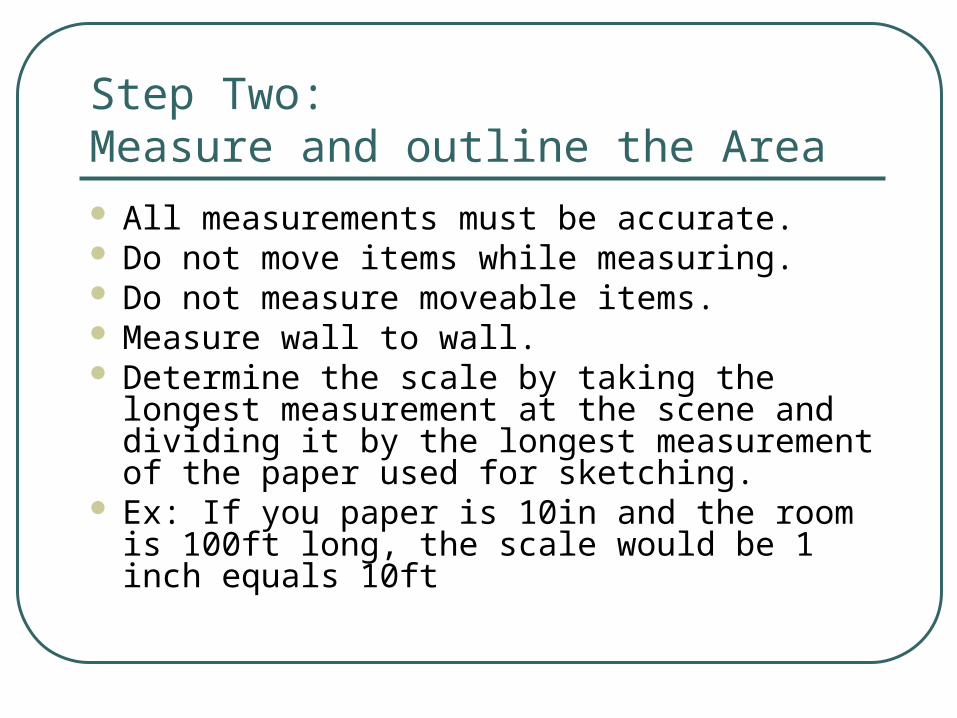
Step Two: Measure and outline the Area All measurements must be accurate. Do not move items while measuring. Do not measure moveable items. Measure wall to wall. Determine the scale by taking the longest
measurement at the scene and dividing it by the longest measurement of the paper used for sketching.
Ex: If you paper is 10in and the room is 100ft long, the scale would be 1 inch equals 10ft

Step Two: Measure and outline the Area
Measure the doors and windows. (record the measurements and determine if they open in or out.)
Sketch the location of physical objects of the room.
Place items of evidence and objects in the sketch at the same time.
Use numbers to designate items and letters to designate evidence.

Step Two: Measure and outline the Area
Use exact measurements to show location of evidence in a room and in relation to all other objects.
Measure and re-measure before you leave the scene.

Step Three: Plotting Objects and Evidence
Rectangle-coordinate method- uses two adjacent walls at which fixed points from which distances are measured. (Restricted to squared or rectangular areas)
Baseline method-establishes a straight line from one fixed point to another.
Triangulation method-uses straight-line measures from two fixed objects to the evidence to create a triangle with the evidence in the angle formed by the two straight lines.
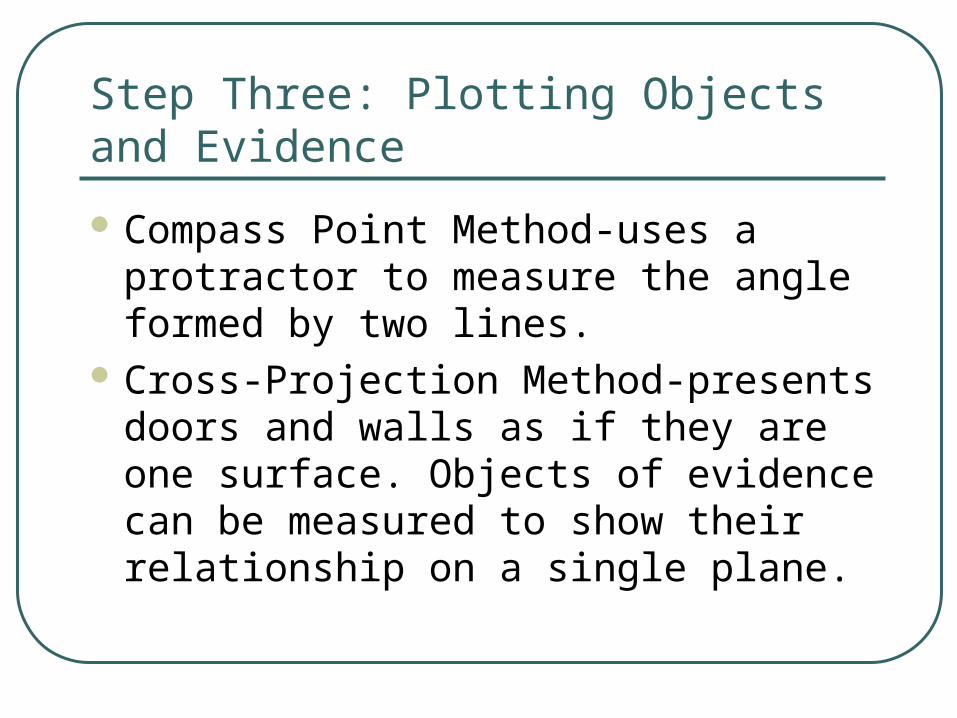
Step Three: Plotting Objects and Evidence
Compass Point Method-uses a protractor to measure the angle formed by two lines.
Cross-Projection Method-presents doors and walls as if they are one surface. Objects of evidence can be measured to show their relationship on a single plane.


Step Four: Taking Notes
Take notes to document items such as: Temperature, lighting conditions, colors, and people present.

Step Five: Identify the Scene
Prepare a legend containing:
Case number Type of Crime Name of Victim Location Date Time
Investigator Anyone Assisting Scale of Sketch Direction of North Name of the Person
Making the Sketch

Step Six: Reassess the Sketch
BEFORE YOU LEAVE THE SCENE• Make sure nothing has been overlooked• Compare the scene with the sketch• Are all measurements included?• Have all notations been made?• Have you missed anything?

Step Seven: File the Sketch
Submit the Sketch to the case file
The admissibility of the sketch is so if it accurately portrays a crime scene.
Related Documents