Developing Interfaces and Interactivity for DSpace with Manakin Part 4: Hands-on with Manakin’s Style Tier Eric Luhrs Digital Initiatives Librarian, Lafayette College & NITLE Technology Fellow for DSpace and Manakin Presented at NITLE Information Services Camp Smith College, June 3, 2009 With curricular and technical assistance from Eric Jansson, NITLE

Developing Interfaces and Interactivity for DSpace with Manakin Part 4: Hands-on with Manakin’s Style Tier Eric Luhrs Digital Initiatives Librarian, Lafayette.
Dec 18, 2015
Welcome message from author
This document is posted to help you gain knowledge. Please leave a comment to let me know what you think about it! Share it to your friends and learn new things together.
Transcript

Developing Interfaces and Interactivity for DSpace with Manakin
Part 4: Hands-on with Manakin’s Style Tier
Eric LuhrsDigital Initiatives Librarian, Lafayette College
&NITLE Technology Fellow for DSpace and Manakin
Presented at NITLE Information Services CampSmith College, June 3, 2009
With curricular and technical assistance from Eric Jansson, NITLE

Overview of Part 4
1. Configuring our work environment2. Major Reference theme sections3. Eight hands-on CSS modifications

Configuring Our Work EnvironmentStep 1: Boot DSpace Live DVD• Insert DSpace Live DVD into drive• Boot (or reboot) computer• Login with username/password “dspace”
– Optional:• To change desktop background:
– Right click on desktop, select “wallpaper” , and use color picker to choose a color, click “close”
• To change terminal colors:– Double click “Terminal” icon, click Edit Current Profile,
choose “Colors” tab, uncheck “use colors from system theme”, select “white on black” (or something else) from dropdown box, choose “Linux Console” from list of “Built-in schemes”

Configuring Our Work EnvironmentStep 2: Fix a Few Things• Connect to the network by left clicking
icon to left of speaker icon on upper-right taskbar, and choosing an available network
• Type the following command into a “Terminal” window (note space before trailing period):
• sudo chown –R dspace:dspace .

Configuring Our Work EnvironmentStep 3: Install oXygen XML Editor• Download and uncompress oXygen by typing
the following commands into a “Terminal” window:
• wget http://mirror.oxygenxml.com/InstData/Editor/All/oxygen.tar.gz• tar zxvf oxygen.tar.gz
• Create a desktop icon by right clicking on the desktop, choosing “Create Launcher” and providing the following values, before clicking “OK”:
• Name: oXygen• Command: /home/dspace/oxygen/oxygen.sh

Configuring Our Work EnvironmentStep 4: Register the oXygen XML Editor• Start the Firefox web browser by clicking the
icon in the upper task bar– Bookmark http://tinyurl.com/manakin/– Click “license key” and copy all 9 lines
• Start the oXygen XML editor by double clicking the desktop icon– Paste all nine lines into “use license key” section of registration
screen and click “okay”
• Close the oXygen editor for now
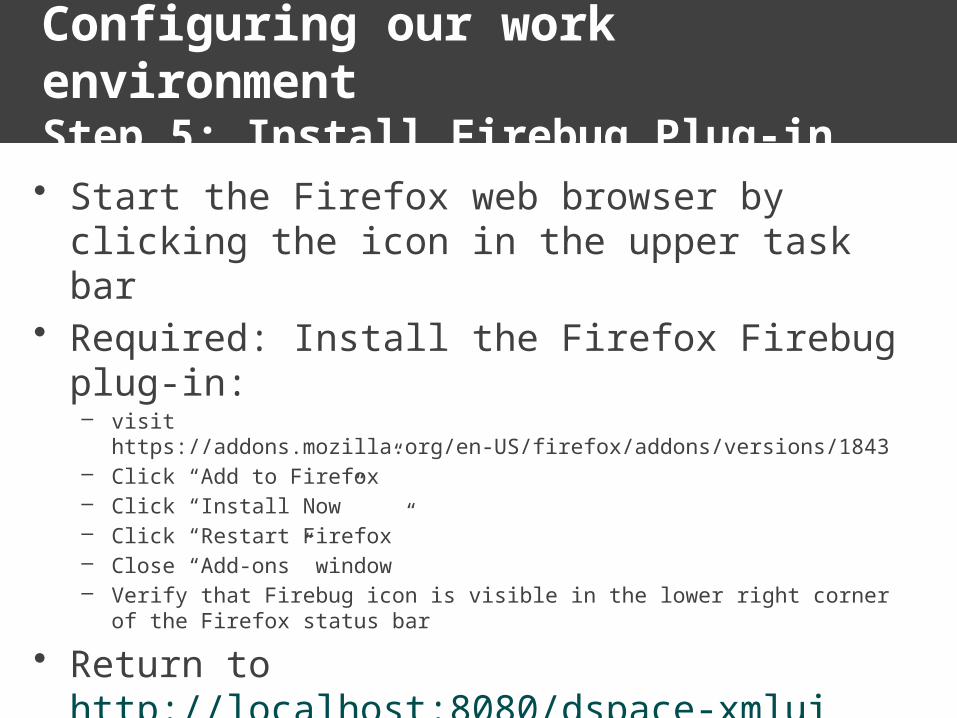
Configuring our work environmentStep 5: Install Firebug Plug-in• Start the Firefox web browser by clicking the
icon in the upper task bar• Required: Install the Firefox Firebug plug-in:
– visit https://addons.mozilla.org/en-US/firefox/addons/versions/1843– Click “Add to Firefox” – Click “Install Now”– Click “Restart Firefox”– Close “Add-ons” window– Verify that Firebug icon is visible in the lower right corner of the Firefox
status bar
• Return to http://localhost:8080/dspace-xmlui

Configuration Complete!
• NOTE: because we cannot save changes to the DVD, the previous steps will need to be repeated each time the Linux Live DVD is rebooted
• We are now ready to customize Manakin’s style tier

Eight Hands-on CSS Modifications
1. Replace Manakin logo2. Change background
& border colors
3. Redesign footer
4. Move menus to left
5. Modify border style
6. Change heading
colors
7. Change link colors
8. Change bullet colors

Reference Theme With No Changes

Major Reference Theme Sections
ds-header
ds-trail
ds-body
ds-footer
ds-options

Replace Default Manakin Logo

Change Background & Border Colors

Redesign Footer Element

Move Menus to the Left

Make Borders Thinner

Change Heading Text Colors

Change Link Colors

Change Bullet Colors

Reference Theme with CSS Modifications

End of Part 4
Related Documents