New Perspectives on Windows XP Tutorial 1 XP Tutorial 1 Exploring the Basics

Welcome message from author
This document is posted to help you gain knowledge. Please leave a comment to let me know what you think about it! Share it to your friends and learn new things together.
Transcript

New Perspectives on Windows XPTutorial 1
XPTutorial 1
Exploring the Basics

New Perspectives on Windows XPTutorial 1
XPObjectives
• Start and shut down Windows XP• Identify the objects on the Windows XP desktop• Practice mouse functions• Run software programs, switch between them, and
close them• Identify and use the controls in a window

New Perspectives on Windows XPTutorial 1
XPObjectives
• Use Windows XP controls, such as:– Menus
– Toolbars
– List boxes
– Scroll bars
– Option buttons
– Tabs
– Check boxes
• Explore Windows XP Help

New Perspectives on Windows XPTutorial 1
XPStarting Windows XP
• Windows XP– Starts when computer is turned on
– Elements of the desktop• Icon
• Pointer
• Desktop
• Date/Time control
• Taskbar
• Start button
• Notification area

New Perspectives on Windows XPTutorial 1
XPStarting Windows XP
Figure 1-1 shows the Windows XP desktop

New Perspectives on Windows XPTutorial 1
XPStarting Windows XP
• Windows XP desktop uses a graphical user interface
• Graphical user interface (GUI)– Displays icons to represent items stored on the
computer• Icons: Pictures of familiar objects

New Perspectives on Windows XPTutorial 1
XPThe Windows XP Desktop
• Desktop– Area that appears on the screen when Windows XP
starts
– A workspace for projects and tools
– Uses default settings when the computer is first started• Default settings: settings preset by the operating system
– Appearance can be changed by the user

New Perspectives on Windows XPTutorial 1
XPThe Windows XP Desktop
Figure 1-3 shows customized desktops
New Perspectives on Windows XPTutorial 1
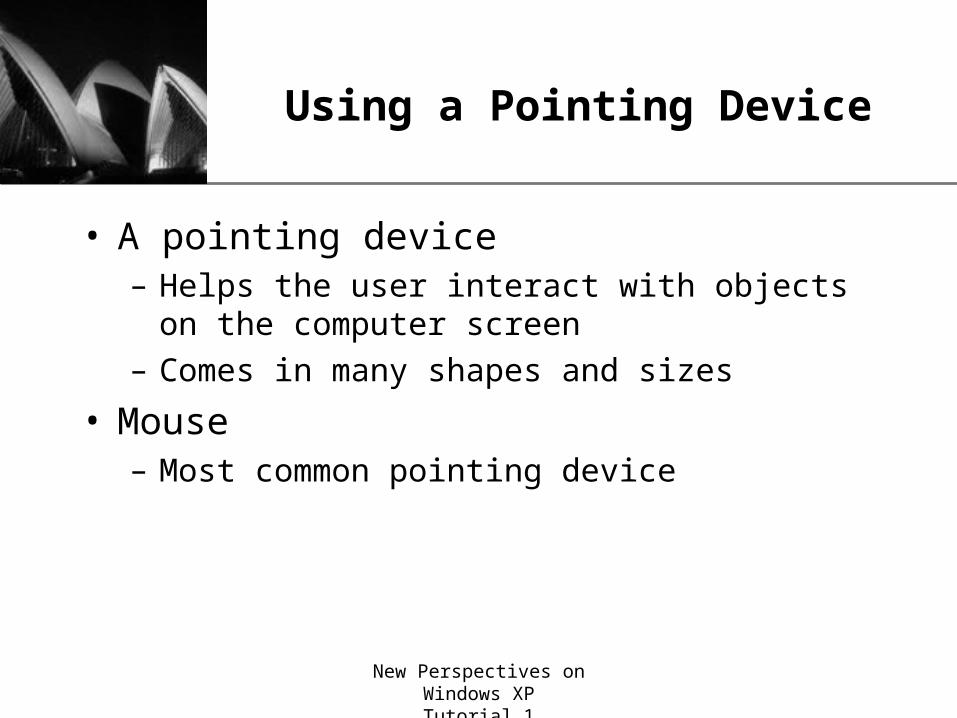
XPUsing a Pointing Device
• A pointing device– Helps the user interact with objects on the computer
screen
– Comes in many shapes and sizes
• Mouse– Most common pointing device

New Perspectives on Windows XPTutorial 1
XPPointing
• Pointing device– Used to move the mouse pointer over objects on the
desktop
• Pointing– Positioning the pointer over a specific part of the screen
New Perspectives on Windows XPTutorial 1
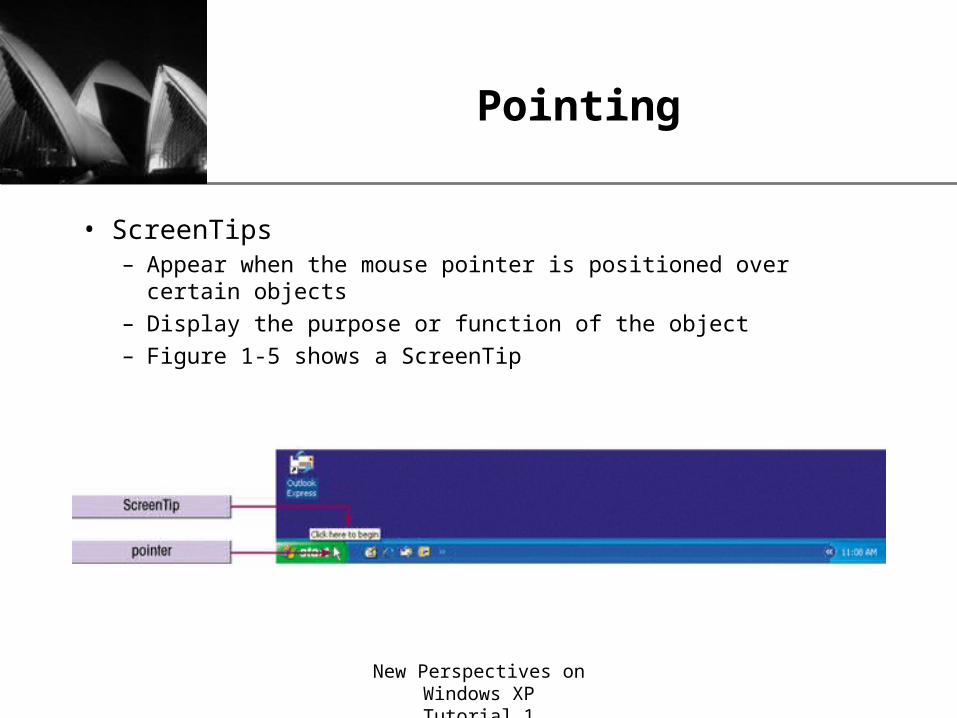
XPPointing
• ScreenTips– Appear when the mouse pointer is positioned over certain objects
– Display the purpose or function of the object
– Figure 1-5 shows a ScreenTip
New Perspectives on Windows XPTutorial 1
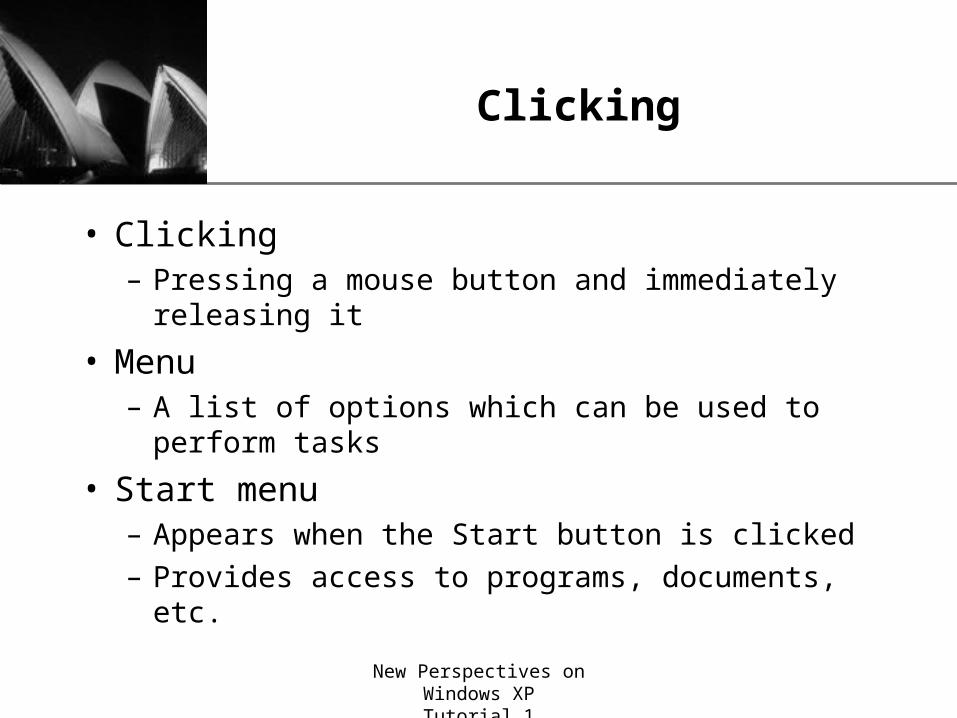
XPClicking
• Clicking– Pressing a mouse button and immediately releasing it
• Menu– A list of options which can be used to perform tasks
• Start menu– Appears when the Start button is clicked
– Provides access to programs, documents, etc.

New Perspectives on Windows XPTutorial 1
XPClicking
Figure 1-6 shows the Start menu

New Perspectives on Windows XPTutorial 1
XPSelecting
• Selecting an object– Two possible ways of selecting objects in Windows XP
• Pointing to an object
• Pointing to and then clicking an object
– A selected object is highlighted

New Perspectives on Windows XPTutorial 1
XPSelecting
Figure 1-7 shows examples of selected objects

New Perspectives on Windows XPTutorial 1
XPDouble-Clicking
• Double-clicking– Clicking the mouse button twice in quick succession
– Done to open or start an item• Double-clicking a folder icon opens the folder
• Double-clicking a program icon starts the program

New Perspectives on Windows XPTutorial 1
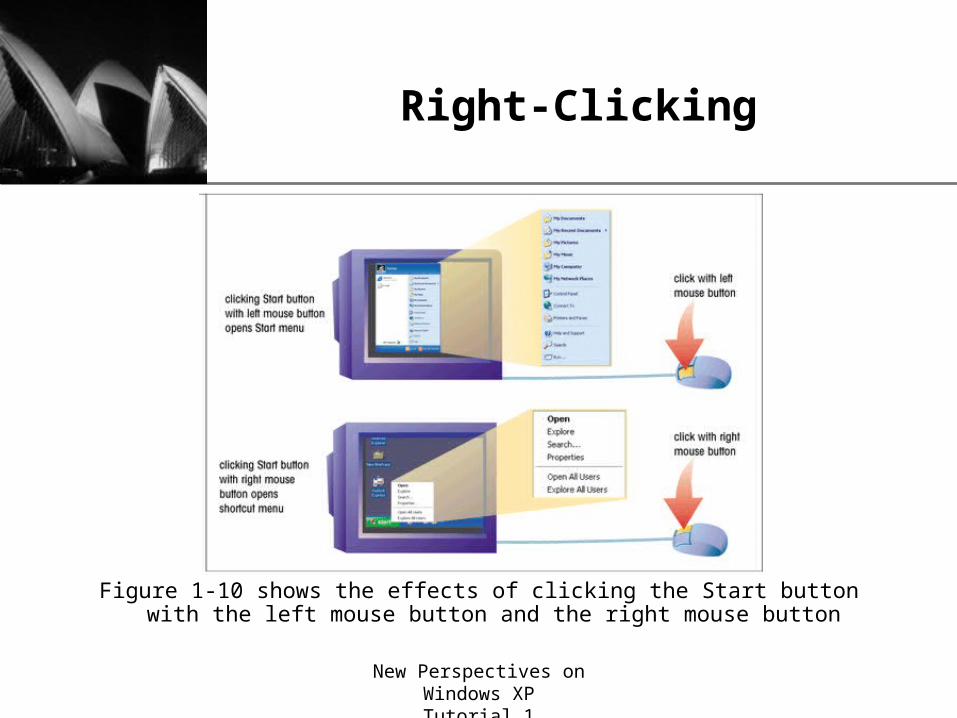
XPRight-Clicking
• Right-clicking– Clicking an object with the right button of the mouse
– Selects an object and opens its shortcut menu• Shortcut menu: a list of options directly related to the object
New Perspectives on Windows XPTutorial 1
XPRight-Clicking
Figure 1-10 shows the effects of clicking the Start button with the left mouse button and the right mouse button

New Perspectives on Windows XPTutorial 1
XPStarting and Closing a Program
• Starting a program– A program must be started before it can be used
– To start a program• Click the Start button
• Locate and click the program’s name in the submenus
• An open or running program– A program which has been started

New Perspectives on Windows XPTutorial 1
XPStarting and Closing a Program
Figure 1-12 shows how a program can be started using the Start menu

New Perspectives on Windows XPTutorial 1
XPStarting and Closing a Program
• Program button– Appears on the taskbar for each open program
– Click to switch between open programs
• Close button– Located in the upper-right corner of the program
window
– Click to close the program

New Perspectives on Windows XPTutorial 1
XPStarting and Closing a Program
Figure 1-13 shows a program button and a Close button

New Perspectives on Windows XPTutorial 1
XPRunning Multiple Programs
• Multitasking– Ability to run multiple programs on Windows XP at the
same time
– Allows the user to work on more than one project at a time

New Perspectives on Windows XPTutorial 1
XPSwitching Between Programs
• Program buttons– Located on the taskbar
– Offer the easiest way to switch between programs

New Perspectives on Windows XPTutorial 1
XPUsing the Quick Launch Toolbar
• Toolbars– Sets of buttons that give single-click access to programs or
documents
• Quick Launch toolbar (shown in Figure 1-16)– Gives quick access to
• Internet programs• Desktop

New Perspectives on Windows XPTutorial 1
XPClosing Inactive Programs from the Taskbar
• Options for closing a program– Use the Close button on the title bar of the program window
– Use the shortcut menu associated with the program button on the taskbar (shown in Figure 1-17)

New Perspectives on Windows XPTutorial 1
XPShutting Down Windows XP
• Turn Off Computer option– Located on the Start menu
– Turns off the computer
• Log Off option– Located on the Start menu
– Logs off Windows XP but leaves the computer on
Figure 1-18 shows the Turn Off button

New Perspectives on Windows XPTutorial 1
XPAnatomy of a Window
• A window– A rectangular area of the screen that may contain
• A program
• Text
• Graphics
• Data

New Perspectives on Windows XPTutorial 1
XPAnatomy of a Window
• Controls– Located in a window– Graphical or textual objects used for
• Manipulating the window• Using the program
– Examples• Menu bar• Sizing buttons• Status bar• Title bar• Toolbar• Workspace

New Perspectives on Windows XPTutorial 1
XPAnatomy of a Window
Figure 1-20 shows WordPad window controls

New Perspectives on Windows XPTutorial 1
XPManipulating a Window
• Buttons on the right side of the title bar– Close button
• Closes a program
– Minimize button• Hides a window
– Third button• Changes name and function depending on the status of the
window• Either
– Maximizes the window– Restores the window to a predefined size

New Perspectives on Windows XPTutorial 1
XPMinimizing a Window
• Minimize button– Hides a window
– Can be used to hide a window temporarily but keep the program running

New Perspectives on Windows XPTutorial 1
XPRedisplaying a Window
• To redisplay a minimized window– Click the program’s button on the taskbar

New Perspectives on Windows XPTutorial 1
XPMaximizing a Window
• Maximize button– Enlarges a window so that it fills the entire screen
– Allows the user to see more of the program and data

New Perspectives on Windows XPTutorial 1
XPRestoring a Window
• Restore button– Reduces the window
– Useful for• Seeing more than one window at a time
• Moving the window to another location on the screen
• Changing the dimensions of the window

New Perspectives on Windows XPTutorial 1
XPMoving a Window
• To drag an object– Click an object and then hold down the mouse button
while moving the mouse
• To move a window– Drag the window by its title bar

New Perspectives on Windows XPTutorial 1
XPChanging the Size of a Window
• Options for changing a window’s size– Sizing handle
• Located at the lower-right corner of the window
– Window borders• Can be dragged left, right, up, or down

New Perspectives on Windows XPTutorial 1
XPChanging the Size of a Window
Figure 1-22 shows a sizing handle

New Perspectives on Windows XPTutorial 1
XPUsing Program Menus
• Menus– Organize a program’s features and available functions
• Menu bar– Typically located at the top of the program window
– Shows the names of the menus

New Perspectives on Windows XPTutorial 1
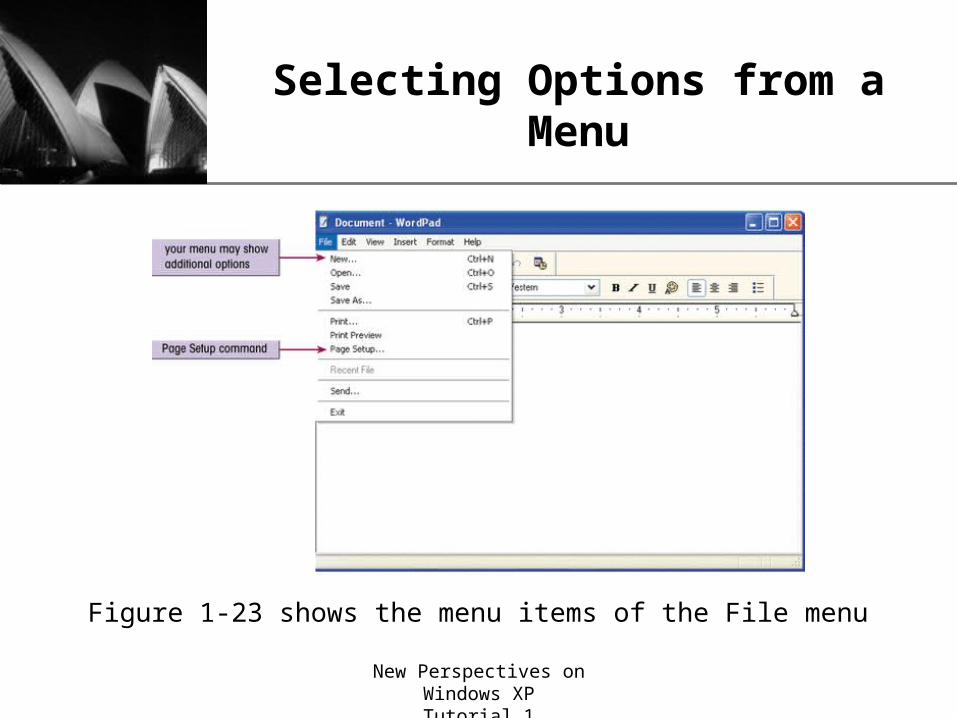
XPSelecting Options from a Menu
• Menu items or commands– Choices for a menu
– Appear when a menu name is clicked
– Possible actions when clicked• Immediately carry out an action
• Show submenus
• Ask the user for more information about the desired action
New Perspectives on Windows XPTutorial 1
XPSelecting Options from a Menu
Figure 1-23 shows the menu items of the File menu

New Perspectives on Windows XPTutorial 1
XPSelecting Options from a Menu
• Menu conventions– Visual hints about what to expect when an item is
selected
– Examples:• Check mark
• Ellipsis
• Triangular arrow
• Grayed-out option
• Keyboard shortcut

New Perspectives on Windows XPTutorial 1
XPSelecting Options from a Menu
Figure 1-24 shows examples of Windows XP menu conventions

New Perspectives on Windows XPTutorial 1
XPUsing Toolbars
• Toolbars in the program window– Provide one-click access to frequently used commands
– Have buttons grouped and organized by tasks
• To perform a command– Select a toolbar button by clicking it
New Perspectives on Windows XPTutorial 1
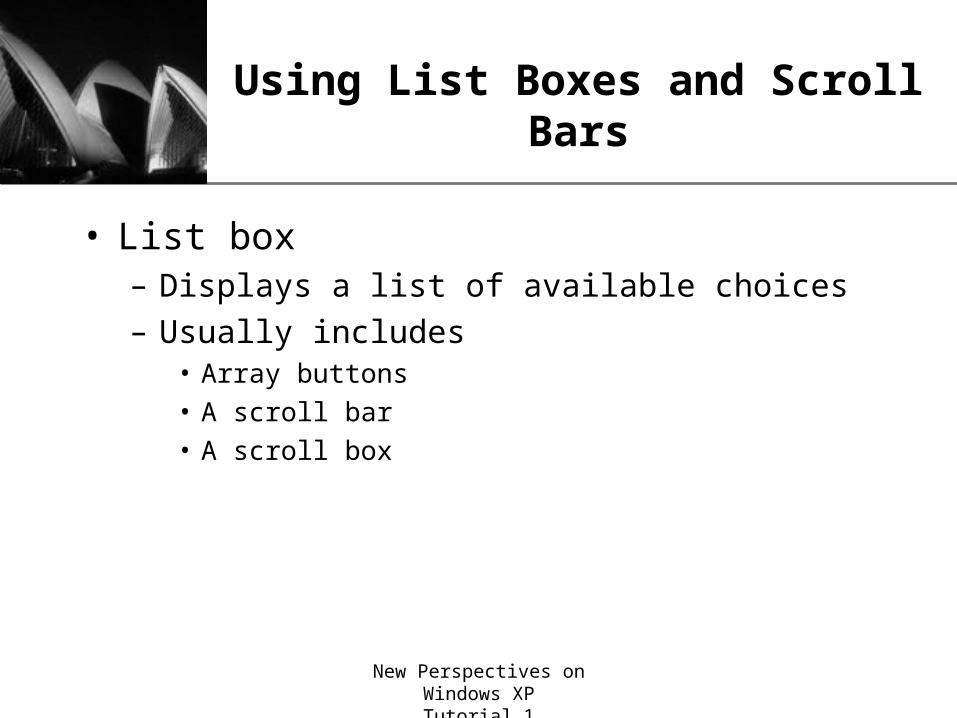
XPUsing List Boxes and Scroll Bars
• List box– Displays a list of available choices
– Usually includes• Array buttons
• A scroll bar
• A scroll box

New Perspectives on Windows XPTutorial 1
XPUsing List Boxes and Scroll Bars
Figure 1-27 shows the list box in the Date/Time dialog box

New Perspectives on Windows XPTutorial 1
XPUsing List Boxes and Scroll Bars
• Some list boxes allow the user to type the desired option– These list boxes have a list arrow
Figure 1-28 shows the Font Size list arrow

New Perspectives on Windows XPTutorial 1
XPUsing Dialog Box Controls
• Dialog box– Opens when a menu command or item followed by an
ellipsis is selected
– Allows the user to provide more information about how a program should carry out a task
– Groups different kinds of information in panes• Panes: bordered rectangular areas

New Perspectives on Windows XPTutorial 1
XPUsing Dialog Box Controls
• Common dialog box controls– Tabs
– Option buttons
– Check boxes
– Spin boxes
– Text boxes
• Figure 1-29 shows examples of dialog box controls

New Perspectives on Windows XPTutorial 1
XPUsing Dialog Box Controls

New Perspectives on Windows XPTutorial 1
XPUsing Help
• Windows XP Help– Provides on-screen information about programs
– Available by• Clicking the Start button and selecting Help and Support from
the Start menu
• Windows Help and Support Center window– Provides access to
• Help files stored on the computer
• Help information stored on Microsoft’s Web site

New Perspectives on Windows XPTutorial 1
XPUsing Help
Figure 1-31 shows the Windows XP Help and Support Center window

New Perspectives on Windows XPTutorial 1
XPUsing Help
• Windows XP Help and Support window– Organizes information into pages
• Home page
• Index page
• Favorites page
• History page
• Support page
• Options page
– Search box• Used to search for keywords contained in Help pages
Related Documents