Windows built-in troubleshooting tools

Windows Utility Tools
Dec 09, 2015
Utility Tools Windows
Welcome message from author
This document is posted to help you gain knowledge. Please leave a comment to let me know what you think about it! Share it to your friends and learn new things together.
Transcript

Windows built-in troubleshooting tools

Windows Utility tools
• Windows utilities are protecting the PC from sluggishness.
• Therefore it is advisable to use them in a week once.
• Used to troubleshoot minor errors that occur within the operating system.

troubleshooting tools and resources are the following
• CHKDSK ( Check Disk)• Scan disk(SCANDISK) • Disk clean up• Disk defragmenter• System Information(Msinfo32.exe)• Device manager • DirectX Diagnostic Tool (dxdiag)• Dr. Watson (debugging program)• Program Compatibility Wizard• System Configuration Utility(msconfig.exe)• System restore • Event Viewer • Sfc/scannow• Windows Registry• Back up-----notes to be added

Scan Disk (Check Disk)• You can use the Windows SCANDISK utility to
correct problems with • corrupt files • disk errors• CHKDSK can be used as a command-line tool,
or is available through the Windows GUI• Here is a list of the switches you can use with
CHKDSK:

• /f CHKDSK attempts to fix any errors that it finds.• /v On a FAT or FAT32 file system volume, CHKDSK will display the name and
full path of every file on the disk. On an NTFS volume, this switch displays relevant information on any actions CHKDSK performs.
• /r CHKDSK attempts to locate bad sectors and recover any readable data from
them.• /x Attempts to dismount the volume you want CHKDSK to scan. This switch
will not work on the boot volume (the volume that contains the Windows operating files).
• /i Forces CHKDSK to use a less complex scan of index entries, which reduces
the amount of time CHKDSK takes to run. This switch is relevant for NTFS volumes only.
• /c Similar to the /i switch; it forces CHKDSK to skip over verifying the cycles in
the folder structure of the volume being scanned.
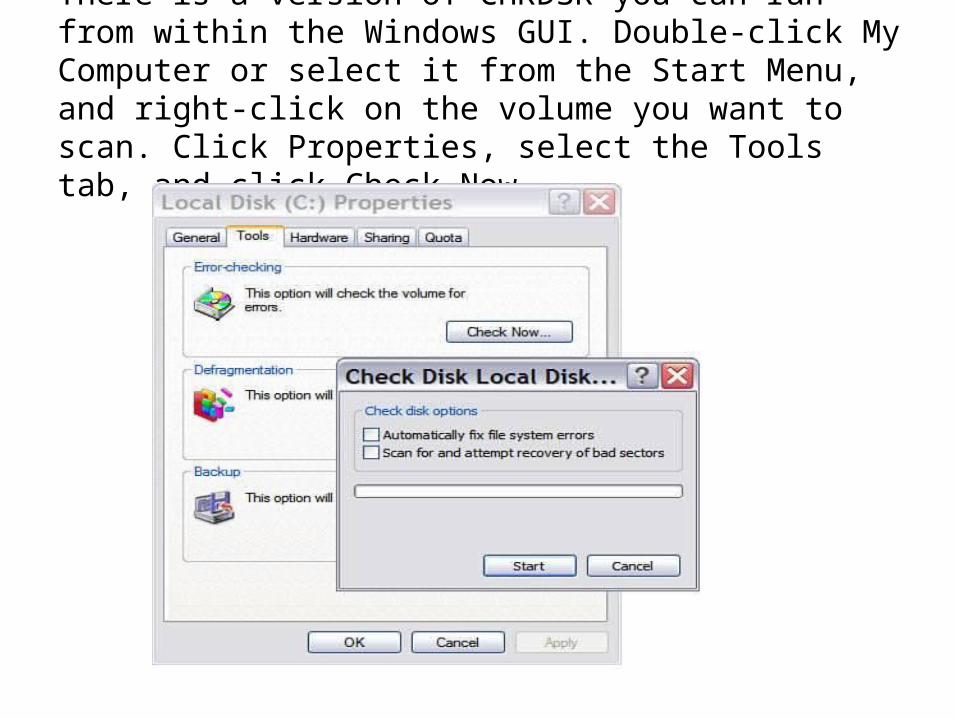
There is a version of CHKDSK you can run from within the Windows GUI. Double-click My Computer or select it from the Start Menu, and right-click on the volume you want to scan. Click Properties, select the Tools tab, and click Check Now

From here, you can select three options:1. Run CHKDSK in read-only mode (finds errors but
doesn't repair them) by clicking Start.
2. Run CHKDSK with the Automatically Fix File System Errors check box selected. This is the equivalent of running CHKDSK with the /f switch.
3. Run CHKDSK with the Scan For And Attempt Recovery Of Bad Sectors check box selected. This is the equivalent of running CHKDSK with the /r switch.

Disk Clean UPHard disk is full of trash. You never see that a window keeps for
you. Here are a few examples. Files in the recycle bin: temporally deleted files Temporary internet Files: when you are using internet. Downloaded Program files: your system always keeps a copy
of any Java ActiveX applets that it downloads. Temporary Files: many applications create temporary files
that are supposed to be deleted when the application closed. For one reason or the other these temporary files are not deleted. The locations of these files are always reside in a folder called TEMP. Removing these unnecessary files has a great roll on the speed of the computer. To do so, follow the following steps.

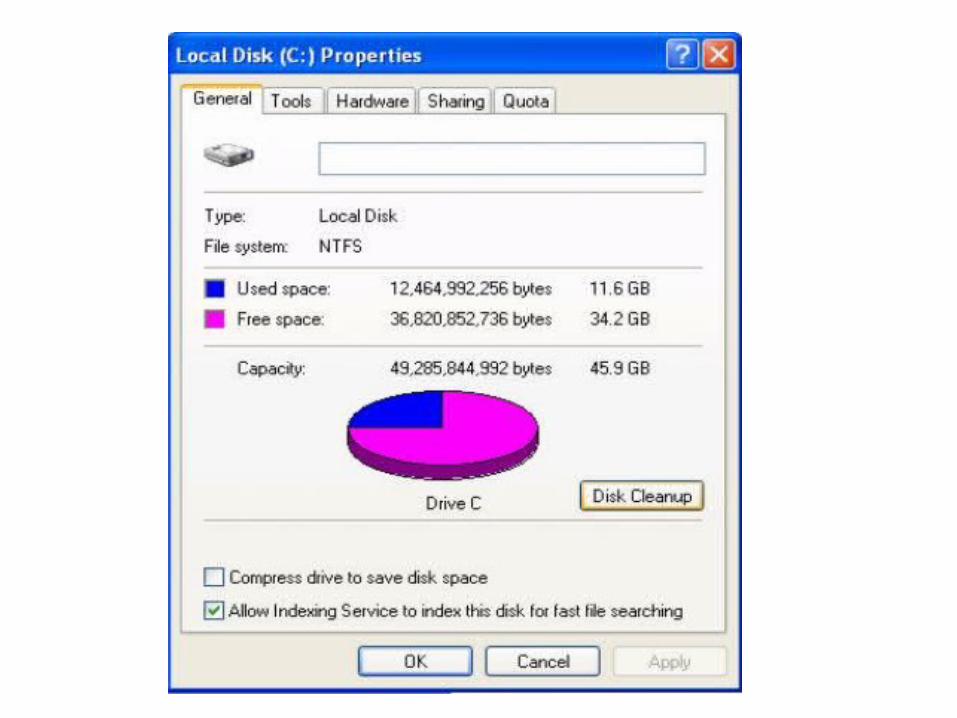
open My computer right click on the drive(partition) Click properties Click General tab Click Disk Clean Up Button Or Startprogramsaccessoriessystem tools
disk clean up

Disk Defragmenter Information stored on hard drives using the Windows filesystems FAT 32 and NTFS are prone to file fragmentation. As data are added to the drive, they are written sequentially on the drive platters; as information is accessed and edited,however, parts of the files are moved out of sequence. Defragmenting the drive improves read performance.
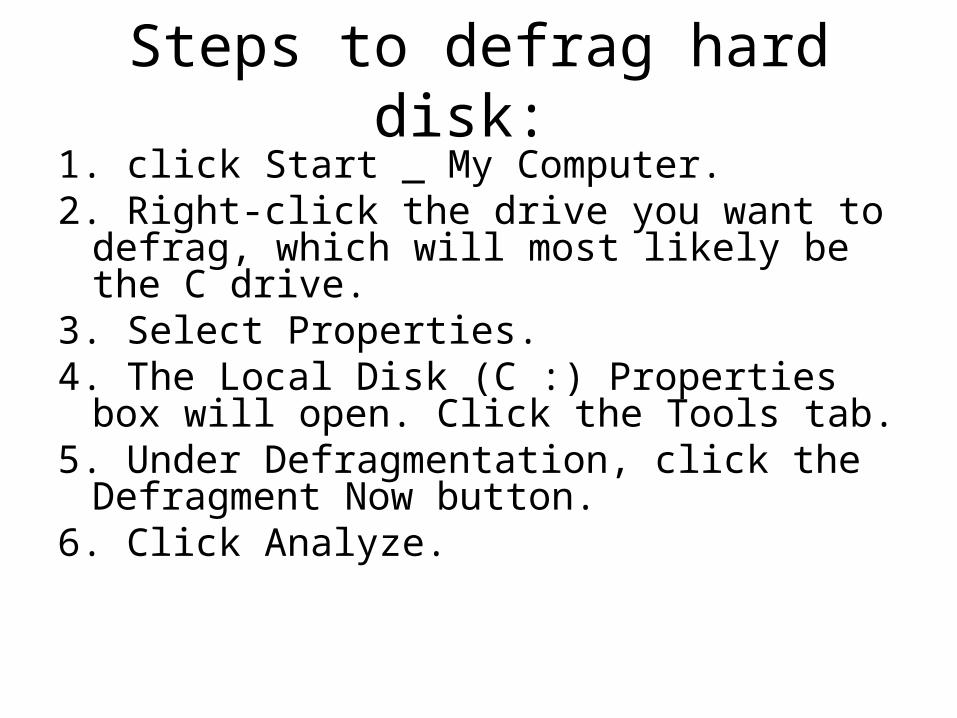
Steps to defrag hard disk: 1. click Start _ My Computer. 2. Right-click the drive you want to defrag, which
will most likely be the C drive. 3. Select Properties. 4. The Local Disk (C :) Properties box will open. Click
the Tools tab. 5. Under Defragmentation, click the Defragment
Now button. 6. Click Analyze.


Windows XP System Information (Msinfo32.exe)
• System Information collects system information, such as
• devices that are installed in your computer• device drivers that are loaded in your
computer• provides a menu for displaying the
associated system topics

System Summary The System Summary category provides a general profile of
your computer. This information includes: • The version of Windows • OEM System Information (manufacturer, model, and type) • The type of central processing unit (CPU) • The amount of memory and system resources • BIOS version • Locale • Time zone • computer is configured to log into a domain) • Boot device (if multiple devices are present on the
computer) • The path to the Page file

To start Microsoft System Information, use either of the following methods:
1. Click Start, point to Programs, point to Accessories, point to System Tools, and then click System Information.
2. Click Start, click Run, type msinfo32.exe in the Open box, and then click OK.

System restore • Start Programs Accessories System
Tools System Restore• This wizard helps to restore system to the
chosen restore point of the user.• The system asks for date and time of last good
configuration that the system was performing well. The user have the option of selecting the date and clicks next.
• The system restores the files and then the computer restarts automatically.

Device manager • Device Manager provides a graphical view of the
hardware that is installed on the computer, as well as the device drivers and resources associated with that hardware
• To access Device Manager, use any of the following methods:
Click Start, click Run, and then type devmgmt.msc. Right-click My Computer, click Manage, and then click
Device Manager. Right-click My Computer, click Properties, click the
Hardware tab, and then click Device Manager.

Device Manager allows the following functionality Determine if the hardware on your computer is working
properly. Change hardware configuration settings. Identify the device drivers that are loaded for each device
and obtain information about each device driver. Change advanced settings and properties for devices. Install updated device drivers. Disable, enable, and uninstall devices. Reinstall the previous version of a driver. Identify device conflicts and manually configure resource
settings. Print a summary of the devices that are installed on your
computer.
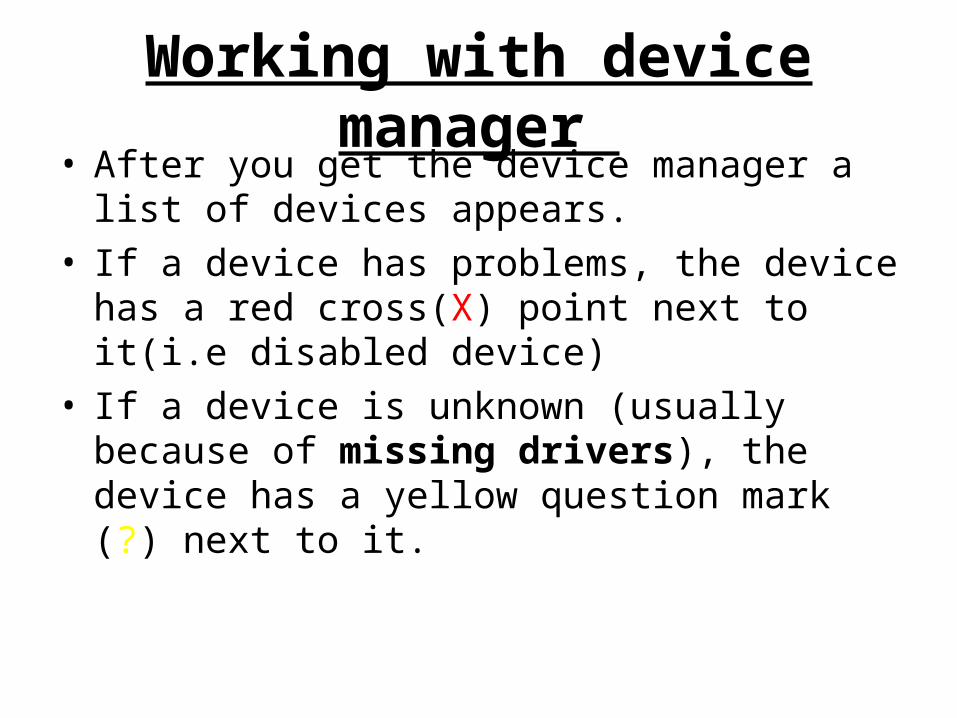
Working with device manager • After you get the device manager a list of devices
appears.• If a device has problems, the device has a red
cross(X) point next to it(i.e disabled device)• If a device is unknown (usually because of missing
drivers), the device has a yellow question mark (?) next to it.

identifying the error codes and finds the solution.
Code 1 • This device is not configured correctly. (Code 1) Cause • The device has no drivers installed on your computer, or
the drivers are configured incorrectly. Recommended resolution • Update the driver • You may be prompted to provide the path of the driver.
Windows may have the driver built-in, or may still have the driver files installed from the last time that you set up the
device. If you are asked for the driver and you do not have it, you can try to download the latest driver from the hardware vendor’s Web site.

Code 3 • The driver for this device might be corrupted, or your
system may be running low on memory or other resources. (Code 3)
Recommended resolutions Here are some things that you can try to resolve
this problem. Close some open applications If the computer has insufficient memory to run
the device, you can close some applications to make memory available. You can also check memory and system resources, and the virtual memory settings.
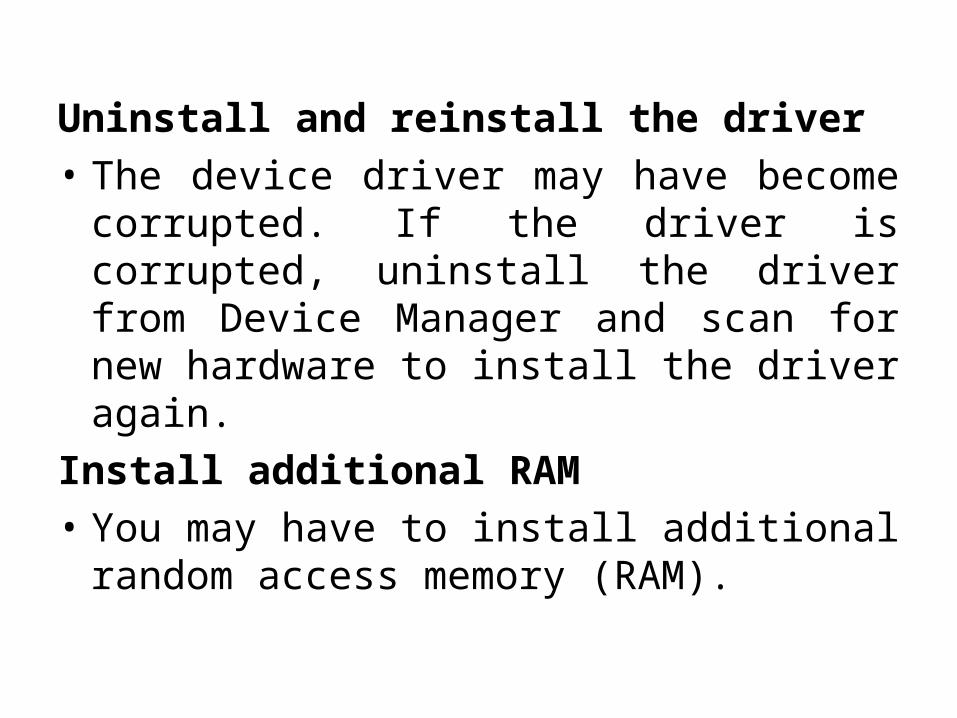
Uninstall and reinstall the driver • The device driver may have become
corrupted. If the driver is corrupted, uninstall the driver from Device Manager and scan for new hardware to install the driver again.
Install additional RAM • You may have to install additional random
access memory (RAM).

Code 14 • This device cannot work properly until you
restart your computer. (Code 14) Recommended resolution Restart your computer • Click Start, click Shut Down, and then select
Restart in the Shut Down Windows dialog box to restart the computer.
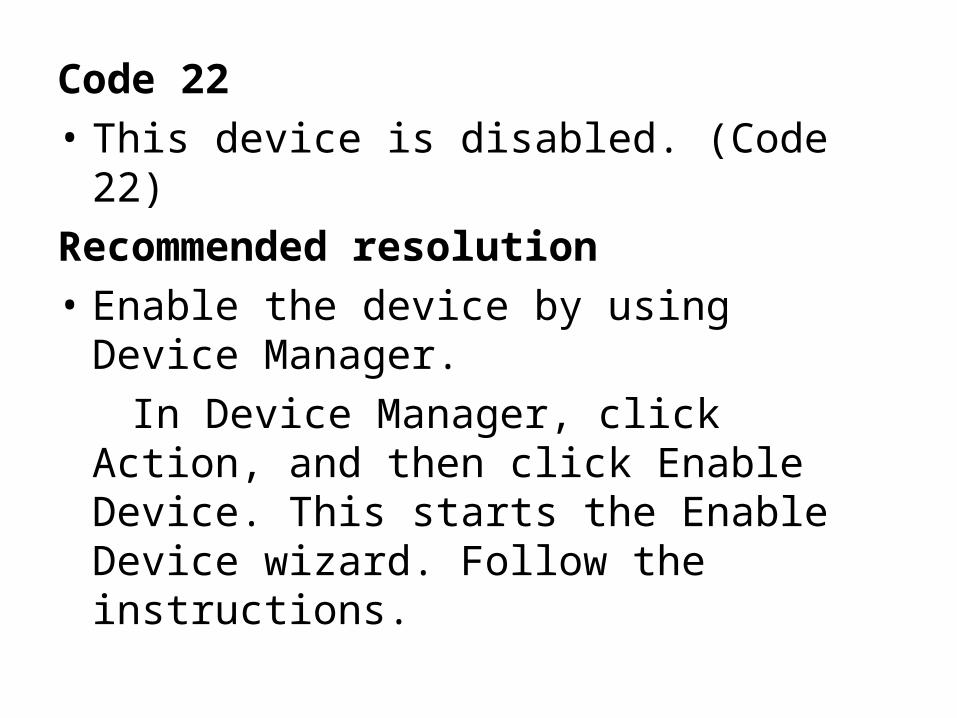
Code 22 • This device is disabled. (Code 22) Recommended resolution• Enable the device by using Device Manager. In Device Manager, click Action, and then click
Enable Device. This starts the Enable Device wizard. Follow the instructions.
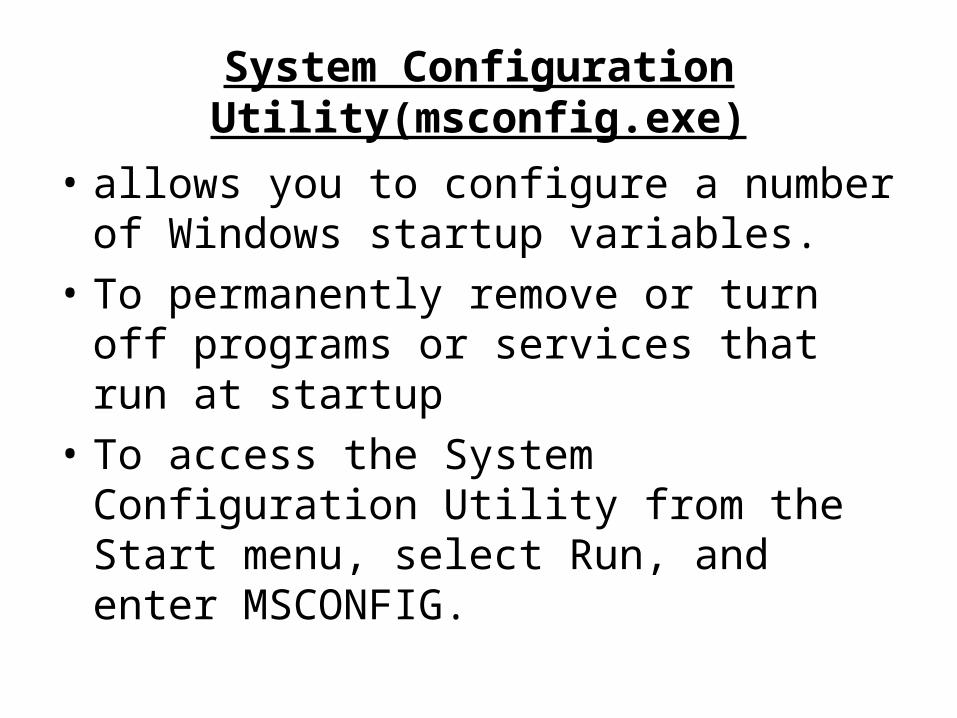
System Configuration Utility(msconfig.exe)
• allows you to configure a number of Windows startup variables.
• To permanently remove or turn off programs or services that run at startup
• To access the System Configuration Utility from the Start menu, select Run, and enter MSCONFIG.
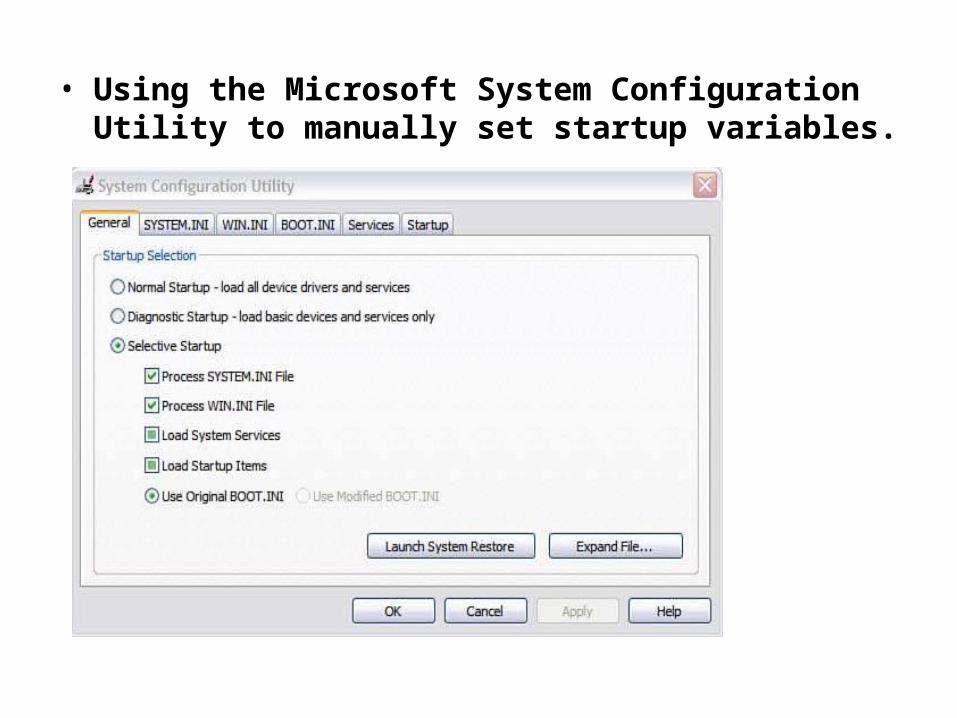
• Using the Microsoft System Configuration Utility to manually set startup variables.
Program Compatibility Wizard• is used as a workaround for compatibility issues with a program
that was released for an earlier version of Windows that has trouble functioning under Windows XP.
• The Program Compatibility Wizard can be launched from the Start menu by choosing All Programs, Accessories. Alternatively, you can right-click on a program's launch file or shortcut, select Properties, and then click on the Compatibility tab.
• You can choose to run a program in one of the following Windows compatibility modes for Windows 95, 98, Me, NT4.0 (SP5), and 2000. The Program Compatibility Wizard also offers three display options for older programs:
Run in 256 Colors Run in 640x480 Screen Resolution Disable Visual Themes
DirectX Diagnostic Tool (DXDIAG.EXE)
• tells you which version of DirectX is installed on your system.
• displays information regarding the various DirectX-related drivers, and provides a series of user-initiated diagnostic tests you can use to determine if DirectX and the hardware devices it interacts with are functioning normally.
• To launch it, go to the Start menu, select Run, and type DXDIAG.EXE.

Dr. Watson (debugging program)• is a software debugging program that, in the event of an application
crash, writes debugging information to a log file that can be used by a programmer or software technical support expert to troubleshoot the application.
• the system failure or "crash" analysis tool• You can set Windows to report problems and check for solutions
automatically• To view the Dr. Watson setup dialog box from the Start menu, select Run,
type DRWTSN32
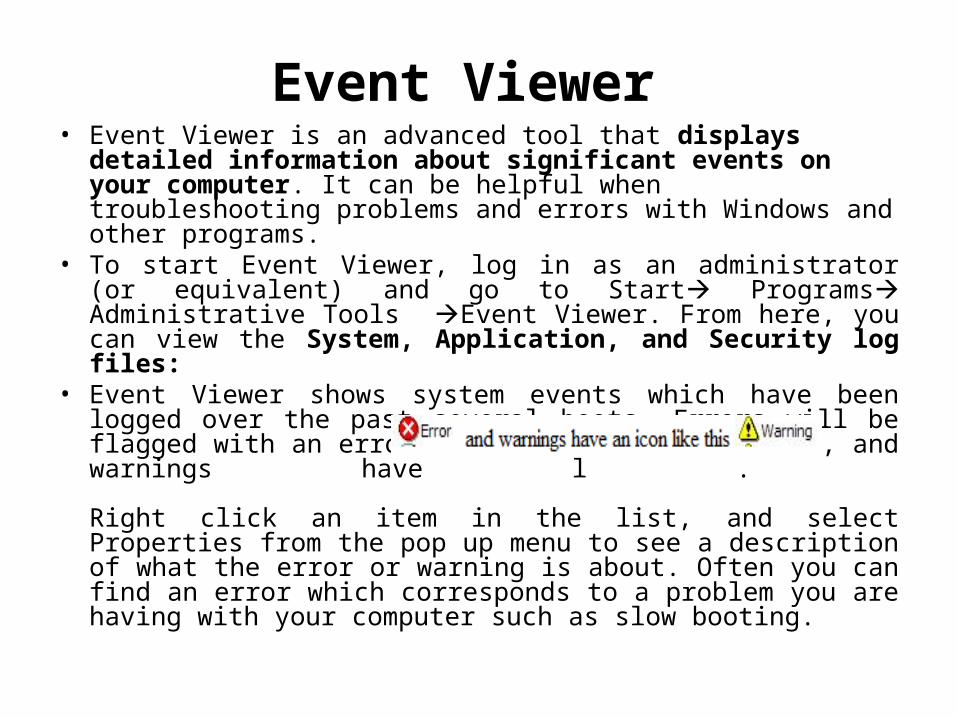
Event Viewer • Event Viewer is an advanced tool that displays detailed
information about significant events on your computer. It can be helpful when troubleshooting problems and errors with Windows and other programs.
• To start Event Viewer, log in as an administrator (or equivalent) and go to Start Programs Administrative Tools Event Viewer. From here, you can view the System, Application, and Security log files:
• Event Viewer shows system events which have been logged over the past several boots. Errors will be flagged with an error icon that looks like this, and warnings have l .
Right click an item in the list, and select Properties from the pop up menu to see a description of what the error or warning is about. Often you can find an error which corresponds to a problem you are having with your computer such as slow booting.

Windows log includes:Application log• The Application log contains events logged by applications or programs.
For example, a database program might record a file error in the application log. Program developers decide which events to log.
Security log• The Security log contains events such as valid and invalid logon attempts,
as well as events related to resource use, such as creating, opening, or deleting files or other objects. Administrators can specify what events are recorded in the security log. For example, if you have enabled logon auditing, attempts to log on to the system are recorded in the security log.
Setup log• The Setup log contains events related to application setup.System log• The System log contains events logged by Windows system components.
For example, the failure of a driver or other system component to load during startup is recorded in the system log. The event types logged by system components are predetermined by Windows.

sfc /Scannow - System File Checker
• Type this command into the Start, Run box, and hit the Ok button with your mouse to start the System File Checker, which verifies all system files, and replaces them from the system files cache if they are found to be of the incorrect version. This can replace files replaced by virus infections, or other problems.

The Windows registry The Windows XP Registry is the central repository in
which Windows and most Windows applications store configuration information, such as
• hardware settings• software configuration• licensing and registration data• associations between filename extensions and
applications, and user preferences.

Editing the Registry
• You can use Registry Editor to add and edit registry keys and values, restore the registry from a backup or to default values, and to import or export keys for reference or backup.
• displays a representation of the Registry using an interface that is similar to the familiar layout of folders and files as viewed through Windows Explorer.
To run it, click Start, Run and enter regedit.

Backing Up the Registry
• It is highly advisable to back up the registry before editing so that incorrect changes can be undone
• To back up the Registry, choose the Export Registry File command under the Registry menu (or File Export in later versions). This command allows you to save the Registry file to
a backup media. You can restore it later by choosing the import Registry File command under the Registry menu.
Related Documents