Report on Right Arm Printing and Assembling Team Navateja Reddy Kothakapu Grant Cazinha Ahmed Abdulkareem

Welcome message from author
This document is posted to help you gain knowledge. Please leave a comment to let me know what you think about it! Share it to your friends and learn new things together.
Transcript

Report on
Right Arm Printing and Assembling
TeamNavateja Reddy Kothakapu
Grant CazinhaAhmed Abdulkareem

Preface
The purpose of the report is to guide through the building of right arm for the inmoov humanoid robot. The complete arm building instructions can be found at inmoov.fr, this documentation only shows all the problems we faced and how we solved them, tools required ,3D printing the parts etc.

Index
3D printing the parts 1.0 3D Printing 1.1 3D Printer selection 1.2 Cura 1.3 Arm STL files and printing Tools 2.0 Screws, Bolts and miscellaneous items 2.1 Servos 2.2 Fishline Assembling 3.0 ForeArm 3.1 Wrist 3.2 Hand
References

3D printing the parts___________________________________1.0 3D Printing
3D printing is a additive manufacturing process of making three dimensional solid object from the digital files. In additive process object is created by laying down the successive layers until object is finished. Each these layers can be seen as thinly sliced horizontal cross section of the eventual object.
The first step in 3D printing is making a virtual design you want to print using CAD(computer aided tools) like Blender[1], SketchUp 3D[2] etc. After completing the virtual 3D design the 3D model is exported to STL(STereoLithography)[3] file, then the STL file is uploaded to the 3D printer to start printing the object.
1.1 3D Printer Selection
The selection of 3D printer depends on how fine quality you want your object to be printed. In the case of our arm we had two option Ultimaker 2[4] 3D printer andMojo 3D[5] printer
Fig 1.1.0 Ultimaker 2 Fig 1.1.1 Mojo

MojoRetail price : $6000Material Used for printing: ABS+[6]
PSU price for printing : $8/cubic inch
Objects printed with industrial quality
Ultimaker 2Retail Price : $2500Material Used for printing: PLA[7]
PSU price for printing : $.50/meter
Ultimaker 2 printed objects are of less quality compared to Mojo. Perfect for short term academic projects.
With concern of project budget all the arm parts are printed using Ultimaker 2, the small parts like gears, fingers etc are printed with ulti quality(see section 1.2) so that they won’t broke during assembling. Ultimaker 2 supports only 2.85mm filament.
fig 1.1.0 PLA Material
1.2 Cura

Cura is developed by Ultimaker to make 3D printing as easy and streamlined as possible. It includes everything you need to prepare a 3D file for printing and to print it. Cura is fully preconfigured to work on the Ultimaker. Cura comes with a friendly setup program that help you install the latest firmware[8] as well as calibrate your printer. The latest version of cura can be downloded for free from https://ultimaker.com/en/products/cura-software .
fig 1.2.0 : Cura interface
Follow the following steps for starting the parts printing
1. Load a 3D model (STL file) into Cura via the “Load” button.
2. Select one of the profiles(shown below) to use for your print. Use Normal quality for big parts, High quality for medium size parts and ulti quality for tiny parts.
3. After you have done the settings and Cura has converted the file, you can save the print file (G-code file[9]) via the “Save toolpath” button to your computer or directly on the SD card when inserted.
4. At last, you can simply eject the SD card from your computer (make sure to safely remove it) and place the it in your Ultimaker to start the print.
Print profiles

Profile Layer Height Shell Thickness Fill density
Fast print 0.15 mm 1 mm 30%
Normal quality 0.1 mm 0.8 mm 30%
High quality 0.06 mm 0.8 mm 30%
Ulti quality 0.04 mm 0.8 mm 30%
1.3 Arm STL files and Printing
As mentioned previously we need digital format(STL files) of virtual objects to print. In the case of inmoov arm, the STL files are readily available on the inmoov website which can be downloaded and use for printing the parts. Parts can be downloaded from http://inmoov.fr/inmoov-stl-parts-viewer/ . All the parts are printed with 30% infill/fill density.
The files required and approximate time taken for printing individual parts are listed below
Right Hand file names Time Taken for Printing(in hrs)
ardiuinosupport 3
Auriculaire3 2.5
Bolt_entretoise7 4
coverfinger1 4
Index3 7
Majeure3 7
ringfinger3 5.4
robcap3 5.4
robpart2 5.4
robpart5 8.7
thumb5 5.4
topsurface4 8.7
Wristlarge 7
Wristsmall 8.7
Total Time : 82.2 hours

Right Wrist file names Time Taken for Printing(in hrs)
WristGears 1.5
cableholderwrist 1.5
rotawrist1 11
rotawrist2 6
rotawrist3 2.7
Total Time: 22.7 hours
RIght Forearm file names Time Taken for Printing(in hrs)
RobRing 5.5
RobServoBed 13robpart3 8.7
robpart4 8.7servo-pulleyX5 3.8
RobCableBack 2RobCableFront 3.5
TensionerRight 4Total Time: 49.2 hours
The approximate total time taken for printing all required parts is 154.1 hrs(6.5 days).
Tools___________________________________

2.0 Screws, Bolts and miscellaneous items
Screws and boltsThis section list out the all screws, bolt and other miscellaneous items required for assembling the arm. Screws, bolts and springs can be found at ABS Hardware tools(in store). Epoxy Glue and grease can be found at Amazon.com(Online).
List of the screws and bolts required
Screw Allen countersunk
● M3x20MM about 50● M4x20MM about 50● M8x100MM about 15
Phillips Flat-Head Wood Screws
● M3x12MM, about 100 for small servos● M4x20MM, about 50 for big servos
Miscellaneous itemsThe list of miscellaneous item required are listed below

● Alex Plus grease(amazon.com)~$5.23
● Gorilla Epoxy(amazon.com) ~$3.91
2.1 Servos
The list of servos required are listed below
5# - HobbyKing HK15298 High voltage coreless digital servo(~$21) - For the fingers1# - MG996 servo(~$23) - For the Wrist
2.2 FishLine
The recommended fishline by inmoov.fr is 200LB braided fishline but for the design of present right arm we used 20LB braided fishline which also showed good results.
Assembling ___________________________________

Most of the assembling is done by following the instructions on inmoov.fr. Few changes we made are described in this section. The instructions can be found at http://inmoov.fr/hand-and-forarm/
The interactive PDF, 3D view and assembling video will be very handful while assembling. They can be downloaded fromRight Hand PDF : http://inmoov.fr/sketch-3d-hand/Forearm PDF: http://inmoov.fr/sketch-3d-forarm/3D View : http://inmoov.fr/build-yours/hand-and-forarm-assembly-3d-views/Video : http://inmoov.fr/hand-videos/
3.0 ForeArm
Before starting the assembling trim all the extra material on the parts. Follow the instructions described on http://inmoov.fr/hand-and-forarm/.
Precautions during assembling:● Make sure the Epoxy does not spread to the surface of the parts.● Don’t screw and unscrew the bolts repeatedly because PLA material is not so durable
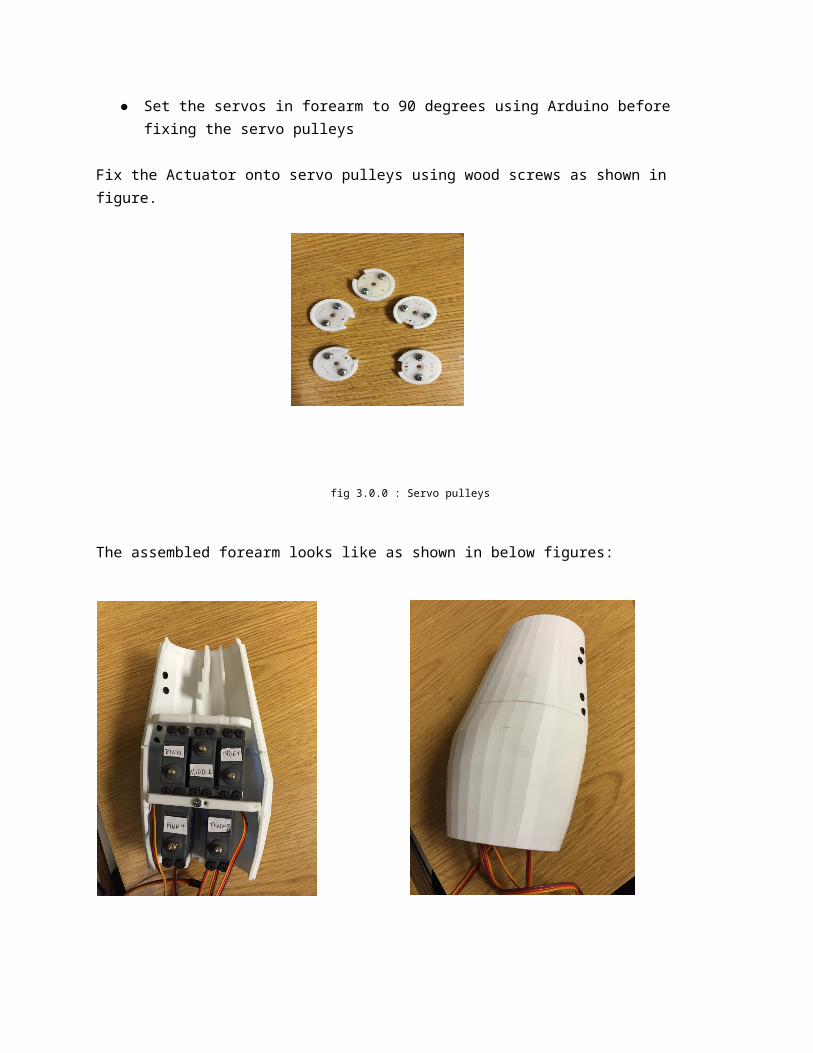
and may strip the threads in the parts.● Set the servos in forearm to 90 degrees using Arduino before fixing the servo pulleys
Fix the Actuator onto servo pulleys using wood screws as shown in figure.
fig 3.0.0 : Servo pulleys
The assembled forearm looks like as shown in below figures:
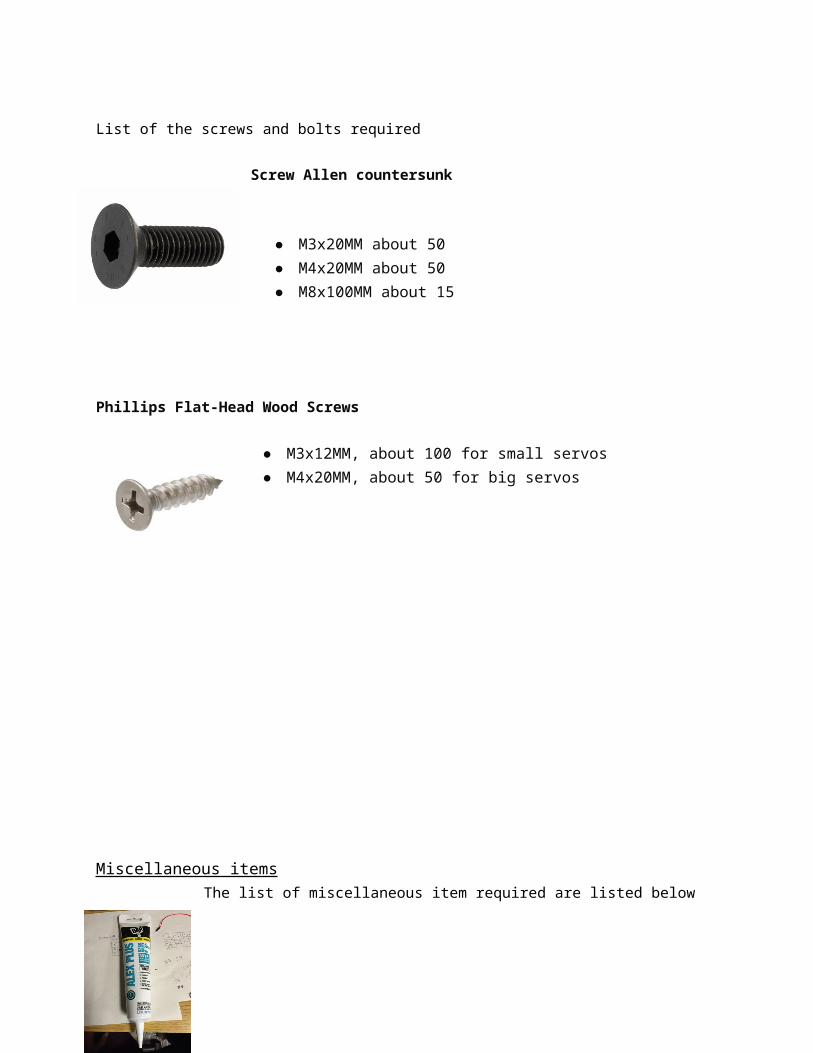
fig 3.0.1(a) fig 3.0.1(b)
fig 3.0.1(c)
fig 3.0.1(a)(b)(c) : Assembled forearm
3.1 Wrist
Be very careful while assembling the wrist part as the parts will broke easily. Follow the instructions at http://inmoov.fr/hand-and-forarm/.
Precautions during assembling:
● Don’t forget to apply grease for the moving parts before assembling the wrist
The only change we made while assembling wrist is the way gears are fixed. In the instructions on inmoov.fr first the small gear is fixed to the servo on rotawrist1 and then mounted with big gear on rotawrist2 but it makes hard to mount small gear with the big gear due to no vision on the the gears while mounting. Instead mount small gear(fig 3.1.0) with big gear first in the rotawrist2(fig 3.1.1) and then mount it on to the rotawrist1 and fix small gear to the servo using screw(fig 3.1.2).
fig 3.1.0 fig 3.1.1
fig 3.1.2
3.2 Hand
We followed exact instructions on inmoov.fr for assembling the Hand. This section describes what problems we faced and how we fixed them
● During the redrilling of the finger hinges few finger hinges end up having bigger holes that make the filament to slip out of the holes. So to fix this we used glue to hold filaments in the holes(fig 3.2.0)
● Instead of knots use small cylindrical pieces to secure lining at the tips of the fingers(fig 3.2.1)
fig 3.2.0
fig 3.2.1
References
http://inmoov.frhttp://3dprinting.com/what-is-3d-printing/http://wiki.ultimaker.com/Cura
https://ultimaker.com/en/support/16582-preparing-a-print-filehttp://inmoov.fr/default-hardware-map/https://en.wikipedia.org/wiki/SketchUphttps://en.wikipedia.org/wiki/Blender_(software)https://en.wikipedia.org/wiki/STL_(file_format)http://www.digitaltrends.com/cool-tech/abs-vs-pla-3d-printing-materials-comparison/https://en.wikipedia.org/wiki/Firmwarehttps://en.wikipedia.org/wiki/G-code
1.Blender:Blender is a professional free and open-source 3D computer graphics software product used for creating animated films, visual effects, art, 3D printed models, interactive 3D applications and video games.
2.SketUp3D:SketchUp (formerly Google Sketchup) is a 3D modeling computer program for a wide range of drawing applications such as architectural, interior design, civil and mechanical engineering, film, and video game design
3.STL(STereoLithography):STL (STereoLithography) is a file format native to the stereolithography CAD software created by 3D Systems.
6.ABS:: ABS, short for Acylonitrile Butadiene Styrene, is an oil-based plastic. It is a strong, sturdy material that businesses widely use for constructing things such as plastic car parts, musical instruments, and the ever-popular Lego building blocks.
7.PLA : PLA, or Poly Lactic Acid, is made from organic material — specifically cornstarch and sugarcane.
8.firmware: permanent software programmed into a read-only memory.
9.G-code file: G-code (also RS-274), which has many variants, is the common name for the most widely used numerical control (NC) programming language. It is used mainly in computer-aided manufacturing to control automated machine tools.
Related Documents