Web I Introduction to Dreamweaver and Web Publishing

Web I Introduction to Dreamweaver and Web Publishing.
Dec 20, 2015
Welcome message from author
This document is posted to help you gain knowledge. Please leave a comment to let me know what you think about it! Share it to your friends and learn new things together.
Transcript

Web I
Introduction to Dreamweaver and Web
Publishing
Agenda
1. How do Web pages work? (5 minutes)
2. Web Site Management Issues (3 minutes)
3. Word Processing versus Web (4 minutes)
4. Using Dreamweaver - Hands On (75 minutes)
Objectives
• General understanding of Web pages
• Roles to be filled in Web development
• Working knowledge of Dreamweaver
How do Web pages work?
• HyperText Markup Language = html
• Web addresses
• Desktop vs. Server
• Web addresses are also referred to as “URL”s (uniform resource locators)
• The URL identifies a specific machine and a specific directory and file on that machine.
Anatomy of a Web Address

File Name- identifies the specific file you are viewing; HTML files can end .htm, .html, .shtml. Images can be .gif or .jpg
Anatomy of a Web Address, continued
HyperText Transfer Protocol- tells server what kind of conversation we want to have.
http://www.reed.edu/~gronkep/index.htmlwww.reed.eduhttp:// ~gronkep/
Domain Name- identifies the server you are contacting
index.html
Directory(s)- folders, like on a desktop machine
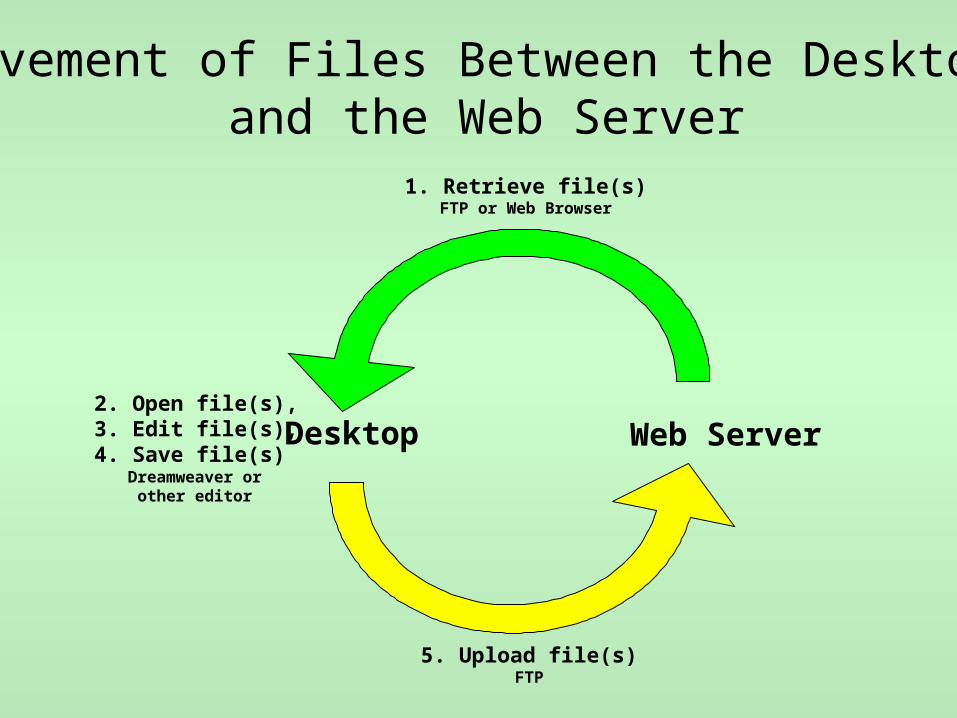
Desktop Web Server2. Open file(s),3. Edit file(s),4. Save file(s)
1. Retrieve file(s)FTP or Web Browser
5. Upload file(s)FTP
Movement of Files Between the Desktop and the Web Server
Dreamweaver orother editor
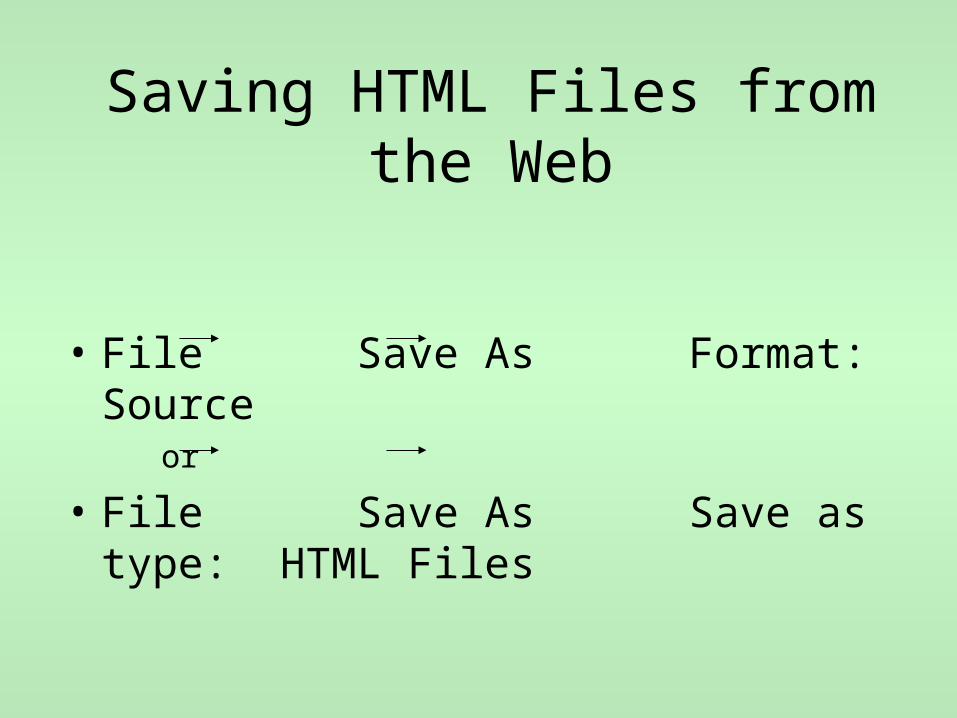
Saving HTML Files from the Web
• File Save As Format: Sourceor
• File Save As Save as type: HTML Files

Saving HTML Files from the Web, continued

Saving Images from the Web
• Right click on the image in the Web page.
• Click “Save Image As…” and save the file:

Uploading Files to a Web Server
•May be done by person who edits pages, or files may be delivered to another person
•For departmental sites, see local computer support personnel for details/assistance
•Instructions for uploading personal Web pages to Reed, contact CUS

Agenda
1. How do Web pages work? (5 minutes)
2. Web Site Management Issues (3 minutes)
3. Word Processing vs. Web (4 minutes)
4. Using Dreamweaver - Hands On (75 minutes)

Web Site Management Issues
• Four aspects– Social Conventions – Design Issues – Content/Structure– Technical
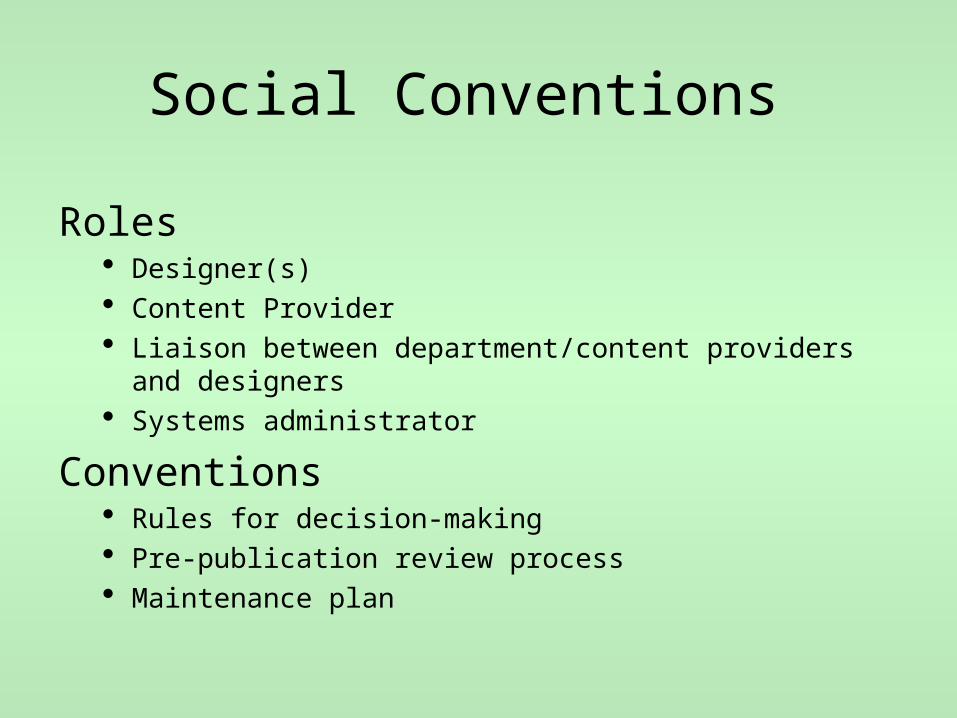
Social Conventions
Roles Designer(s) Content Provider Liaison between department/content providers and designers Systems administrator
Conventions Rules for decision-making Pre-publication review process Maintenance plan
Agenda
1. How do Web pages work? (5 minutes)
2. Web Site Management Issues (3 minutes)
3. Word Processing vs. Web (4 minutes)
4. Using Dreamweaver - Hands On (75 minutes)
Word Processing vs. Web
• On Web line breaks come in different sizes
• No tabs
• Extra spaces between words need coding

Word Processing vs. Web, continued
• Same Web page appears differently depending upon monitor, Web browser & operating system
• Limited number of “safe” fonts & colors

Agenda
Using Dreamweaver - Hands On (75 minutes)– The Dreamweaver Desktop
– Paragraphs vs. Line Breaks
– Formatting Text
– Creating Lists
– Creating Tables
– Hyperlinks & mailto:
– Anchors
– Images
The Dreamweaver Desktop
• The Properties Box– Window Properties
• Menu Overview

Paragraphs and Line Breaks
• Creating New Paragraph <p> – Press Enter– New text will be two lines down
• Creating Line break <br>– Press Shift-Enter– New text will be on next line– Both lines will be part of same paragraph
Indents and Extra Spaces
• Indenting– No ‘tabs’ available in Dreamweaver– Indenting a paragraph creates a “blockquote”
(indented equally on the right and left sides)
• Creating Extra Spaces– Dreamweaver will only allow one space
between words– Press Ctrl-Shift-Space to force extra spaces

Formatting Text
• Use Properties Box
Or
• ‘Text’ Menu
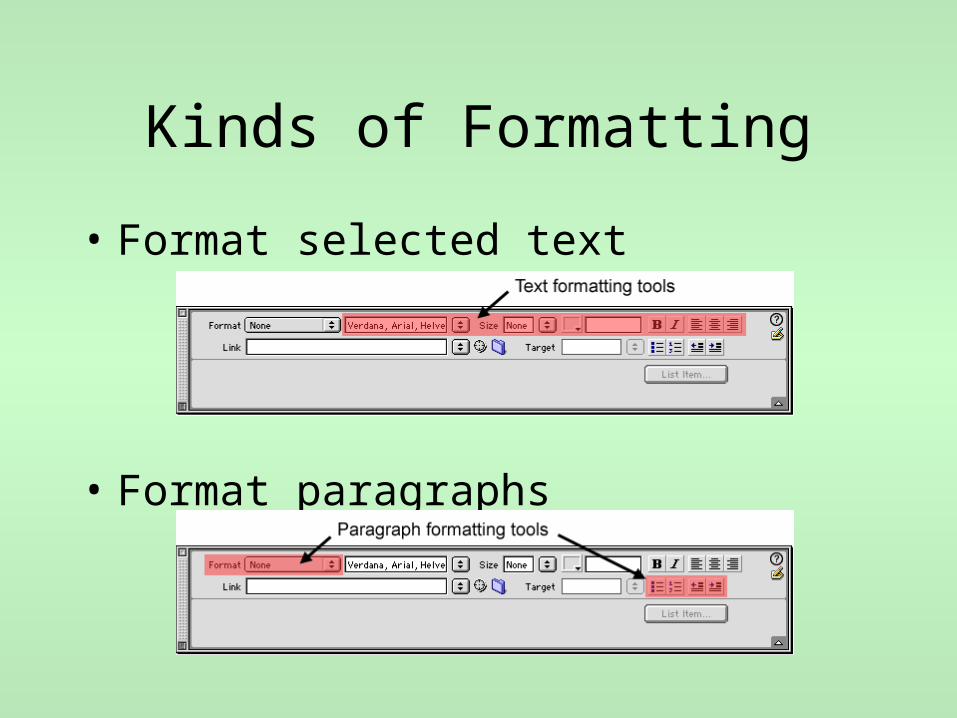
Kinds of Formatting
• Format selected text
• Format paragraphs
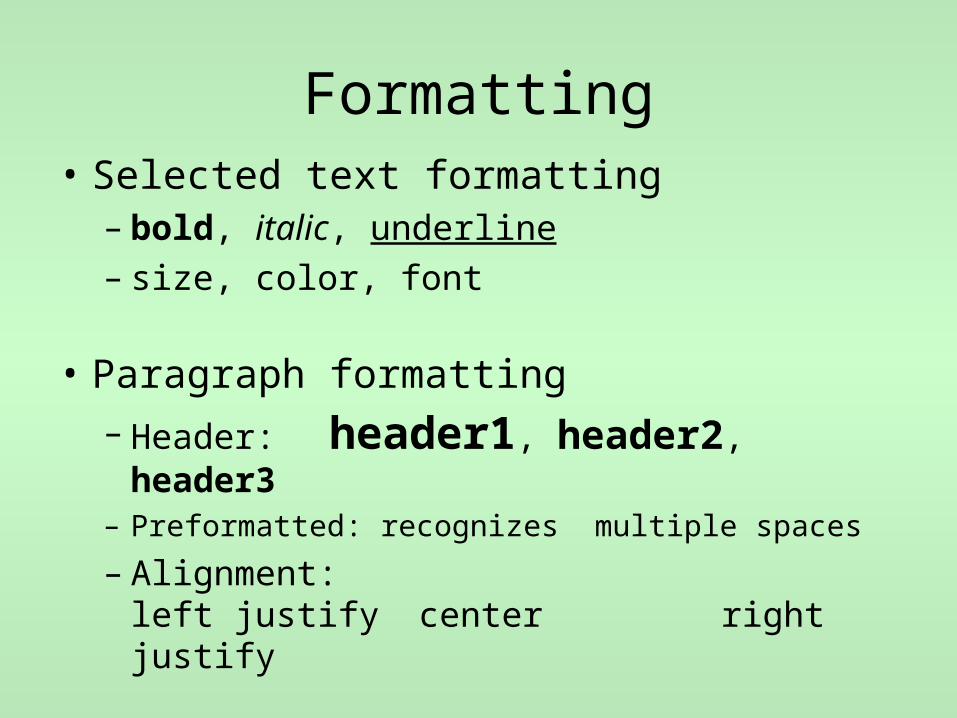
Formatting• Selected text formatting
– bold, italic, underline– size, color, font
• Paragraph formatting
– Header: header1, header2, header3– Preformatted: recognizes multiple spaces
– Alignment:left justify center right justify

Creating Lists
• Ordered List1. Numbered list of items2. Used when order of sequence matters
• Unordered List List of items preceded by bullets Used when order is unimportant
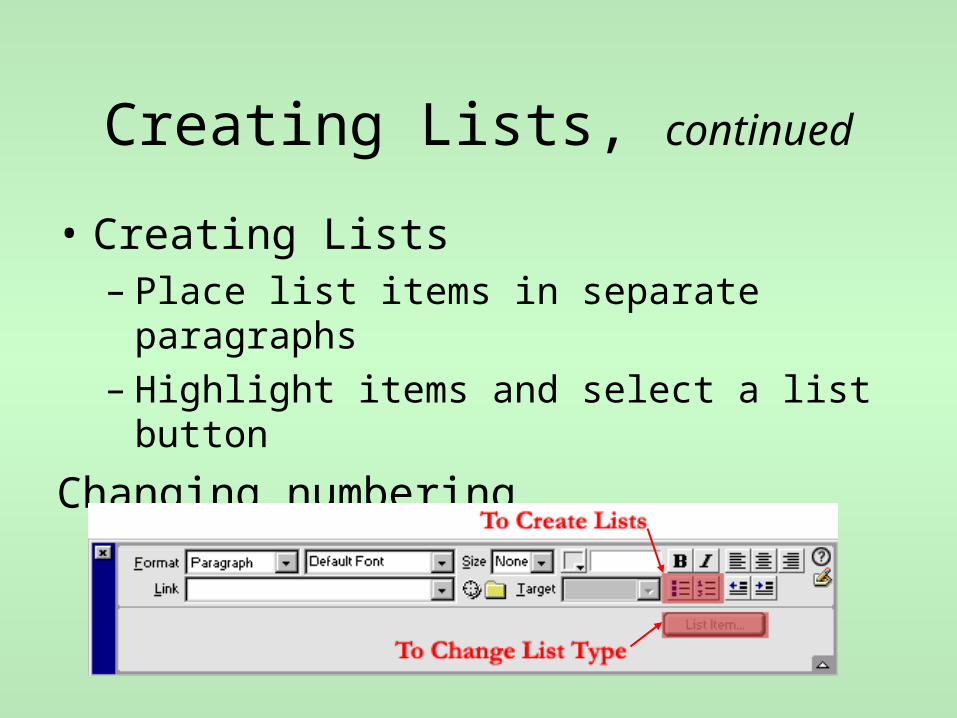
Creating Lists, continued
• Creating Lists– Place list items in separate paragraphs– Highlight items and select a list button
Changing numbering– Select the List Items button in Properties box

Tables • Click Insert Table• Choose the number of Rows, Columns, etc. (a
width of 80 percent is good)• Click anywhere inside the Table; then click
Modify Table Select Table• Notice that the Properties window now
displays table information:

Tables, continued
• Use the Properties Box to change your table
or
• Use Modify Table Menu

Options for Modifying Tables
• To modify entire table: Select table– Change border width
– Alter row and column numbers
– Change color of border (brdr) and background (bg)
• To modify cells of a table: Click in a cell or highlight group of cells– Change color of border or background
– Change width, height, and alignment
– Combine or split cells
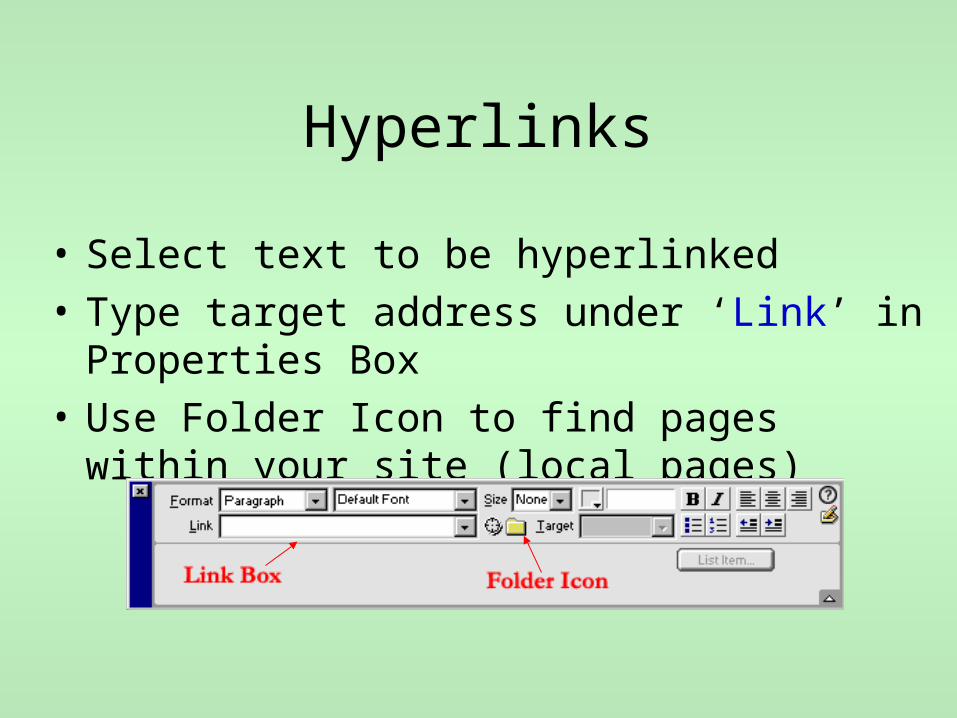
Hyperlinks
• Select text to be hyperlinked
• Type target address under ‘Link’ in Properties Box
• Use Folder Icon to find pages within your site (local pages)
Hyperlinks, continued
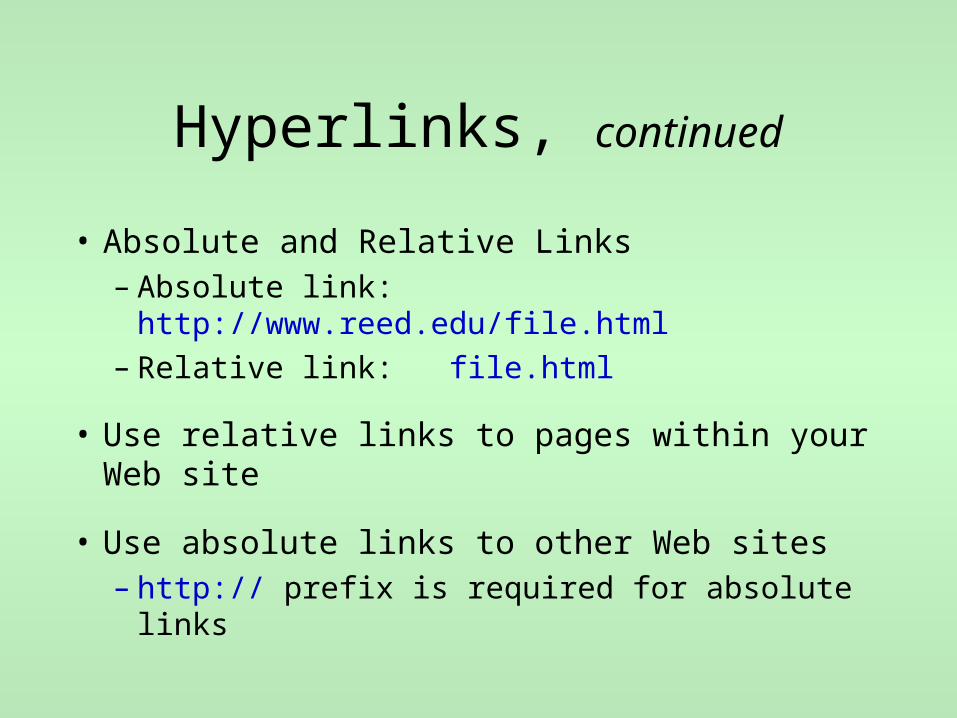
• Absolute and Relative Links– Absolute link: http://www.reed.edu/file.html– Relative link: file.html
• Use relative links to pages within your Web site
• Use absolute links to other Web sites– http:// prefix is required for absolute links

Hyperlinks: mailto
• A “mailto:” is a special hyperlink that opens an e-mail message from the web page
• Message is sent to the address specified
• Examples– mailto:[email protected]– mailto:[email protected]
Note: It is best to include the e-mail address in the visible part of the page also, so users can write it down or print it out.

Anchors
• A Named Anchor is a marker placed within a page to identify a precise location in that page
• Anchor names are used in hyperlinks, e.g., mywebpage.html#top
Anchors, continued
Use anchors to:
• Create an index at the top of a page that links to different locations (anchors) in the page
• Link to a specific section of another page
Creating an Anchor
• Place cursor at position of desired anchor
• Define the name of the anchor
Insert Named Anchor
Linking to an Anchor
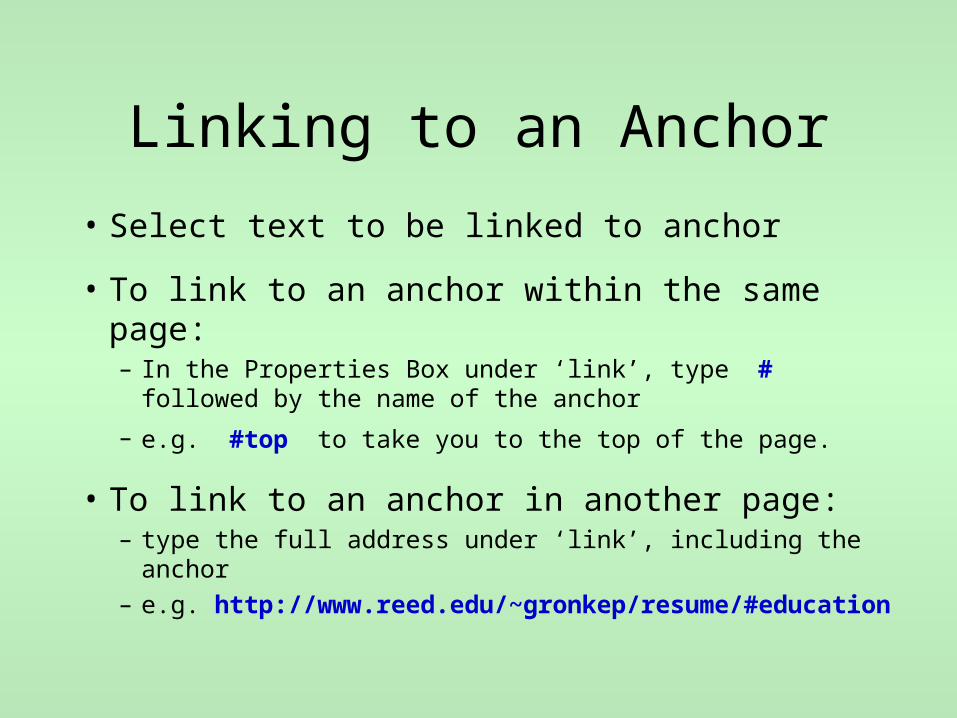
• Select text to be linked to anchor
• To link to an anchor within the same page: – In the Properties Box under ‘link’, type # followed by the
name of the anchor
– e.g. #top to take you to the top of the page.
• To link to an anchor in another page:– type the full address under ‘link’, including the anchor– e.g. http://www.reed.edu/~gronkep/resume/#education

Images
• Inserting Image– Insert Image
• Image location– Image file should be located in same directory as
Web page or in a sub-directory called “images”
– Image file is only linked from Web page, so image file must stay in same location relative to Web page
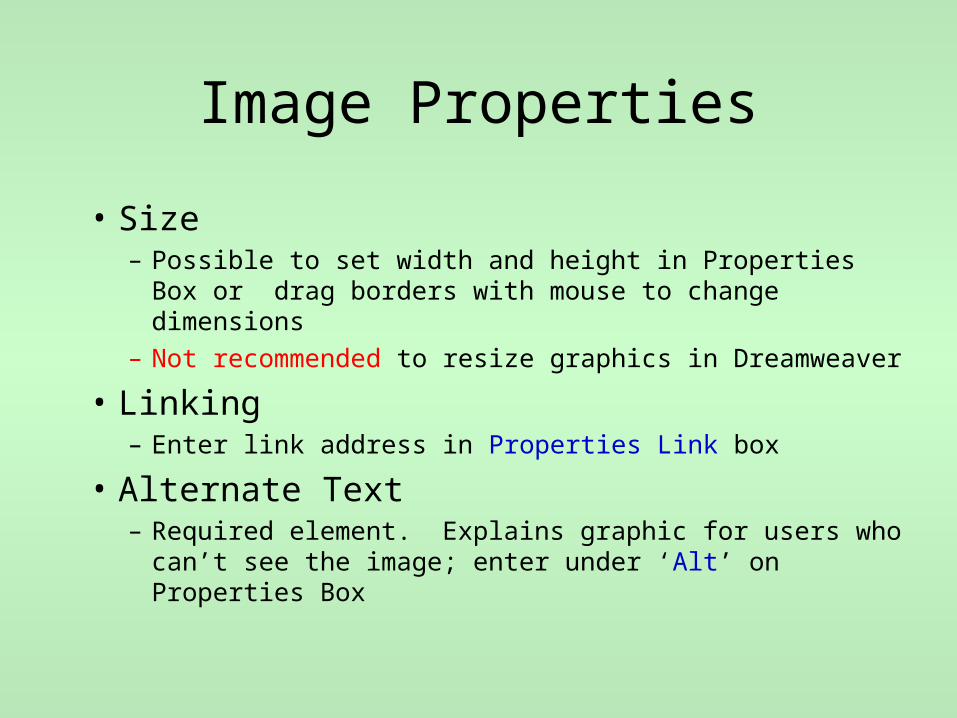
Image Properties
• Size– Possible to set width and height in Properties Box or
drag borders with mouse to change dimensions
– Not recommended to resize graphics in Dreamweaver
• Linking– Enter link address in Properties Link box
• Alternate Text– Required element. Explains graphic for users who can’t
see the image; enter under ‘Alt’ on Properties Box

Image Properties
• Text alignment– Set alignment of image relative to text with ‘Align’ feature in
the Properties Box
• VSpace & HSpace– Add a “buffer zone” around the picture– Thickness measured in pixels; good value= 5 - 20
• Border– Adds border around image– Enter “0” to turn border off (usual case)– Thickness measured in pixels; good values= 1 - 10

Questions
• Open the original page
• Use “Save as” command to save it under a new name
• Delete content to be replaced
• Create or paste in content for new page
Appendix I: Using an Existing Page as a Template

Appendix II:Preparing existing Word docs for the Web
• Open document in Word
• File Save as HTML
• Close file in Word
• Open html file in Dreamweaver
• Go to Commands Clean up Word HTML
• Save in Dreamweaver
Recommended Book
• Dreamweaver 3 for Windows and Macintosh: Visual Quickstart Guide
• Available from: – http://www.fatbrain.com/
Related Documents