Using Image J Kymograph Or go to: http://www.embl.de/eamnet/downloads/kymograph/ kymograph_description.pdf

Using Image J Kymograph Or go to: _description.pdf.
Jan 02, 2016
Welcome message from author
This document is posted to help you gain knowledge. Please leave a comment to let me know what you think about it! Share it to your friends and learn new things together.
Transcript

Using Image J Kymograph
Or go to: http://www.embl.de/eamnet/downloads/kymograph/ky
mograph_description.pdf
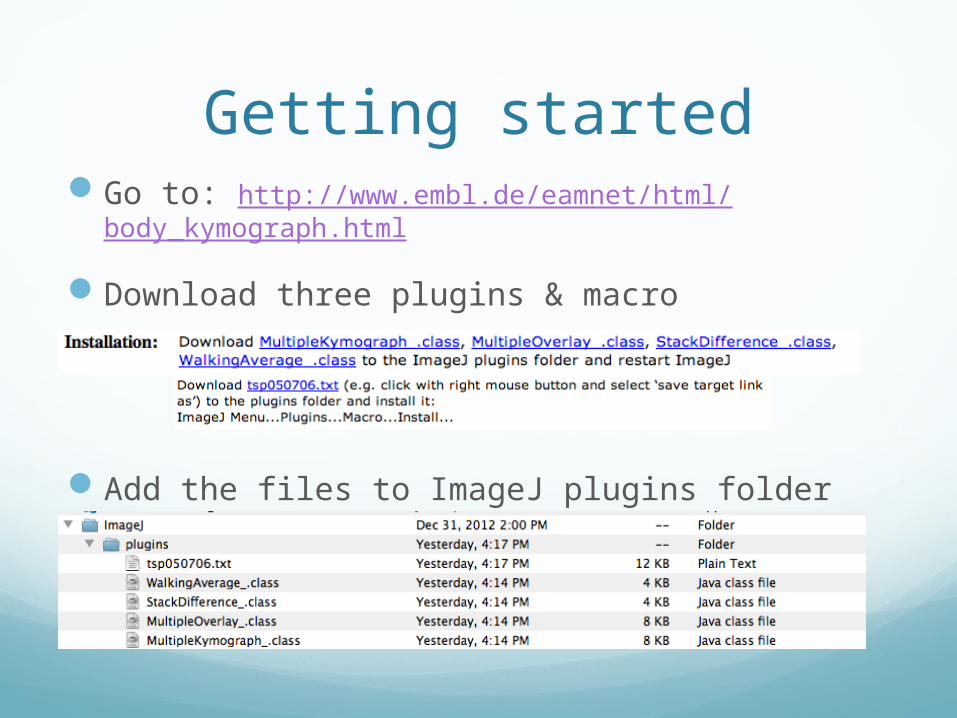
Getting startedGo to: http://www.embl.de/eamnet/html/
body_kymograph.html
Download three plugins & macro
Add the files to ImageJ plugins folder (drag/drop)

Install Macro (don’t need to specify)
And you’re done!

Using Kymograph
Load file normally
Create z-projection image Image > Stack > Z
projectSelect average or maxYou can also set the slices
you make this from (does not affect final output
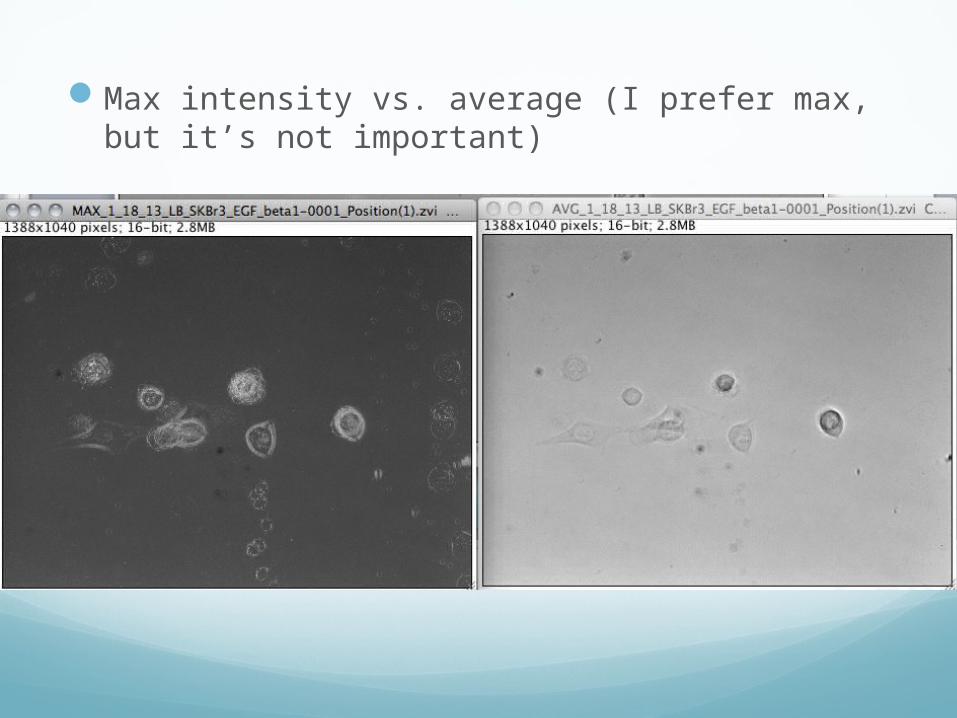
Max intensity vs. average (I prefer max, but it’s not important)

Select segmented line in toolbar

Draw segmented line through cell in z-projection(you have to click the box to
stop the line segment selection)
Go to original window(or re-open the file)With original window
selected go to Edit > Selection > Restore Selection

Should look something like this:(the line may not run through the center ofthe cell)
Now go to Plugins > MultipleKymograph
Make sure to save!

You can change line width, and also do Walking Average(must do to stack image, not z-projection, before generating kymograph).Original Line Width = 5 Walking Average = 2 Both
Changing settings

Notes
You should also save-as the z-project image after making each line selection to save where you selected the line. This saves a new tiff with the line selection going through it. I made a new one for each cell.
You must make sure the appropriate window in imageJ is selected when doing each step, including saving!
(you can tell by shading of window. Obviously the one in front is selected in this example)
Related Documents