USG GUIDED THORACENTESIS Dr.Suhas B Resident (MD Radio-Diagnosis)

USG Guided Thoracentesis
Jul 16, 2015
Welcome message from author
This document is posted to help you gain knowledge. Please leave a comment to let me know what you think about it! Share it to your friends and learn new things together.
Transcript

USG GUIDED THORACENTESIS
Dr.Suhas BResident
(MD Radio-Diagnosis)
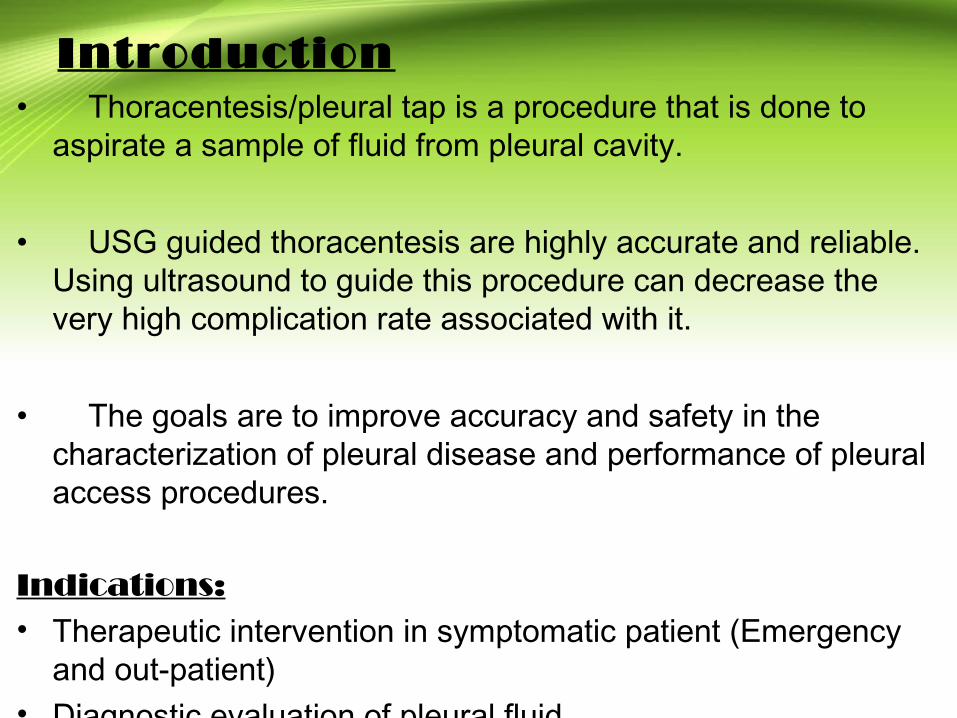
Introduction• Thoracentesis/pleural tap is a procedure that is done to
aspirate a sample of fluid from pleural cavity.
• USG guided thoracentesis are highly accurate and reliable. Using ultrasound to guide this procedure can decrease the very high complication rate associated with it.
• The goals are to improve accuracy and safety in the characterization of pleural disease and performance of pleural access procedures.
Indications:• Therapeutic intervention in symptomatic patient (Emergency
and out-patient)• Diagnostic evaluation of pleural fluid

Anatomy• The pleural space is bordered by the visceral and parietal pleura. Fluid in
the pleural space appears anechoic and is readily detected above the brightly echogenic diaphragm when the patient is in a supine position.
• The intercostal muscles appear as hypoechoic, linear shadows of soft tissue density, containing echogenic fascial planes. The ribs appear as repeating curvilinear structures with a deeper, hypoechoic, posterior acoustic shadow that can be mistaken for pleural fluid. The parietal and visceral pleura normally appear as a single, bright echoic line no wider than 2 mm.
• The change in acoustic impedance at the pleura-lung interface results in a series of echogenic parallel lines equidistant from each other just deep to the pleural line.
• The diaphragm typically appears as an echogenic line approximately 1 mm thick; downward (caudad) movement of the diaphragm should be seen with inspiration.
• When the lung is compressed by a surrounding pleural effusion, it appears hyperechoic or tissue dense; and, in large effusions, may appear to float in the effusion.

Pre-requisites• A 3.5 to 5.0 MHz transducer with a convex sector design
works well for pleural imaging. Cardiac transducers are particularly effective, as they are designed with a small footprint, allowing scanning between rib interspaces.
• The chest radiograph is reviewed before the procedure to
confirm the side of the pleural abnormality and the expected location of any masses or loculated accumulations of fluid.
• Informed consent for the procedure is obtained, and clotting studies should be confirmed to be adequate.
• Patients should take light food and stop all anti-coagulant medications 2 days before the procedure.

Contraindications• Uncertain fluid location by examination• Minimal fluid volume• Altered chest wall anatomy• Pulmonary disease severe enough to make
complications life threatening• Bleeding diatheses or coagulopathy• Uncontrolled coughing• Uncooperative patient• Chest wall cellulitis

Patient preparation• Pleural fluid is obedient to the law of gravity, so pleural fluid collects in the
dependent portion of the thorax (unless loculated).
• The usual position for ultrasound examination of a pleural effusion is for the patient to sit with arms extended and resting on a firm surface that is just below the level of the shoulders.
• Raising the patient’s ipsilateral arm up to or above their head widens the intercostal spaces and facilitates scanning.
• When the patient is sitting, the entire back is accessible for ultrasonographic examination, so free-flowing pleural fluid is readily identified in the dependent lower thorax.
• critically-ill patients are positioned in supine with the ipsilateral arm held across the chest towards the opposite side.
• The region of access should be made sterile by betadine application followed by surgical spirit swabbing.
• Same should be done for the transducer and should be sterilised following its use each and everytime.


Scanning technique• Transducer is perpendicular to the chest to allow for accurate estimates of
pleural fluid. When the transducer is oblique, over and underestimation of fluid can occur.
• The transducer is oriented to scan between the ribs, as ribs block transmission of ultrasound. This orientation yields an image where the adjacent rib shadows appear on either side of the image on the screen. By moving the transducer longitudinally from one interspace to another, multiple interspaces may be examined in a short time.
• The diaphragm and liver or spleen should be identified first.
• The distance from the transducer to the pleural fluid should also be noted. The probe is then rotated 180 degrees to visualize the pleural fluid between the ribs to ensure that there is only fluid visualized ie. no lung, diaphragm, or liver or spleen. This area should correspond with the first mark and is the site of insertion.

Pleural effusion with rib shadow. The transducer is placed perpendicular to the axis of the rib.
Muscle, fluid, lung, and measurements.

Pleural fluid characteristicsThree ultrasonographic criteria must be satisfied to ensure the presence of a
pleural effusion:• The finding of an echo free space (appears black and without stippling)
within the thoracic cavity• The finding of typical anatomic boundaries that surround the effusion: the
inside of the chest wall, the diaphragm, and the surface of the lung• The presence of dynamic characteristics that are typical of pleural fluid,
such as diaphragmatic movement, lung movement, movement of echogenic material within the fluid (septations, cellular debris, fronds), and changes in the shape of the pleural effusion with respiratory cycling.
Atypical Appearances• Complex loculated effusions may be hyperechoic and be located in a
nondependent part of the thorax. Hemothorax and empyema fluid may be isoechoic with the liver and have no dynamic changes with respiration.
• The presence of pleural or diaphragmatic thickening or nodularity, or an echogenic swirling pattern is suggestive of a malignant pleural effusion [9,24,25].
• The presence of air and fluid together (ie, hemopneumothorax) may present a complex sonographic picture.

Procedure

Procedure (contd.)

Post-procedure It has been standard practice to obtain a chest x-ray after thoracentesis to
rule out pneumothorax, document the extent of fluid removal, and view lung fields previously obscured by fluid.
Complications• Pneumothorax• Hemoptysis due to lung puncture• Re-expansion pulmonary edema or hypotension (uncommon, and
probably not related to the volume of fluid removed)• Hemothorax due to damage to intercostal vessels• Puncture of the spleen or liver• Vasovagal syncope
Bloody fluid that does not clot in a collecting tube indicates that blood in the pleural space was not iatrogenic, because free blood in the pleural space rapidly defibrinates.

Advantages• Ease of use• Highly accurate• Documentation• less chances of complications• Maneuvering ability in any plane• Real time visualisation• Portable scanners can be used in emergeny and ICU setups• Cost-effective• Avaialabilty in remote and rural areas
Pitfalls• Failure to identify the deepest pocket of fluid.• Failure to identify the diapragm, avoiding intra-abdominal
injury.• Failure to use this diagnostic tool for all thoracentesis
procedures.• Not appreciating that the lung is a moving structure. This
may change the depth of fluid with in-or expiration.

Related Documents