UPCYCLED TURQUOISE SKIRT BY APRIL IRIS MCLEOD OF THERE CAN BE ONLY ONE

Upcycled turquoise skirt
Aug 13, 2015
Welcome message from author
This document is posted to help you gain knowledge. Please leave a comment to let me know what you think about it! Share it to your friends and learn new things together.
Transcript

UPCYCLED TURQUOISE SKIRTBY APRIL IRIS MCLEOD
OF THERE CAN BE ONLY ONE
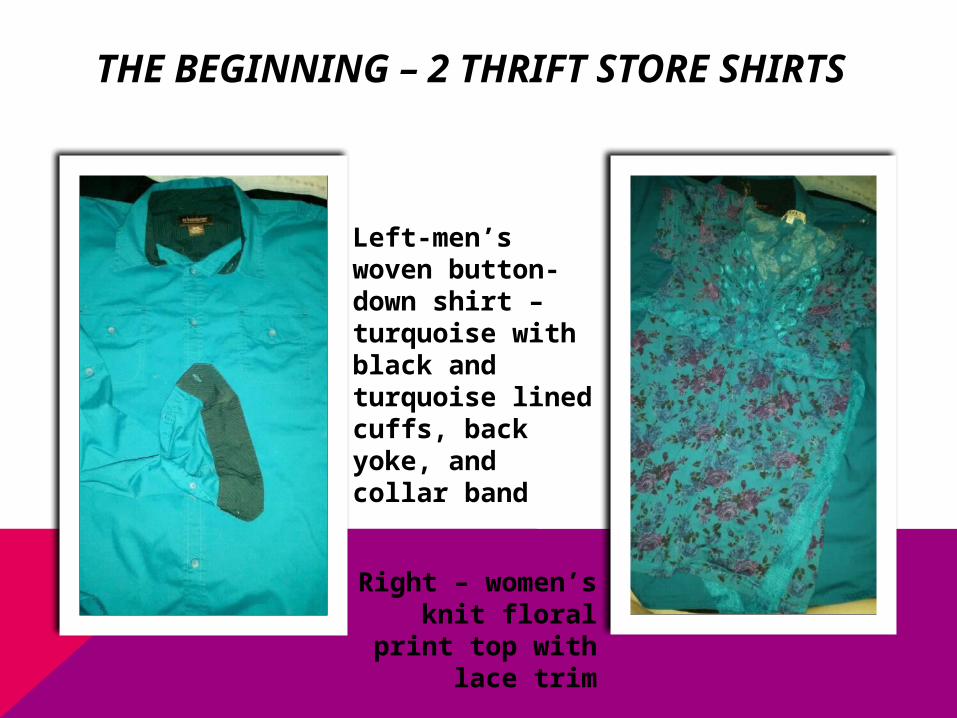
THE BEGINNING – 2 THRIFT STORE SHIRTS
Left-men’s woven button-down shirt – turquoise with black and turquoise lined cuffs, back yoke, and collar band
Right – women’s knit
floral print top with lace trim

THE DECONSTRUCTIONLeft – cut a 10” wide strip off the bottom of the knit top (for the waistband)
Above – cut the woven shirt just below the pockets – straight
across
Center – cut off sleeve cuffs – carefully, leaving the
attaching seam intact – I’m using that black pinstripe for
the front of my waistband!Left – underside of cuffs before cutting in half – buttons will be moved to black side of cuffs
Right, cuffs cut in half and placed
above the button placket on skirt – this will allow the skirt to button up
all the way up

DESIGNClockwise from top left: - 2 halves of the cuffs , showing fashion fabric and lining- Stitching together two halves of cuffs – Both “half-cuff sets” sewn together- Basting new center waistband on front of skirt in preparation for adding the knit part of the waistband

DESIGN CONT.
Left to Right:- Basting the 10 inch wide strip of knit (folded in half) to one side of the front waistband (black cuffs) (cuffs are only basted at this point)- After measuring knit fabric around hips (or waist) to other side of FW – pin knit fabric to top of blue skirt fabric- Stitching knit waistband in place – this is serged – but can be straight-stitched and zigzagged for strength

RECONSTRUCTIONTop Left: Knit waistbandis attached.Top Right: FW (cuff) is pinned to make sure buttons are aligned – the two FW halves will be placed over the knit waistband and the blue skirt fabric and topstitchedBottom Left: The top edge of the blue fabric, showing where I serged it to prevent raveling. Normally, this would be turned down all the way around the top of skirt, but I needed it to be “sticking up” where the black cuffs overlap the front
Bottom Right: One side of FW basted in place prior to
machine stitching.

RECONSTRUCTION (CONT.)Top Left: Both halves of FW pinned and basted in placeTop Right: FW pinned and basted to skirt and knit part of waistbandBottom Left: Stitching over existing stitching lines on FWBottom Right: One side of FW stitched in place

RECONSTRUCTION (CONT.)
Top Left: Make sure you backstitch hereTop Right: Stitching around the FWBottom Right: Second row of stitching on very edge of FW all the way around

FINISHED!COMPLETED SKIRT –
FRONT, BACK, AND FW DETAIL!
Related Documents