Principles of Interventional Musculoskeletal Ultrasound Todd P. Stitik MD, RMSK Professor of Physical Medicine & Rehabilitation Director, Occupational/Musculoskeletal Medicine Director, Interventional Pain Management/Musculoskeletal Medicine Fellowship Rutgers, New Jersey Medical School/Kessler Institute Topics • General Principles of ultrasound-guided injections – Types of musculoskeletal interventional procedures – Injection terminology – Office set-up – Materials for ultrasound injections – Aseptic technique – Injection tips – Injection training Types of Musculoskeletal Ultrasound Interventional Procedures • Aspiration • Injections – Local anesthetic diagnostic injection – Corticosteroid injection – Viscosupplementation – PRP and other biologics – Botulinum toxin – Gadolinium injections prior to MRI – Trigger point injection – Alcohol nerve ablation – Prolotherapy • Barbotage (needle lavage) • Nerve block • Hydrodissection • Percutaneous needle tenotomy (PNT) • EMG/NCS guidance • Foreign body extraction • Biopsies Body Regions • Occipital region • Cervical region • Shoulder • Elbow • Forearm • Wrist • Hand • Spine • Hip region • Knee • Lower leg • Ankle • Foot Topics • General Principles of ultrasound-guided injections – Types of musculoskeletal interventional procedures – Injection terminology – Office set-up – Materials for ultrasound injections – Aseptic technique – Injection tips – Injection training Probe and Needle Terminology • Probe position relative to anatomic structure – Longitudinal (Long Axis) – Transverse (Short axis) • Needle position relative to probe – In-Plane: needle parallel to probe’s long-axis – Out-of Plane: needle perpendicular to probe’s long-axis

Welcome message from author
This document is posted to help you gain knowledge. Please leave a comment to let me know what you think about it! Share it to your friends and learn new things together.
Transcript

Principles of Interventional Musculoskeletal Ultrasound
Todd P. Stitik MD, RMSKProfessor of Physical Medicine & RehabilitationDirector, Occupational/Musculoskeletal MedicineDirector, Interventional Pain Management/Musculoskeletal Medicine FellowshipRutgers, New Jersey Medical School/Kessler Institute
Topics
• General Principles of ultrasound-guided injections– Types of musculoskeletal
interventional procedures
– Injection terminology
– Office set-up
– Materials for ultrasound injections
– Aseptic technique
– Injection tips
– Injection training
Types of Musculoskeletal Ultrasound Interventional Procedures
• Aspiration• Injections
– Local anesthetic diagnostic injection– Corticosteroid injection– Viscosupplementation – PRP and other biologics– Botulinum toxin– Gadolinium injections prior to MRI– Trigger point injection– Alcohol nerve ablation– Prolotherapy
• Barbotage (needle lavage)• Nerve block• Hydrodissection• Percutaneous needle tenotomy (PNT)• EMG/NCS guidance• Foreign body extraction• Biopsies
Body Regions• Occipital region• Cervical region• Shoulder• Elbow• Forearm• Wrist• Hand• Spine• Hip region• Knee • Lower leg• Ankle• Foot
Topics
• General Principles of ultrasound-guided injections– Types of musculoskeletal
interventional procedures
– Injection terminology
– Office set-up
– Materials for ultrasound injections
– Aseptic technique
– Injection tips
– Injection training
Probe and Needle Terminology
• Probe position relative to anatomic structure– Longitudinal
(Long Axis)– Transverse
(Short axis)• Needle position
relative to probe– In-Plane: needle
parallel to probe’s long-axis
– Out-of Plane: needle perpendicular to probe’s long-axis

Needle Visualization:
In-Plane vs. Out-of-Plane
• In-Plane view:– See full length of needle
– Should orient along visual axis
• Out-of Plane view– Only see needle tip: can be
very tough to see
– Once see tip, DO NOT advance further since can no longer judge depth of needle insertion as needle shaft looks similar along its length
Out-of-plane Needle Tip vs Shaft
Needle tip under probe
Needle shaft under probe
Needle oblique & shaft under probe
All scenarios 3 look the same on US
Out-of-plane Needle Tip vs Shaft Video Topics
• General Principles of ultrasound-guided injections– Types of musculoskeletal
interventional procedures
– Injection terminology
– Office set-up
– Materials for ultrasound injections
– Aseptic technique
– Injection tips
– Injection training
Injection Room Set-Up
• Screen directly across from physician
• Height-adjustable power table and/or exam stool
• Lighting– Room light off– Background lighting
• X-ray view box• Supplemental focal light
source if needed
• Comfort– Patient: Supine, prone or
side-lying: decreased vasovagal risk
– Physician
Topics
• General Principles of ultrasound-guided injections– Types of musculoskeletal
interventional procedures
– Injection terminology
– Office set-up
– Materials for ultrasound injections
– Aseptic technique
– Injection tips
– Injection training

Needles: Length• Ideally have a range of needle lengths available
• Estimating Length– Measure – Can use local anesthetic
injection needle (eg 25-gauge 1 ½” needle) to help estimate length of subsequent aspiration/injection needle
• Err on side of slightly longer needle if in doubt
• Longer the needle, more likely need a larger gauge to maintain needle control– Long needles can be
flimsy*
Needles: Gauge• Ideally have a range of needle gauges available– Injection procedure
• > 25 gauge for injections– Corticosteroid– Viscosupplementation
• 30 gauge OK for local anesthetic injections or non-particulate corticosteroid
– Aspiration procedure• Use large gauge (18 and
sometimes 16 gauge) for some fluid collections, eg
– Ganglion cyst
• Better to err on side of a larger gauge
• Be prepared to dilute out the aspirate if necessary
• Larger gauge needles more painful- consider skin wheel local anesthetic with small gauge needle 1st for some patients/body regions
16-gauge
30-gauge
Needles: Type• Hypodermic vs.
Spinal– Some longer
needles only available as spinal needles
– Sometimes need spinal needle: cut on an angle, therefore steerable & tip more visible esp. if bevel up
Topics
• General Principles of ultrasound-guided injections– Types of musculoskeletal
interventional procedures
– Injection terminology
– Office set-up
– Materials for ultrasound injections
– Aseptic technique
– Injection tips
– Injection training
Aseptic technique• Significant variability amongst
physicians• Antiseptic solution
– Disinfect skin: Chloraprepvs. Betadine– Disinfect probe
• PDI wipe (germicidal wipe): can get EtOH-free
• Chloraprep
– Sterile gel– Chloraprep bullet @ needle entry site
• Non-sterile gloves– Do NOT touch needle– Do NOT touch sterilized skin site
• Do NOT drag probe from non-aseptic Aseptic region (use wide prep)
• Optional– Sterile gloves: required if need to
touch needle– Probe covers– Tegaderm
Medication Preparation
• Use sterile technique
• Eliminate all air bubbles from injectate– Avoids “dirty
shadowing” artifact

Dirty Shadowing Artifact Video Topics
• General Principles of ultrasound-guided injections– Types of musculoskeletal
interventional procedures
– Injection terminology
– Materials for ultrasound injections
– Aseptic technique
– Injection tips
– Injection training
Injection Tips: General• Sonopalpation &
Needle palpation
• Setting up injection
• Placing needle under probe
• Needle steering
• Needle visualization
• Doppler
• Out-of-plane injection tips
• Minimizing pain
Sonopalpation(Edge Technique)
• Palpating using the transducer and eliciting feedback from the patient regarding pain sensitive structures
• Helps to focus the ultrasound exam and to select a target for an injection
• Helps to focus ultrasound exam & select injection target– Can be very helpful for certain
injections: eg lateral hip
Hoffa’s Fat Pad Injection VideoIf pain generator is too deep for sonopalpation:
Needle Palpation
• Gently use needle tip to more precisely identify the pain generator by replicating the pain*– Patient ideally should report
reproduction of their “typical pain” as needle tip probes structure
– Especially useful in certain body regions- eg tendon insertions of short hip external rotators at posterior inferior hip
Needle Tip Identification of Pain Generator Video Injection set-up: Carefully consider
• Time spent setting up for injection will pay dividends during actual injection
• Do NOT start injection until confident in the set-up
– Especially important for more challenging injections
Skin Marking
• Mark skin prior to injection for some of the more precision injections (eg Cluneal nerve hydrodissection)– Helps to re-find targets
• After prep skin• During procedure if need to move
or remove probe
Where to insert needle relative to probe for linear probe in-plane injection
• Depends in part upon injection target depth:– Shallow: insert close
to probe• eg Patellar tendon
– Deep: insert far from probe
• eg Iliotibial band hydrodissection
Insert needle so that it is not too steep relative to probe to see it
Formula for needle length, insertion distance from probe/angle insertion
B= Distance from probe center
A=
Ta
rge
t De
pth
C= Needle length
A2 + B2 = C2
X= needle insertion angle
Moving target much more difficult to hit than a stationery one
• Do NOT allow probe to move as put needle under it & during needle advancement to target
• Hold probe absolutely still once lock in on target– Use fingers as a bridge- analogous
to playing pool
Visualization Tips• Some Solutions:
– Bevel up: Insert with bevel up: 3 vs. 1 reflective surface
– Center of probe: • Make every effort to place
needle under exact center of probe *
– Eye/hand dominance
vs.
Needle Visualization Tips & Tricks Why can it be difficult to see needle?
• Narrow widths: ultrasound beam & needle– Ultrasound beam:
approximately 1 mm @ focal zone of high-frequency transducers
• Even thinner for matrix probes
– Needle: 22g = 0.7 mm• cf. Credit card 0.76 mm
thickness: analogous to trying to line up 2 credit cards
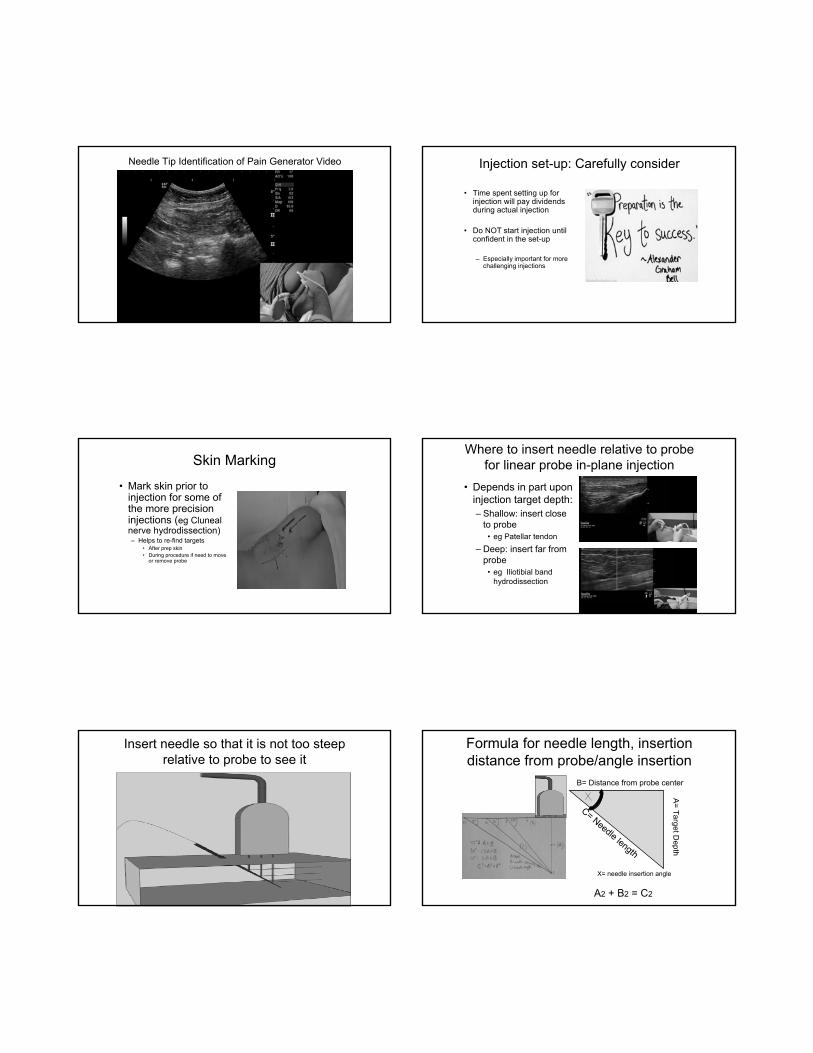
In-Plane: Shoulder Perpendicular vs. Shoulder Parallel Probe Position
• 2 possible in-plane needle to transducer orientations;– (A) In-plane perpendicular to shoulders (aligned along visual axis): can see needle entry
under probe
– (B) In-plane parallel to shoulders (not aligned along visual axis): can’t see needle entry under probe
• Study of speed and accuracy of simulated injections using above approaches:
– Faster and more accurate when aligned along visual axis method (i.e. method A)
{Lam et al. A Randomized Double-Blinded Trial on the Effects of Ultrasound Transducer Orientation on Teaching and Learning Ultrasound-Guided Regional Anesthesia. JUM 2016 35:1509-1516}A B
Visualization Tip: Eye Dominance• Identify an object on the wall to use as a target. • Use your hands to make a small triangle & look through them
with both eyes open at an object on the wall.• Close your LEFT eye.
– If the target is still there then you are right eye dominant. – If it disappears then you are left eye dominant.
If Left eye closed, then left eye dominant If Left eye closed, then right eye dominant

Injection Tip: Eye Dominance & Hand Dominance
• Optimally position your head & arm so as to line up dominant eye with dominant hand– Easier: Eye dominance SAME
SIDE as hand dominance side: Pin elbow to your side & line up eye parallel to injection side forearm
– More difficult- Eye dominance side OPPOSITE TO hand dominance side: Put elbow in front of side of your abdomen, move head to side to line up eye parallel to injection side forearm
Where to look: Ultrasound screen or at Needle/Probe? Rule:
• Look @ needle-probe 1st– Insert needle under probe
bevel up & keep looking until needle enters under probe
• Keep thumb holding probe out of way of visual field so that can see needle under probe center
• Do NOT be mesmerized by the ultrasound screen (ie look also at needle relative to probe)!
Why can’t see needle even though under center of probe?
• Needle most visible for in-plane injections when needle and probe are parallel & becomes increasingly less visible as angle increases especially beyond 30º
• Can use back pressure on probe in lieu of or in addition togel standoff
Non-parallel probe &needle alignment: Poorneedle visibility
Parallel probe & needle alignment: Good needle visibility
Needle Visualization: In Plane- Gel Standoff
• Helps with needle visualization by orienting needle & probe more parallel
• Often combined with back pressure on the probe
• ** Sterile gel if actual injection procedure
Curved Probe: How to see needle tip
• Move probe AWAY from you and ROCK TOWARDS NEEDLE TIP: try to “shine” the probe on needle tip by bouncing sound waves off tip parallel to flat portion of probe so that sound waves bounce directly back to the probe
Probe moved away & tilted towards tip allows for needle tip visualization
Probe not close enough toneedle tip and not tiltedtowards tip does NOT allowfor needle tip visualization
Keeping Needle Straight

Why can I no longer see the needle? Hooking Needle
• Tendency to hookneedle away from dominant hand, especially if dominant eye is opposite dominant hand & if don’t tuck elbow– Left-handers hook to the
right (esp. if RIGHT EYE dominant)
– Right-handers hook to the left (esp. if LEFT EYE dominant)
• Always be aware of this tendency & avoid it
Left-handerhooks to right
Right-handerhooks to left
Injection Tip: Tuck Elbow In
Helps with driving the needle straight (i.e. prevents hooking needle)
Needle Steering: Bevel
• Needle will move opposite to bevel (side of opening @ needle tip)
• Identifying bevel:– Bevel & notch are on
same side– Mark hub of spinal needle
with sharpie to help identify bevel side during procedure as plastic notch can be tough to see when stylet removed
– Can often see bevel if look closely at needle on ultrasound image
Visualizing Needle & Target
• Steer the needle to the probe (unless needle tip can’t be seen & in close proximity to important structures- e.g. nerve, blood vessel, pleura, viscera)
• Don’t move probe to needle– Ideally, probe stays in same place other than minor rocking or tilting
• Don’t move both needle & probe or will lose best site of target
Visualizing the Target• For small fluid collections, may need look at in
different body positions to optimally visualize
Subacromial/subdeltoid bursa: arm at side
Subdeltoid bursa: more obvious
Injection Tips: General• Sonopalpation &
Needle palpation
• Setting up injection
• Placing needle under probe
• Needle steering
• Needle visualization
• Doppler
• Out-of-plane injection tips

Needle Visualization Tips & Tricks Why does the needle blend in?• Amount of ultrasound beam
reflection α acoustic impedance differences.
• Lack of uniform contrast between needle & surrounding echogenic tissue. – Tissue- heterogeneous mix of different
acoustic impedances: connective tissue, fat, fluid, muscle, etc.
• cf. Gel phantom training models: easier since uniform echogenicity
Needle Visualization Tip
• Injecting fluid (“hydrolocation”) can help to visualize needle tip for either In-Plane or Out-of Plane injections especially if patient slightly dehydrated (causes hyperechoic tissue)
Needle Visualization Tip: Needle Enhancement Software
• “Advanced Needle Visualization Software” (Enhanced Needle Echogenicity)– Image process settings: needle contrast vs. background structures– Can be helpful to an extent for some procedures if steep angle & tough
to keep probe & needle II – Set steepness so that needle is _I_ to green line– Adjust probe position so that needle stays perpendicular to turquoise line
Needle Visualization Tip• Doppler
– Move stylet within needle to create motion: more precise localization vs. moving entire needle since less tissue motion transmission beyond needle tip
• cf. “chicken pecking” = move needle in quick small bursts & look for tissue motion
Moving entire needle
Can not see stationary needle in this case
Moving stylet within spinal needle
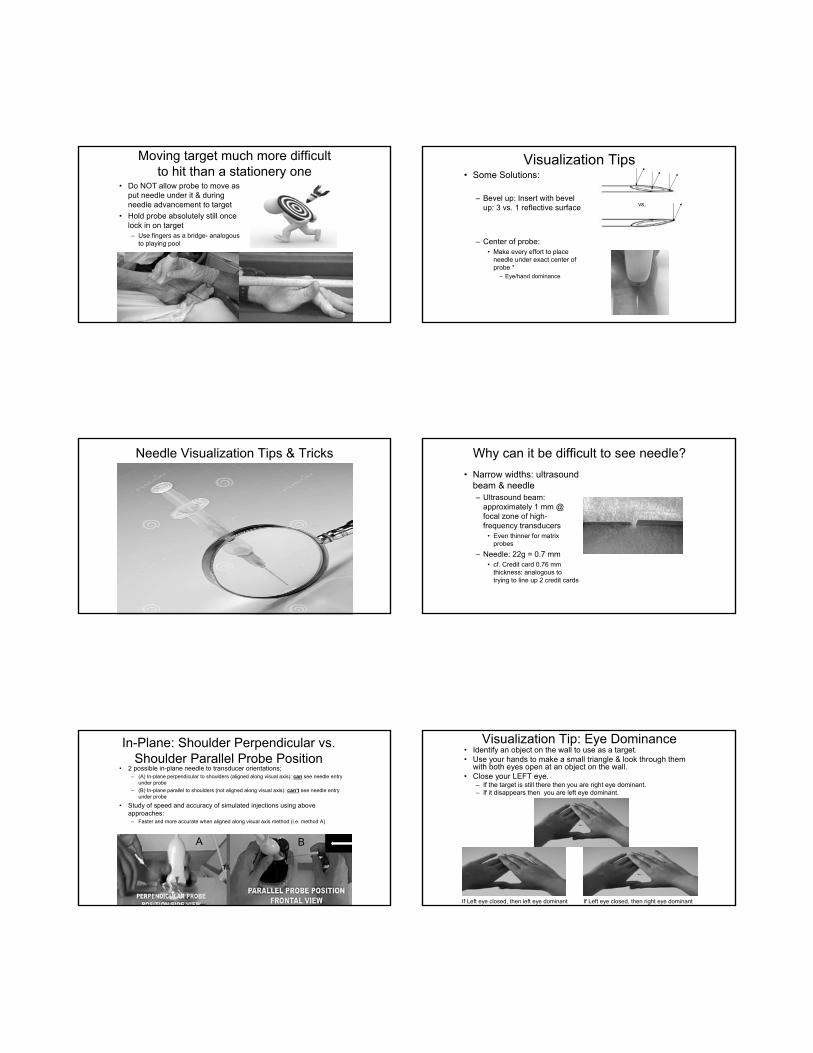
Doppler: Avoiding Blood Vessels
• Helps to avoid inadvertent vascular penetration
• Especially important is some body regions– IA hip
– Subcoracoid region
Doppler: Avoiding Blood Vessels
• Is this approach the best choice?– I.e. needle approach from side
opposite to artery?– Answer: Wrong choice since too
easy for needle to inadvertently travel too far towards artery, especially if perform syringe exchange. Instead approach overthe blood vessel- (i.e. starting from same side as vessel) would have been better, since needle tip will travel away from vessel. (If mustapproach towards a structure that wish to avoid, use extension tubing to make syringe exchange & use ultrasound visualization throughout procedure.)
Syringe Exchange off of a Needle
– Minimizing needle motion during syringe exchange via Extension Tubing
• Important for certain procedures- e.g. nerve blocks, hydrodissection
• Can help minimize pain associated with torqueing a needle during syringe exchange
– Requires 2 people for the procedures
• 1st: Drive needle & inject• 2nd: Hold probe
Precise Needle Steering-Visualization Video Out-Of-Plane Injections• 2 techniques for
placing needle to a target at a certain depth– 45° angle estimate
• Place needle same distance away from probe center as target depth & insert needle at 45° angle
• **Easiest to use 45 °technique since
– depth = distance from probe center
– Pythagorean theorem needle length
– Walk down technique
2 cm
2 cm
2 cm
2 cm
45º
Critical structure-Vessel-Nerve-Pleura
Out-of-plane 45°Angle Estimate Video Out-of-Plane Walk Down Technique• Sequentially “walk down needle” to target
– Put target under center of probe: can use paperclip to help line up target & center of probe
– 1 needle entry site close to center of probe– Pull needle back slightly & sequentially raise needle angle as aim needle tip
down to target
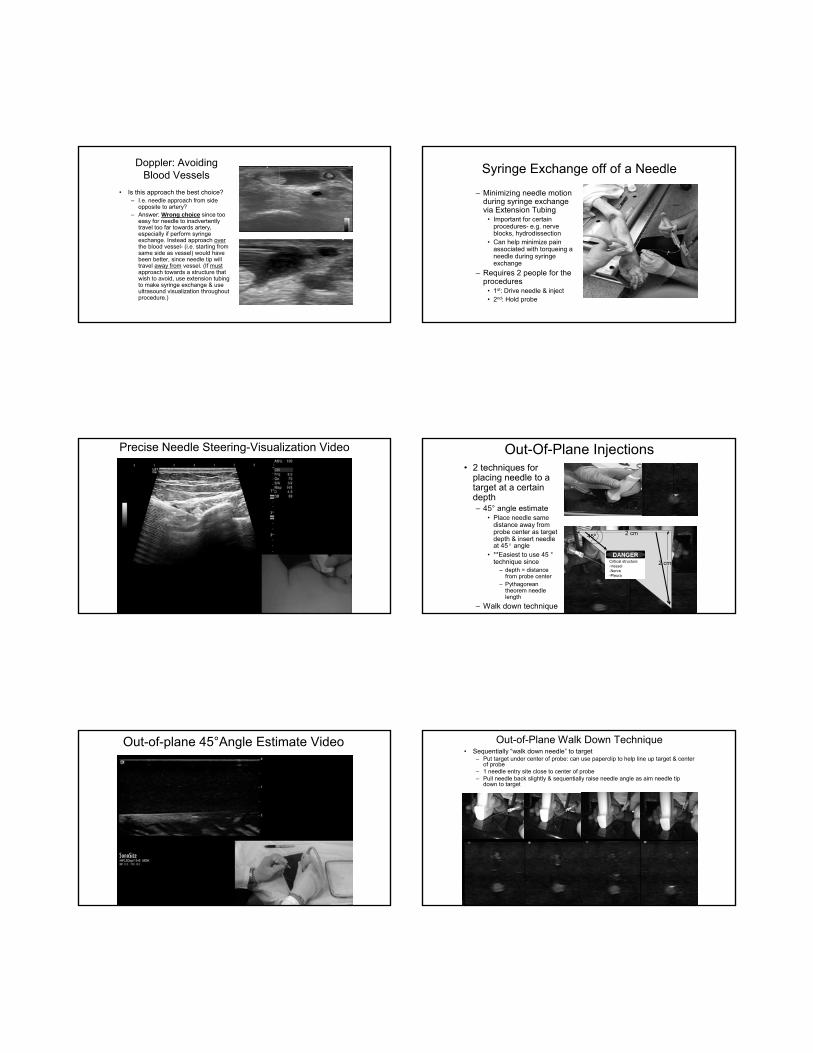
Out-of-plane Walk Down Technique Video Out-of-Plane Injection- Probe TiltProbe Perpendicular to Needle
Example below illustrates that without probe tilt, ultrasound beam did NOT detectneedle tip because needle tip did not reach under probe, whereas when tilted probe, the ultrasound beam now intersected needle tip & did so perpendicularly
Out-of-Plane Injection: Redirecting a Needle Sideways
• Small sideward movements (eg 1-2 mm) require very large redirect angles– Leverage point is so distal that must re-angle the needle
shaft a lot to get the tip to move a little*
Possibly inadequate degree of needle redirection
Probably better degreeof needle redirection
Out-of-Plane Injection-Redirecting Needle Sideways Video
Injection Tips: General• Sonopalpation &
Needle palpation
• Setting up injection
• Placing needle under probe
• Needle steering
• Needle visualization
• Doppler
• Out-of-plane injection tips
• Minimizing pain
Minimizing Procedure Pain
• Position supine or prone
• Do NOT let patient see needle unless using 30-g (esp if on a 1 cc syringe)
• Choose appropriate needle gauge
• Use lidocaine, esp. 4%
• Warn of impending pain & use lidocaine
• Painful tissues:– Tendon
– Bone
– Muscle
– Subcutaneous

Get needle through skin & subcutaneous tissue as quickly as possible
• Subcutaneous tissue highly innervated with pain receptors– Thus get needle
through subcutaneous tissues as quickly as possible
Topics
• General Principles of ultrasound-guided injections– Types of musculoskeletal
interventional procedures
– Injection terminology
– Office set-up
– Materials for ultrasound injections
– Aseptic technique
– Injection tips
– Injection training
Injection Training: Gel Phantoms
• Phantom training: helpful but potential for false sense of ease of injections due to stark contrast between needle & uniform gel background vs. needle and heterogeneous living tissue.
• Real life: Tissue’s multiple acoustic interfaces causes refraction (scatter) & attenuation of returning echoes further reduction in needle visibility
Injection Training: Animal Parts
• Pork shoulders
• Turkey legs
• Pigs feet
Injection Training:Cadavers
• Unembalmed preferred
• The “fresher” the cadaver, the better
Other Injection Training Options:
• Fellowship training
• “Personal Trainer”– Bring in a trainer to guide you
through actual injections on your patients

Injection Procedures: Summary• Choose correct pain generator
– Sonopalpation
– Needle palpation
• Position patient & you for maximal– Comfort
– Access to target
• Maintain aseptic technique throughout
• Maintain view of target throughout procedure (except as 1st place needle under center of probe)
• Place needle under probe center
• Get needle through subcutaneous tissue as quickly as possible
• Steer needle to target as observe needle tip at all times (without losing view of target)
• Accurately perform procedure on target– If syringe exchange, do NOT
move needle tip out of target
• Minimize– Pain
– Procedure time
Related Documents


