Tracheostomy Care & Decanulation Dr. Prahlada N.B MS (PGIMER), MBA, MHA

Tracheostomy decanulation
Aug 18, 2015
Welcome message from author
This document is posted to help you gain knowledge. Please leave a comment to let me know what you think about it! Share it to your friends and learn new things together.
Transcript

Tracheostomy Care & Decanulation
Dr. Prahlada N.BMS (PGIMER), MBA, MHA

Tracheostomy careSecurity of the tracheostomy tubeThe inner cannula hygieneCuff pressures should be maintained at 20–25
cm H2O Regular tube changes
Tracheostomy careSecretion management
HydrationHumiditySuctioning, and Physical mobilityRespiratory Physiotherapy
Prepare for Decanulation

Decanulation
As soon as the patient’s condition permits.
When?

Who should do it?Team

Who should do it?Ear, Nose and Throat (ENT) SurgeonWard NurseTracheostomy Nurse Specialist Respiratory therapist Speech and Language Therapist (SLT)Physiotherapist.Dietician.
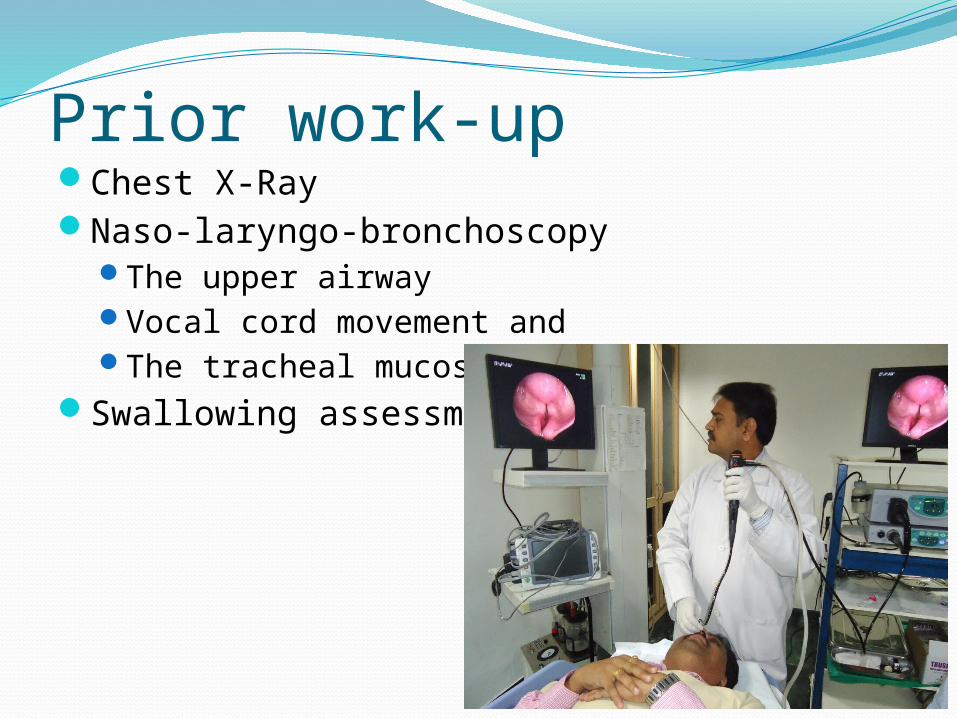
Prior work-upChest X-RayNaso-laryngo-bronchoscopy
The upper airwayVocal cord movement and The tracheal mucosa.
Swallowing assessment.

Evaluate bedside swallowPatients not alert enough to follow
commands.Patients unable to swallow their own saliva.Patients with significant central neurological
deficits.
Indications - DecanulationReason for the tracheostomy resolved. Patient alert, responsive and consenting. Patient tolerating cuff deflation for a
minimum of 12 hours. Patient managing to protect their airway and
have a clear chest. Patient maintaining oxygen saturations.

Indications - DecanulationPatient tolerating the use of a speaking valve
and/or digital occlusion. Patient able to expectorate around the tube
into their mouth. Tracheostomy tube type and size is
appropriate.
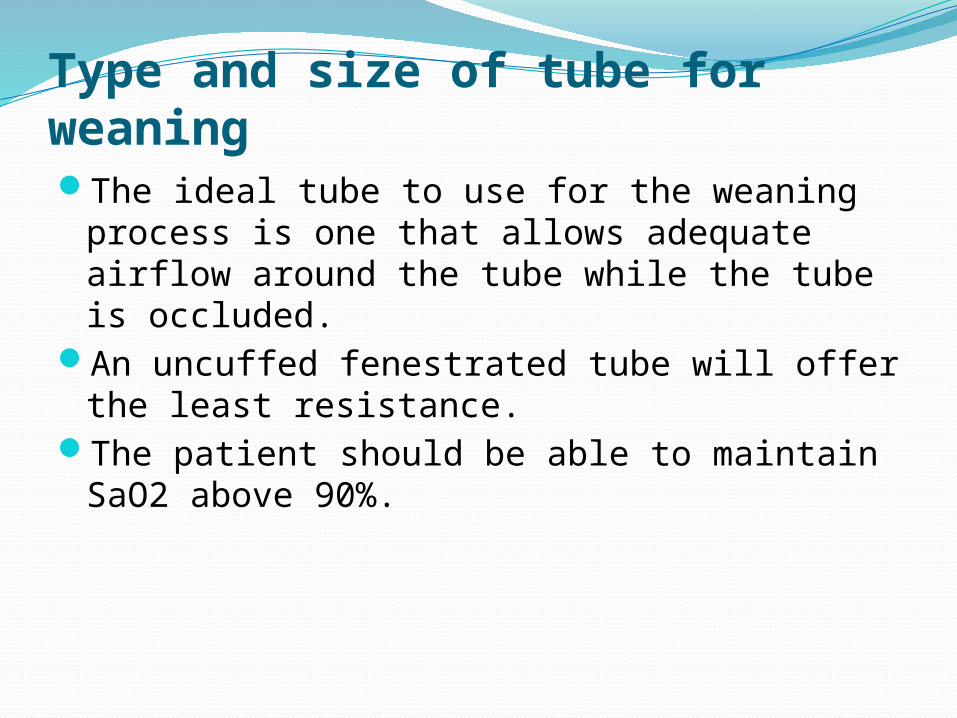
Type and size of tube for weaningThe ideal tube to use for the weaning process
is one that allows adequate airflow around the tube while the tube is occluded.
An uncuffed fenestrated tube will offer the least resistance.
The patient should be able to maintain SaO2 above 90%.

Uncuffed fenestrated tube
Patient preparation and involvementConsentExplanation.Involvement.
Practical issuesExplanation to the patient.Start on first days of the week.Start early morning.Closely monitor the patient.Document the progress.
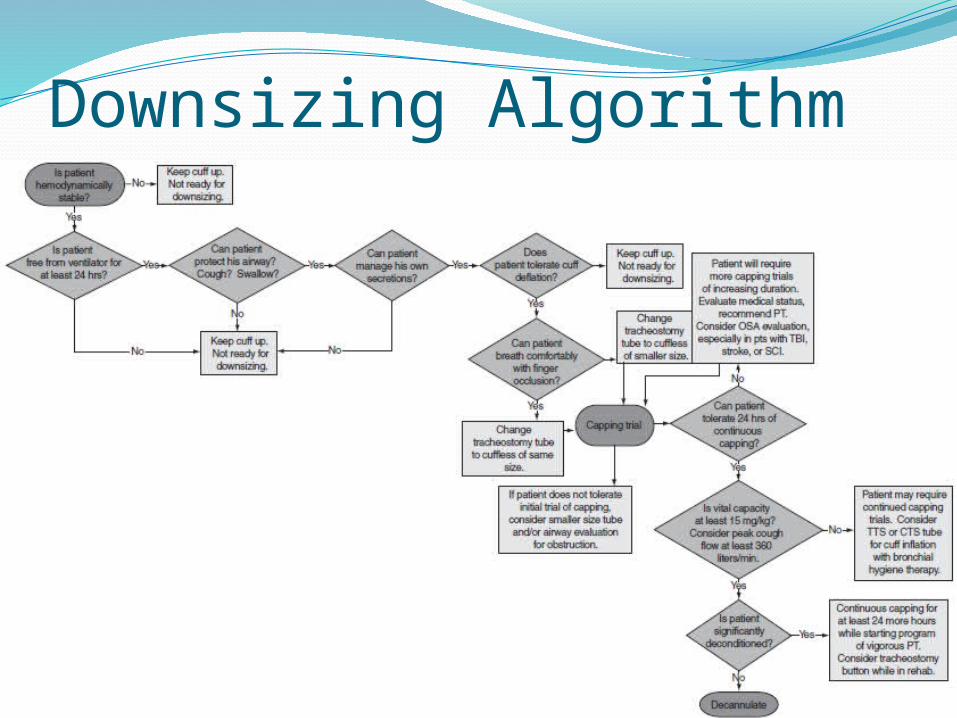
Downsizing Algorithm

The weaning processDay 1-Ensure the cuff, if present, is deflated.Insert fenestrated inner tube if appropriate.Place an occlusion cap over the end of the
tracheostomy tube . Observe for signs of respiratory distress and Stay with the patient for at least the first 10
min. The patient’s oxygen saturation and vital
signs should be recorded after 15 min.
The weaning processContinue to occlude tube for 12 hour.Day 2 - Occlusion cap in situ for 24 h. Day 3 – Decanulation.

Difficulty with weaning/troubleshootingRespiratory insufficiencyAirway ObstructionsRetention of SecretionsBlood in secretionsPatient anxiety

SummaryThe ability to decannulate the patient will be
affected by various factors:Selection of patients for the weaning procedure.Reason why the tracheostomy was formed.Type and size of the tracheostomy tube.Support from the TEAM.A systematic, standardised approach to the weaning
procedure by all members of the multi-disciplinary team.
Accurate and appropriate documentation of the procedure.
Patient and family involvement.
Related Documents