The “Orton” Effect

The “Orton” Effect. Here’s the starting image. First step is to duplicate the layer, just drag the ‘background’ layer to the new layer icon.
Dec 18, 2015
Welcome message from author
This document is posted to help you gain knowledge. Please leave a comment to let me know what you think about it! Share it to your friends and learn new things together.
Transcript
The “Orton” Effect

Here’s the starting image.
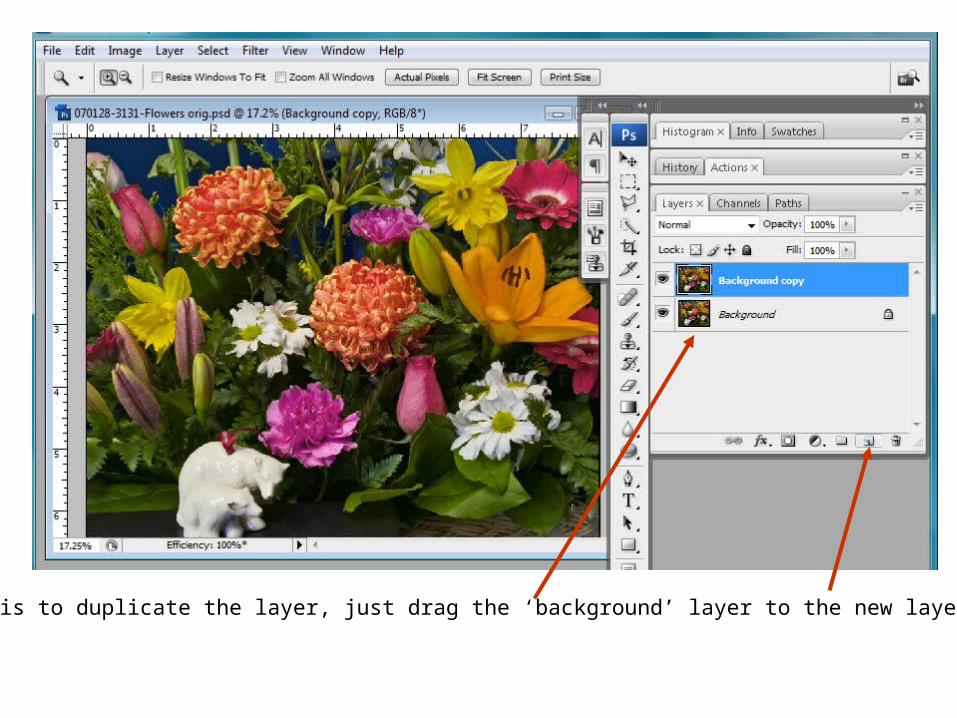
First step is to duplicate the layer, just drag the ‘background’ layer to the new layer icon.
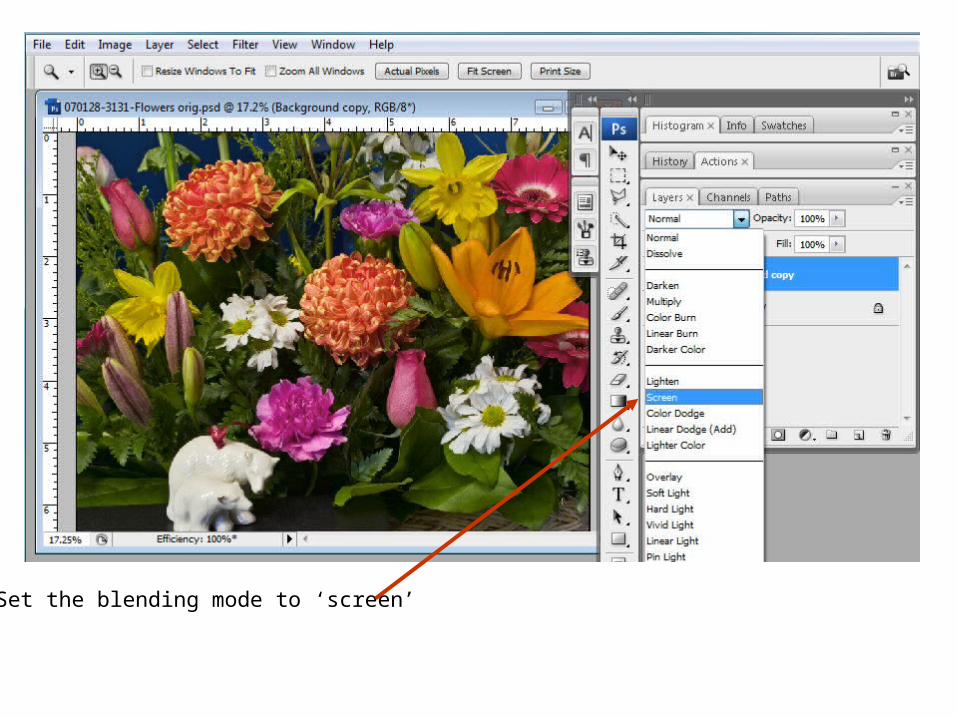
Set the blending mode to ‘screen’

I wanted it even lighter, so duplicated the top layer and set blending mode to ‘screen’ again.
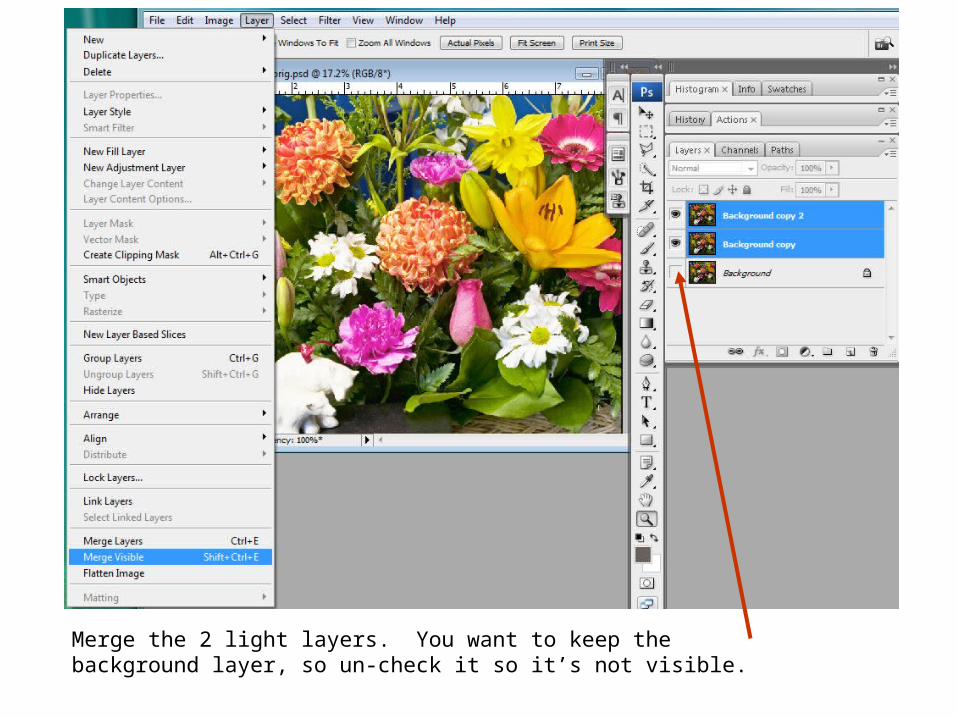
Merge the 2 light layers. You want to keep the background layer, so un-check it so it’s not visible.
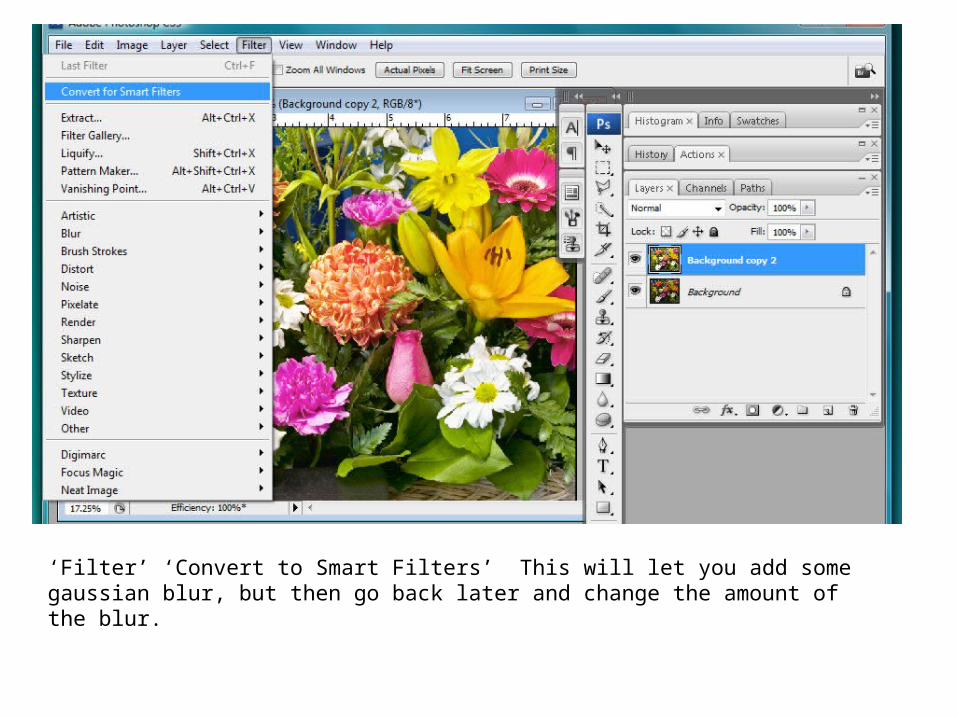
‘Filter’ ‘Convert to Smart Filters’ This will let you add some gaussian blur, but then go back later and change the amount of the blur.

Converted for smart filter.
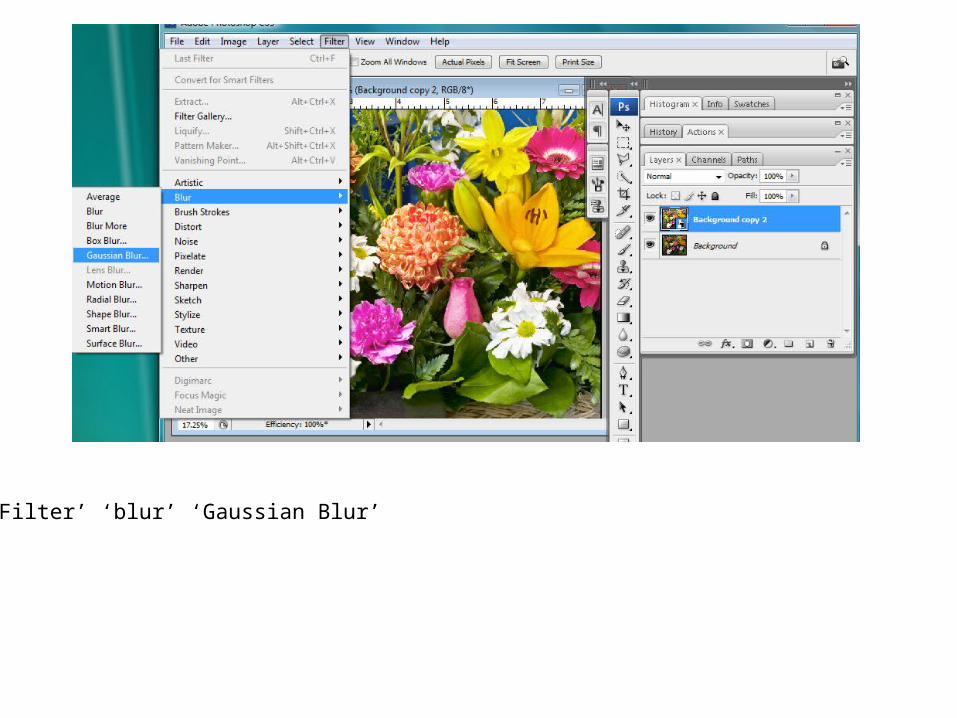
‘Filter’ ‘blur’ ‘Gaussian Blur’
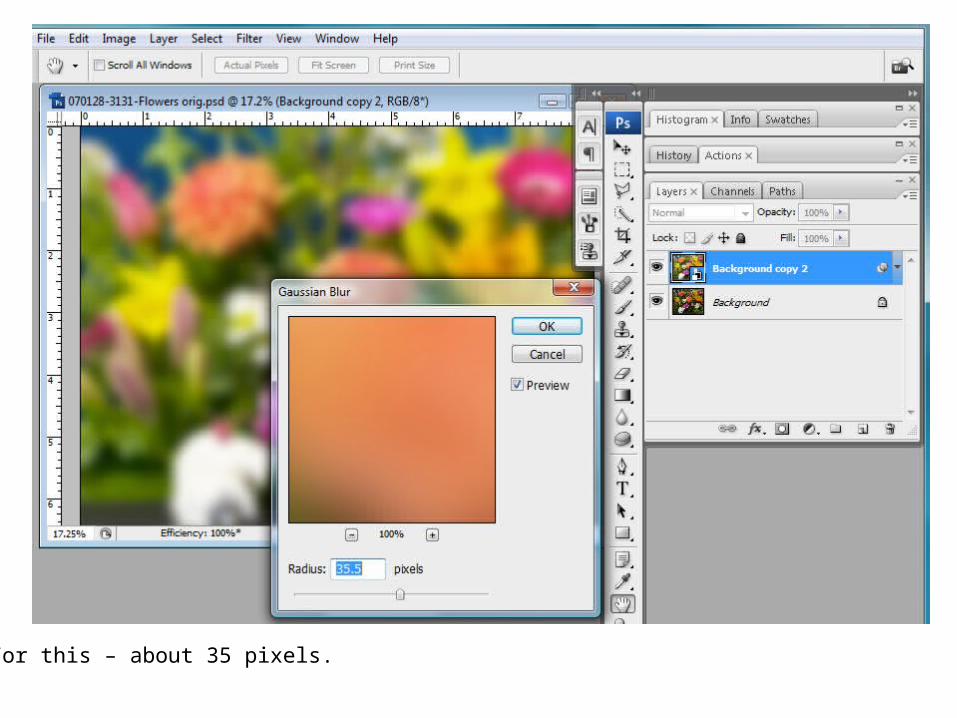
For this – about 35 pixels.

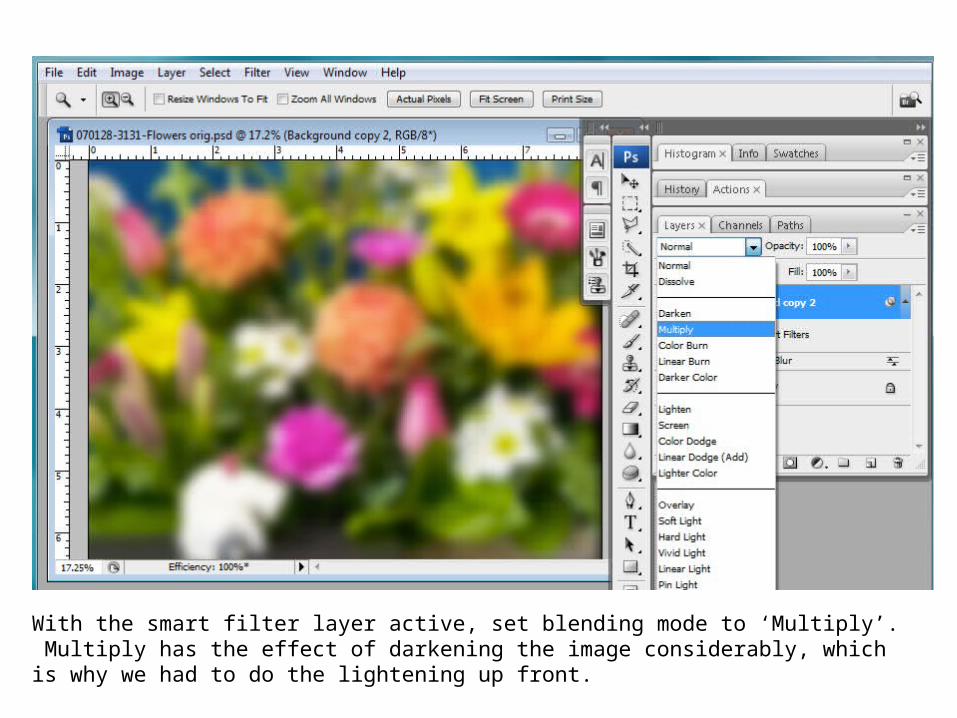
With the smart filter layer active, set blending mode to ‘Multiply’. Multiply has the effect of darkening the image considerably, which is why we had to do the lightening up front.
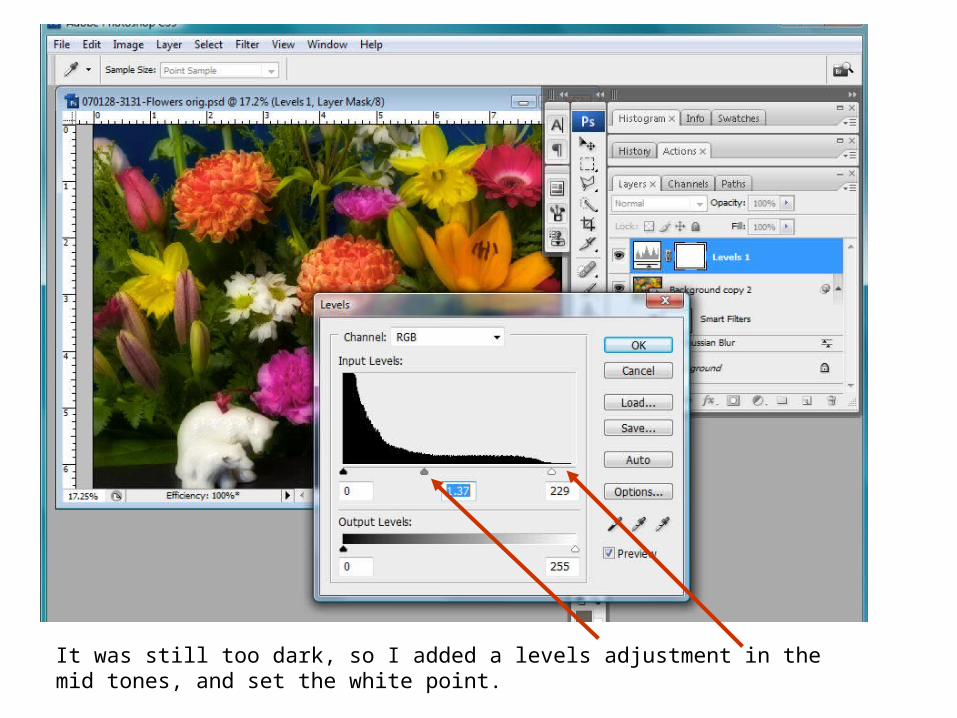
It was still too dark, so I added a levels adjustment in the mid tones, and set the white point.
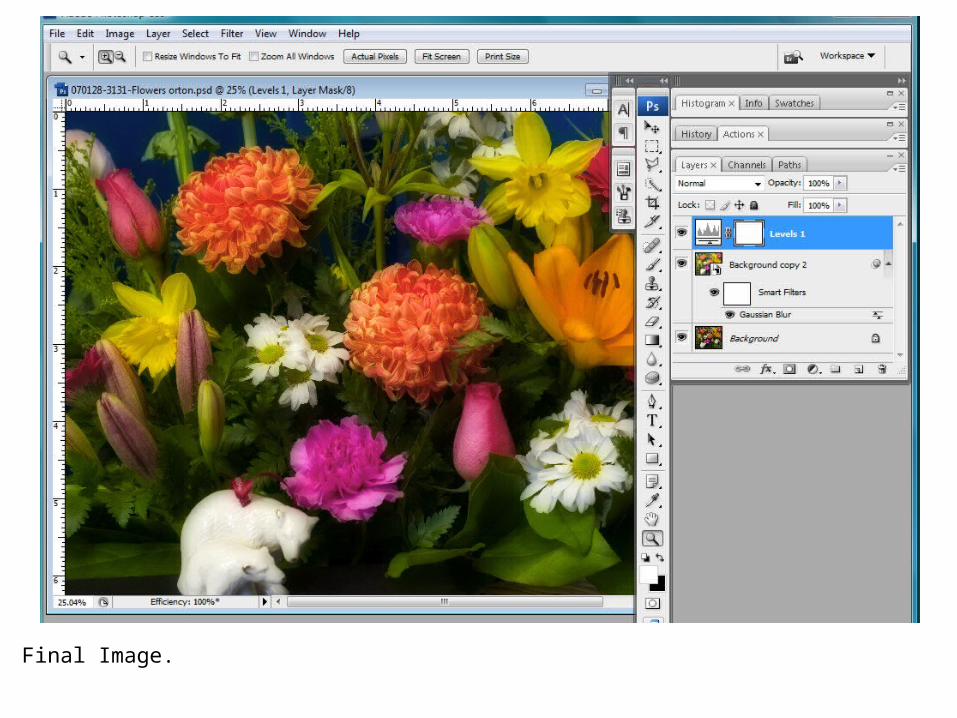
Final Image.

Another example.
Related Documents