Term 2 : Lesson 3 6. DISTANCE AND DISPLACEMENT Distance is the known distance as it is measured with the distance meter of a vehicle every day. Displacement is the straight line distance between two points independent of the route that was followed on a road map. Example: The route from A to B travels from A to R,T,K up until B: Distance: 2km + 4km + 3km + 1km = 10km The displacement from A to B is only 6,5km East.

Welcome message from author
This document is posted to help you gain knowledge. Please leave a comment to let me know what you think about it! Share it to your friends and learn new things together.
Transcript

Term 2 : Lesson 3
6. DISTANCE AND DISPLACEMENT
Distance is the known distance as it is measured with the distance meter of a vehicle every
day.
Displacement is the straight line distance between two points independent of the route that
was followed on a road map.
Example: The route from A to B travels from A to R,T,K up until B:
Distance: 2km + 4km + 3km + 1km = 10km
The displacement from A to B is only 6,5km East.

Term / Kwartaal 2: Lesson / Les 3
WORKSHEET /WERKKAART 6.1: Name/Naam:_________________
Study Figure 1 and then answer the questions. Bestudeer Figuur 1 en beantwoord dan die vrae noukeurig
Figure / Figuur 1
1. Calculate the distance between point A and E if you follow the route. Bereken die afstand tussen punt A en E as jy die hele roete volg. (3)
2. Calculate the displacement between A and C. Bereken die verplasing tussen A en C. (1)
3. What is the displacement if you travel from A all around the route right back to A again? Wat is die verplasing as jy beweeg vanaf A reg rondom die roete terug na A toe?
(1)
4. What is the distance between B and D via C? Wat is die afstand tussen B en D via C? (2)
5. What is the displacement between B and D? Wat is die verplasing tussen B en D? (1)
6. Draw a diagram with the following vectors and then answer the questions. Teken ‘n diagram met die volgende vektore en beantwoord dan die vrae.
Scale / skaal 1cm = 2m
A = 20m North / Noord B = 15m East / Oos C = 4m South / Suid D = 10m East / Oos E = 6m South / Suid F = 12 West / Wes (6)
A
B C
D
E
Key:
AB = 6km
BC = 9km
CD = 3km
DE = 4km
AE = 12km
BE = 7km
AC = 11km

a. Calculate the distance between A and F. Bereken die afstand tussen A en F. (3)
b. Calculate the displacement between A and F. Bereken die verplasing tussen A en F. (4)
c. What is the displacement between B and E? Wat is die verplasing tussen B en E? (4)
Total/Totaal: 25
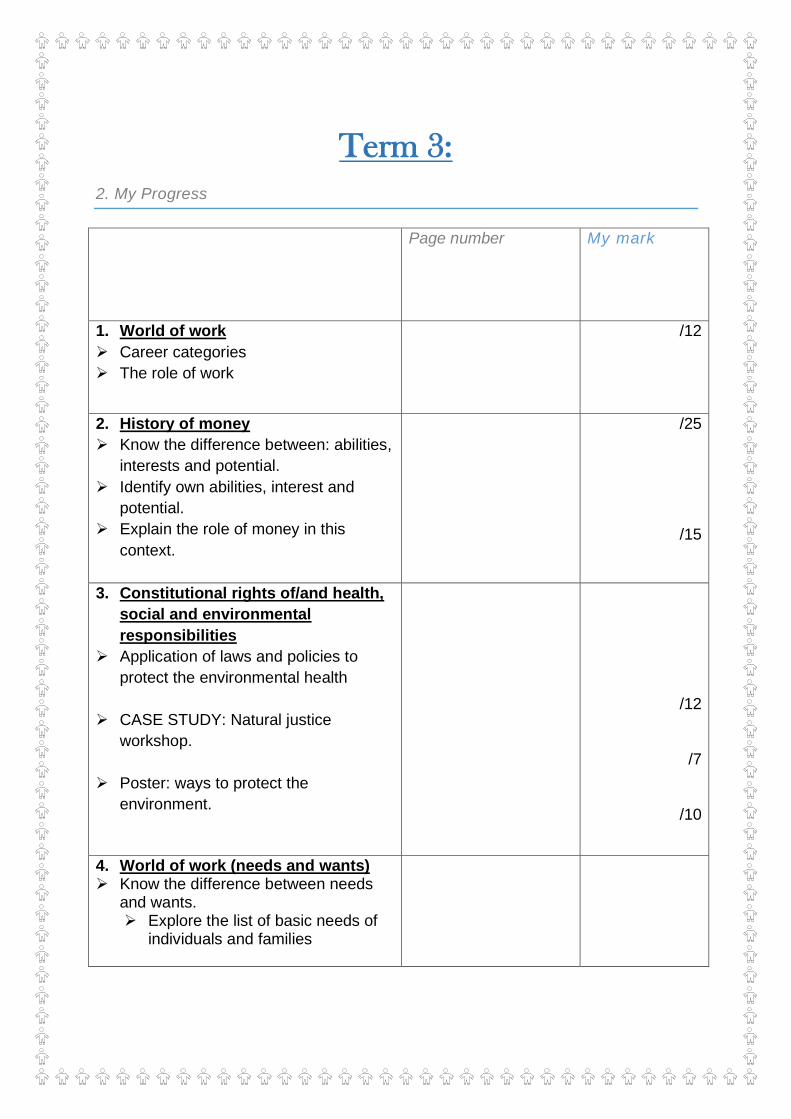
Term 3:
2. My Progress
Page number My mark
1. World of work
➢ Career categories
➢ The role of work
/12
2. History of money
➢ Know the difference between: abilities,
interests and potential.
➢ Identify own abilities, interest and
potential.
➢ Explain the role of money in this
context.
/25
/15
3. Constitutional rights of/and health,
social and environmental
responsibilities
➢ Application of laws and policies to
protect the environmental health
➢ CASE STUDY: Natural justice
workshop.
➢ Poster: ways to protect the
environment.
/12
/7
/10
4. World of work (needs and wants) ➢ Know the difference between needs
and wants. ➢ Explore the list of basic needs of
individuals and families

2
DIE ANKERSKOOL / SCHOOL
In this term we will focus on four topics:
1) World of work
2) History of money
3) Constitutional rights of/and health, social and environmental responsibilities
4) Needs and wants
Date: ________________ Heading: __________________________________
Term 3
1. World of
work
2. History of money
3. Constitutional rights of/and health,
social and environmental responsibilities
4. Needs and wants

3
World of work: (career categories and the role of work)
Introduction
• There are so many different types of work and career choices available
therefore it might help to divide them into different categories.
• The different categories of work will appeal to different people and each
category will require a different skill set.
• It is important to note that most people are suited to more than one type of
career category.
1) There are six types of career categories:
1. Investigative careers
2. Enterprising careers
3. Realistic careers
4. Artistic careers
5. Conventional careers
6. Social careers
1.1 Investigative careers:

4
• People interested in how things work and why.
• Example: doctor and electrician.
• A doctor is interested in why people are sick or an electrician is interested in
how to fix electrical fault.
• These people like to work out problems, gather information to make decisions
and like to find solutions.
1.2 Enterprising careers
• People who are energetic, creative, innovative, goal-orientated and
comfortable taking risks.
• Example entrepreneurs: These people like to start their own business or sales
representatives.
• They enjoy doing new things, look for opportunities, are optimistic think
strategically and take initiative. They can manage challenging situations.
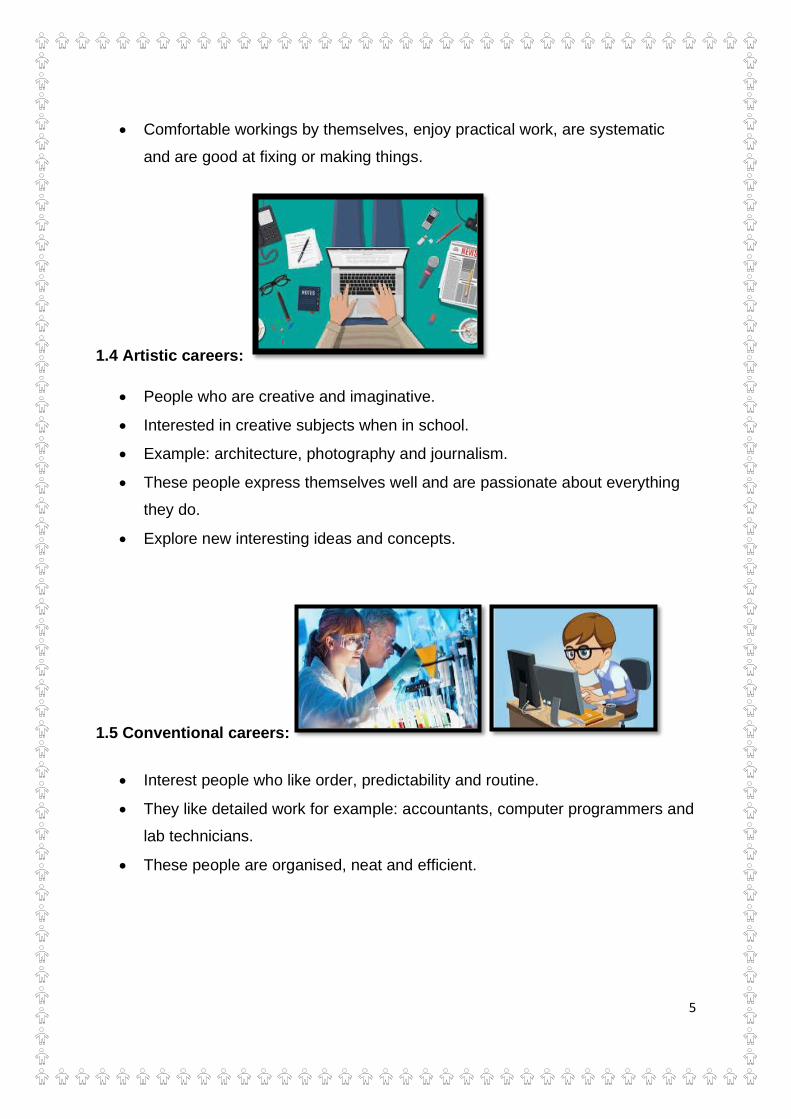
1.3 Realistic careers
• People who are straightforward and practical.
• Like to work with their hands or machines.
• Example: florist, furniture maker or computer technician.
5
• Comfortable workings by themselves, enjoy practical work, are systematic
and are good at fixing or making things.
1.4 Artistic careers:
• People who are creative and imaginative.
• Interested in creative subjects when in school.
• Example: architecture, photography and journalism.
• These people express themselves well and are passionate about everything
they do.
• Explore new interesting ideas and concepts.
1.5 Conventional careers:
• Interest people who like order, predictability and routine.
• They like detailed work for example: accountants, computer programmers and
lab technicians.
• These people are organised, neat and efficient.
6
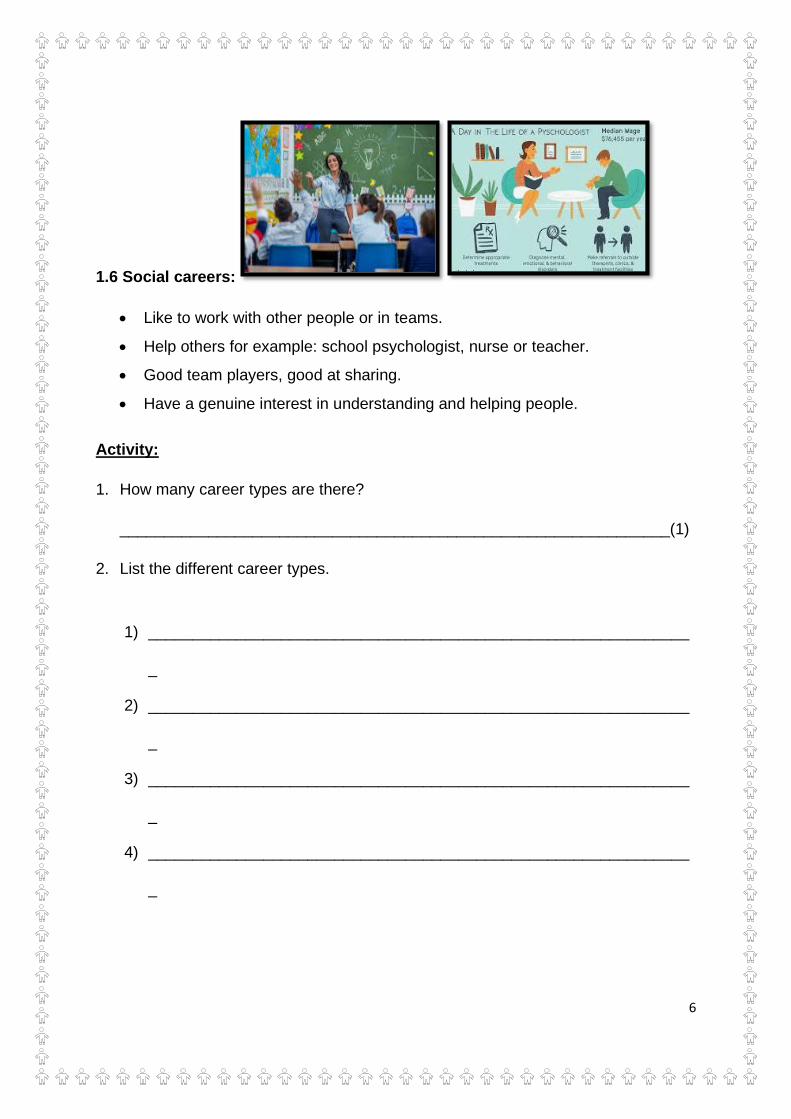
1.6 Social careers:
• Like to work with other people or in teams.
• Help others for example: school psychologist, nurse or teacher.
• Good team players, good at sharing.
• Have a genuine interest in understanding and helping people.
Activity:
1. How many career types are there?
______________________________________________________________(1)
2. List the different career types.
1) _____________________________________________________________
_
2) _____________________________________________________________
_
3) _____________________________________________________________
_
4) _____________________________________________________________
_

7
5) _____________________________________________________________
_
6) ___________________________________________________________(6)
3. Write a short paragraph explaining which career type you fall under, and why you
think so.
___________________________________________________________________
___________________________________________________________________
___________________________________________________________________
___________________________________________________________________
___________________________________________________________________
___________________________________________________________________
___________________________________________________________________
_________________________________________________________________(5)
[12]


1
DIE ANKERSKOOL / SCHOOL
Natural Science
Name and Surname:____________________ SL 1._____
Date: _________________ Lesson 5
5. Processing of materials
When we combine materials, new materials are made. The properties of the new materials are often different from the properties of the materials we started with.
There are many ways to process existing materials into new materials. There are also many reasons why we would need to process materials into new materials.
When we bake a cake, we are processing flour, eggs and other ingredients (that may not taste very nice on their own) into a cake which tastes really good.
We process materials to make them stronger, or more durable, or waterproof, or even just to make them look more beautiful or

2
interesting. New materials that form after mixing different materials are sometimes called alloys.
Combining materials
We have learned that iron rusts over time, and that this process speeds up when the iron is in contact with water. Have you ever noticed rust on the knives and forks in your home? Probably not. That is because they are not made of iron but of stainless steel. But what is stainless steel?
Stainless steel is made by combining iron with other metals to make it stronger and to prevent rust. Processing iron with other metals to turn it into stainless steel means we can use it even in wet environments. Water taps and pipes are sometimes made of steel. Some of the instruments that doctors use to operate on sick people are made of steel, and so are the pots and pans that we use when we prepare food.
Mixing
Often, when we mix materials together, the properties of the new material or product is different from the properties of the materials we started with.
Mixing and setting
To make jelly, we must dissolve jelly powder in hot water. When the solution of jelly powder in water cools down,

3
sometime very special happens: the solution sets, and turns into a delightfully wobbly, sweet treat. The jelly powder has been processed into something new.
Jelly is not the only material that sets. We are going to investigate another material that sets shortly.
Have you ever watched builders mix concrete when they want to build a wall or a house?
Builders mix sand and water with building cement. The mixture is called concrete. Concrete is like mud when it is wet, but when it dries out it sets into a hard, strong material. Concrete can be used to make bricks and pavements and to plaster walls.
The picture below shows a machine called a cement mixer. This machine mixes all the ingredients by turning mechanically, like an electric food mixer. Electrical energy does the work required for mixing the concrete.

4
Real bricks are actually made by firing the bricks in a special oven called a kiln to bake them and harden it. A potter is someone who makes objects such as pots out of wet clay. Once they have dried and have been fired, the clay becomes hard.
These clay pots have been dried and have been loaded into a kiln to be fired.
We have learned that we can make materials stronger if we add other materials to them. When we make certain materials stronger by adding other materials, we say we are reinforcing it.
Mixing and cooking
Cooking food is also a form of processing. Have you ever seen what a raw egg looks like? The same egg looks quite different

5
when it is baked. Notice how the egg white is transparent when it is raw and white when it is baked. When it is raw, the egg is runny, like liquid. When it is baked, the egg is solid but soft like rubber or soft plastic.

6
Worksheet 5: Reinforcing concrete
Instructions:
Look at the picture of a piece of concrete wall below.
The concrete looks as if there are pebbles (small stones) embedded in it.
1. Can you see that there are things embedded in the concrete? What do you think they are?
________________________________________________(1)
2. How do the stones get inside the concrete?
________________________________________________(1)
3. Why do you think the concrete was mixed with stones?
__________________________________________________
________________________________________________(2)
4. What is the process called when we make a material stronger by mixing it with another material?

7
________________________________________________(1)
Look at the next picture. It shows a floor is being prepared for reinforcement with steel bars.
5. The floor in the picture is inside a garage. Why do you think the concrete needs to be reinforced with steel bars? (Hint: why would the garage floor need to be extra strong?)
__________________________________________________
________________________________________________(2)
The next picture shows a new building that is being constructed.

8
6. Can you see the steel bars that are sticking up into the sky? What do you think would be their purpose?
__________________________________________________
________________________________________________(2)
7. Why does the building need a structure that is extra strong?
________________________________________________(1)

9
Total 10


[1]
E Kidson Skill level 3,4 and N
Hospitality Studies
Name:

[2]
E Kidson Skill level 3,4 and N
Term 2

[3]
E Kidson Skill level 3,4 and N
Rules of the Hospitality Classroom
General rules to follow in the kitchen at all times
1. Wipe the work station before working with food
2. Clean, wipe or dry all equipment or utensils before using anything
3. Use the equipment from the allocated cupboard or drawers only, do not take
equipment from another work place
4. See to it that all cupboards and drawers are packed neatly and correctly
before leaving the class
5. Cloths and aprons that are used should be washed and cleaned. It is
expensive and should be cared for
6. No learner is allowed in the equipment sore room or dry store room at any
time

[4]
E Kidson Skill level 3,4 and N
2. HANDLE A CHEF’S KNIFE
2.1 USING A CHEF’S KNIFE
The most frequently used knife is the chef’s knife also known as the French knife.
The positioning of the grip and of the food under the blade both influence the degree
of control and leverage a person has over the knife.
A chef’s knife should be firmly held with the base of the blade between the thumb
and forefinger and the other fingers wrapped around the handle.
While the one hand grips the knife, the other hand must hold the food and guides it
towards the blade.
The fingers of the guiding hand should be curled under while holding the food this
allows the knuckles to act as a protective shield that ensures that the fingertips are
kept away from the cutting edge.

[5]
E Kidson Skill level 3,4 and N
2.2 CLEANING OF THE CHEF’S KNIFE
Always keep your knife dry and clean.
Wash the knife in hot soapy water.
Never put the knife in the dishwasher or leave it soaking in the water.
Dry the knife completely by using an absorbent drying towel.
2.3 SHARPENING OF THE CHEF’S KNIFE
It is very important to keep all knifes sharp so that they can cut through food
effortlessly without causing any spillage. A blunt knife requires more force that
makes it dangerous for the holder as the knife or the food can slip from underneath
the blade.
There is two ways of sharpening a knife – using sharpening steel or using a kitchen
sharpener.
How to use sharpening steel
STEP 1:
Hold the steel vertically with the tip
firmly planted on the counter. Place the
heel (back) of the blade against the tip of
the steel and point the knife slightly
upward.
STEP 2:
Maintaining light pressure and a 15º
angle between the blade and the steel,
slide the blade down the length of the
steel in a sweeping motion, pulling the
knife toward your body so that the
middle of the blade is in contact with the
middle of the steel

[6]
E Kidson Skill level 3,4 and N
STEP 3:
Finish the motion by passing the tip of
the blade over the bottom of the steel.
Repeat this motion on the other side of
the blade, four or five strokes on each
side of the blade should realign the edge.
Using a kitchen sharpener
With these sharpeners the abrasive material is shaped in a V chamber where the user
will pull the knife through the opening. The blade should be pulled through the
chamber with even pleasure. Repeat this about four of five times until the knife is no
longer blunt.
This way of sharpening is also a quick
sharpening method and the sharpener can be
stored easily. The only downside to this
sharpener is that it cannot restore serious
damage to a blade.
2.4 ADVANCED CUTTING TECHNIQUES
Uniformity is the usual goal in cutting food. It allows to even heating and gives food
an appetizing appearance. Cutting styles can include the following techniques:
a) Slice
Slicing is to move the food under the blade
while keeping the point of the blade firmly
on the cutting board. The base of the knife is
lifted up and down with a forward and
backward motion.

[7]
E Kidson Skill level 3,4 and N
b) Julienne
Sliced food can be further cut up, or julienned. This term
can be defined as food that is cut lengthwise into very thin,
stick-like shapes. These sticks are no longer then 2,5cm-5cm
and not thicker then 1cm. These vegetables can be found in
soups or stir-fry.
c) Chiffonade (Shredding)
Shredding is to cut leaf vegetables or herbs
into thin strips. This may be done by first
rolling the leaves into cigar-like shapes and
then cutting them into shreds. Hand
shredders and food processors with different
sizes of shredding blades may also be used.
This is normally used for garnish.
d) Dice
Dicing is to cut food into even-sized cubes.
e) Brunoise
Brunoise is to use the dicing technique of cutting
vegetables and this vegetables is normally shallow-fried
in butter or to enhance the flavour of soups and sauces.
f) Chop (Mince)
To chop food into very fine pieces. This
is done by placing the holding hand on
the tip of the knife and rocking the base
up and down in short strokes while
moving it across the food several times,
and repeating as necessary

[8]
E Kidson Skill level 3,4 and N

W.A.T.T.
World Association of Technology Teachers
On behalf of The World Association of Technology Teachers
V.Ryan © 2000 - 2009
This exercise can be printed and used by teachers and students. It is recommended that you view the website before attempting the design sheet . (www.technologystudent.com)
THESE MATERIALS CAN BE PRINTED AND USED BY TEACHERS AND STUDENTS.
THEY MUST NOT BE EDITED IN ANY WAY OR PLACED ON ANY OTHER MEDIA INCLUDING WEB SITES AND INTRANETS.
NOT FOR COMMERCIAL USE.THIS WORK IS PROTECTED BY COPYRIGHT LAW.
IT IS ILLEGAL TO DISPLAY THIS WORK ON ANY WEBSITE/MEDIA STORAGE OTHER THAN www.technologystudent.com
DRILLING MACHINES

V.Ryan © 2009 World Association of Technology Teachers
NAME: DATE:
SAFETY INFORMATION
THE BENCH DRILL
1. Complete the diagram of the bench drill, seen opposite.
Label the important parts.
Add appropriate colour and shade.
2. Add safety information in the space below. You may wish to explain the use of the guard or how work must be safely clamped before being drilled.


FOOD PRODUCTION
Skills Level 4 Term 2
ALL ABOUT MINCE
Mince is the meat that were shreded in a finer manner and any
meat piece can be used to make mince..
The nutritional value of mince is high in protein. Red meat is also a source of protein, Vitamin B6
en B12 as well as iron.
Mince can be used in a variety of dishes for example: Curry and rice, Sheppard’s pie,lasagne,
bobotie,mince pies as well as hamburger patties and meatballs.
There are different types of mince such as: beef mince,pork,lamb,mutton,game and chicken. A
variety cuts of the meat are being used and then it gets processed in the desired manner..
The different colours of mince:
• Beef mince is red in color.
• Pork mince is light pink
• Lamb mince is more pink than pork mince.
• Chicken mince is dull and almost a white color.
TYPES OF MINCE
Beef,pork,lamb,mutton,game and chicken are the meat that
is being used. A variety of cuts may be used.

There is a difference between the types of beef mince. Eksta maer maalvleis bestaan uit 100%
vleis en geen vet.
• Lean mince exist out of 90% meat and 10% fat.
• Normal mince exists out of 50% meat and 50% fat.
• Rough mince exists out of 90% meat and 10% fat.

FOOD PRODUCTION
Skills Level 4 Term 2 Worksheet 5
Name and Surname: ____________________________ Date:_________
GROUP:___
1. Name the types of meat that can be used for mince meat.. (6)
______________________________________________________________________
2. The following picture illustrate the colour of the type of mince. Name the differences of the
color mince. (4)
____________________________________
____________________________________
____________________________________
____________________________________
/18
DIFFERENCES IN THE TYPES OF COLOUR IN MINCE
Beef Pork
Chicken Lamb

3. The types of mince that are available. Complete the following table: (8)
Type of mince % Meat %Fat
1
Extra lean
2
Lean
3
Normal
4
Rough


[1]
E Kidson Skill level 3,4 and N
Hospitality Studies
Name:

[2]
E Kidson Skill level 3,4 and N
Term 2

[3]
WORKSHEET 5
The chef knife and knife skills
1. How should a chef’s knife be held?
(3)
2. How should a chef’s knife be cleaned?
a)
b)
c)
d)
(4)
3. Identify the following terms about cutting techniques
a) Julienne
b) Chiffonade (Shredding)
c) Brunoise
d) Chop (Mince)
(8)
Total: 15

[4]

ICT 1 - Activity 1(Excel) 18 Sept - 2 Okt. 2020
A B C D E F G H
A B C D E
1 600 300 eg. =sum(C7+D7) 600 + 300
2 50 200 50 + 200
3 400 350 400 - 350
4 1000 250 1000 - 250
5 50 20 50 * 20
6 400 20 400 / 20
7 25 45 5 eg. =sum(C13+D13/E13) 25 + 45 / 5
8 100 14% 100 * 14%
9 200 64% 200 * 64%
10 50 54 105 50 * 54 - 104
11 1000 250 5 1000 - 250 * 5
12 400 20 100 400 / 20 - 100
Instructions Mark
1 Create Formulars all answers to be in comlumn D 10
Total 10
Date :
Grade :
Name :

I J
Learner
Mark
Related Documents