1 © 2007 New Mexico Tech http://dspace.nmt.edu/dspace/handle/10136/50 MaryRobinson_July2007 Teacher Tips for Implementing a Mock Crime Scene Step 1: Identify your goals, choose your location Are you using the crime scene as a culminating activity? Are you integrating the “crime” into an existing unit to emphasize a con cept or technique? What do you want your students to know at the end of the “crime”? How much time do you have to spend on this activity? In setting your goals, try to create a conclusion to the crime before you start; that is, know “who did it” and where the evidence is go ing to lead. Students, like adults, like closure of the mystery and will be disappointed if there are too many loose ends that are unre solved. One or two loose ends are fine, however! Students must use their logical reasoning and analytical skills to assess the evi dence and scene. In choosing a location, consider that public places (such as the cafeteria, hallway, restroom, etc.) are difficult to control. Your classroom may work just fine, or you may consider an outdoor area or office that you can control to some degree. Any crime scene exercise works well with student teams. Providing clear roles helps organize students, however, if this is a short (12 day) activity, you may just have participation or teamwork as part of your assessment. You could assign roles such as lead investigator, forensic scientist, evidence technician, etc., or let students decide, depending on your class. Step 2: Choose the evidence that the students will collect, analyze, and/or examine Your goals should determine what evidence you will “plant” at the scene. Do you want students to practice collecting and analyzing DNA samples? Then make sure there are sources of DNA at the scene, such as sunflower seeds, soda cans, makeup, partiallyeaten food, etc. Determine how many teams will be collecting or analyzing the evidence and make sure you know beforehand how many pieces of evidence each team is “allowed” to collect. Do not allow students to collect evidence in a freeforall; this will wreak havoc at the scene and be frustrating for students. Have enough evidence for each team to collect or divide the task of collecting specific pieces of evidence. Decide beforehand whether students will choose what to collect and analyze (a lesson in itself), or if you will flag the evi dence for them. If you don’t have evidence markers, make them yourself out of cardboard and yellow paper. Ideas for obtaining evidence: Blood: since real blood is not allowed in most schools, red washable paint will suffice, although it stays bright red (unlike real blood that turns brown). Stage blood found at party supply stores is a good alternative, but is not as washable. Body: a mannequin or old resusciAnnie work well. For a lowtech body, stuff clothing with newspaper and situate body in realistic position. Wig salons and party stores have Styrofoam heads and plastic faces to create a realistic head Clothing and fibers: ask students for donations, look in your own closet, ask colleagues for old clothing, go to a thrift shop Crime scene tape: ask you local police or order online from Sirchie or Lightening Powder, crime scene supply companies Hair: collect from yourself, pets, colleagues Stuff: gum wrappers, cigarette butts, fibers, handwritten notes, broken sunglasses can be good evidence for your scene

Welcome message from author
This document is posted to help you gain knowledge. Please leave a comment to let me know what you think about it! Share it to your friends and learn new things together.
Transcript
1 © 2007 New Mexico Tech http://dspace.nmt.edu/dspace/handle/10136/50 MaryRobinson_July2007
Teacher Tips for Implementing a Mock Crime Scene
Step 1: Identify your goals, choose your location
Are you using the crime scene as a culminating activity? Are you integrating the “crime” into an existing unit to emphasize a con cept or technique? What do you want your students to know at the end of the “crime”? How much time do you have to spend on this activity?
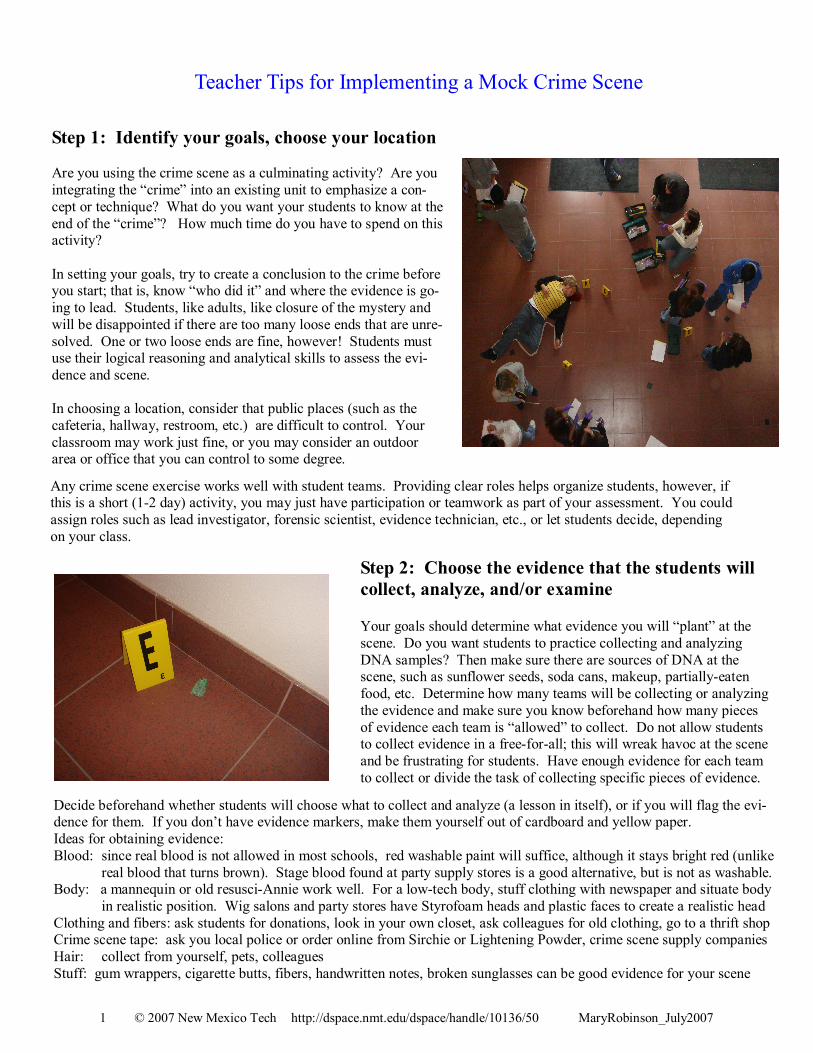
In setting your goals, try to create a conclusion to the crime before you start; that is, know “who did it” and where the evidence is go ing to lead. Students, like adults, like closure of the mystery and will be disappointed if there are too many loose ends that are unre solved. One or two loose ends are fine, however! Students must use their logical reasoning and analytical skills to assess the evi dence and scene.
In choosing a location, consider that public places (such as the cafeteria, hallway, restroom, etc.) are difficult to control. Your classroom may work just fine, or you may consider an outdoor area or office that you can control to some degree.
Any crime scene exercise works well with student teams. Providing clear roles helps organize students, however, if this is a short (12 day) activity, you may just have participation or teamwork as part of your assessment. You could assign roles such as lead investigator, forensic scientist, evidence technician, etc., or let students decide, depending on your class.
Step 2: Choose the evidence that the students will collect, analyze, and/or examine
Your goals should determine what evidence you will “plant” at the scene. Do you want students to practice collecting and analyzing DNA samples? Then make sure there are sources of DNA at the scene, such as sunflower seeds, soda cans, makeup, partiallyeaten food, etc. Determine how many teams will be collecting or analyzing the evidence and make sure you know beforehand how many pieces of evidence each team is “allowed” to collect. Do not allow students to collect evidence in a freeforall; this will wreak havoc at the scene and be frustrating for students. Have enough evidence for each team to collect or divide the task of collecting specific pieces of evidence.
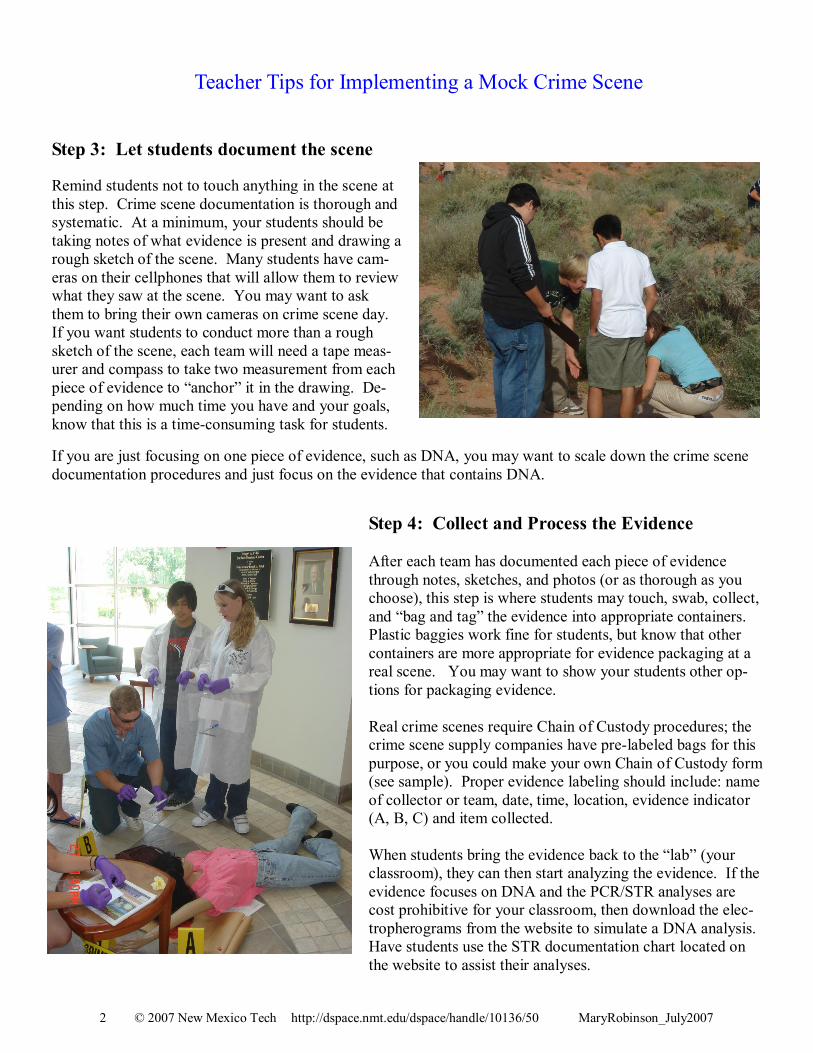
Decide beforehand whether students will choose what to collect and analyze (a lesson in itself), or if you will flag the evi dence for them. If you don’t have evidence markers, make them yourself out of cardboard and yellow paper. Ideas for obtaining evidence: Blood: since real blood is not allowed in most schools, red washable paint will suffice, although it stays bright red (unlike
real blood that turns brown). Stage blood found at party supply stores is a good alternative, but is not as washable. Body: a mannequin or old resusciAnnie work well. For a lowtech body, stuff clothing with newspaper and situate body
in realistic position. Wig salons and party stores have Styrofoam heads and plastic faces to create a realistic head Clothing and fibers: ask students for donations, look in your own closet, ask colleagues for old clothing, go to a thrift shop Crime scene tape: ask you local police or order online from Sirchie or Lightening Powder, crime scene supply companies Hair: collect from yourself, pets, colleagues Stuff: gum wrappers, cigarette butts, fibers, handwritten notes, broken sunglasses can be good evidence for your scene
2 © 2007 New Mexico Tech http://dspace.nmt.edu/dspace/handle/10136/50 MaryRobinson_July2007
Teacher Tips for Implementing a Mock Crime Scene
Step 4: Collect and Process the Evidence
After each team has documented each piece of evidence through notes, sketches, and photos (or as thorough as you choose), this step is where students may touch, swab, collect, and “bag and tag” the evidence into appropriate containers. Plastic baggies work fine for students, but know that other containers are more appropriate for evidence packaging at a real scene. You may want to show your students other op tions for packaging evidence.
Real crime scenes require Chain of Custody procedures; the crime scene supply companies have prelabeled bags for this purpose, or you could make your own Chain of Custody form (see sample). Proper evidence labeling should include: name of collector or team, date, time, location, evidence indicator (A, B, C) and item collected.
When students bring the evidence back to the “lab” (your classroom), they can then start analyzing the evidence. If the evidence focuses on DNA and the PCR/STR analyses are cost prohibitive for your classroom, then download the elec tropherograms from the website to simulate a DNA analysis. Have students use the STR documentation chart located on the website to assist their analyses.
Step 3: Let students document the scene
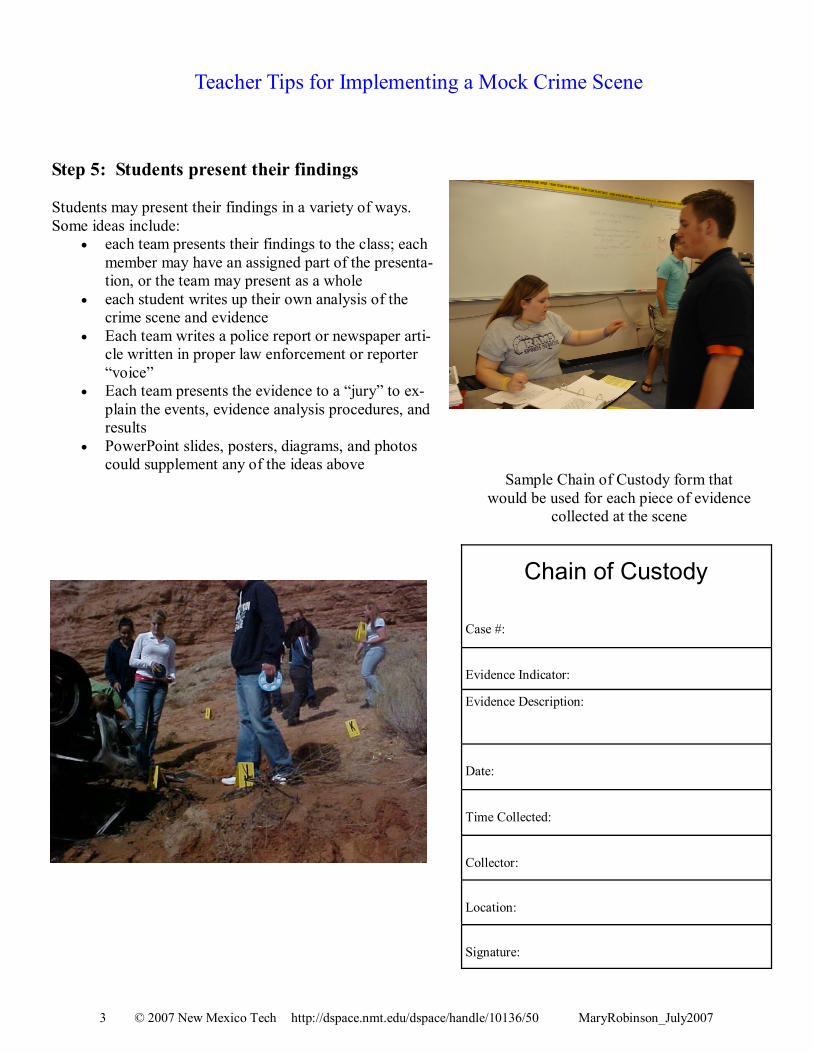
Remind students not to touch anything in the scene at this step. Crime scene documentation is thorough and systematic. At a minimum, your students should be taking notes of what evidence is present and drawing a rough sketch of the scene. Many students have cam eras on their cellphones that will allow them to review what they saw at the scene. You may want to ask them to bring their own cameras on crime scene day. If you want students to conduct more than a rough sketch of the scene, each team will need a tape meas urer and compass to take two measurement from each piece of evidence to “anchor” it in the drawing. De pending on how much time you have and your goals, know that this is a timeconsuming task for students.
If you are just focusing on one piece of evidence, such as DNA, you may want to scale down the crime scene documentation procedures and just focus on the evidence that contains DNA.
3 © 2007 New Mexico Tech http://dspace.nmt.edu/dspace/handle/10136/50 MaryRobinson_July2007
Teacher Tips for Implementing a Mock Crime Scene
Step 5: Students present their findings
Students may present their findings in a variety of ways. Some ideas include:
• each team presents their findings to the class; each member may have an assigned part of the presenta tion, or the team may present as a whole
• each student writes up their own analysis of the crime scene and evidence
• Each team writes a police report or newspaper arti cle written in proper law enforcement or reporter “voice”
• Each team presents the evidence to a “jury” to ex plain the events, evidence analysis procedures, and results
• PowerPoint slides, posters, diagrams, and photos could supplement any of the ideas above
Chain of Custody
Case #:
Evidence Indicator:
Evidence Description:
Time Collected:
Collector:
Location:
Signature:
Date:
Sample Chain of Custody form that would be used for each piece of evidence
collected at the scene
Related Documents


![WBJEE MOCK TEST PAPER POWERED BY … · wbjee mock test paper –powered by wbjee mock test paper [ pathfinder ] wbjee mock test – 2 [mathematics-2]](https://static.cupdf.com/doc/110x72/5f5911bc7de6a572a9381525/wbjee-mock-test-paper-powered-by-wbjee-mock-test-paper-apowered-by-wbjee-mock.jpg)

