Review: HTML Dog Beginner Tutorial Tags through Forms

Tags through Forms. This element is required for all HTML pages It must be at the top of every page of every website We’ll see later on why it is important.
Dec 23, 2015
Welcome message from author
This document is posted to help you gain knowledge. Please leave a comment to let me know what you think about it! Share it to your friends and learn new things together.
Transcript

Review: HTML Dog Beginner Tutorial
Tags through Forms

Tags
Tags
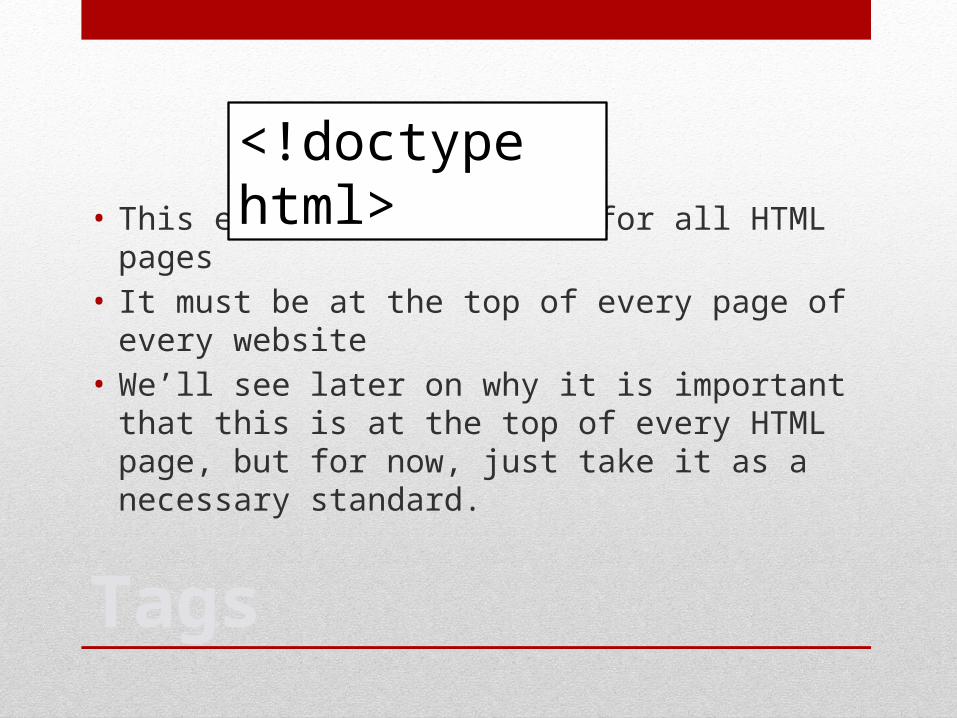
• This element is required for all HTML pages• It must be at the top of every page of every website• We’ll see later on why it is important that this is at the top
of every HTML page, but for now, just take it as a necessary standard.
<!doctype html>

Tags
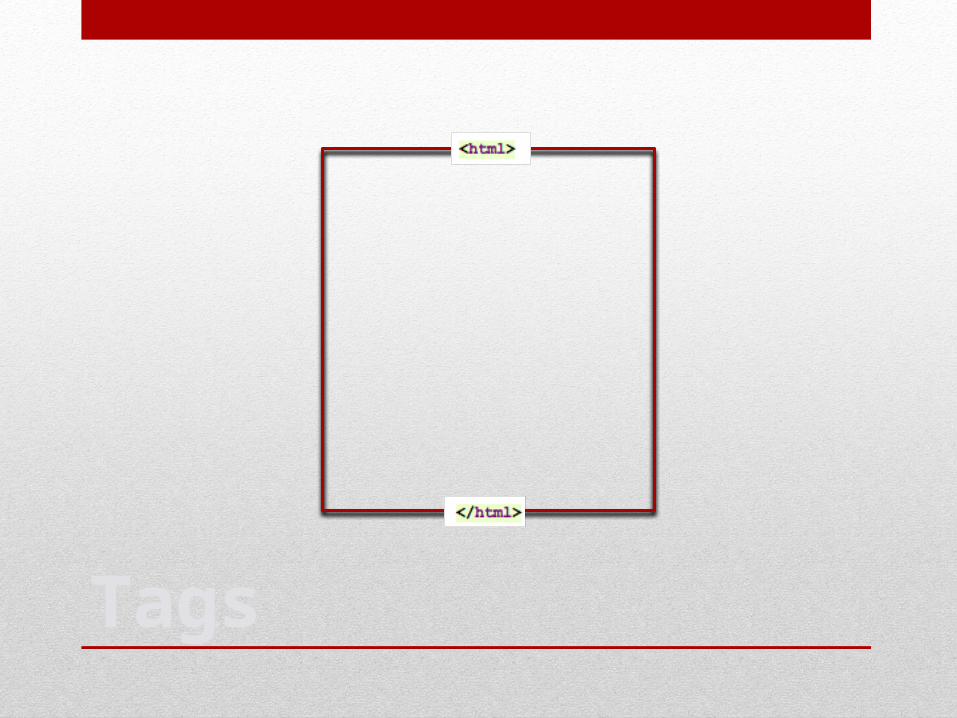
• HTML Tags need to begin at the beginning of every HTML document and close at the end of every document.
• This tag turns the entire page into an element that tells the browser to read all of that content in the HTML language.
Tags

Tags
• Body Tags encase all visible content on the webpage.
• Anything outside of this tag will not be visible on the webpage.
• Information outside of the <body> tags are considered information about the website needed to make the HTML readable.

Tags

Tags
• Body Tags encase all visible content on the webpage.
• Anything outside of this tag will not be visible on the webpage.
• Information outside of the <body> tags are considered information about the website needed to make the HTML readable.

Attributes
• Attributes are sometimes put inside of Tags to add extra information. That information is usually stylistic.
• They look like this:
<tag attribute=“value”> Content </tag>
• For now, just know their formatting and relationship to tags. We’ll work with how to use them later.
Elements
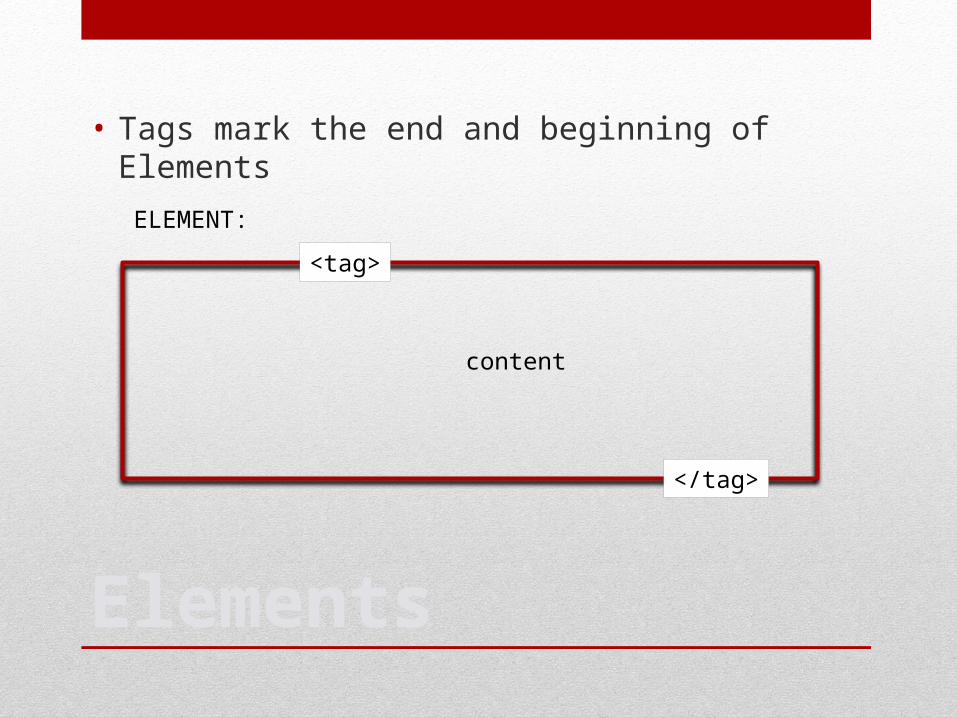
• Tags mark the end and beginning of Elements
ELEMENT:
<tag>
</tag>
content

Elements
• Webpages are made up of multiple elements stacked on top of each other.
<tag1>
</tag1>
content
<tag2>
</tag2>
content
<tag3>
</tag3>
content
Document Header
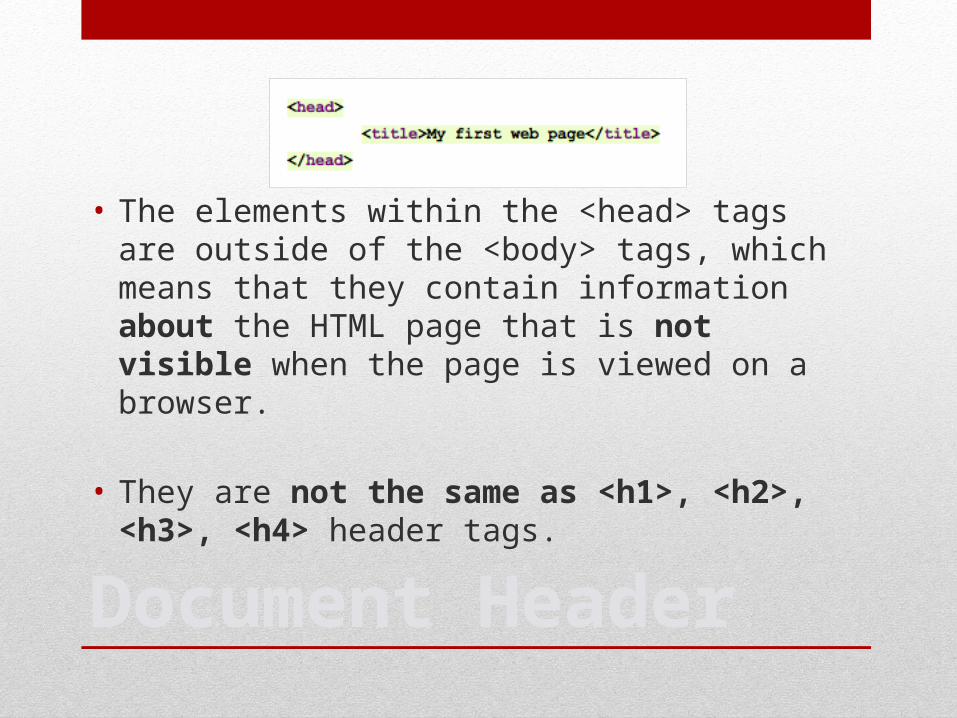
• The elements within the <head> tags are outside of the <body> tags, which means that they contain information about the HTML page that is not visible when the page is viewed on a browser.
• They are not the same as <h1>, <h2>, <h3>, <h4> header tags.
Page Titles
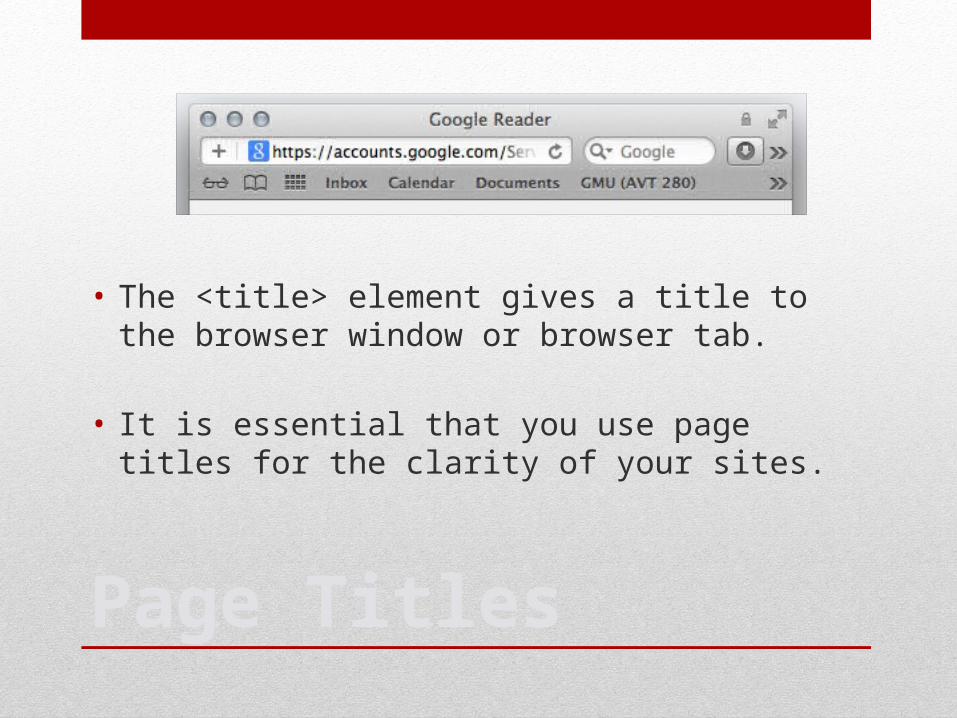
• The <title> element gives a title to the browser window or browser tab.
• It is essential that you use page titles for the clarity of your sites.

Body Formatting
• If you don’t encase any of your browser information that you type into the <body> tag in any other tags, the standard formatting for your page will be 12pt, Black, Times New Roman with no line breaks.

Paragraph Formatting
• Paragraph tags tell the browser to break the information you have typed into the content section in to separated sections.
Strong and Em
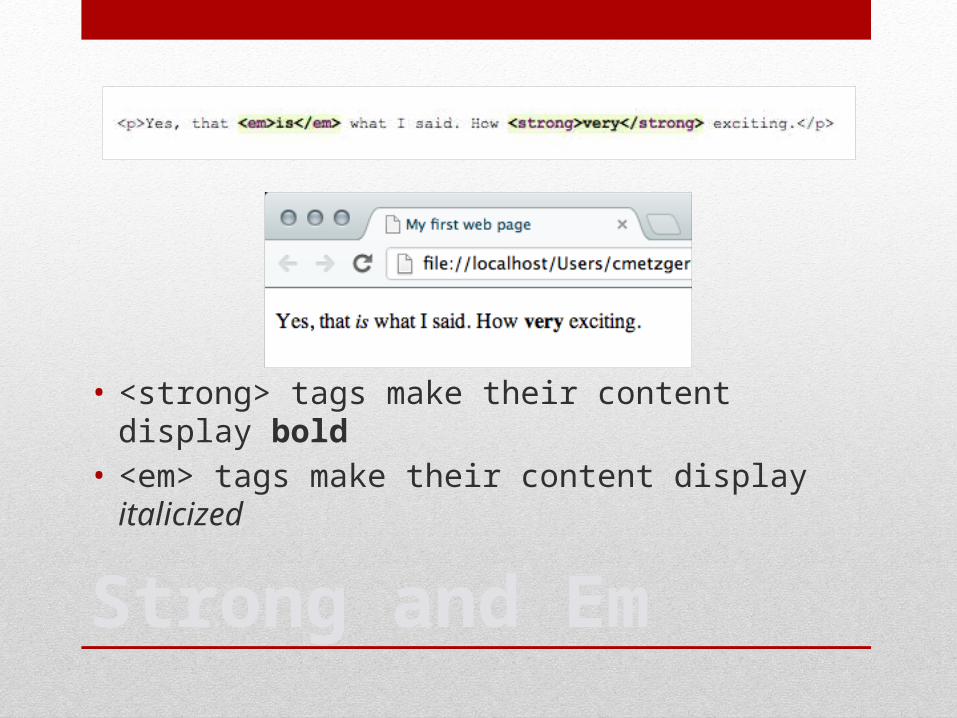
• <strong> tags make their content display bold • <em> tags make their content display italicized
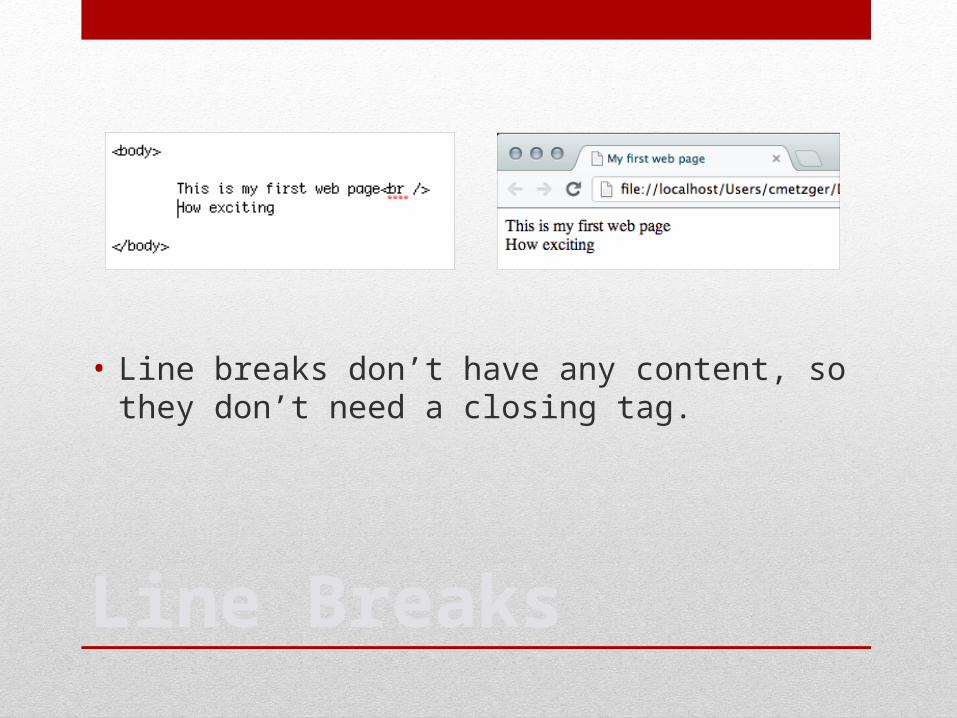
Line Breaks
• Line breaks don’t have any content, so they don’t need a closing tag.

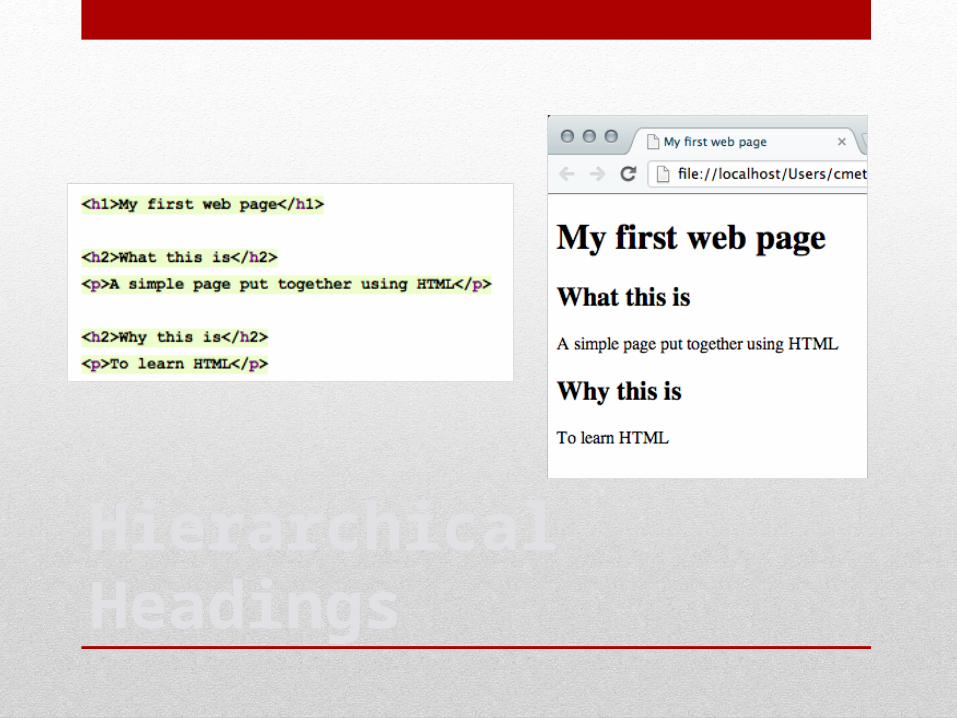
Hierarchical Headings
• Headings give automatic bold formatting and increased font size
• <h1> is the largest heading, and should only be used once on a single page
• <h6> is the smallest possible heading• <h2> thru <h6> can be used multiple times throughout a
document.
Hierarchical Headings
Lists
• There are 3 types of lists: ordered, unordered, and definition lists (we’ll focus on ordered and unordered for now)
• Ordered lists use numbers: <ol> <li> … </li> </ol>• Unordered lists use bullets: <ul> <li> … </li> </ul>
• Each item in a list is called a List Item: <li>…</li>

Lists
Links
• The opening and closing tags are: <a> … </a> • These are also called anchor tags
• These tags are not enough to make a link: you need to insert the destination of the link with an attribute
• Here is your first instance of using an attribute…
Links
• The opening and closing tags are: <a> … </a> • These are also called anchor tags
• These tags are not enough to make a link: you need to insert the destination of the link with an attribute inside the opening anchor tag.
• This is your first instance of using an attribute…

Links
This is the first part of your opening tag needed for a link
This attribute name goes inside the opening tag after the anchor
This attribute value goes inside the opening tag after the anchor
This closes your opening tag with your attribute inside it
This is the content that will be click-able to lead you to the site link
This closes the entire link element

Links to other websites
• Your attribute value is the web address for a website that begins with “www” and ends with “.com”
• This is basically just a web address:
<a href=“www.htmldog.com”> HTML Dog </a>
• Looks like: HTML Dog

Links within your site
• Your attribute value is the name of the file you have created that you want to link to.
• Generally, all .html files will be in the same root folder, so your link code will look like this:
<a href=“internallink.html”> Internal Link </a>
• You can name these links anything you like.
Links within your site
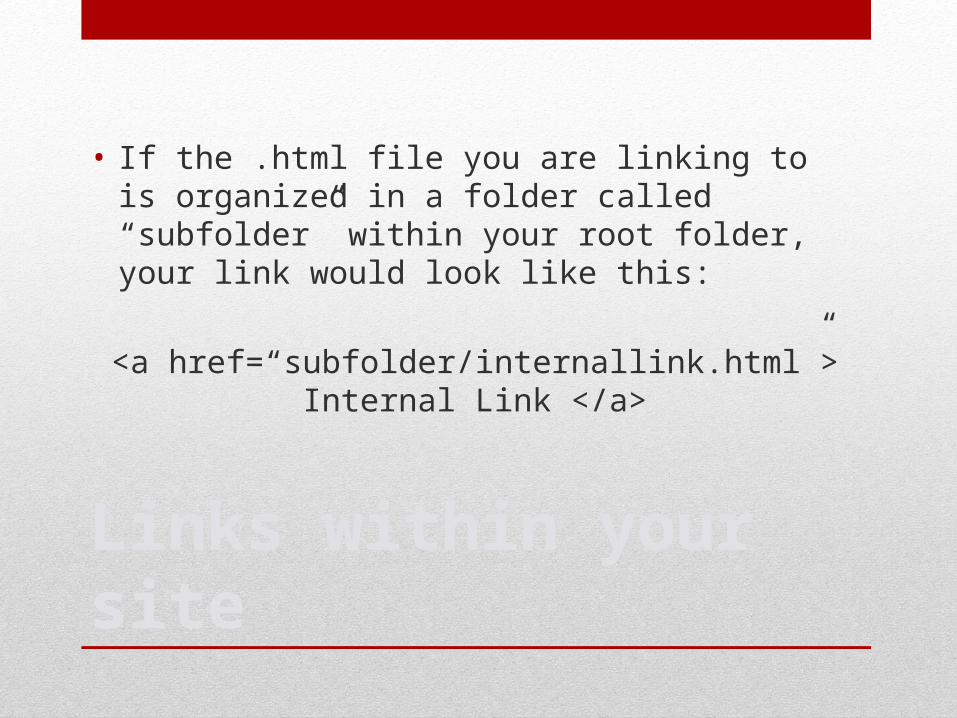
• If the .html file you are linking to is organized in a folder called “subfolder” within your root folder, your link would look like this:
<a href=“subfolder/internallink.html”> Internal Link </a>

Links within your page
• You can also add links within your page that jump to locations on your page that are harder to find.
• This is usually used for very content heavy pages.• To use these, first place an “id” attribute in one of the
existing element tags that you want to be able to jump to.
• This attribute looks like this:
<p id=“location”> Location </p>

Links within your page
• Next you need to add a link that takes you to the link you have created.
• These links look like this:
<a href=“#location”> Go to location </a>
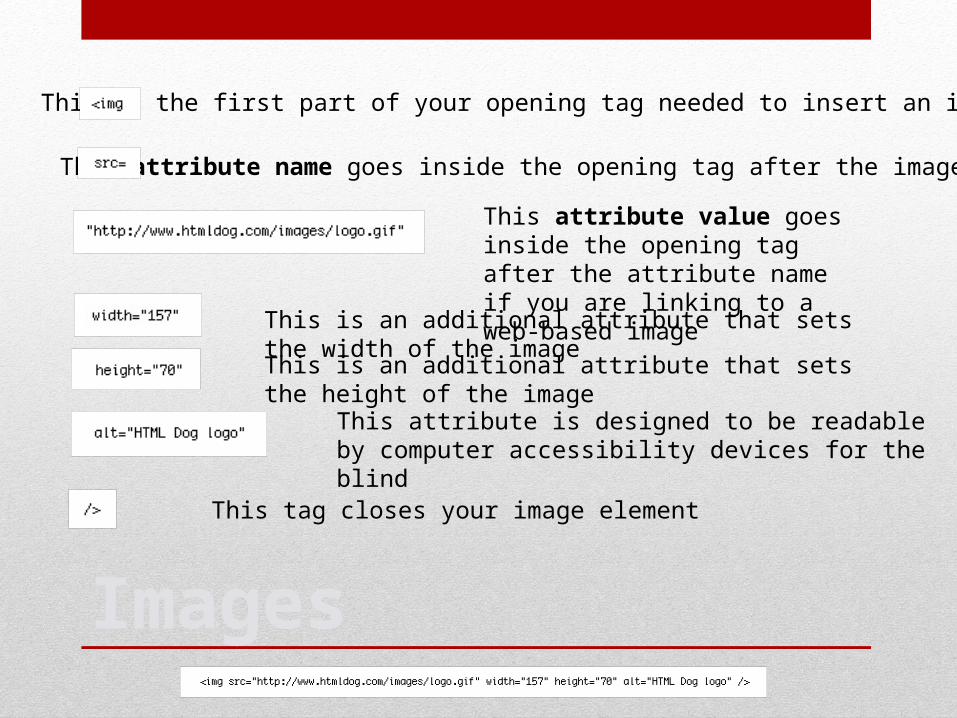
Images
This is the first part of your opening tag needed to insert an image
This attribute name goes inside the opening tag after the image tag
This attribute value goes inside the opening tag after the attribute name if you are linking to a web-based image
This is an additional attribute that sets the width of the image
This is an additional attribute that sets the height of the image
This attribute is designed to be readable by computer accessibility devices for the blind
This tag closes your image element
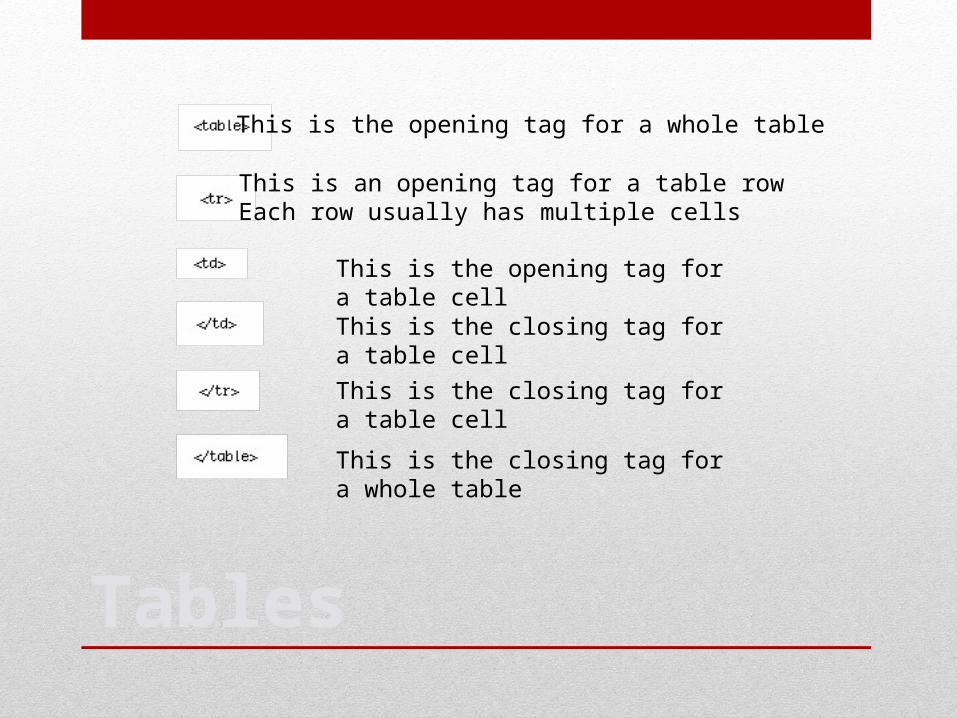
Tables
This is the opening tag for a whole table
This is an opening tag for a table row Each row usually has multiple cells
This is the opening tag for a table cell
This is the closing tag for a table cell
This is the closing tag for a table cell
This is the closing tag for a whole table

Tables
If you imagine a 3x4 table,
which is 12 cells, there
should be four <tr> elements
to define the rows and three
<td> elements within each of
the rows, making a total of
12 td elements.

PRACTICE!
• http://www.htmldog.com/guides/html/beginner/
Related Documents


