Reconstruction through Visual Images and Cartoons Michelle M. Hubenschmidt, NBCT, Mulberry High School I. Lesson Plan Summary: This is a very involved culminating lesson that views Reconstruction through political cartoons of Harpers Weekly magazine. The lesson can be adjusted in many ways depending on the number of students in your class. I have chosen 22 political or art pieces from Harpers Weekly that depict several stages of Reconstruction. The images are then grouped into several categories: Emancipation, Casualties of War, The Freedman’s Bureau, Voting Rights, African Americans in Office, Heal thy Nation?, Political Control, and Playing on Racial Fears. The images within each group should represent various viewpoints of each category, which presents to the student the complexity of each issue. Depending on the number of students you have, you can assign anywhere from 1-3 images per student for independent research. They are to go to WWW.Harpweek.com and find the image and background information, wherein, they will write notes on each of their pieces. I also printed out enlarged copies of each piece on a transparency for class use. I then set up stations around the room with a transparency of the image on each desk and have the students more desk to desk to answer some of the questions (listed at another part of this lesson) so that students become familiar with all the images. Another day is set aside for students to be put in groups, each group is assigned a category with three images, usually corresponds to the image(s) they were to research, and present that info to each other in a small group setting. Another day is then left for that group as a whole to present to the class. This lesson usually takes a full week of 90 minute class periods. Objectives: Sunshine State Standards: US History Time Period: Reconstruction Grade Level: High School Honors or Advanced Placement Materials Needed: Transparencies, The attached handouts, Computer access, Website: www.harpweek.com Lesson Time: 5 – 90 Minute class periods II. Lesson Procedures: Day 1: This lesson is not meant to be a unit on Reconstruction – it is meant as a follow up and reinforcer of topics, events and emotions that have already been covered. The first day is opened with discussion of what Reconstruction was meant to be, how it turned out, and whether it achieved those goals. There were several phases during the 12 year time span of Reconstruction it covered. If those have not been discussed, do so before beginning the activity. Depending on the number of students, assign one or more images to each student for them to research on the Harp Week website. They are to write answers to the following questions: 1. What does each image represent? 2. What symbols are used? 3. What messages/issues convey about the overall perception of Reconstruction They are to have this info the next day. Day 2. I set up the 22 images, either as transparencies with paper under them, or print them full scale, and put them around the room in order that they are on the sheets. The students are to travel to each desk and analyze each image, answer the above questions, take notes on each, make observations and write those within the box of each image (on the handout). If you have a larger class, pair students up. This usually takes a full 90 minute class period. Day 3. Students are to group in three to correspond to the groupings on the handouts. For instance, the student who researched the image “Lincoln and Emancipation” is grouped with the students who researched “Emancipation” and “Northern Coat of Arms.” Once all are grouped, they are to “teach” each other what they found about each of their images. They are to then discuss the significance of the images in their grouping – What does it all mean? If you have smaller classes, like I did, you will have students in multiple groups because they researched

Welcome message from author
This document is posted to help you gain knowledge. Please leave a comment to let me know what you think about it! Share it to your friends and learn new things together.
Transcript

Reconstruction through Visual Images and Cartoons Michelle M. Hubenschmidt, NBCT, Mulberry High School
I. Lesson Plan Summary: This is a very involved culminating lesson that views Reconstruction through political cartoons of Harpers Weekly magazine. The lesson can be adjusted in many ways depending on the number of students in your class. I have chosen 22 political or art pieces from Harpers Weekly that depict several stages of Reconstruction. The images are then grouped into several categories: Emancipation, Casualties of War, The Freedman’s Bureau, Voting Rights, African Americans in Office, Heal thy Nation?, Political Control, and Playing on Racial Fears. The images within each group should represent various viewpoints of each category, which presents to the student the complexity of each issue. Depending on the number of students you have, you can assign anywhere from 1-3 images per student for independent research. They are to go to WWW.Harpweek.com and find the image and background information, wherein, they will write notes on each of their pieces. I also printed out enlarged copies of each piece on a transparency for class use. I then set up stations around the room with a transparency of the image on each desk and have the students more desk to desk to answer some of the questions (listed at another part of this lesson) so that students become familiar with all the images. Another day is set aside for students to be put in groups, each group is assigned a category with three images, usually corresponds to the image(s) they were to research, and present that info to each other in a small group setting. Another day is then left for that group as a whole to present to the class. This lesson usually takes a full week of 90 minute class periods. Objectives: Sunshine State Standards: US History Time Period: Reconstruction Grade Level: High School Honors or Advanced Placement Materials Needed: Transparencies, The attached handouts, Computer access, Website: www.harpweek.com Lesson Time: 5 – 90 Minute class periods II. Lesson Procedures: Day 1: This lesson is not meant to be a unit on Reconstruction – it is meant as a follow up and reinforcer of topics, events and emotions that have already been covered. The first day is opened with discussion of what Reconstruction was meant to be, how it turned out, and whether it achieved those goals. There were several phases during the 12 year time span of Reconstruction it covered. If those have not been discussed, do so before beginning the activity. Depending on the number of students, assign one or more images to each student for them to research on the Harp Week website. They are to write answers to the following questions:
1. What does each image represent? 2. What symbols are used? 3. What messages/issues convey about the overall perception of Reconstruction
They are to have this info the next day. Day 2. I set up the 22 images, either as transparencies with paper under them, or print them full scale, and put them around the room in order that they are on the sheets. The students are to travel to each desk and analyze each image, answer the above questions, take notes on each, make observations and write those within the box of each image (on the handout). If you have a larger class, pair students up. This usually takes a full 90 minute class period. Day 3. Students are to group in three to correspond to the groupings on the handouts. For instance, the student who researched the image “Lincoln and Emancipation” is grouped with the students who researched “Emancipation” and “Northern Coat of Arms.” Once all are grouped, they are to “teach” each other what they found about each of their images. They are to then discuss the significance of the images in their grouping – What does it all mean? If you have smaller classes, like I did, you will have students in multiple groups because they researched
several images. Most of my students were in three separate groupings. Provide about 20 minutes per group for discussion, then let them move to their new group. Day 4 & Day 5. Student presentations. In order of the groupings on the handouts, the students within that group of Emancipation will go first. They are to take the transparency copies of each image and present to the class along with the explanations of each. As a group they are discussing the various viewpoints represented in each category. There are 7 groups and many of your discussions will get lengthy as many of the images are controversial topics. You as the facilitator need to monitor the depth and breadth of the discussion. Each presentation should be at least 15 minutes long and you will have to ask many questions to draw information out and draw parallels for them. Day 5 – The last 15 minutes or so are set aside for debriefing and pulling the whole project together. Go back to your original questions: What were the goals of Reconstruction, what were the hopes? Were those objectives achieved? What was achieved? What was not achieved? How did the general population perceive Reconstruction and its struggles? III. Assessment The DBQ “Reconstruction” IV. Resources: WWW.Harpweek.com ; MINDSPARKS – The Way We Saw It: The Era of Reconstruction through Illustration and Art.; Highsmith Inc. This is a wonderful packet of some political cartoons and handy lesson plans if the one above is a bit much for your class. It uses some of the same concepts but provides different images already on transparencies and ready made questions for your classes.
Emancipation

Northern Coat of Arms
Casualties of War
A Man Knows a Man
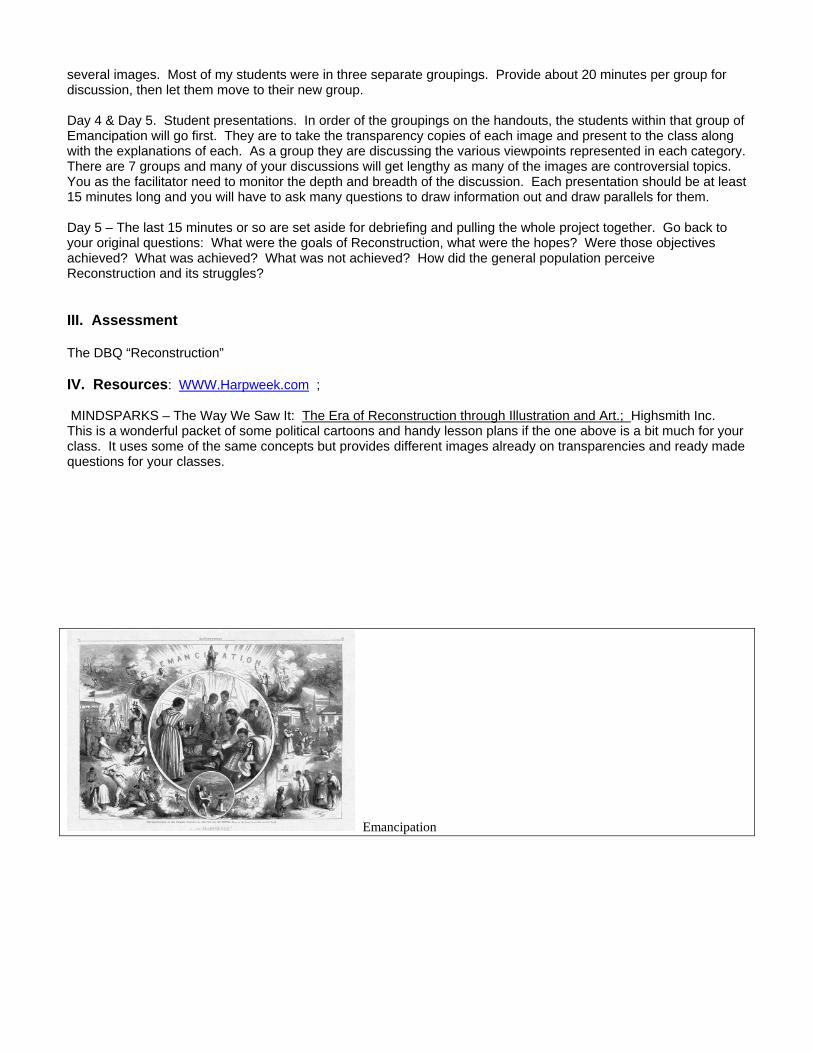
The Freedman’s Bureau
Mrs. Cook Teaches a Black Classroom
Freedman’s Bureau
The promise to the Freed Man
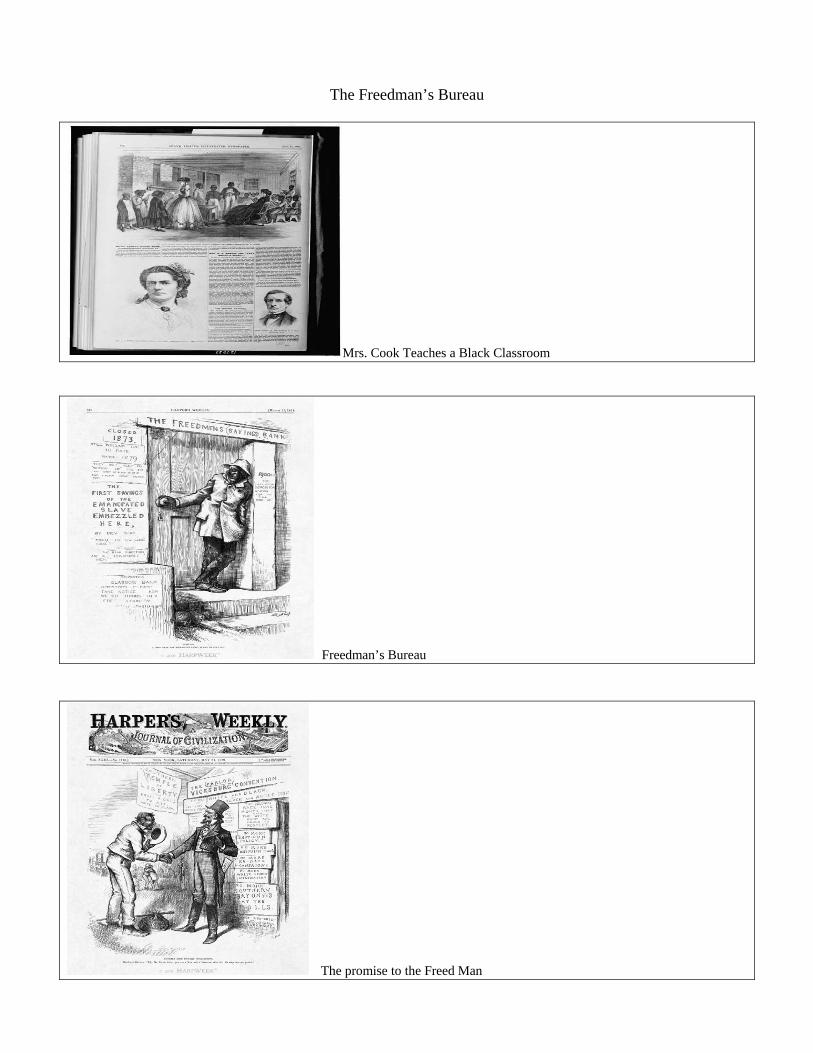
Voting Rights
Lady Liberty Protects Black Suffrage
The Hope for the 15th Amendment
The First Vote
African Americans in Office
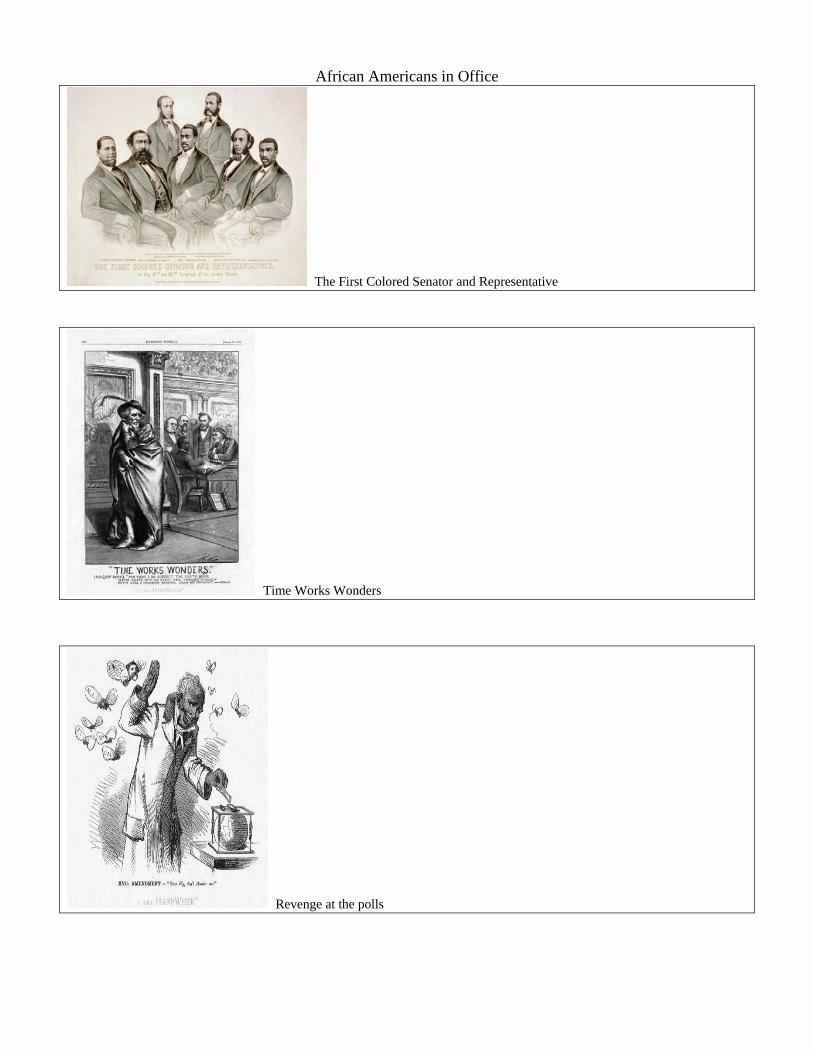
The First Colored Senator and Representative
Time Works Wonders
Revenge at the polls
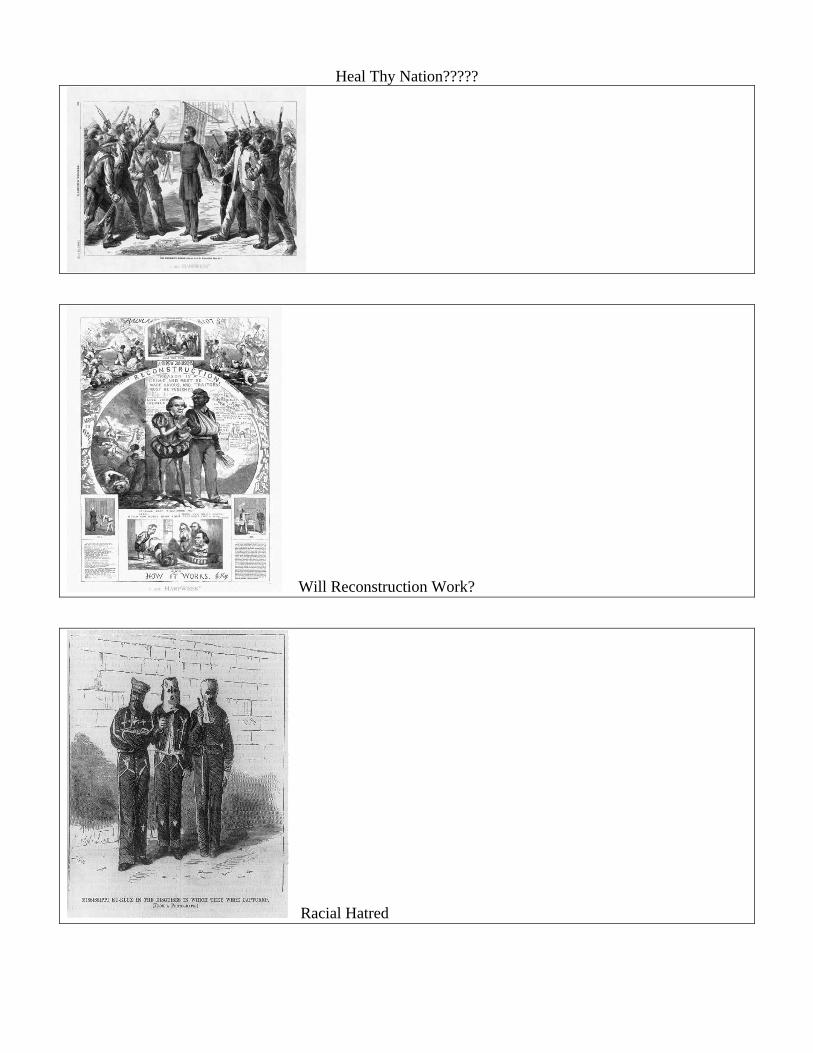
Heal Thy Nation?????
Will Reconstruction Work?
Racial Hatred
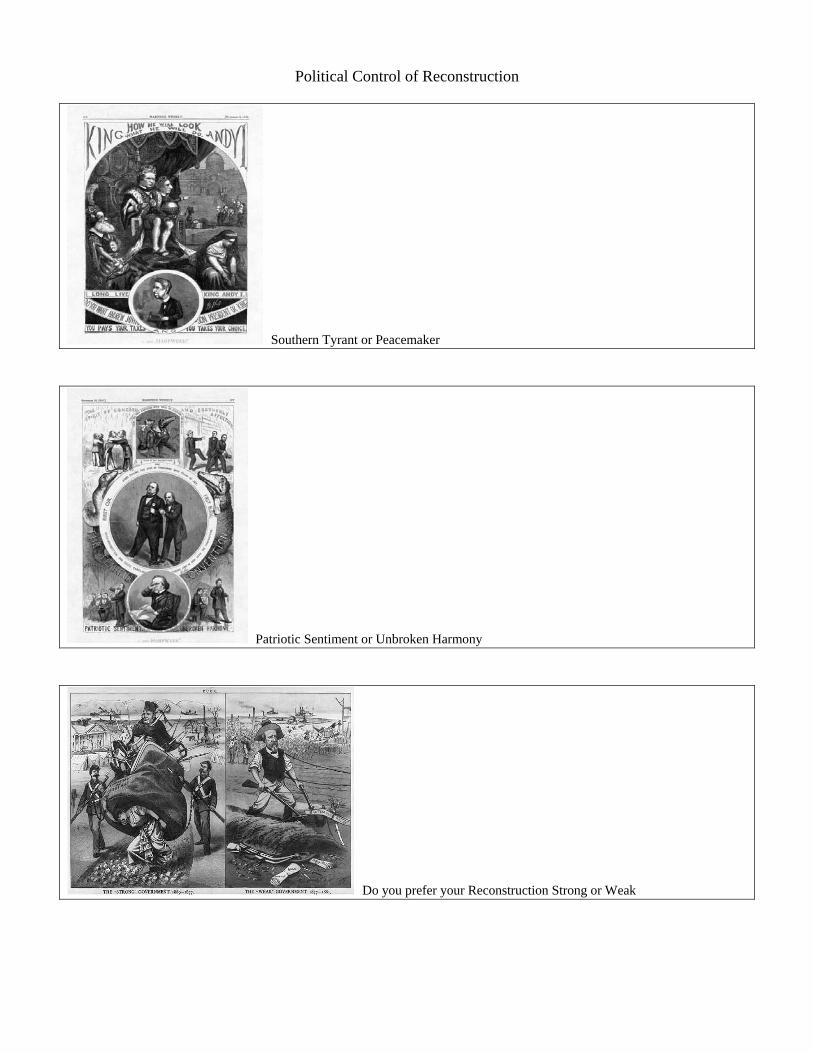
Political Control of Reconstruction
Southern Tyrant or Peacemaker
Patriotic Sentiment or Unbroken Harmony
Do you prefer your Reconstruction Strong or Weak
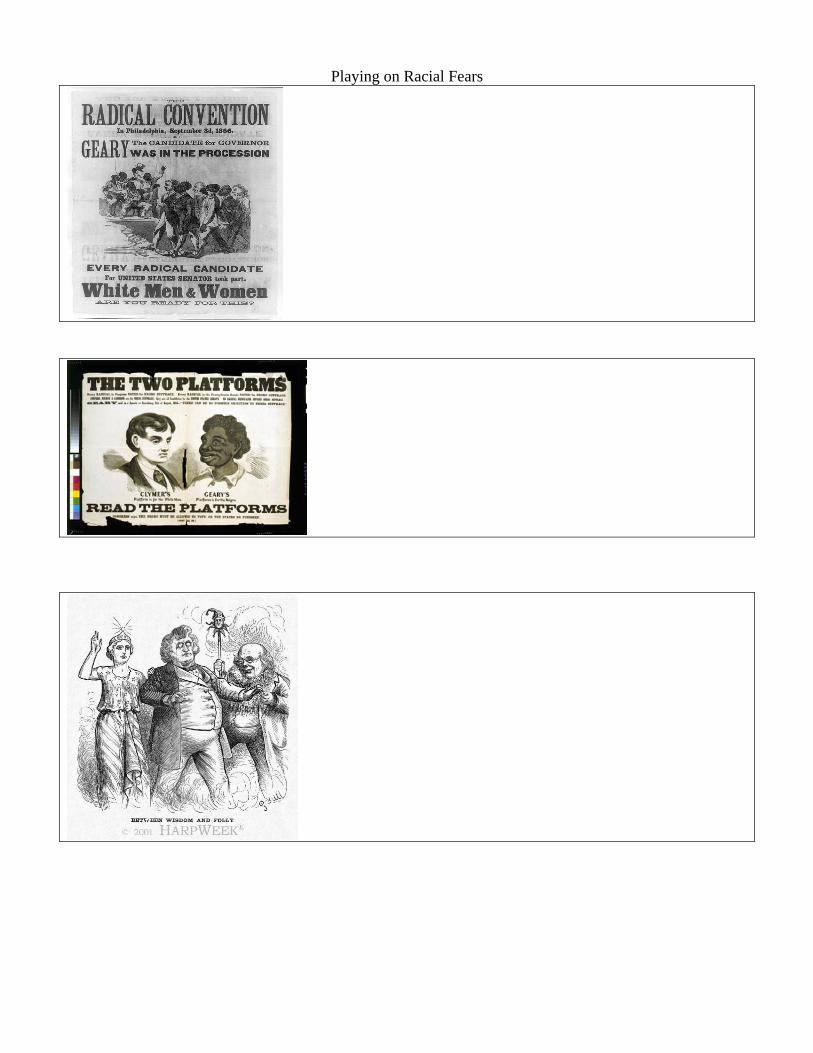
Playing on Racial Fears

Related Documents