Pygame in a Day These notes were prepared by the GPN tutors for the ‘Game in a Day’ workshop. The latest version of these notes are available online at http://sydney.edu.au/it/gpn Introduction Pygame is a set of Python modules designed for writing computer games. Today, we will be using Pygame to write our own games. We’ve split up the game into smaller steps to complete. You can download all the resources for this game at: http://sydney.edu.au/it/gpn /game.shtml Getting Started To start off, we need to get Pygame to open a window that we will be able to play the game in. First we need to import the pygame module, so that we can use it. This will be the first line of the file. import pygame Then we’ll need to initialise pygame. pygame.init() Save this in a file that we can run. Make sure you don't call it 'pygame.py', as this would cause problems! (It would try to import itself as "pygame" in our first step!) We can now start setting up our screen. We need to decide the width and height we want the game window to be. We’ll save these in variables called WIDTH and HEIGHT. These particular variable names are in capitals as a convention, to show that they are constants, i.e., that the values in them won’t change. (We don’t intend the size of the game window to change whilst playing the game.) WIDTH = 640 HEIGHT = 480 screen = pygame.display.set_mode((WIDTH, HEIGHT)) Before we can do anything else, we need to understand some basic control flow in Python. Complete the checkpoint on if statements CHECKPOINT! Complete the Challenge questions on if statements !

Welcome message from author
This document is posted to help you gain knowledge. Please leave a comment to let me know what you think about it! Share it to your friends and learn new things together.
Transcript
Pygame in a DayThese notes were prepared by the GPN tutors for the ‘Game in a Day’ workshop. The latestversion of these notes are available online at http://sydney.edu.au/it/gpn
Introduction
Pygame is a set of Python modules designed for writing computer games. Today, we will beusing Pygame to write our own games. We’ve split up the game into smaller steps tocomplete. You can download all the resources for this game at:http://sydney.edu.au/it/gpn/game.shtml
Getting Started
To start off, we need to get Pygame to open a window that we will be able to play thegame in.
First we need to import the pygame module, so that we can use it. This will be the first lineof the file.
import pygame
Then we’ll need to initialise pygame.
pygame.init()
Save this in a file that we can run. Make sure you don't call it 'pygame.py', as this wouldcause problems! (It would try to import itself as "pygame" in our first step!)
We can now start setting up our screen.We need to decide the width and height we want the game window to be. We’ll save thesein variables called WIDTH and HEIGHT. These particular variable names are in capitals asa convention, to show that they are constants, i.e., that the values in them won’t change.(We don’t intend the size of the game window to change whilst playing the game.)
WIDTH = 640HEIGHT = 480screen = pygame.display.set_mode((WIDTH, HEIGHT))
Before we can do anything else, we need to understand some basic control flow in Python.Complete the checkpoint on if statements
CHECKPOINT! Complete the Challenge questions on if statements!

Now that we’ve got a window set up, we also want to be able to close it! Since we want thewindow to stay open until we close it, we’ll use a while loop. We’ll set a variable calledquit (initially set to False). As long as quit is False, the loop will keep running. Once weset it to True, the while loop will exit, and the program will finish, with the pygame.quit()command.
This will be the main loop (the “while quit != True:”) of our program. Note that inPython, spacing is important! Ask a tutor if you get stuck.
finish = False
while finish != True: for event in pygame.event.get(): if event.type == pygame.QUIT: finish = Truepygame.quit()
This also sets up a loop that listens for all events that happen. These are things like keysbeing pressed or buttons being clicked.
Task 1:Follow the steps above to create a window that closes when you click the close x.
We might also want to add the ability to close the window by pressing escape. Put this justafter the other if statement in the main loop above. The spacing should look the same asthe other if statement.
if event.type == pygame.KEYDOWN and event.key == pygame.K_ESCAPE: finish = True
CHECKPOINT! Complete the Challenge questions on while loops!
Holding out for a Hero!Now that we’ve got a window up and running, we need to put our player on the screen.
First, before we enter the main loop of our code, we’re going to set up our hero. We’ll dothis by setting up a sprite and saving it in the variable hero. We can then add properties toit including which picture to load. We’ll also calculate the rectangle the hero takes up. We’lladd this code at the top of the file, before the main loop.
In computer graphics, a sprite is a twodimensional image or animation that is integratedinto a larger scene. (Wikipedia)
# Set up the herohero = pygame.sprite.Sprite()
# Add image and rectangle properties to the herohero.image = pygame.image.load('hero.gif')hero.rect = hero.image.get_rect()
We’ll also create a variable called hero_group to keep track of our hero. Add this beforethe main loop.
hero_group = pygame.sprite.GroupSingle(hero)
Great! Now that we’ve got the hero set up, we need to paint it to the screen! We’ll add thispart of the code inside our main loop. These lines should be the last lines of the main loop that is, the last thing we want to do is draw the hero and update the screen.
# add these lines at the end of the main loop hero_group.draw(screen) pygame.display.update()
Note that we need to add the above code inside the while loop, so that the hero iscontinually drawn to the screen.
Task 2:Choose your hero! Put them in your game.
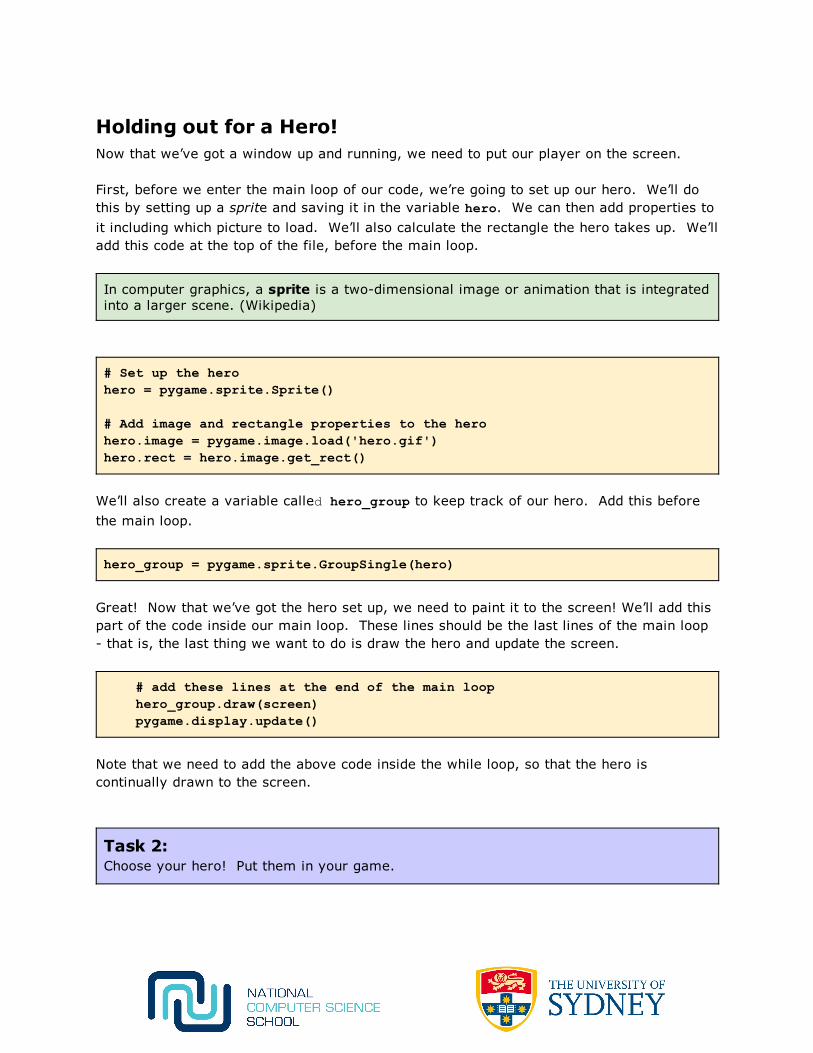
Moving your Hero!We want to be able to direct our hero around the screen. At the moment, our heroinitialises in the top left corner of our screens at (0,0).
Aside: Graphics on the computer are just like a grid which starts at (0,0) at the top leftcorner of the screen. Each square in the grid represents a pixel, and can be referencedby: (<ROW NUMBER>, <COLUMN NUMBER>)
To move our hero around, we’ll need to know how far to move them with each step. Wedon’t want our hero to only move one pixel left and right, as it would take hundreds of keypresses to move across the screen. Instead, we’ll move our hero one ‘tile span’ each keypress. That is, every time we press right, we want the hero to move on to the next gridsquare, based on how big the hero is.
Think of the canvas as a grid of squares that the hero can move through. To calculate howbig the squares in this grid are, we’ll need to know how many times the hero’s image canfit on the canvas. We already know the WIDTH and HEIGHT of the display window, as weset it earlier in the code. Set the TILE_SIZE to be equal to hero.rect.width. We canthen calculate the number of tiles we can have in the grid by dividing the total WIDTH orHEIGHT by the TILE_SIZE. This should go in the file before the main loop, but after theline starting with hero.rect, as you’ll need this value to be available first!
TILE_SIZE = hero.rect.widthNUM_TILES_WIDTH = WIDTH / TILE_SIZENUM_TILES_HEIGHT = HEIGHT / TILE_SIZE
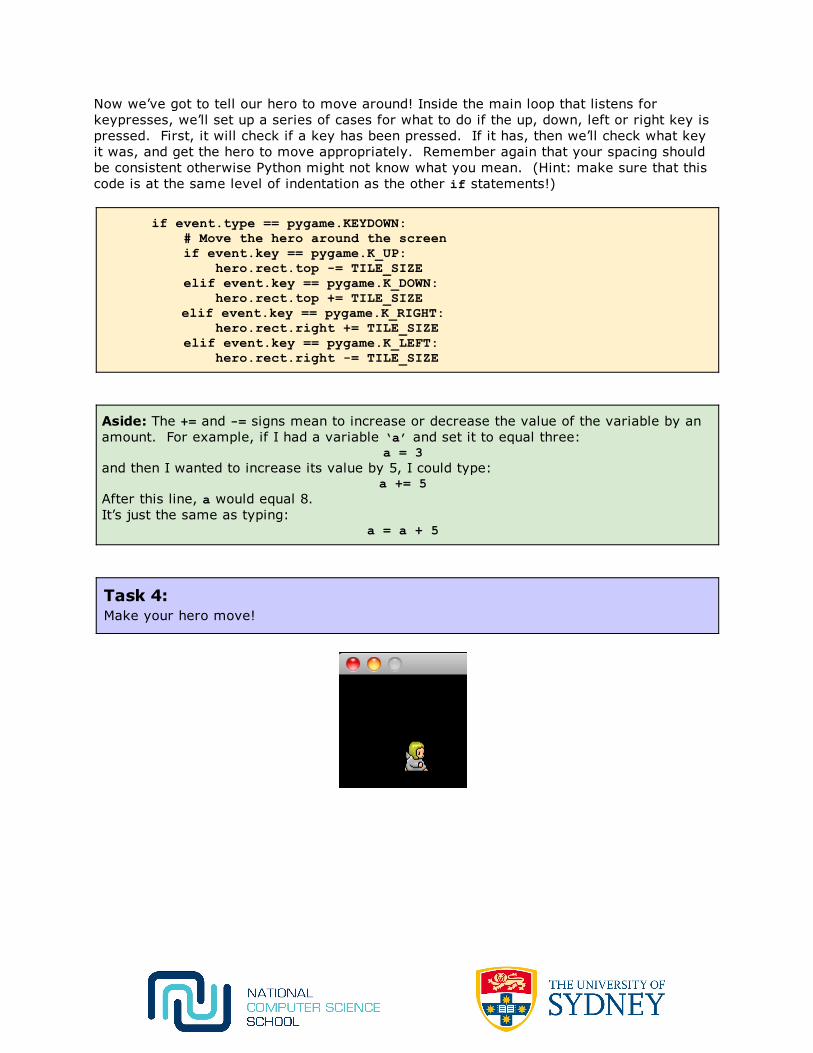
Now we’ve got to tell our hero to move around! Inside the main loop that listens forkeypresses, we’ll set up a series of cases for what to do if the up, down, left or right key ispressed. First, it will check if a key has been pressed. If it has, then we’ll check what keyit was, and get the hero to move appropriately. Remember again that your spacing shouldbe consistent otherwise Python might not know what you mean. (Hint: make sure that thiscode is at the same level of indentation as the other if statements!)
if event.type == pygame.KEYDOWN: # Move the hero around the screen if event.key == pygame.K_UP: hero.rect.top = TILE_SIZE elif event.key == pygame.K_DOWN: hero.rect.top += TILE_SIZE elif event.key == pygame.K_RIGHT: hero.rect.right += TILE_SIZE elif event.key == pygame.K_LEFT: hero.rect.right = TILE_SIZE
Aside: The += and = signs mean to increase or decrease the value of the variable by anamount. For example, if I had a variable ‘a’ and set it to equal three:
a = 3and then I wanted to increase its value by 5, I could type:
a += 5After this line, a would equal 8.It’s just the same as typing:
a = a + 5
Task 4:Make your hero move!

Why is my hero leaving a trail?Wait! Our hero is leaving ghost images of herself behind when she moves! We’ll need torepaint the background black whenever we move her.
Painting a Background!We’re going to paint a plain black background for our character. We can do this just byfilling the screen black before we redraw the hero. We’ll need to add this inside the mainloop, so that the screen is continuously painted black. Make sure you add this line of codebefore the lines where you add the hero and update the screen. (Otherwise, you’ll fill thescreen black over the top of the hero!)
Aside: When drawing objects (such as the hero or the background) to the screen, theyare drawn in the same order that the draw commands appear in your code. Objects thatare drawn later are drawn on top of earlier objects. So to make the hero appear in frontof the background, we draw the background first and the hero second.
# Paint the background black (the three # values represent red, green and blue: # 0 for all of them makes it black) screen.fill((0, 0, 0))
Now we don’t have ghost images trailing our hero.
Drop the Candy!Great! Now that we have our hero walking around, we need to add in the actual game!The aim of our game is for the hero to pick up lollies that have been dropped all over thescreen.Just like we made a hero_group to keep track of our hero, we’ll also add in a candiesvariable. All of this code should be before the main loop, but after the line with TILE_SIZE.This will make a list to store all the candies.
candies = pygame.sprite.OrderedUpdates()
First we’ll go through adding one candy.We’ll make a new sprite for it:
candy = pygame.sprite.Sprite()
Load up the image of it:
candy.image = pygame.image.load('candy.png')
Make a rectangle property for it:
candy.rect = candy.image.get_rect()
Put it in a location here I’ll just choose to put it three tiles to the right and two tiles down:
candy.rect.left = 3 * TILE_SIZEcandy.rect.top = 2 * TILE_SIZE
And add it to our candies list:
candies.add(candy)
We’ll also need to draw the candy to the screen. This will be at the end of the main loop,right before the lines where we draw the hero to the screen: hero_group.draw(screen)and update the screen: pygame.display.update()
candies.draw(screen)
So now the last three lines of the code should be:
candies.draw(screen) hero_group.draw(screen) pygame.display.update()
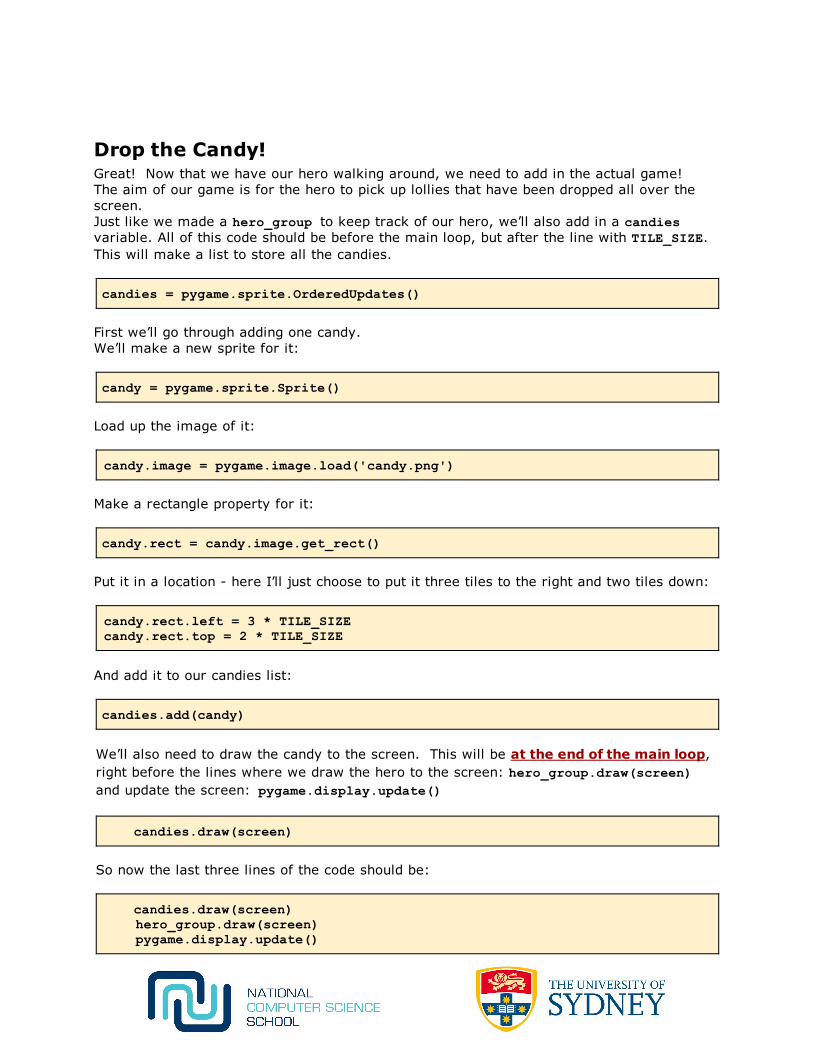
Task 5:Put a candy on the screen!
CHECKPOINT! Complete the Challenge questions on randomnumbers!
Randomise the Candy location!
Now, we could hard code the location for all of the lollies we’re dropping, but it would bemore fun if it changed every time. We can use the random module to get random numbersthat we can use as coordinates.
First we’ll need to import random. Put this right up the top of the code, just below the linewhere we imported pygame.
import random
To generate random numbers, we’ll use random.randint(), which takes two arguments:the minimum number and the maximum number.
Just as we calculated which tilesized grid to put the lolly in before, we’d like it to line upnicely in the grid, so instead of choosing a random number between 0 and WIDTH for the xcoordinate, we’ll choose a random number for the grid square between 0 and(NUM_TILES_WIDTH 1) or (NUM_TILES_HEIGHT 1). We’ll then need to convert thelocation back into pixels, by multiplying by TILE_SIZE again.
Replace the earlier lines:
candy.rect.left = 3 * TILE_SIZEcandy.rect.top = 2 * TILE_SIZE
with:
candy.rect.left = random.randint(0, NUM_TILES_WIDTH 1) * TILE_SIZEcandy.rect.top = random.randint(0, NUM_TILES_HEIGHT 1) * TILE_SIZE
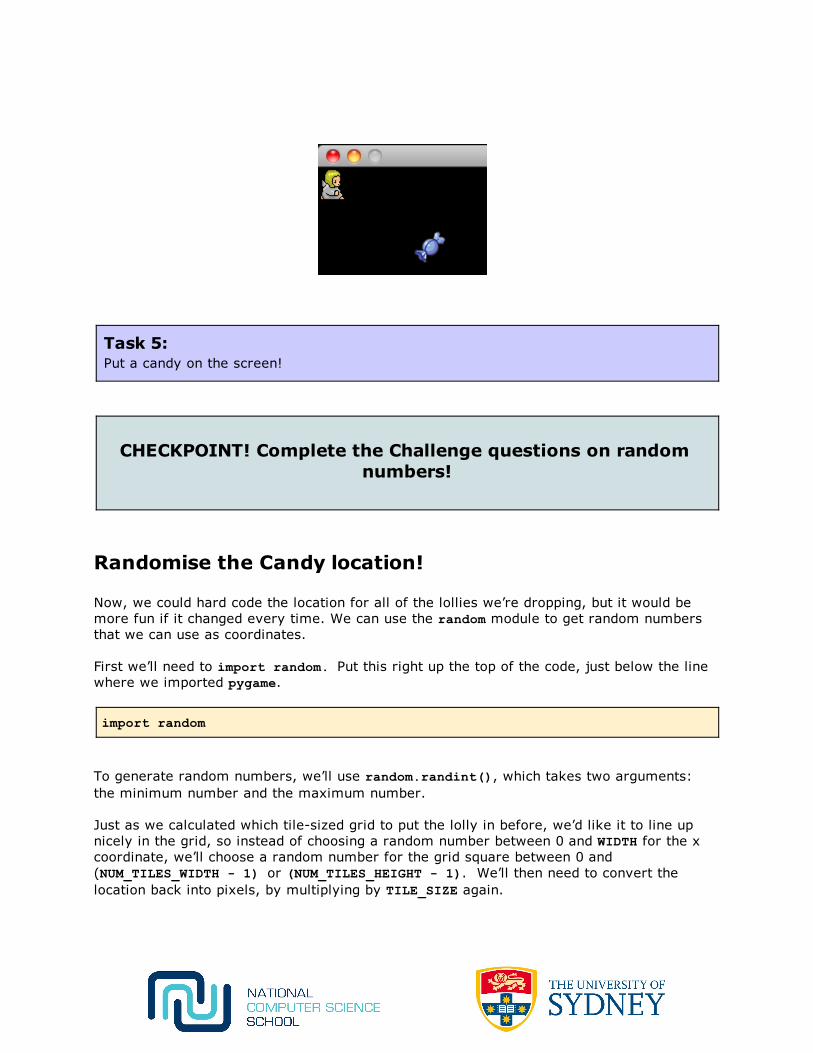
Task 6:Add in your lolly at a random location on the screen! Rerun your program a few times tosee it change position.
CHECKPOINT! Complete the Challenge questions on ranges!
More Lollies to pick up
Great! Now we’re going to add a bunch more lollies to pick up! To do this, move all thecode we added in tasks 5 and 6 into a for loop (except the “candies = ”... line thatshould stay the the top). Whenever we say ‘into’ or ‘inside’ in Python, that means usespaces to indent some lines (such as the lines to create candy) to move them inside thecontrol statement. Here, that’s the for statement.
Use the range() function to determine how many lollies to create. This code should still bebefore the main loop.
for i in range(10): # add the candy!
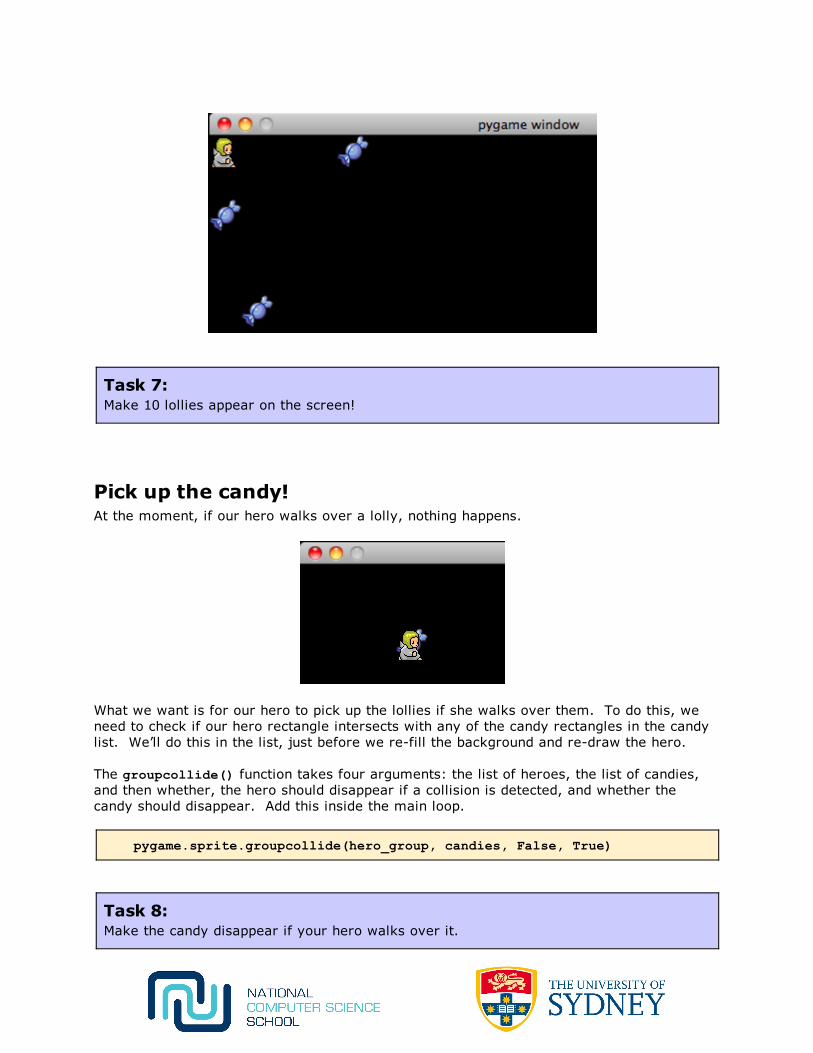
Task 7:Make 10 lollies appear on the screen!
Pick up the candy!At the moment, if our hero walks over a lolly, nothing happens.
What we want is for our hero to pick up the lollies if she walks over them. To do this, weneed to check if our hero rectangle intersects with any of the candy rectangles in the candylist. We’ll do this in the list, just before we refill the background and redraw the hero.
The groupcollide() function takes four arguments: the list of heroes, the list of candies,and then whether, the hero should disappear if a collision is detected, and whether thecandy should disappear. Add this inside the main loop.
pygame.sprite.groupcollide(hero_group, candies, False, True)
Task 8:Make the candy disappear if your hero walks over it.

Winning the game!The way we can win our game is by picking up all the lollies. To find out whether or notyou’ve won the game, we’ll add in a win variable just like we set up a quit variable.
Initially, we’ll set win to False. Make sure you put this outside of the main loop, next tothe quit = False line.
win = False
Now, when we’re in the loop (while your hero is picking up lollies) we’ll need to check ifyour hero has picked up all the lollies. We can check this really easily by seeing what thelength of the list candies is.
If the list of candies has no elements in it (ie, has length of 0) we should set win to True!We want the following code in the main loop, as we want to keep checking whether or notthe player has won. You could put this after the groupcollide function.
if len(candies) == 0: win = True
Great! Now that we know whether or not the player has won! If they have, we want todisplay some text to the screen. Put the following code inside the main loop. Hint: if youcan’t see the text, maybe you’re displaying it before you clear the screen it needs to goafterwards!
if win: font = pygame.font.Font(None, 36) text_image = font.render("You Win!", True, (255, 255, 255)) text_rect = text_image.get_rect(centerx=WIDTH/2, centery=100) screen.blit(text_image, text_rect)
Task 9:Win the game!

Congratulations! You now have your very own workinggame! :)If you're super fast, or want to keep working on this later, here are some extra things toadd to your game!
Adding more lollies every 3 seconds!
We want to make our game more fun, by making it harder to pick up all the lollies! To dothis, we’ll add an extra lolly to the screen every three seconds!
First, we’ll need to change the way we add lollies. We’ll now use a function to add eachlolly to the candies list. Outside the main loop, swap out the code we had before that addslollies, and write this instead. It defines a function that we are calling add_candy, andtakes in the candies list.
We’ll keep the line for i in range(10): and now make it call the add_candy function foreach iteration (i.e., 10 times).
def add_candy(candies): candy = pygame.sprite.Sprite() candy.image = pygame.image.load('candy.png') candy.rect = candy.image.get_rect() candy.rect.left = random.randint(0, NUM_TILES_WIDTH 1) * TILE_SIZE candy.rect.top = random.randint(0, NUM_TILES_HEIGHT 1) * TILE_SIZE candies.add(candy)
for i in range(10): add_candy(candies)
Now we’ll add a timer that will add an event to the event queue every certain number ofmilliseconds. Here we’ll set it to add a USEREVENT every 3 seconds.This should go before the main loop of the code.
pygame.time.set_timer(pygame.USEREVENT, 3000)
We’ll now catch this event as we have been catching key presses. In the main loop, belowwhere we are checking for up, down, left and right keypresses, add the following code:
if event.type == pygame.USEREVENT: add_candy(candies)
Great! We’re nearly there! Now we just need to make sure that if the player has won thegame, we don’t keep adding lollies onto the screen! To do this, we’ll check immediatelybefore the add_candy line whether or not win is still False. If it is, we can keep addingcandy.
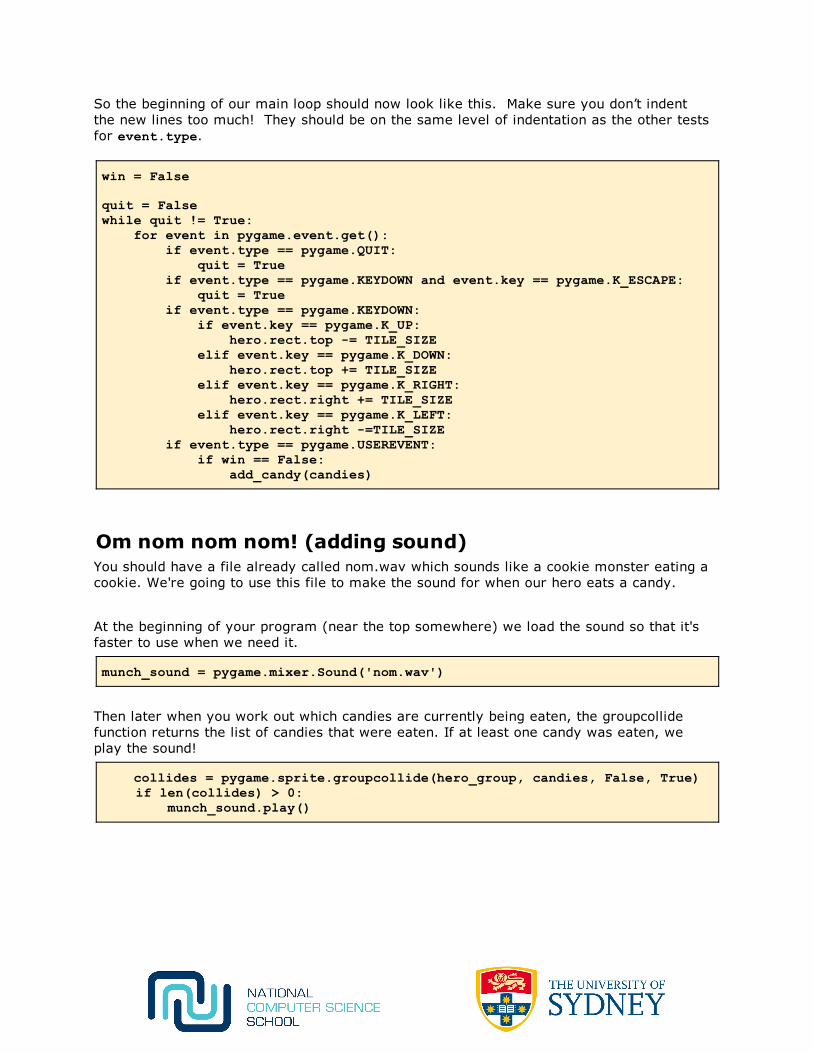
So the beginning of our main loop should now look like this. Make sure you don’t indentthe new lines too much! They should be on the same level of indentation as the other testsfor event.type.
win = False
quit = Falsewhile quit != True: for event in pygame.event.get(): if event.type == pygame.QUIT: quit = True if event.type == pygame.KEYDOWN and event.key == pygame.K_ESCAPE: quit = True if event.type == pygame.KEYDOWN: if event.key == pygame.K_UP: hero.rect.top = TILE_SIZE elif event.key == pygame.K_DOWN: hero.rect.top += TILE_SIZE elif event.key == pygame.K_RIGHT: hero.rect.right += TILE_SIZE elif event.key == pygame.K_LEFT: hero.rect.right =TILE_SIZE if event.type == pygame.USEREVENT: if win == False: add_candy(candies)
Om nom nom nom! (adding sound)You should have a file already called nom.wav which sounds like a cookie monster eating acookie. We're going to use this file to make the sound for when our hero eats a candy.
At the beginning of your program (near the top somewhere) we load the sound so that it'sfaster to use when we need it.
munch_sound = pygame.mixer.Sound('nom.wav')
Then later when you work out which candies are currently being eaten, the groupcollidefunction returns the list of candies that were eaten. If at least one candy was eaten, weplay the sound!
collides = pygame.sprite.groupcollide(hero_group, candies, False, True) if len(collides) > 0: munch_sound.play()
Related Documents