Project 4 Modifying Your Desktop Work Environment Windows XP Service Pack 2 Edition Comprehensive Concepts and Techniques

Project 4 Modifying Your Desktop Work Environment Windows XP Service Pack 2 Edition Comprehensive Concepts and Techniques.
Dec 16, 2015
Welcome message from author
This document is posted to help you gain knowledge. Please leave a comment to let me know what you think about it! Share it to your friends and learn new things together.
Transcript

Project 4
Modifying Your DesktopWork Environment
Windows XP Service Pack 2 Edition
Comprehensive Concepts and Techniques

2
CHAPTER OBJECTIVES
Change the desktop work environment
Select, create, save, and delete a desktop theme
Change the desktop background
Add icons to the desktop

3
CHAPTER OBJECTIVES
Change the font size and screen saver
Add and remove an Active Desktop item
Unlock, move, hide, resize, and unlock the taskbar
Add, resize, and remove a toolbar on the taskbar

4
CHAPTER OBJECTIVES
Add and remove a shortcut on a toolbar
Launch an application from a toolbar
Use the Address toolbar to display folder content
Use the Address toolbar to search the Internet
Customize the Start menu and notification area

5
CHAPTER OBJECTIVES
Select a folder option and restore default folder options
Open a folder in its own window
Select an icon by pointing
Open an icon by single-clicking
Select and copy multiple files when the icons are underlined

6
CHANGING THE DESKTOP WORK ENVIRONMENT
Most items on the desktop, including the desktop, are considered objects
In Windows XP, all objects have properties, which describe the object.

7
OPENING THE DISPLAY PROPERTIES DIALOG BOX
Right-click on an open area of the desktop. Point to Properties on the shortcut menu

8
DESKTOP THEMES
Desktop theme: A set of graphic elements that give the desktop a unified and distinctive look
Windows XP desktop theme displays when you launch Windows XP.
Windows Classic desktop theme displays the familiar desktop found on computer with a previous version of the Microsoft Windows Operating System.
9
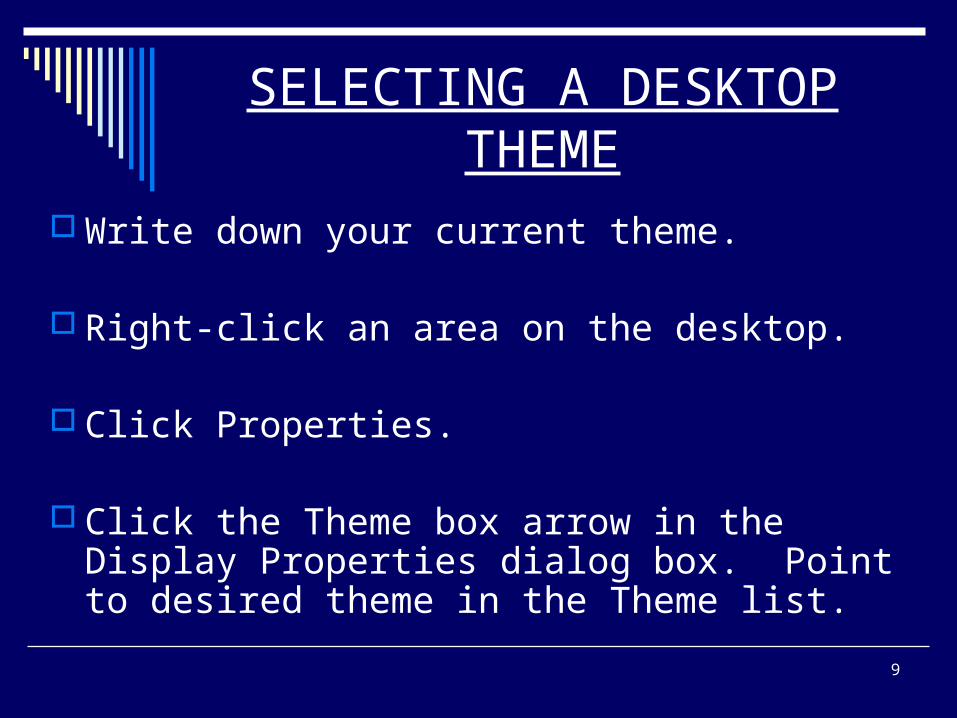
SELECTING A DESKTOP THEME
Write down your current theme.
Right-click an area on the desktop.
Click Properties.
Click the Theme box arrow in the Display Properties dialog box. Point to desired theme in the Theme list.
10
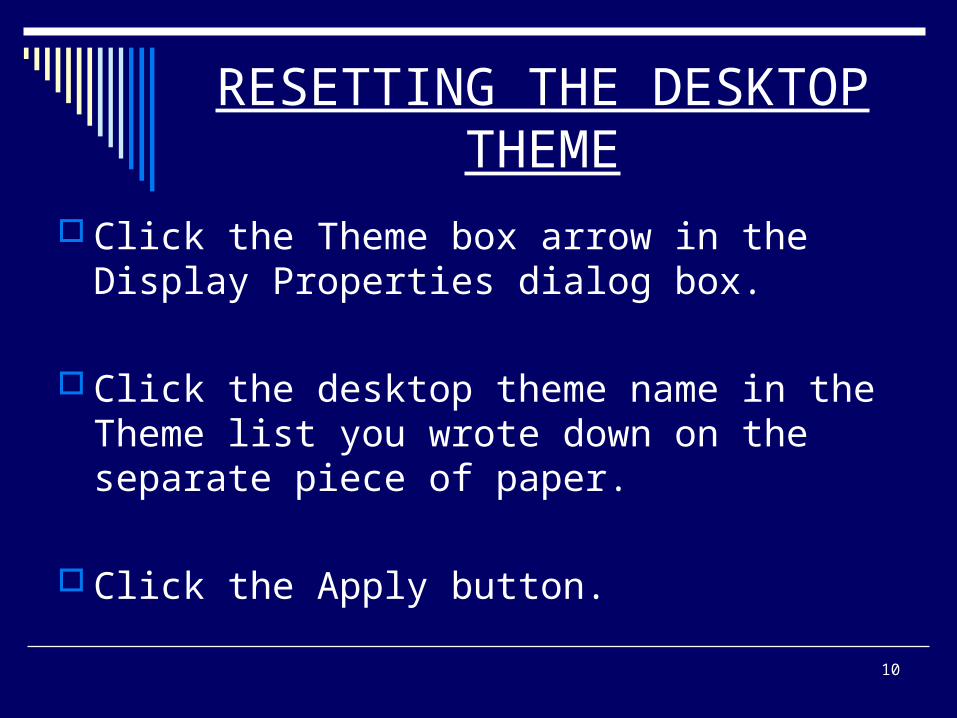
RESETTING THE DESKTOP THEME
Click the Theme box arrow in the Display Properties dialog box.
Click the desktop theme name in the Theme list you wrote down on the separate piece of paper.
Click the Apply button.

11
CREATING A DESKTOP THEME
This is done by modifying an existing desktop theme and saving it with a new name.

12
CHANGING THE DESKTOP BACKGROUND
Desktop background Any pattern, picture, or wallpaper that can display
on the desktop Bliss background (green grassy hills and white
clouds on a blue sky) is the background theme for the Windows XP desktop theme.
Click the Desktop tab in the Display Properties dialog box. Point to the desired theme in the Background list box.

13
CREATING A DESKTOP THEME
Position: Center setting – displays the image in the center of the
desktop. Tile setting – designed for use with small images, repeats the
image across the desktop covering the entire area. Stretch setting – enlarges an image to fill the desktop.
Browse button – in the Displays Properties dialog box allows you to view the background files on the hard drive and search for backgrounds in other locations.
14
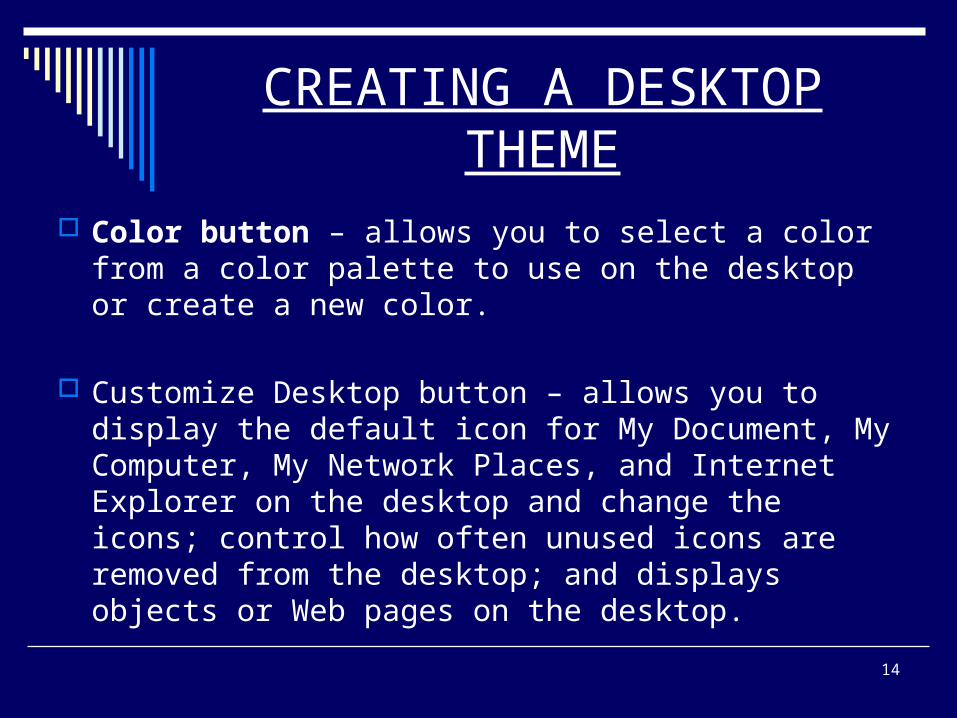
CREATING A DESKTOP THEME
Color button – allows you to select a color from a color palette to use on the desktop or create a new color.
Customize Desktop button – allows you to display the default icon for My Document, My Computer, My Network Places, and Internet Explorer on the desktop and change the icons; control how often unused icons are removed from the desktop; and displays objects or Web pages on the desktop.
15
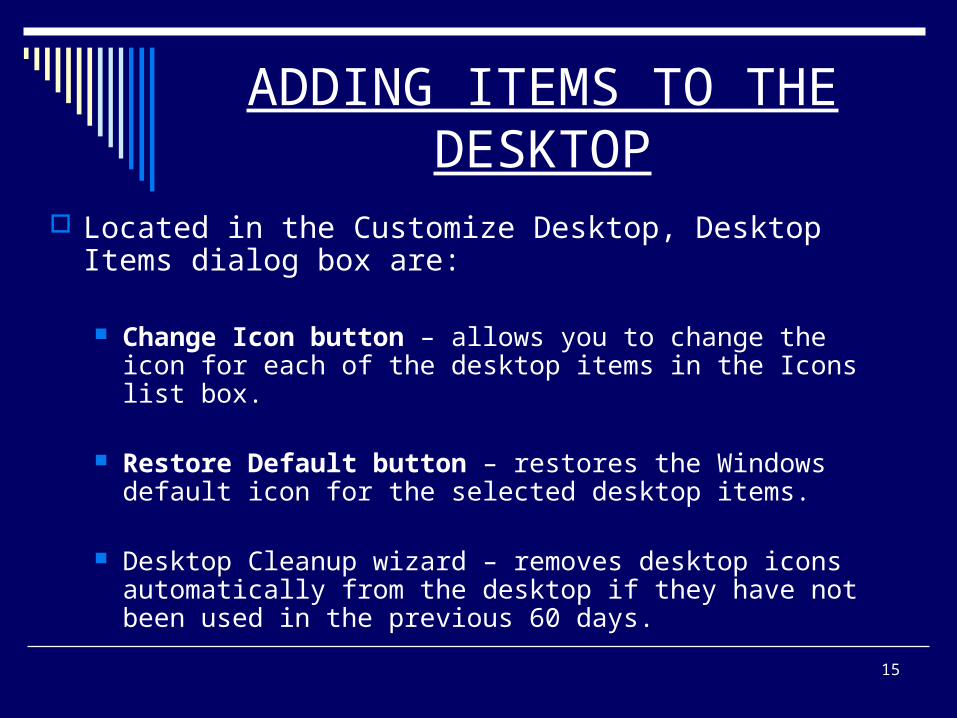
ADDING ITEMS TO THE DESKTOP
Located in the Customize Desktop, Desktop Items dialog box are:
Change Icon button – allows you to change the icon for each of the desktop items in the Icons list box.
Restore Default button – restores the Windows default icon for the selected desktop items.
Desktop Cleanup wizard – removes desktop icons automatically from the desktop if they have not been used in the previous 60 days.

16
CHANGING THE SCREEN SAVER
Screen saver – is a moving picture or pattern that displays on the monitor when you have not used the mouse or keyboard for a specified period of time
Ghosting – a dim version of an image permanently etched on the monitor because the same image is displayed for a long time.
Click the Screen Saver tab in the Display Properties dialog box. Point to the Screen Saver box arrow.

17
CHANGING THE SCREEN SAVER
Settings button – allows you to change the color, shape, complexity, and size of the image that displays in the screen saver.
Preview button – displays the screen saver on the entire screen.
Power button – allows you to select a power scheme and select the number of minutes or hours of inactivity that you want to elapse for the monitor or hard disk turns off and system standby or system hibernation turns on.

18
CHANGING THE DESKTOP APPEARANCE
Desktop appearances Include the visual styles of the desktop theme, color
scheme, and font size options

19
CHANGING THE FONT SIZE
Click the Appearance tab in the Display Properties dialog box. Point to the Font size box arrow.
20
CHANGING THE FONT SIZE
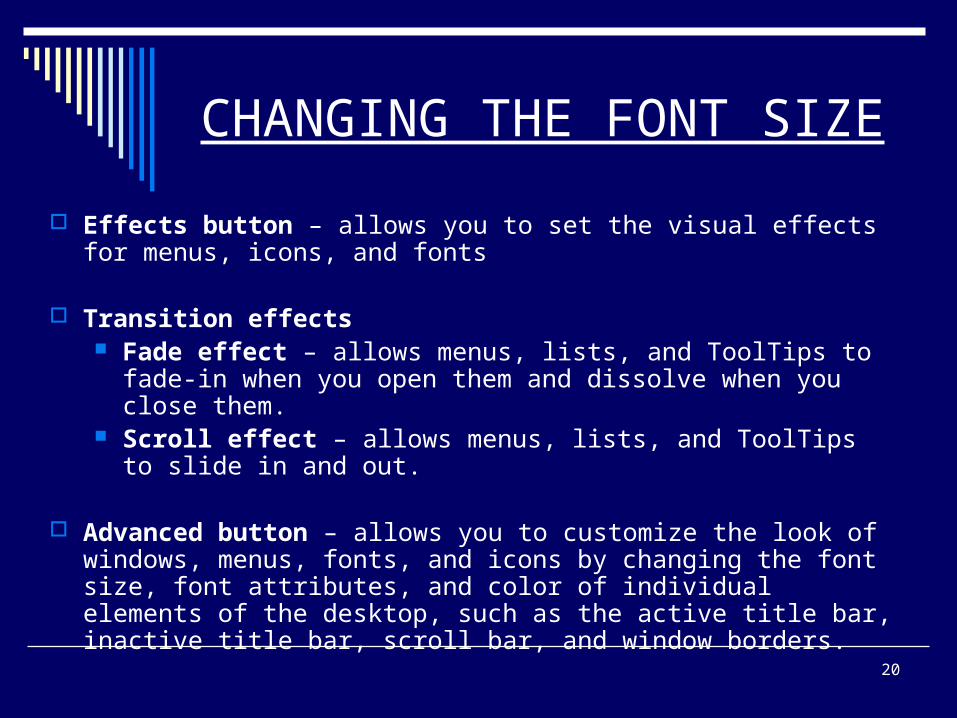
Effects button – allows you to set the visual effects for menus, icons, and fonts
Transition effects Fade effect – allows menus, lists, and ToolTips to fade-in when
you open them and dissolve when you close them. Scroll effect – allows menus, lists, and ToolTips to slide in and
out.
Advanced button – allows you to customize the look of windows, menus, fonts, and icons by changing the font size, font attributes, and color of individual elements of the desktop, such as the active title bar, inactive title bar, scroll bar, and window borders.

21
SAVING THE DESKTOP THEME
Click the Themes tab in the Display Properties dialog box. Point to the Save As button in the Themes sheet.
22
DELETING A DESKTOP THEME
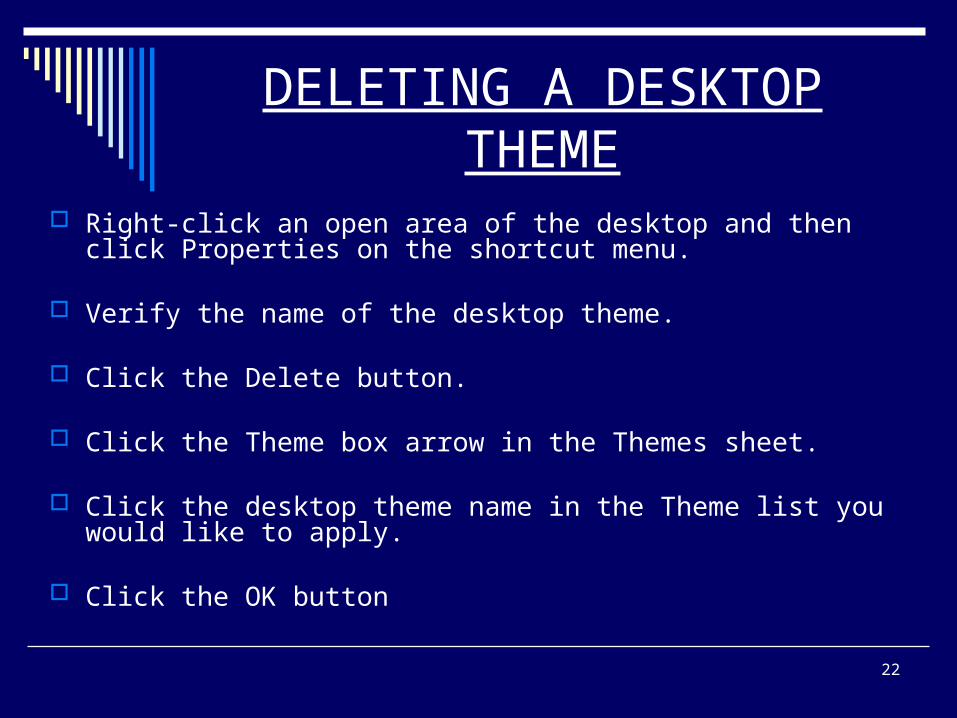
Right-click an open area of the desktop and then click Properties on the shortcut menu.
Verify the name of the desktop theme.
Click the Delete button.
Click the Theme box arrow in the Themes sheet.
Click the desktop theme name in the Theme list you would like to apply.
Click the OK button

23
DISPLAYING WEB CONTENTON THE DESKTOP
Active content – are Web pages from the Internet that display directly on your desktop (weather map, stock ticker, news, etc)
Active Desktop™ - is when the desktop displays active content.
Active Desktop item – displays the active content from a Web page directly on the desktop and updates the content periodically.
Channel – is the connection that links the Internet Explorer browser to the Web site, allowing Internet Explorer to determine of the content of the Web site has changed and deliver the updated content to the desktop.
24
ADDING AN ACTIVE DESKTOP ITEM TO THE DESKTOP
Right-click an open area on the desktop, click Properties on the shortcut menu, click the Desktop tab in the Display Properties dialog box, and then point to the Customize Desktop button
Click the Customize Desktop button. Clickthe Web tab in the Desktop Items dialog box. Click the New button. Point to the VisitGallery button

25
DELETING A DESKTOP ITEM
Right-click an open area on the desktop and then click Properties on the shortcut menu
Click the Desktop tab in the Display Properties dialog box
Click the Customize Desktop button
Click the Web tab in the Desktop Items dialog box
26
DELETING A DESKTOP ITEM
Click the Desktop entry in the Web pages list box
Click the Delete button
Click the Yes button in the Active Desktop Item dialog box
Click the OK button in the Desktop Items dialog box
Click the OK button in the Display Properties dialog box

27
UNDOCKING THE TASKBAR
Right-click an open area of the taskbar. Point to Lock the Taskbar on the shortcut menu

28
MOVING THE TASKBAR
Point to an open area on the taskbar
Drag the taskbar to an area on the desktop
29
LOCKING THE TASKBAR
Locking the taskbar prevents the taskbar from being moved to another location on the desktop and also locks the size and position of any toolbar displayed on the taskbar.
Right-click an open area of the taskbar
Click Lock the Taskbar on the shortcut menu
dotted vertical bar – defines the left edge of the taskbar buttons area. Other vertical bars will display on the taskbar as toolbars are added.

30
HIDING AND REDISPLAYING THE TASKBAR
Right-click an open area on the taskbar. Click Properties on the shortcut menu. Click Auto-hide the taskbar. Click the Apply button. Click to the top edge of the taskbar to display
the taskbar again Click Auto-hide the taskbar. Click the
OK button
31
HIDING AND REDISPLAYING THE TASKBAR
Keep the taskbar on top of other windows check box – allows you to change whether the taskbar displays on top of any other objects on the desktop.
Group similar taskbar buttons check box – turns on the taskbar buttons grouping feature to display a single button on the taskbar for multiple documents opened by the same applications.
Show Quick Launch check box – displays the Quick Launch toolbar on the taskbar.
Quick Launch toolbar – is a toolbar you can customize that allows you to launch a program by clicking an icon.

32
ADDING THE QUICK LAUNCH TOOLBAR TO THE TASKBAR
Address toolbar – allows you to search for a web page, launch an application program, open a document, and open a folder.
Links toolbar – allows you to go to selected Web sites without first having to launch Internet Explorer browser.
Desktop toolbar – contains copies of all the icons currently displayed on the desktop.
Quick Launch toolbar – contains icons that allow you to launch the Web browser, view the icons on the desktop, and launch Windows Media Player. Windows Media Player – is an application program included with
Windows XP that allows you to create and play CDs, watch DVDs, listen to internet radio stations, search for and organize digital media files.

33
ADDING A TOOLBAR TO THE TASKBAR
Right-click an open area of the taskbar. Point to Toolbars on the shortcut menu. Click Quick Launch on the Toolbars submenu.

34
PLACING A SHORTCUT ON THE TOOLBAR
Click the Start button. Point to the item you want to add on the Start menu. Hold down the right mouse button and right-drag the item to the Quick Launch toolbar until a vertical divider line displays. Without releasing the right mouse button, position the vertical divider line to the right of the Show Desktop icon on the toolbar. Release the right mouse button. Click the Create Shortcuts Here on the shortcut menu.
Shortcut – is defined as a link to any object on the computer or a network, such as a program, file, folder, disk drive, Web page, printer, or another computer.

35
LAUNCHING AN APPLICATION FROM THE QUICK LAUNCH
TOOLBAR
Click the double chevron on the Quick Launch toolbar. Click the icon for the application you wish to launch in the box

36
UNLOCKING THE TASKBAR
Right-click an open area of the taskbar to display a shortcut menu
Click Lock the Taskbar on the shortcut menu

37
RESIZING THE TASKBAR
Point to the top edge of the taskbar until a two-headed arrow displays
Drag the top edge of the taskbar toward thetop of the desktop until the taskbar is the size you want.

38
RETURNING THE TASKBAR TO ITS ORIGINAL LOCATION
Point to the top edge of the taskbar until a two-headed arrow displays
Drag the top edge of the taskbar downward until the taskbar on your desktop resembles the original location of the taskbar.

39
RESIZING THE QUICK LAUNCH TOOLBAR
Point to the dotted vertical bar to the right of the Quick Launch toolbar until a double-headed arrow displays
Drag the vertical bar to the right along the taskbar until the icons display on the Quick Launch toolbar.
40
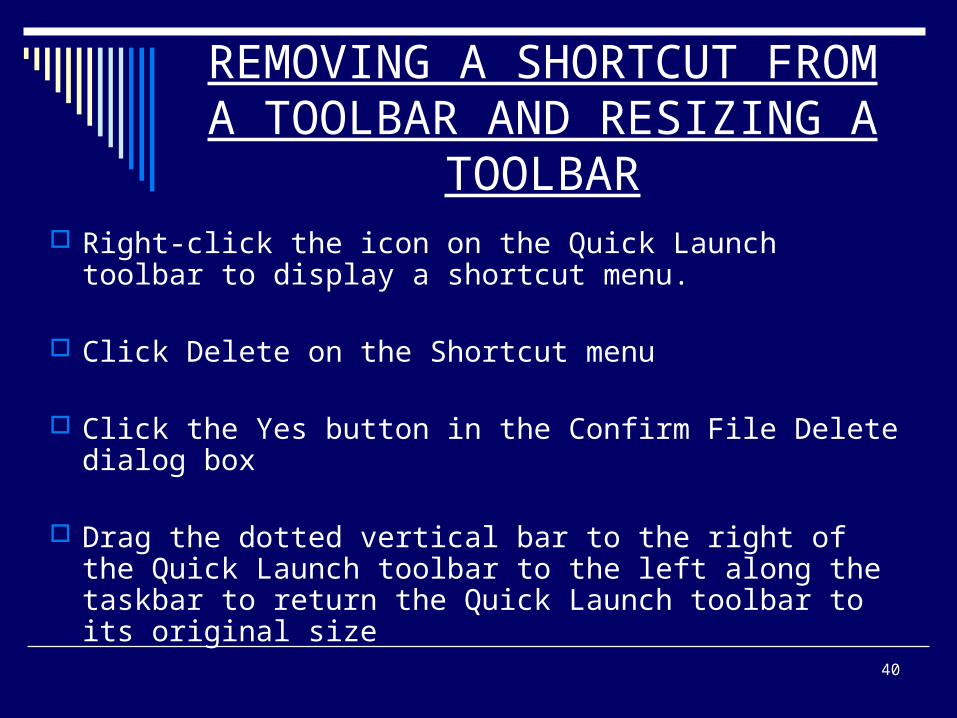
REMOVING A SHORTCUT FROM A TOOLBAR AND RESIZING A TOOLBAR
Right-click the icon on the Quick Launch toolbar to display a shortcut menu.
Click Delete on the Shortcut menu
Click the Yes button in the Confirm File Delete dialog box
Drag the dotted vertical bar to the right of the Quick Launch toolbar to the left along the taskbar to return the Quick Launch toolbar to its original size

41
ADDING THE ADDRESS TOOLBAR
TO THE TASKBAR
Right-click an open area of the taskbar, point to Toolbars on the shortcut menu, and then click Address on the Toolbars submenu

42
EXPANDING A TOOLBAR ON THE TASKBAR
Point to the dotted vertical bar to the left of the Address title to display a two-headed arrow
Double-click the dotted vertical bar

43
LOCKING THE TASKBAR
Right-click an open area of the taskbar
Click Lock the Taskbar on the shortcut menu

44
USING THE ADDRESS TOOLBAR TO DISPLAY THE CONTENTS OF A FOLDER
Type c:\windows in the Address box. Click the Go button in the Address toolbar
Maximize the WINDOWS window

45
USING THE ADDRESS TOOLBAR
TO DISPLAY A WEB PAGE
Click the Address box, type www.microsoft.com in the Address box, and then click the Go button

46
USING THE ADDRESS TOOLBAR TO SEARCH FOR INFORMATION ON THE
INTERNET Click the Address box, type
national weather in the Address box, and click the Go button. Scroll the MSN Search window to view the top 10 most popular sites. Point to the Close button in the MSN Search window
A path is the means of navigating to a specific location on a computer.

47
REMOVING A TOOLBAR
Right-click an open area on the taskbar
Point to Toolbars on the shortcut menu
Click Quick Launch on the Toolbars submenu
Right-click an open area on the taskbar
Point to Toolbars on the shortcut menu
Click Address on the Toolbars submenu

48
SETTING THE NOTIFICATION BEHAVIOR OF A NOTIFICATION
ITEM
Right-click an open area in the notification area and then click Properties on the shortcut menu. Click the Customize button. Click the behavior to the right of the person that is signed in item and then Click the Behavior box arrow. Click Always hide in the Behavior list. Click the OK button in the Customize Notifications dialog box. Click the OK button in the Taskbar and Start Menu Properties dialog box
49
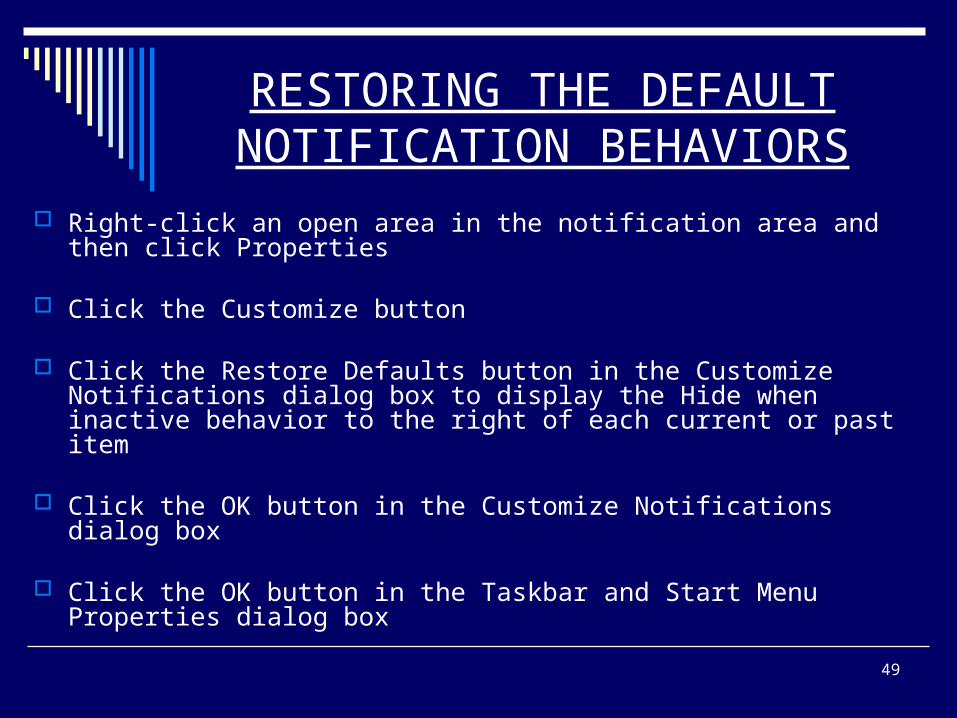
RESTORING THE DEFAULT NOTIFICATION BEHAVIORS
Right-click an open area in the notification area and then click Properties
Click the Customize button
Click the Restore Defaults button in the Customize Notifications dialog box to display the Hide when inactive behavior to the right of each current or past item
Click the OK button in the Customize Notifications dialog box
Click the OK button in the Taskbar and Start Menu Properties dialog box

50
SELECTING AN ICON SIZE FOR PROGRAMS ON THE
START MENU
Right-click the Start button and point to Properties on the shortcut menu.
Click Properties. Click the Customizebutton. Select you options (icons)
Click the OK button in the Customize Start Menu dialog box. Click the OK button in the Taskbar and Start Menu Properties dialog box.

51
SETTING THE MAXIMUM NUMBER OF FREQUENTLY
USED PROGRAMS Right-click the Start button, click Properties, click the Customize
button in the Taskbar and Start Menu Properties dialog box,
Click the Number of programs on Start menu box up arrow until the desired number displays.
Click the OK button in the Customize Start Menu dialog box
Click the OK button in the Taskbar and Start MenuProperties dialog box.

52
RESETTING THE ICON SIZE AND NUMBER OF PROGRAMS ON THE
START MENU
Right-click the Start button and click Properties
Click the Customize button in the Taskbar and Start Menu Properties dialog box
Select you options (icons) in the Select an icon size for programs area in the Customize Start Menu dialog box.

53
RESETTING THE ICON SIZE AND NUMBER OF PROGRAMS ON THE
START MENU
Click the Number of programs on Start menu box down arrow until the desired number displays
Click the OK button in the Customize Start Menu dialog box
Click the OK button in the Taskbar and Start Menu Properties dialog box

54
DISPLAYING THE FOLDER OPTIONS DIALOG BOX
Click the Start button, click the My Computer icon on the Start menu, click Tools on the My Computer menu bar, and then click Folder options
55
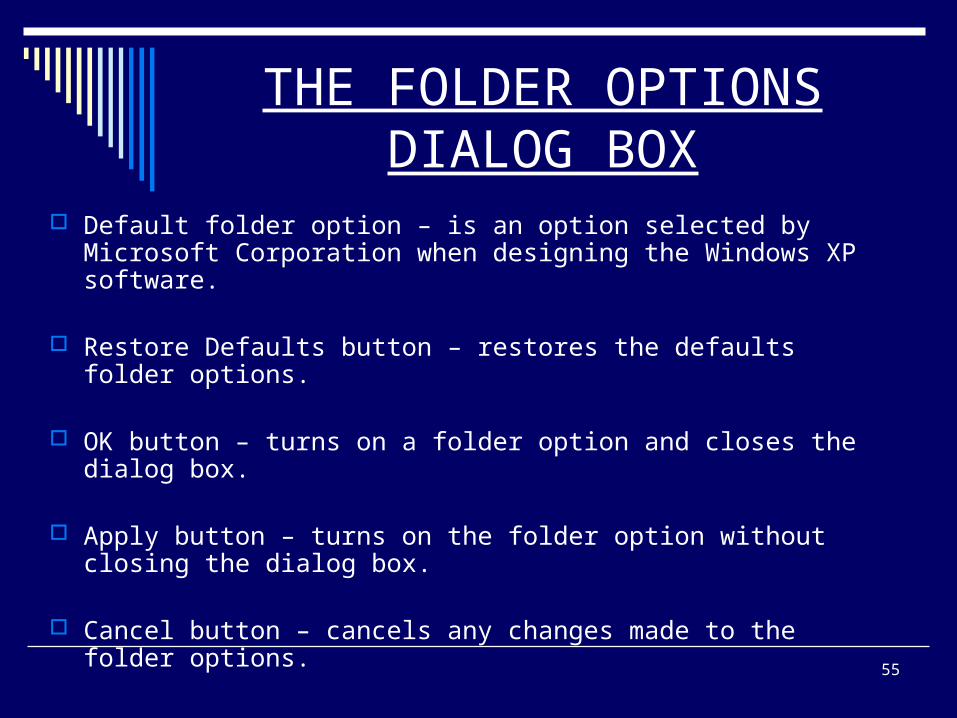
THE FOLDER OPTIONS DIALOG BOX
Default folder option – is an option selected by Microsoft Corporation when designing the Windows XP software.
Restore Defaults button – restores the defaults folder options.
OK button – turns on a folder option and closes the dialog box.
Apply button – turns on the folder option without closing the dialog box.
Cancel button – cancels any changes made to the folder options.
56
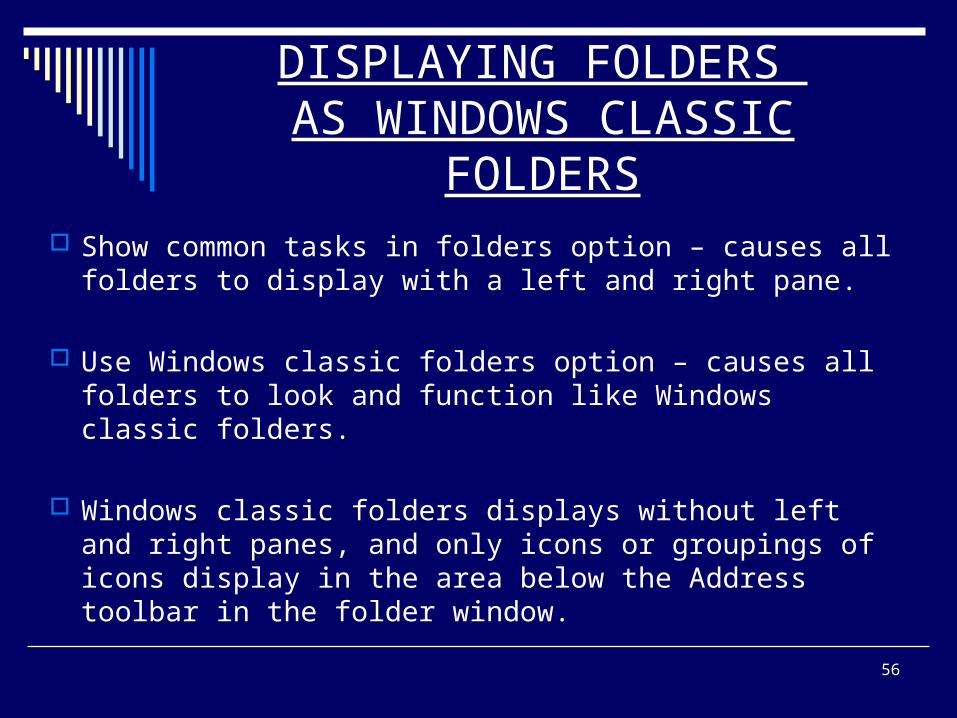
DISPLAYING FOLDERS AS WINDOWS CLASSIC
FOLDERS Show common tasks in folders option – causes all folders
to display with a left and right pane.
Use Windows classic folders option – causes all folders to look and function like Windows classic folders.
Windows classic folders displays without left and right panes, and only icons or groupings of icons display in the area below the Address toolbar in the folder window.
57
TURNING ON THE USE WINDOWS CLASSIC FOLDERS
OPTION
Click Use Windows classic folders in the Tasks area and then click the OK button.

58
OPENING A FOLDER IN ITS OWN WINDOW
Opening a folder in the same window - is the process of opening a folder window in the same window as a previously opened folder.
Open each folder in the same window option – cause a folder to open in a window that already is open and a single button to display on the taskbar.
Open each folder in its own window option – causes a folder to open in its own window, resulting in another open window and another button in the taskbar button area.

59
TURNING ON THE OPEN EACH FOLDER IN ITS OWN WINDOW
OPTION
Click Tools on the My Computer menu bar, click Folder Options, and then click the Open each folder in its own window in the Browse folders area in the Folder Options dialog box. click the OK button
60
OPENING A FOLDER IN ITS OWN WINDOW
Double-click the folder icon in the My Computer window. Click the Close button inthe LOCAL DISK (C:) window. Click the Closebutton in the My Computer window

61
RESTORING THE FOLDER OPTIONS TO THE DEFAULT
FOLDER OPTIONS
Click the Start button, click My Computer on the Start menu, click Tools on the My Computer menu bar, click Folder Options, and then click the Restore Defaults button in the Folder Options dialog box. Click the OK button
Restore Defaults button – restores all the folder options to the default folder options.

62
OPENING AN ITEM BY SINGLE-CLICKING
Click Tools on the My Computer menu bar, click Folder Options, and then click Single-click to open an item (point to select) in the Click items as follows area. If necessary, click Underlineicon titles consistent with my browser. clickthe OK button

63
SELECTING ICONS ON THE DESKTOP AND OPENING
WINDOWS
Click the My Computer icon on the desktop
64
SELECTING AN ICON IN A FOLDER AND OPENING ITS
WINDOW
Click a folder icon in the My Computer window

65
SELECTING MULTIPLE FILES AND COPYING FILES
Insert a portable media into the computer. (USB Flash drive, Floppy drive)
Click the My Computer icon on the desktop, click the LOCAL DISK (C:) icon, and then click the WINDOWS icon. Maximize the WINDOWS window and then scroll down until the icons for the Coffee Bean, Gone Fishing, and Greenstone files are visible.

66
Hold down the CTRL key andthen point to the Coffee Beanicon, Gone Fishing icon, and
Greenstone icon. Release theCTRL key. Right-click the
Gone Fishing icon, point toSend To on the shortcut
menu, and then click the portable media on the Send To submenu
SELECTING MULTIPLE FILES AND COPYING FILES
Click the Close button inthe WINDOWS window
Remove the portable media form the
computer.

67
RESTORING THE FOLDER OPTIONS
Click the My Computer icon on the desktop
Click Tools on the My Computer menu bar
Click the Folder Options icon on the Tools menu
Click the Restore Defaults button in the Folder Options dialog box
Click the OK button in the Folder Options dialog box
Click the Close button in the My Computer window
68
REMOVING DESKTOP ICONS FROM THE DESKTOP
Right-click an open area of the desktop and then click Properties on the shortcut menu
Click the Desktop tab and then click the Customize Desktop button
Remove the check marks from the My Documents, My Computer, and Internet Explorer check boxes in the Desktop Items dialog box
Click the OK button in the Desktop Items dialog box
Click the OK button in the Display Properties dialog box
69
CHAPTER SUMMARY
Change the desktop work environment
Select, create, save, and delete a desktop theme
Change the desktop background
Add icons to the desktop

70
CHAPTER SUMMARY
Change the font size and screen saver
Add and remove an Active Desktop item
Unlock, move, hide, resize, and unlock the taskbar
Add, resize, and remove a toolbar on the taskbar

71
CHAPTER SUMMARY
Add and remove a shortcut on a toolbar
Launch an application from a toolbar
Use the Address toolbar to display folder content
Use the Address toolbar to search the Internet
Customize the Start menu and notification area

72
CHAPTER SUMMARY
Select a folder option and restore default folder options
Open a folder in its own window
Select an icon by pointing
Open an icon by single-clicking
Select and copy multiple files when the icons are underlined

Windows XP - Project 4 - HOMEWORK
Read and complete steps for Project 4
Learn It Online # 3: page 4.72
In the Lab # 1: page 4.74 – 4.76
In the Lab # 2: page 4.76 – 4.78
In the Lab # 3: page 4.78– 4.80
In the Lab # 4: page 4.80 – 4.83
Related Documents