The easy, fun (and FREE!) way to teach handwriting. Step 1 Print out these instructions and worksheets. For more than one student, print copies of the “Worksheets Only” version of this booklet. Part One: - Teaches lowercase letters ‘o’ and ‘j.’ - Practices writing short-vowel letter ‘o’ words. - In addition to tracing, children now start copying words and phrases, to help them learn how to write independently. Step 2 When doing more than one lesson a day, take a break between the lessons (a snack, a walk, a nap – whatever works). This helps to maximize the mental “processing” of the material. T.M. 5½+ age Progressive Printing Book 4: Copycat! Also practices (by tracing and copying) the different letter pattern groups. o, j Letters taught: Part Two: - Practices the letter pattern groups (the letters that share the same motions). This helps memorize proper letter formation.

Welcome message from author
This document is posted to help you gain knowledge. Please leave a comment to let me know what you think about it! Share it to your friends and learn new things together.
Transcript

The easy, fun (and FREE!)way to teach handwriting.
Step 1Print out these instructions and
worksheets. For more than one
student, print copies of the
“Worksheets Only” version of
this booklet.
Part One: - Teaches lowercase letters ‘o’ and ‘j.’
- Practices writing short-vowel letter ‘o’ words.
- In addition to tracing, children now start
copying words and phrases, to help them
learn how to write independently.
Step 2When doing more than one
lesson a day, take a break
between the lessons (a snack,
a walk, a nap – whatever works).
This helps to maximize the
mental “processing” of the
material.
T.M.
5½+age
ProgressivePrinting
Book 4: Copycat!
Also practices (by tracing and copying) the
different letter pattern groups.
o, jLetters taught:
Part Two: - Practices the letter pattern groups (the letters
that share the same motions). This helps
memorize proper letter formation.
(cut
or
fold
)
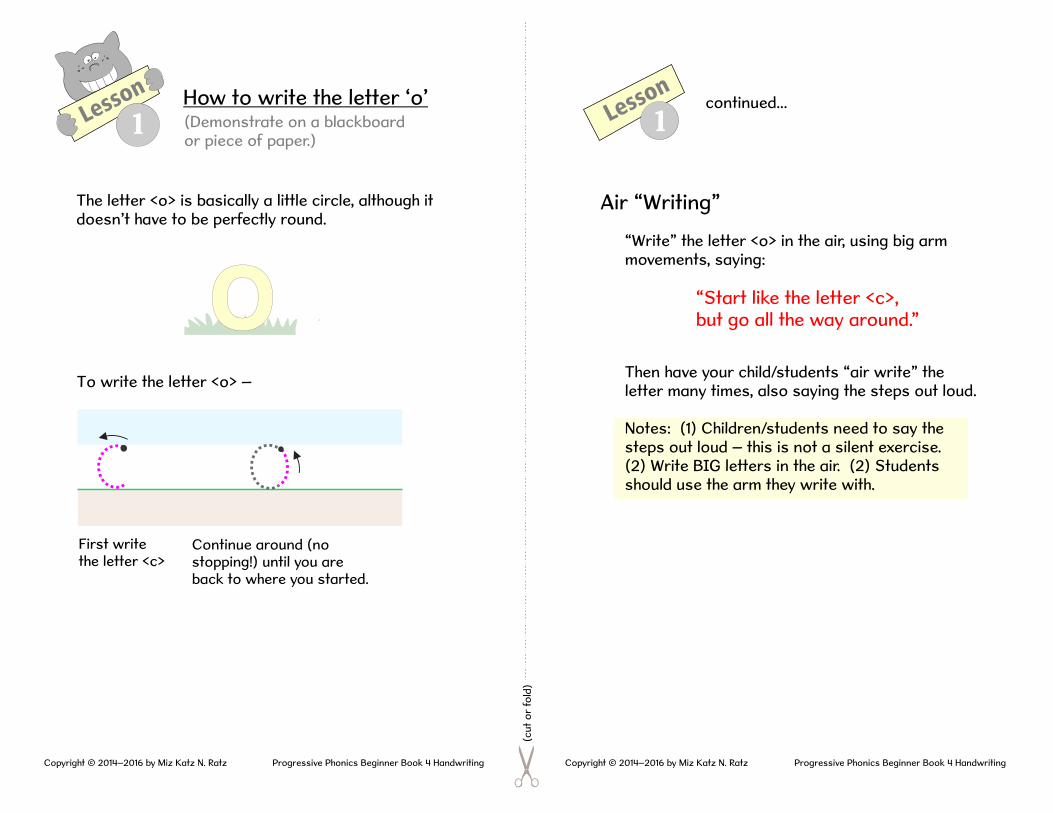
Lesson How to write the letter ‘o’
Lesson
1continued...
(Demonstrate on a blackboard or piece of paper.)
1
The letter <o> is basically a little circle, although itdoesn’t have to be perfectly round.
Continue around (no stopping!) until you are back to where you started.
First writethe letter <c>
To write the letter <o> –
oAir “Writing”
“Write” the letter <o> in the air, using big arm movements, saying:
Then have your child/students “air write” theletter many times, also saying the steps out loud.
Notes: (1) Children/students need to say the steps out loud – this is not a silent exercise. (2) Write BIG letters in the air. (2) Studentsshould use the arm they write with.
“Start like the letter <c>,but go all the way around.”
Progressive Phonics Beginner Book 4 HandwritingProgressive Phonics Beginner Book 4 Handwriting Copyright © 2014–2016 by Miz Katz N. RatzCopyright © 2014–2016 by Miz Katz N. Ratz
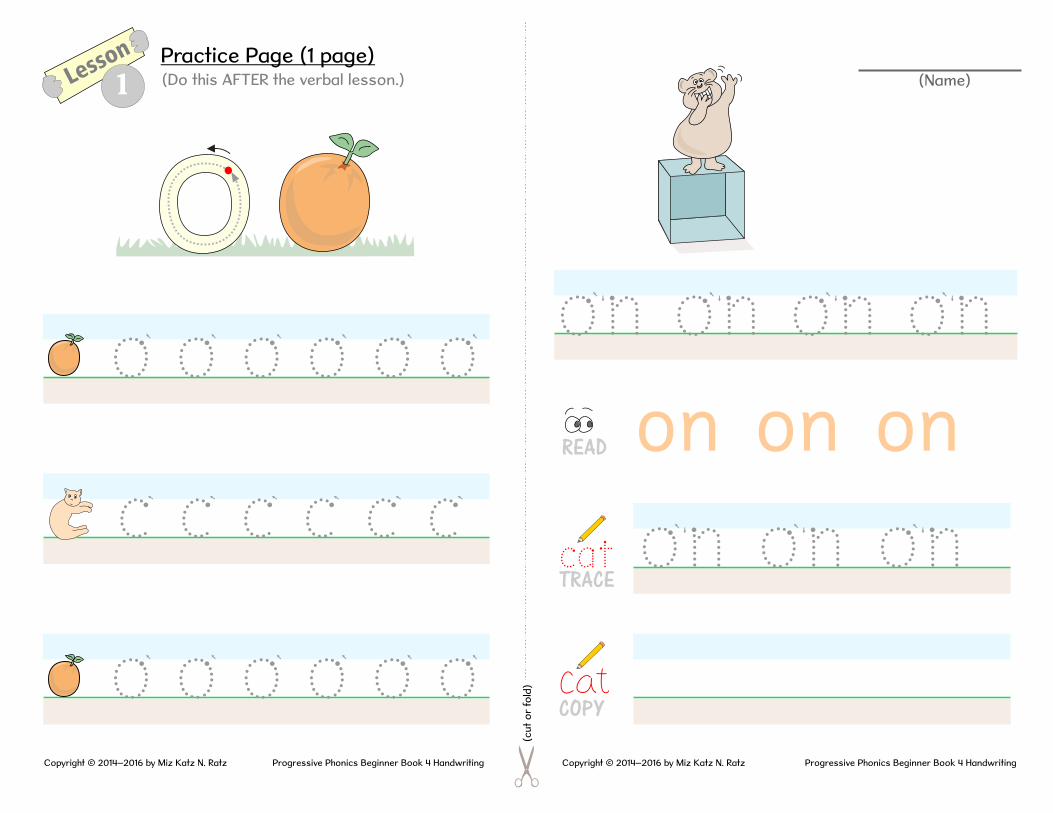
on on on
(Name)
on on on
on on on on
READ
TRACE
COPY
cat
Progressive Phonics Beginner Book 4 HandwritingCopyright © 2014–2016 by Miz Katz N. Ratz
o o o o o o
(cut
or
fold
) o o o o o o
c c c c c c
Progressive Phonics Beginner Book 4 HandwritingCopyright © 2014–2016 by Miz Katz N. Ratz
Lesson
1Practice Page (1 page)(Do this AFTER the verbal lesson.)
(cut
or
fold
)
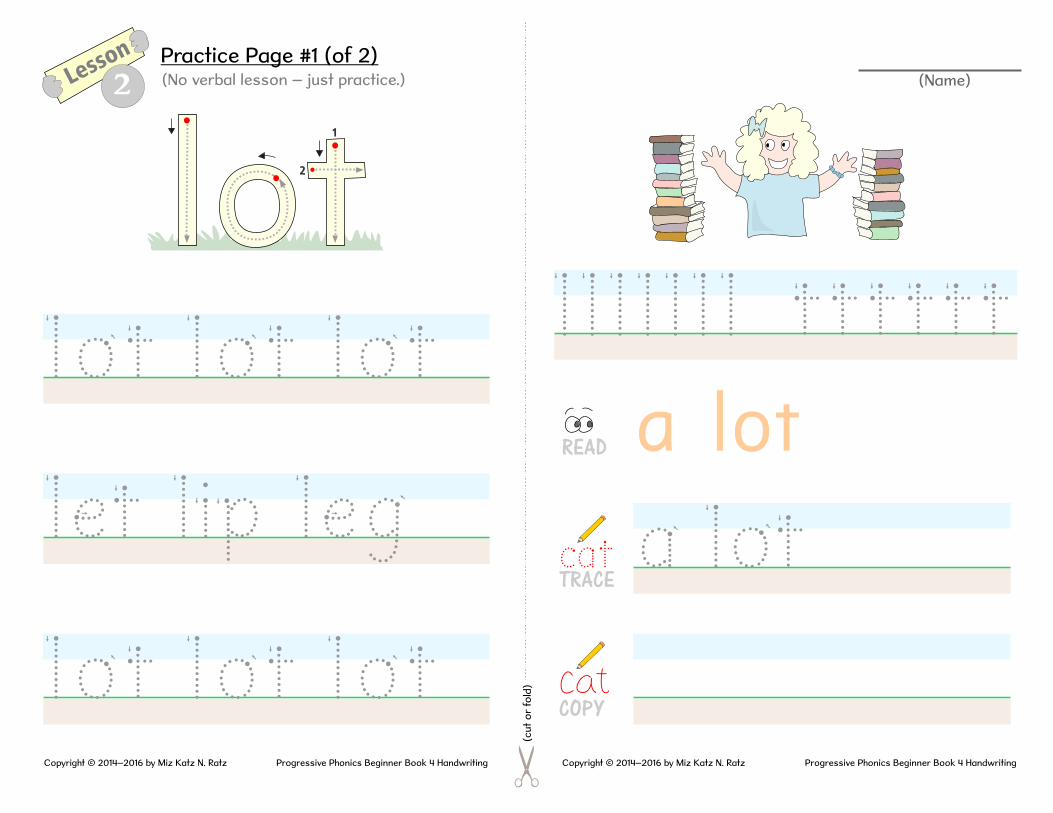
a lot let lip leg
(Name)
lot lot lot
a lot lot lot lot lllllll tttttt
1
2
READ
TRACE
COPY
cat
Progressive Phonics Beginner Book 4 HandwritingProgressive Phonics Beginner Book 4 Handwriting Copyright © 2014–2016 by Miz Katz N. RatzCopyright © 2014–2016 by Miz Katz N. Ratz
Lesson
2Practice Page #1 (of 2)(No verbal lesson – just practice.)

(cut
or
fold
)
(Name)
not a lotlot lot lot
not not not
not not not nnnnn oooo
1
2
READ
TRACE
COPY
cat not a lot
Progressive Phonics Beginner Book 4 HandwritingProgressive Phonics Beginner Book 4 Handwriting Copyright © 2014–2016 by Miz Katz N. RatzCopyright © 2014–2016 by Miz Katz N. Ratz
Lesson
2Practice Page #2 (of 2)(Do this AFTER the verbal lesson.)
(cut
or
fold
)
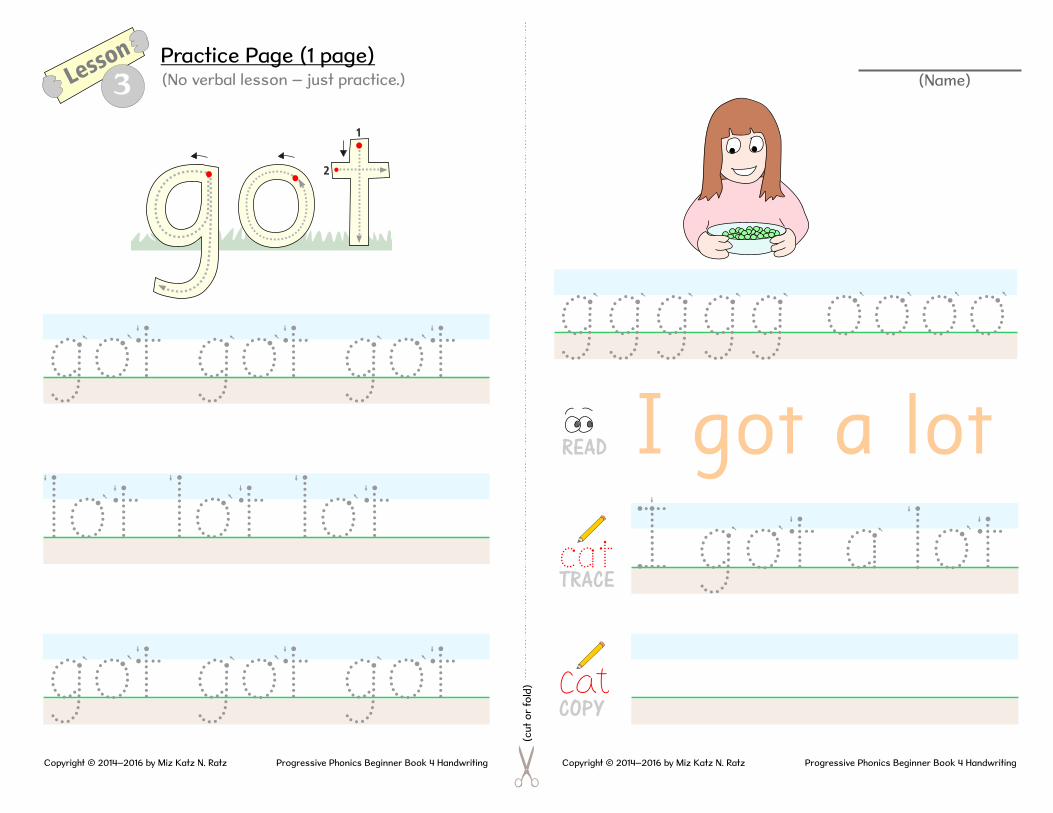
got got got
(Name)
lot lot lot
got got got
I got a lot
I got a lot
Lesson
3Practice Page (1 page)(No verbal lesson – just practice.)
ggggg oooo
1
2
READ
TRACEcat
Progressive Phonics Beginner Book 4 HandwritingProgressive Phonics Beginner Book 4 Handwriting Copyright © 2014–2016 by Miz Katz N. RatzCopyright © 2014–2016 by Miz Katz N. Ratz
COPY

(cut
or
fold
)
hot hot hot
(Name)Lesson
4Practice Page #1 (of 2)(No verbal lesson – just practice.)
not not not
hot hot hot
not hot
not hot
hhhhh nnnn
1
2hot hot
not
READ
TRACEcat
Progressive Phonics Beginner Book 4 HandwritingProgressive Phonics Beginner Book 4 Handwriting Copyright © 2014–2016 by Miz Katz N. RatzCopyright © 2014–2016 by Miz Katz N. Ratz
COPY

(cut
or
fold
)
pot pot pot
got got got
pot pot pot
pot got hot
pot got hot
(Name)
pppp gggg
1
2
READ
TRACEcat
Progressive Phonics Beginner Book 4 HandwritingProgressive Phonics Beginner Book 4 Handwriting Copyright © 2014–2016 by Miz Katz N. RatzCopyright © 2014–2016 by Miz Katz N. Ratz
Lesson
4Practice Page #1 (of 2)(No verbal lesson – just practice.)
COPY

(cut
or
fold
)
top top top
(Name)Lesson
5Practice Page (1 page)(No verbal lesson – just practice.)
pop pop pop
top top top
pop on top
pop on top
oooo pppp
1
2
READ
TRACEcat
Progressive Phonics Beginner Book 4 HandwritingProgressive Phonics Beginner Book 4 Handwriting Copyright © 2014–2016 by Miz Katz N. RatzCopyright © 2014–2016 by Miz Katz N. Ratz
COPY

(cut
or
fold
)
mop mop
(Name)Lesson
6Practice Page (1 page)(No verbal lesson – just practice.)
hop hop hop
mop hop top
mop hop
mop hop
mmm hhhh
READ
TRACEcat
Progressive Phonics Beginner Book 4 HandwritingProgressive Phonics Beginner Book 4 Handwriting Copyright © 2014–2016 by Miz Katz N. RatzCopyright © 2014–2016 by Miz Katz N. Ratz
COPY
(cut
or
fold
)
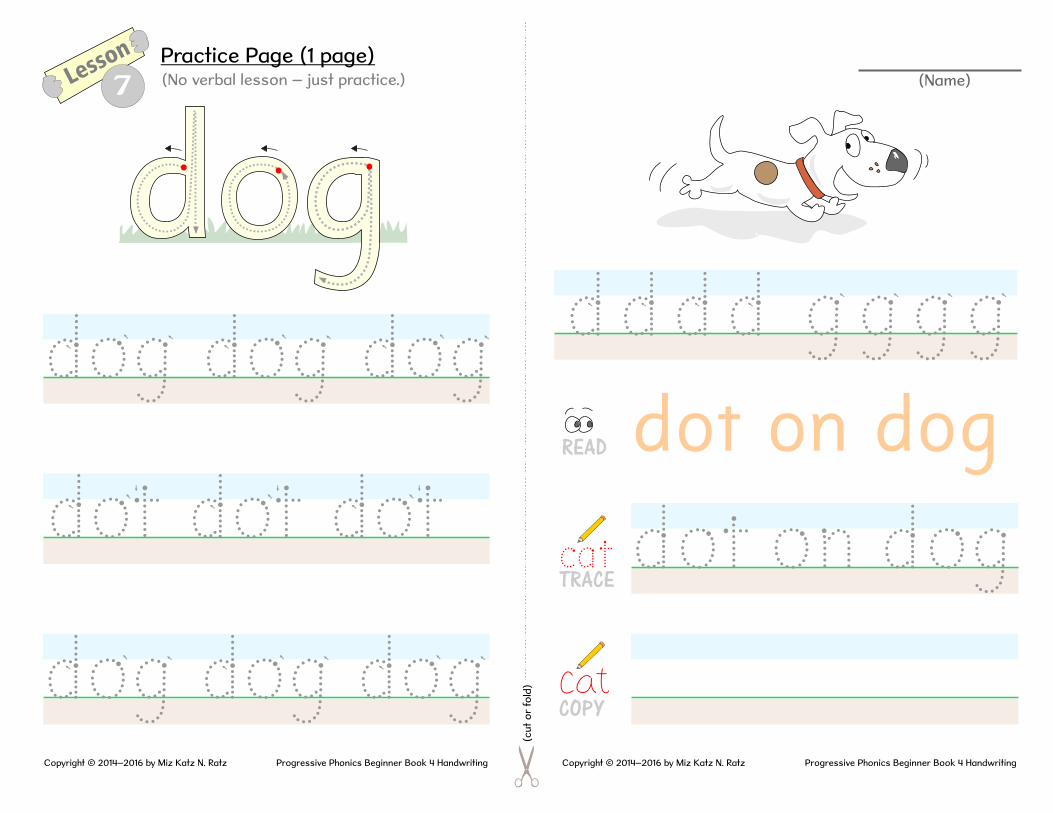
dog dog dog
(Name)Lesson
7Practice Page (1 page)(No verbal lesson – just practice.)
dot dot dot
dog dog dog
dot on dog
dot on dog
dddd gggg
READ
TRACEcat
Progressive Phonics Beginner Book 4 HandwritingProgressive Phonics Beginner Book 4 Handwriting Copyright © 2014–2016 by Miz Katz N. RatzCopyright © 2014–2016 by Miz Katz N. Ratz
COPY
(cut
or
fold
)
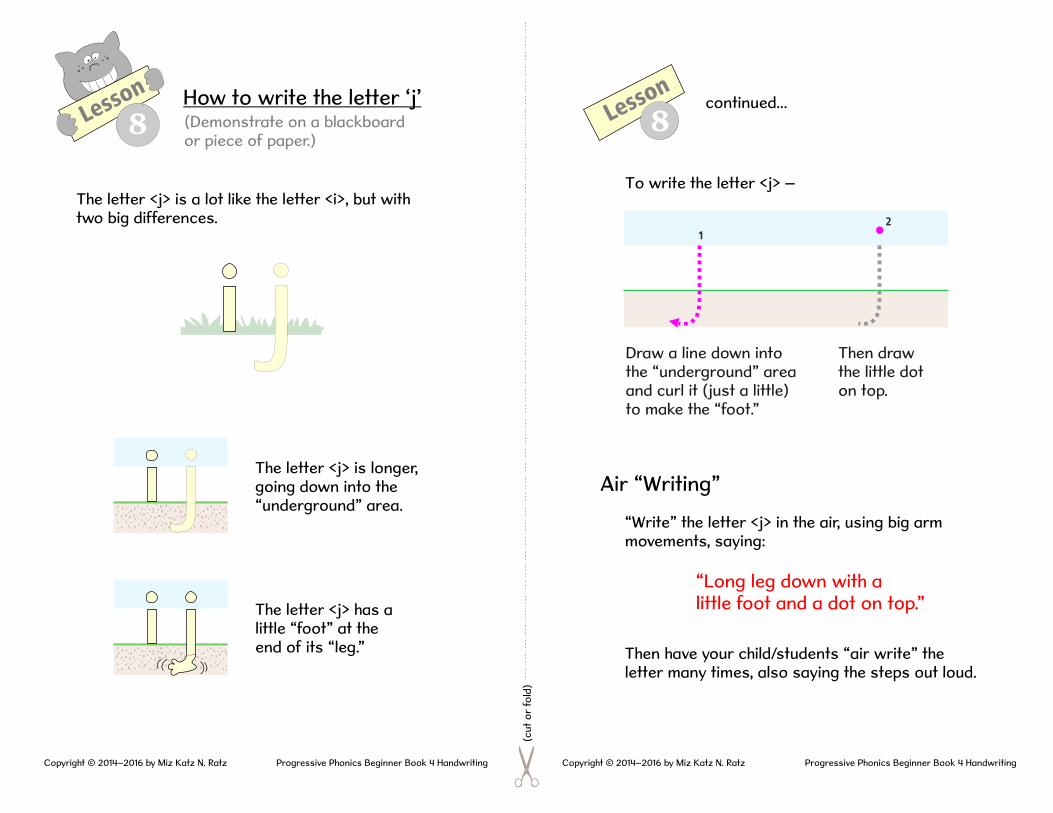
Lesson How to write the letter ‘j’
Lesson
8continued...
(Demonstrate on a blackboard or piece of paper.)
8
To write the letter <j> –
Air “Writing”
“Write” the letter <j> in the air, using big arm movements, saying:
Then have your child/students “air write” theletter many times, also saying the steps out loud.
“Long leg down with alittle foot and a dot on top.”
The letter <j> is a lot like the letter <i>, but with two big differences.
j
j The letter <j> is longer,going down into the “underground” area.
Draw a line down into the “underground” area and curl it (just a little)to make the “foot.”
21
Then draw the little doton top.
The letter <j> has a little “foot” at the end of its “leg.”
Progressive Phonics Beginner Book 4 HandwritingProgressive Phonics Beginner Book 4 Handwriting Copyright © 2014–2016 by Miz Katz N. RatzCopyright © 2014–2016 by Miz Katz N. Ratz
(cut
or
fold
)
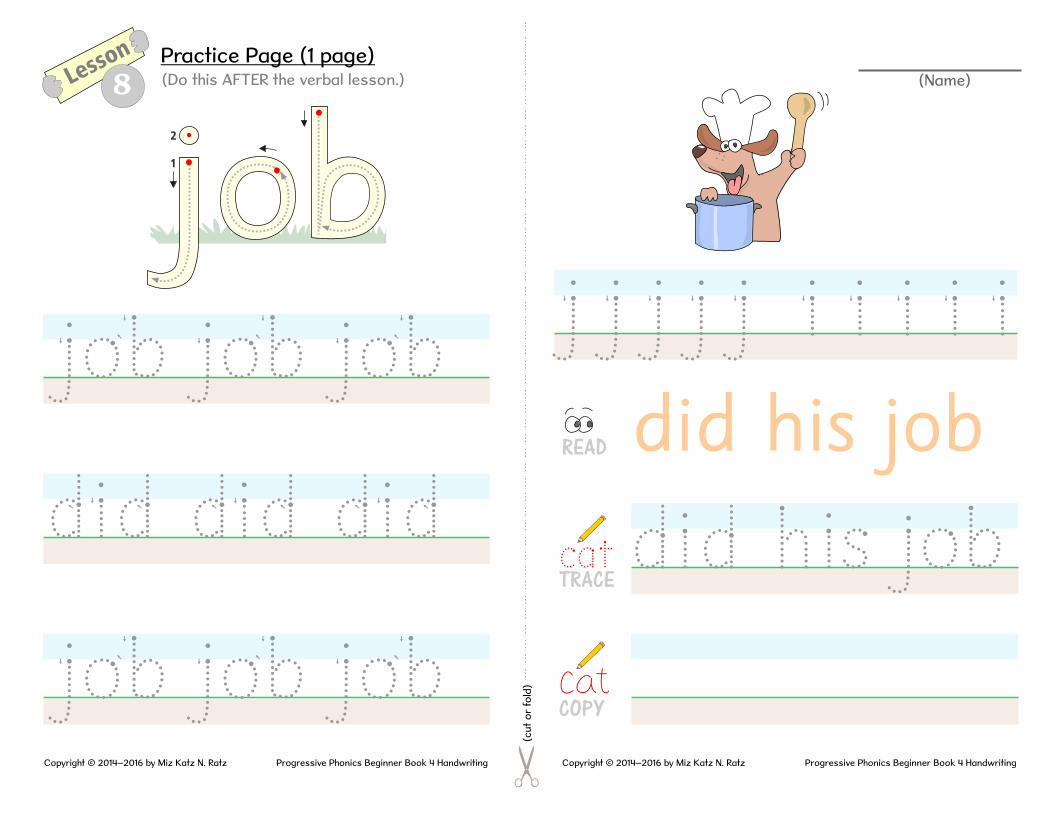
job job job
did did did
job job job
did his job
did his job
(Name)
j j j j j
1
2
i i i i i
READ
TRACEcat
Progressive Phonics Beginner Book 4 HandwritingProgressive Phonics Beginner Book 4 Handwriting Copyright © 2014–2016 by Miz Katz N. RatzCopyright © 2014–2016 by Miz Katz N. Ratz
Lesson
8Practice Page (1 page)(Do this AFTER the verbal lesson.)
COPY

(cut
or
fold
)
fox fox fox
(Name)Lesson
9Practice Page(No verbal lesson – just practice.)
box box box
fox fox fox
fox on box
fox on box
f f f f x x x x
1 2
1
2
READ
TRACEcat
Progressive Phonics Beginner Book 4 HandwritingProgressive Phonics Beginner Book 4 Handwriting Copyright © 2014–2016 by Miz Katz N. RatzCopyright © 2014–2016 by Miz Katz N. Ratz
COPY

(cut
or
fold
)
ccc ooo aaa
(Name)
Letter Pattern Group #1(Letters that share similar motions)(Treat each page as one lesson)
ccc ooo aaa
ccc ooo aaa
cat on can
cat on cana
READ
TRACE
COPY
cat
COPY
Progressive Phonics Beginner Book 4 HandwritingProgressive Phonics Beginner Book 4 Handwriting Copyright © 2014–2016 by Miz Katz N. RatzCopyright © 2014–2016 by Miz Katz N. Ratz
Part II

(cut
or
fold
)
aaa ddd ggg
(Name)Letter Pattern Group #2
aaa ddd ggg
aaa ddd ggg
dad dog
dad doga
READ
TRACE
COPY
cat
COPY
Progressive Phonics Beginner Book 4 HandwritingProgressive Phonics Beginner Book 4 Handwriting Copyright © 2014–2016 by Miz Katz N. RatzCopyright © 2014–2016 by Miz Katz N. Ratz
(cut
or
fold
)
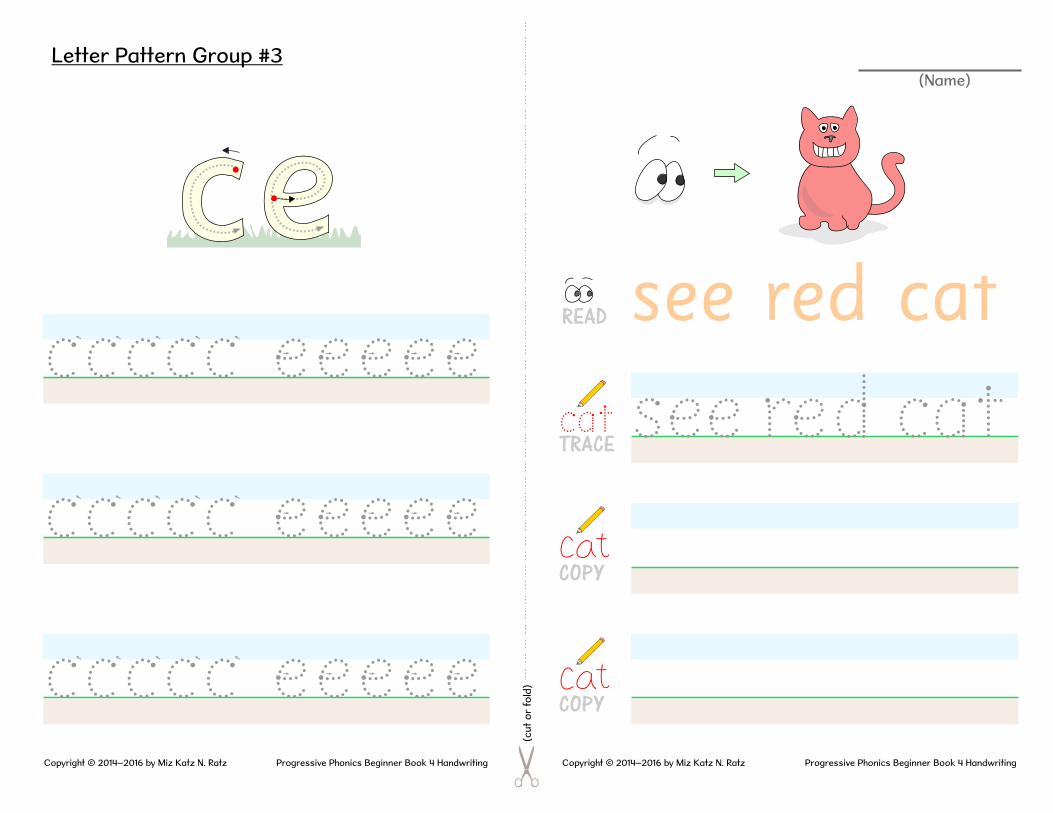
ccccc eeeee
(Name)
ccccc eeeee
ccccc eeeee
see red cat
see red catREAD
TRACE
COPY
cat
COPY
Progressive Phonics Beginner Book 4 HandwritingProgressive Phonics Beginner Book 4 Handwriting Copyright © 2014–2016 by Miz Katz N. RatzCopyright © 2014–2016 by Miz Katz N. Ratz
Letter Pattern Group #3

(cut
or
fold
)
mm nnn rrr
(Name)
mm nnn rrr
mm nnn rrr
man ran
man ranREAD
TRACE
COPY
cat
COPY
Progressive Phonics Beginner Book 4 HandwritingProgressive Phonics Beginner Book 4 Handwriting Copyright © 2014–2016 by Miz Katz N. RatzCopyright © 2014–2016 by Miz Katz N. Ratz
Letter Pattern Group #4
(cut
or
fold
)
(Name)
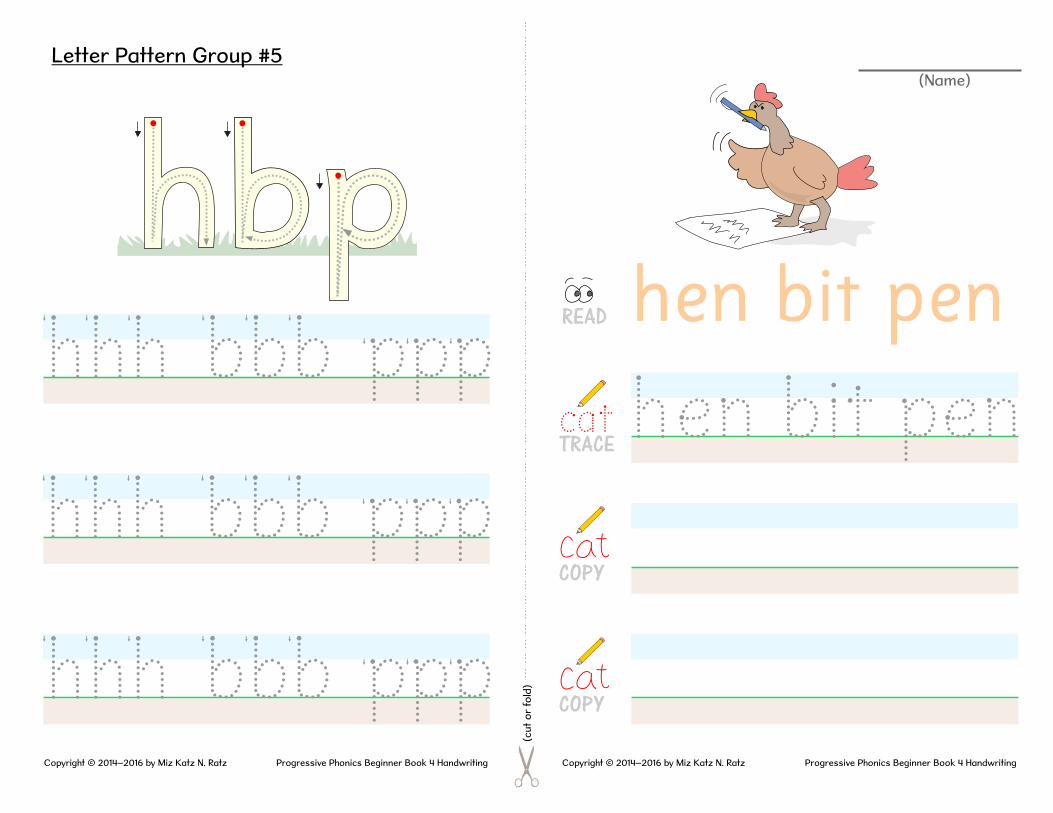
hen bit pen
hen bit penhhh bbb ppp
hhh bbb ppp
hhh bbb ppp
READ
TRACE
COPY
cat
COPY
Progressive Phonics Beginner Book 4 HandwritingProgressive Phonics Beginner Book 4 Handwriting Copyright © 2014–2016 by Miz Katz N. RatzCopyright © 2014–2016 by Miz Katz N. Ratz
Letter Pattern Group #5

(cut
or
fold
)
(Name)
I lit a lamp
I lit a lampllllll IIIIII
llllll IIIIII
llllll IIIIII
3
21
READ
TRACE
COPY
cat
COPY
Progressive Phonics Beginner Book 4 HandwritingProgressive Phonics Beginner Book 4 Handwriting Copyright © 2014–2016 by Miz Katz N. RatzCopyright © 2014–2016 by Miz Katz N. Ratz
Letter Pattern Group #6
(cut
or
fold
)
(Name)
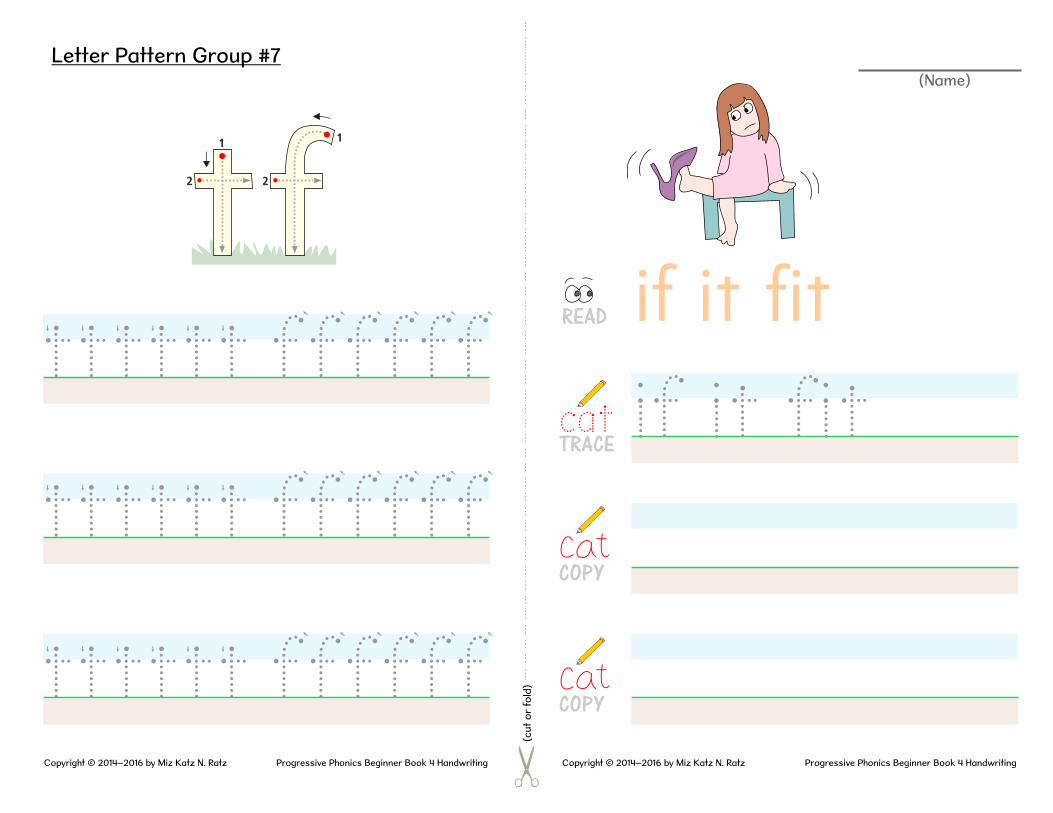
if it fit
if it fit
1
2
1
2
tttttt ffffff
tttttt ffffff
tttttt ffffff
READ
TRACE
COPY
cat
COPY
Progressive Phonics Beginner Book 4 HandwritingProgressive Phonics Beginner Book 4 Handwriting Copyright © 2014–2016 by Miz Katz N. RatzCopyright © 2014–2016 by Miz Katz N. Ratz
Letter Pattern Group #7
(cut
or
fold
)
(Name)
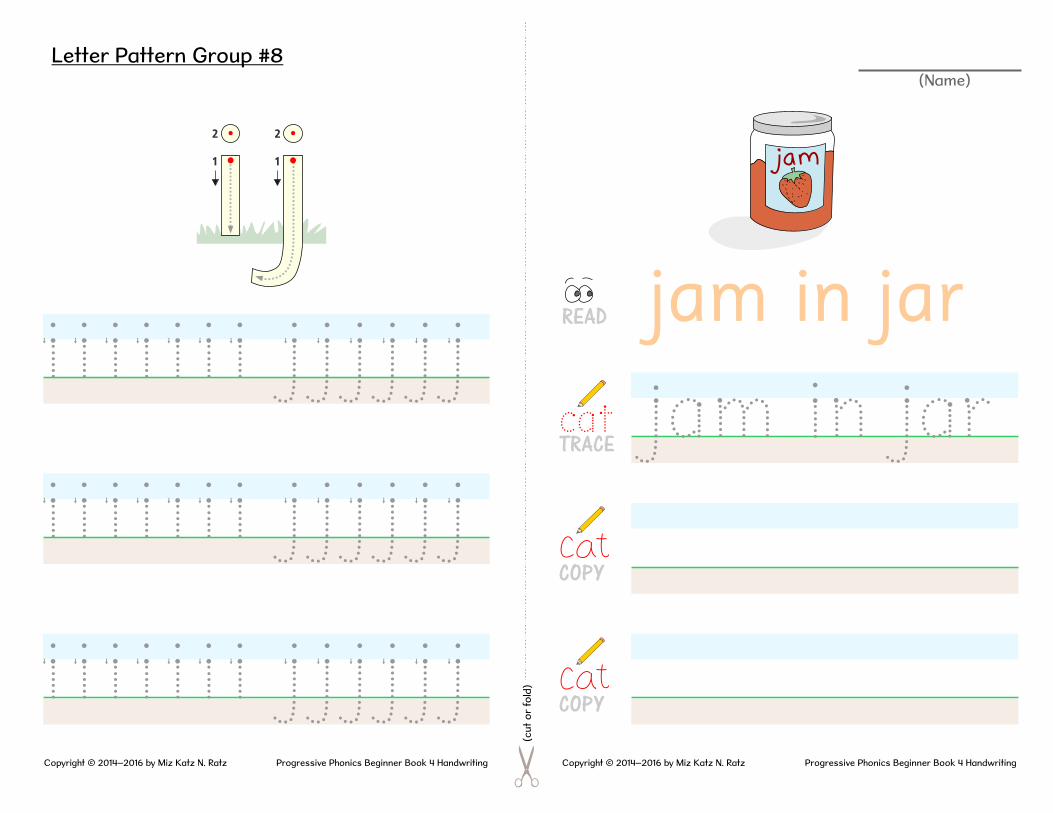
jam in jar
jam in jar
1
2
1
2
i i i i i i i j j j j j j
i i i i i i i j j j j j j
i i i i i i i j j j j j j
READ
TRACE
COPY
cat
COPY
Progressive Phonics Beginner Book 4 HandwritingProgressive Phonics Beginner Book 4 Handwriting Copyright © 2014–2016 by Miz Katz N. RatzCopyright © 2014–2016 by Miz Katz N. Ratz
Letter Pattern Group #8

(cut
or
fold
)
(Name)
six kids
six kids
1 2 2
1
kkkkxxxx
kkkkxxxx
kkkkxxxx
READ
TRACE
COPY
cat
COPY
Progressive Phonics Beginner Book 4 HandwritingProgressive Phonics Beginner Book 4 Handwriting Copyright © 2014–2016 by Miz Katz N. RatzCopyright © 2014–2016 by Miz Katz N. Ratz
Letter Pattern Group #9
(cut
or
fold
)
(Name)
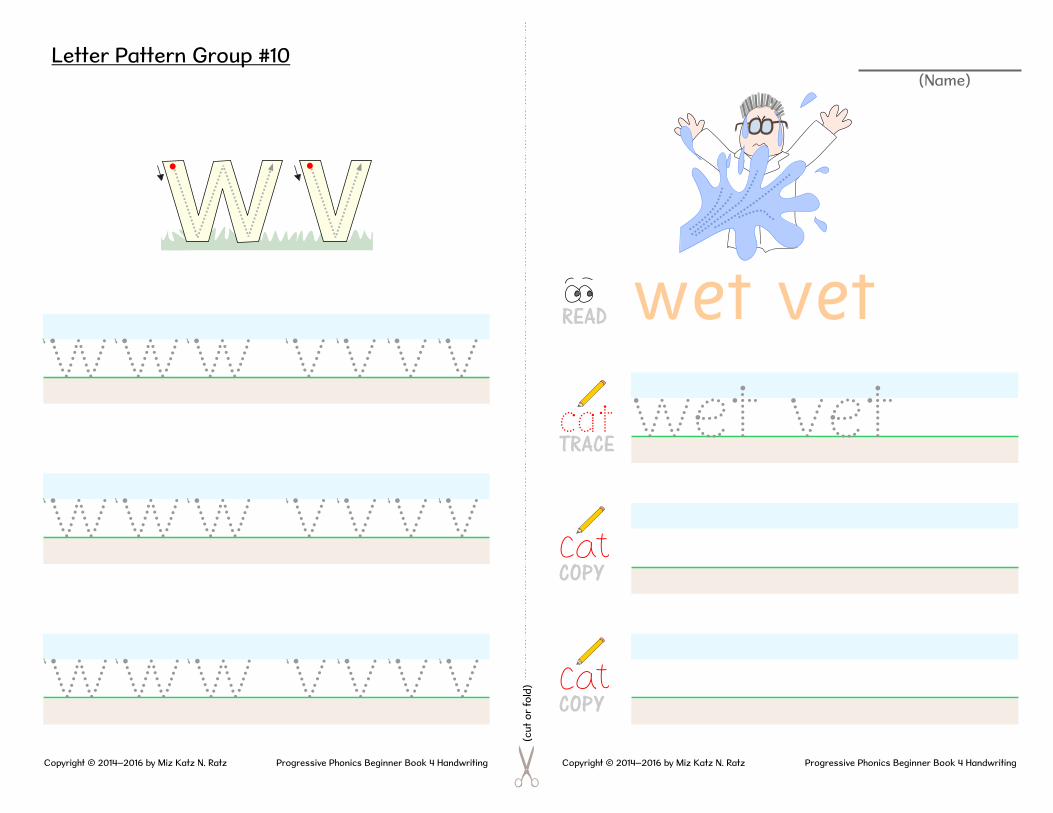
wet vet
wet vetwww vvvv
www vvvv
www vvvv
READ
TRACE
COPY
cat
COPY
Progressive Phonics Beginner Book 4 HandwritingProgressive Phonics Beginner Book 4 Handwriting Copyright © 2014–2016 by Miz Katz N. RatzCopyright © 2014–2016 by Miz Katz N. Ratz
Letter Pattern Group #10
(cut
or
fold
)
(Name)
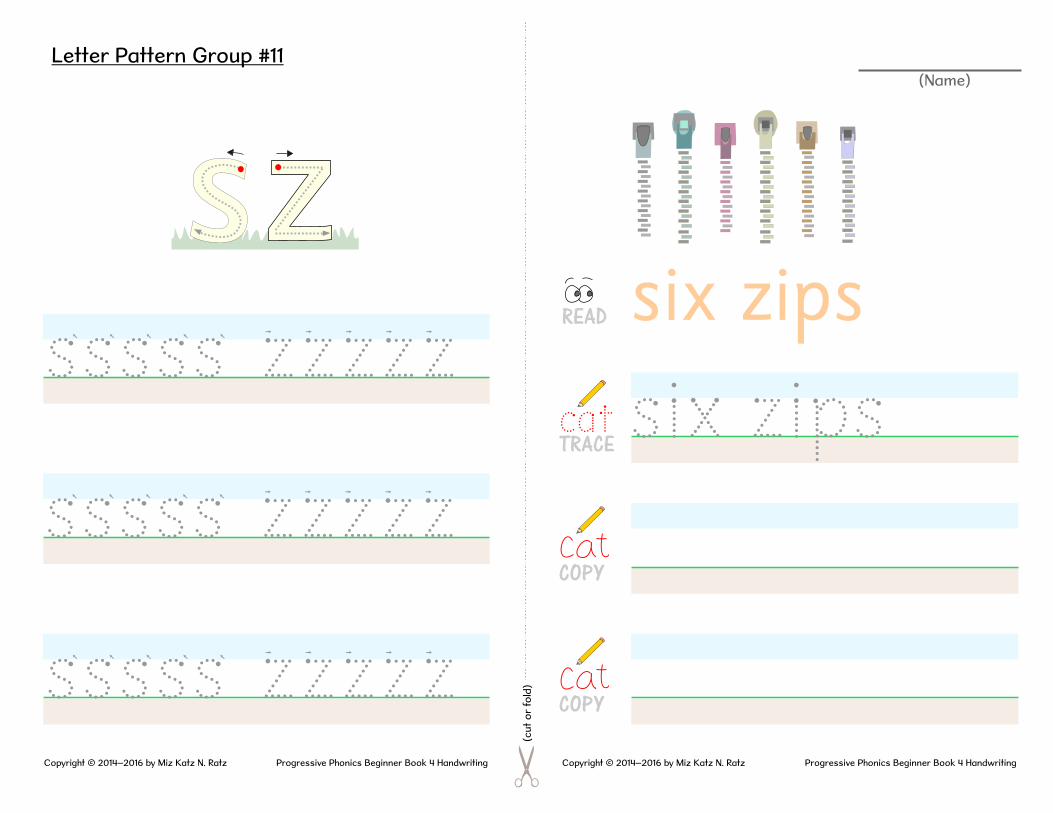
six zips
six zips s
sssss zzzzz
sssss zzzzz
sssss zzzzz
READ
TRACE
COPY
cat
COPY
Progressive Phonics Beginner Book 4 HandwritingProgressive Phonics Beginner Book 4 Handwriting Copyright © 2014–2016 by Miz Katz N. RatzCopyright © 2014–2016 by Miz Katz N. Ratz
Letter Pattern Group #11
Related Documents