Practical Lesson How to design paper Aircraft

Practical lesson design aero plane
Aug 19, 2015
Welcome message from author
This document is posted to help you gain knowledge. Please leave a comment to let me know what you think about it! Share it to your friends and learn new things together.
Transcript

Practical LessonHow to design paper Aircraft

Task
At the End of the lesson Participating Student should be able to Design a paper Aircraft.

Step 1.Take one A4 sized piece of paper

Step 2. Fold along the blue line, so you fold the paper longways exactly in half. Once you've got it perfect, open it back up again. You will use the crease you've created at the centre line as a guide fold.
1 2

Step3. Now fold along the blue lines so that the flat edge at the top of the paper exactly meet the centre line. You should aim for something that looks exactly like the diagram on the right.
1 2

Step 4 Now fold along the blue lines again, so you get something that looks like the diagram on the right. Try to make sure that the diagonal edges of the folds you created in
the previous step, now exactly meet with the centre line.
1 2

Step 5 Now fold the tip of the plane back 10.5cm. Ensure that the tip of the plane meets the centre
line exactly.
1 2

Step 6 On the top flap of paper that you've just created, fold back again according to the dimensions shown. Aim for something that looks like the diagram on
the right.
1 2

Step 7 Now fold back along the centre line. Make sure all the folds you've created in the previous steps are on the outside, not the inside. You should get something that
looks like the diagram on the right.
1 22

Step 8 Now we're going to fold down the wings. As you will see in the diagram on the left, the fold starts at an easily identifiable point where the folds cross near the nose of the plane. At the rear end, the fold should be
about 2.9 cm up from the base of the fuselage. The means that the back of the fuselage will be slightly higher than the front.
1 2

Step 9 Now fold the wing down on the other side, according to the same dimensions. Once you're done, you should get something that looks like this.

Step 10 Now fold the wings straight so that they are roughly horizontal.

Step 11 Now we're going to fold down the fins. Place the plane on it's back and fold the fins according to the dimensions shown, making sure that they fall exactly
parallel with the fuselage.
1 2

Step 12 Flip the plane over... you're almost done. Rejoice! However, remember almost all paper aeroplanes need calibrating before they fly correctly.
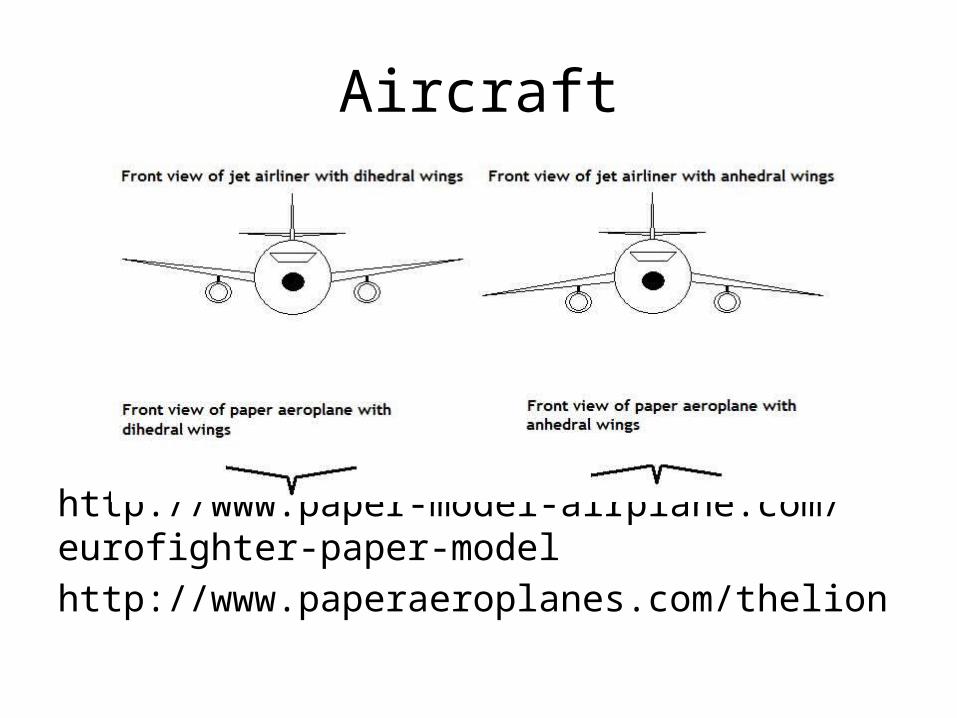
Aircraft
http://www.paper-model-airplane.com/eurofighter-paper-modelhttp://www.paperaeroplanes.com/thelion
Related Documents