Hobbii.com - Copyright © 2017 - All rights reserved. Page 1 Potholder in Waffle Pattern 8/4 No. 1001-171-8699 Materials: − Crochet hook D or E (3 or 3.5 mm) − Rainbow Cotton 8/4 (the project is worked holding 2 strands together) − ¾” x 6” (2x 15 cm) leather strap Buy the yarn and materials here: http://shop.hobbii.com/potholder-waffle-8-4 Finished size: Approx. 7” x7” (18x18 cm) If you would like it to be larger, add stitches in sets of 4. Yarn Requirement: Approx. 50-55 g. per piece. Abbreviations: ch: Chain st: stitch sc: single crochet dc: double crochet fpdc: front post double crochet sl st: slip stitch

Welcome message from author
This document is posted to help you gain knowledge. Please leave a comment to let me know what you think about it! Share it to your friends and learn new things together.
Transcript
Hobbii.com - Copyright © 2017 - All rights reserved.
Page 1
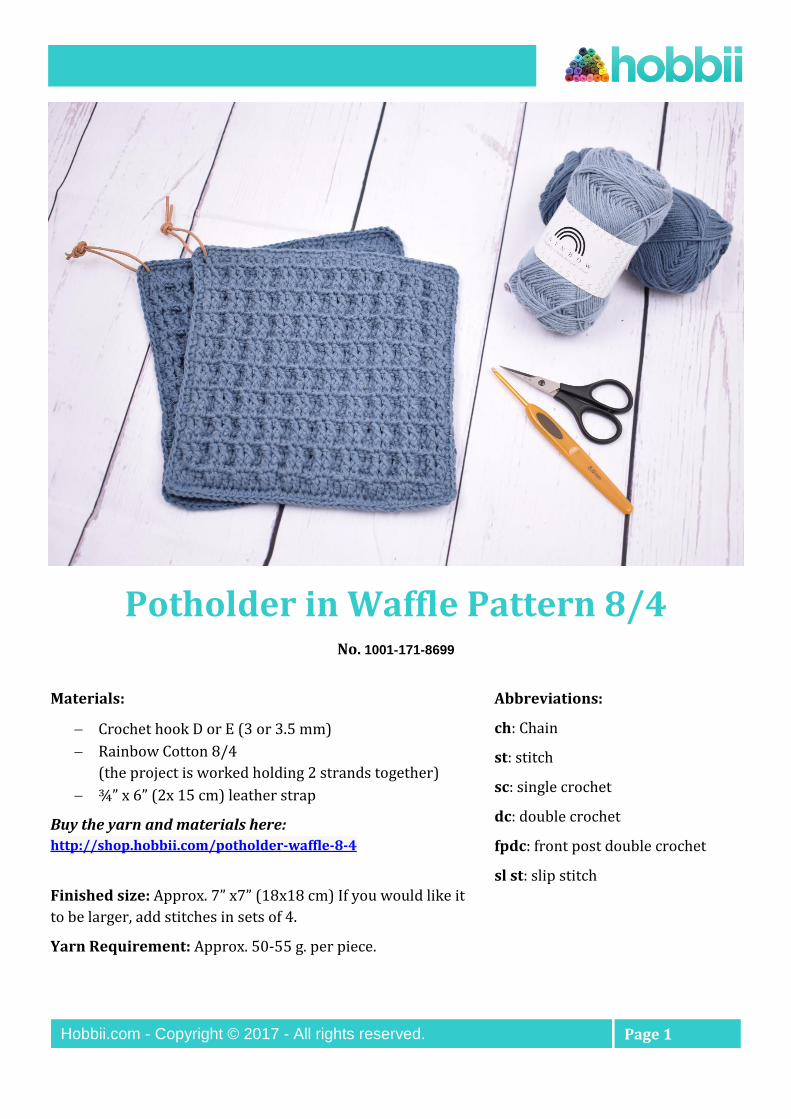
Potholder in Waffle Pattern 8/4 No. 1001-171-8699
Materials:
− Crochet hook D or E (3 or 3.5 mm)
− Rainbow Cotton 8/4
(the project is worked holding 2 strands together)
− ¾” x 6” (2x 15 cm) leather strap
Buy the yarn and materials here:
http://shop.hobbii.com/potholder-waffle-8-4
Finished size: Approx. 7” x7” (18x18 cm) If you would like it
to be larger, add stitches in sets of 4.
Yarn Requirement: Approx. 50-55 g. per piece.
Abbreviations:
ch: Chain
st: stitch
sc: single crochet
dc: double crochet
fpdc: front post double crochet
sl st: slip stitch

Hobbii.com - Copyright © 2017 - All rights reserved.
Page 2
Pattern: See the photo tutorial after the written pattern or watch the video tutorial here:
https://youtu.be/58Db-WZR90I
The project is worked holding 2 strands together.
1. Start by making 41 ch-sts.
2. In the 3rd ch from the hook, work 1 dc. Work 1 dc in each ch st to the end of the row. (40)
3. Ch 2 and turn. Work 1 dc in the next 2 sts. Work *2 fpdc, 2 dc* repeat *-* to the end of the row.
End with 1 dc in the last st.
4. Ch 2 and turn. Work 1 fpdc around the next 2 sts. Work *2 dc, 2 fpdc* repeat *-* to the end of
the row. End with 1 dc in the last st.
Repeat rows 3 and 4 for a total of 8 times. End with row 3. Cut yarn and weave in the ends.
Edge:
Work a round of sc. In each corner, work 3 sc to keep the edge from curling. End with a sl st and weave
in the ends.
Loop:
Insert the leather strap in one corner and tie with a knot.

Hobbii.com - Copyright © 2017 - All rights reserved.
Page 3
Photo Tutorial of the waffle pattern:
Row 1
1. Start with the ch sts.
Row 2
1. In the 3rd ch from the hook, work 1 dc.
2. Work 1 dc in each ch st to the end of the row.
Row 3
1. Ch 2 and turn.
2. Work 1 dc in the next 2 sts. The needle is
indicating where to work the first dc.

Hobbii.com - Copyright © 2017 - All rights reserved.
Page 4
3. Like this.
4. Now work 1 fpdc around the next st. The
needle is indicating where to insert the hook.
5. There is now 1 fpdc.
6. Work 1 fpdc around the next st. The needle is
indicating where to insert the hook.
7. Now there are 2 fpdc.
8. Work 1 dc in each of the next 2 sts

Hobbii.com - Copyright © 2017 - All rights reserved.
Page 5
9. Work *2 fpdc, 2 dc*
10. Repeat *-* to the end of the row.
11. End the row with 1 dc in the last st.
12. Like this.
Row 4
1. Ch 2 and turn.
2. Work 1 fpdc around the first st. The needle in
the picture is indicating where to insert the hook.

Hobbii.com - Copyright © 2017 - All rights reserved.
Page 6
13. There is now 1 fpdc.
3. Work 1 fpdc around the next st. The needle is
indicating where to insert the hook.
4. Now there are 2 fpdc.
5. Work 1 dc in each of the next 2 sts.
6. Work 2 fpdc.
7. Work *2 dc, 2 fpdc*

Hobbii.com - Copyright © 2017 - All rights reserved.
Page 7
8. repeat *-* to the end of the row.
9. End with 1 dc in the last st.
10. Like this.
Row 5 and on.
Repeat row 3 and 4 as instructed in the pattern.

Related Documents