Photoshop Backgrounds, Buttons, Banners & Animation In PowerPoint Presentations

Photoshop Backgrounds, Buttons, Banners & Animation In PowerPoint Presentations.
Dec 24, 2015
Welcome message from author
This document is posted to help you gain knowledge. Please leave a comment to let me know what you think about it! Share it to your friends and learn new things together.
Transcript

Photoshop Backgrounds, Buttons, Banners & Animation In PowerPoint Presentations
Backgrounds:
•Offset foreground objects making them clearer
•Provide visual continuity and support
•Break up the monotony of a static white background

Backgrounds can be found in
• text boxes (like this one)• graphics• patterns• table cells • frames• windows• Web sites

Backgrounds can be single images, single colors or they can be repeated (tiled) to fill up any space.
Tiled backgrounds can be square, rectangular, or single pixel rows or columns.

Making Backgrounds in Photoshop

•We will make all of our backgrounds in Photoshop.
•Using Photoshop we can create a wide variety of backgrounds.
•Use GIF files for graphical elements and JPG for photo-realistic or highly graduated elements.

Step 1
Use your single row selection tool to select an area.
Step 2
From your pull down menus, select edit then copy to make a copy of your selection.

Step 3
Create a new file (left) then name your file (right). When you copy an image file Photoshop will remember the size of that file. Then when you create a new file the size (above, here 600 x 1) will match the last image file you copied.

Step 4
In the file menu, use the Save for Web command.
Step 5
This will open your Save for Web window. Here I am saving the single pixel row of the sky of the previous slide. Notice I am saving this as a JPEG because the sky has a high level of graduation.

Step 6
Once you tell it to save, you will get your Save Optimized As window. You can choose where you want to save (here I am saving to the Desktop) and what you want to call your file.
Now you are ready to use this file to create a background. We will apply these backgrounds to PowerPoint in these examples, but keep in mind these backgrounds and techniques cross over to Web projects easily.
Using Backgrounds in PowerPoint

For slide, shape, or text box background changes, use the Format pull-down menu (right) or control click on what you want to format and then select the formatting option from the pop up menu (below pics).
Control Click(right click PC)
Format Menu (above, highlighted choices vary with selection)
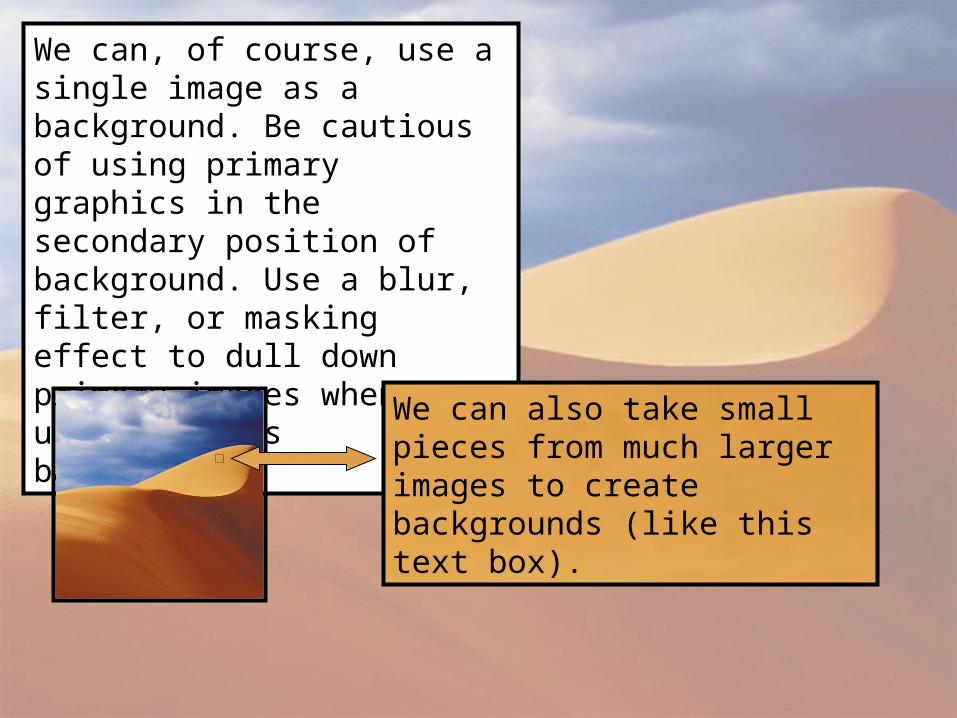
We can, of course, use a single image as a background. Be cautious of using primary graphics in the secondary position of background. Use a blur, filter, or masking effect to dull down primary images when using them as backgrounds.
We can also take small pieces from much larger images to create backgrounds (like this text box).

Making Buttons and Banners In Photoshop

Backgrounds and layer effects can be applied to buttons and banners in Photoshop and inserted into PowerPoint.
Notice the advantages in text and layer effects here. PowerPoint has made great strides in this department, but Photoshop is the king. Refine most of your images with Photoshop and your effort will show. On this page the textures are patterns taken from a scan of a shirt and then used to make the buttons and banner.
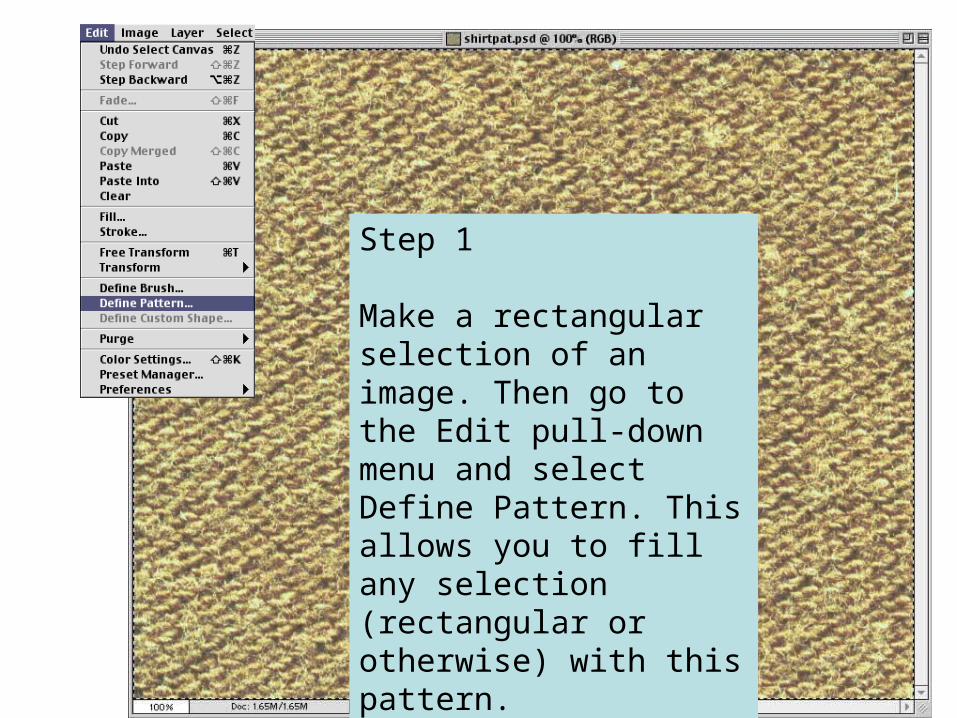
Step 1
Make a rectangular selection of an image. Then go to the Edit pull-down menu and select Define Pattern. This allows you to fill any selection (rectangular or otherwise) with this pattern.
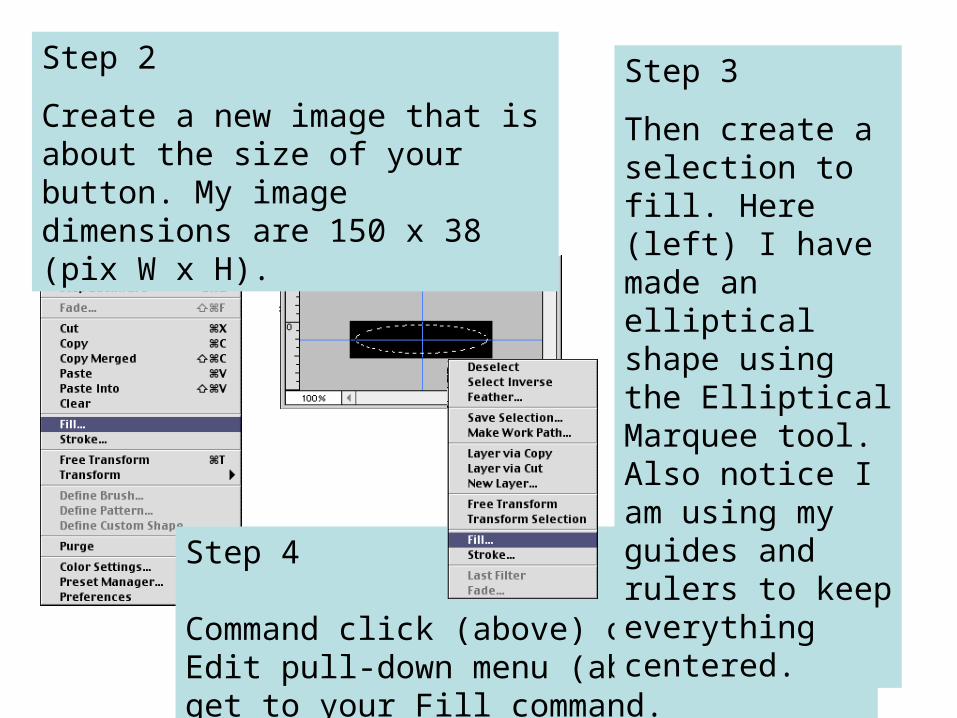
Step 2
Create a new image that is about the size of your button. My image dimensions are 150 x 38 (pix W x H).
Step 4
Command click (above) or use the Edit pull-down menu (above-left) to get to your Fill command.
Step 3
Then create a selection to fill. Here (left) I have made an elliptical shape using the Elliptical Marquee tool. Also notice I am using my guides and rulers to keep everything centered.
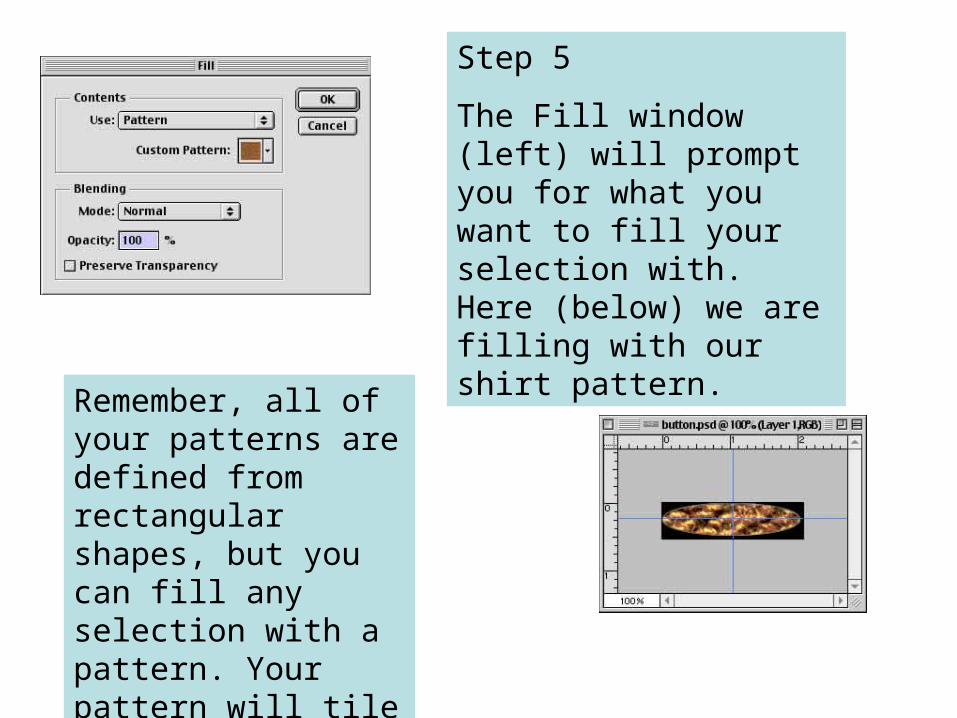
Step 5
The Fill window (left) will prompt you for what you want to fill your selection with. Here (below) we are filling with our shirt pattern.
Remember, all of your patterns are defined from rectangular shapes, but you can fill any selection with a pattern. Your pattern will tile to fill objects larger than itself.

Step 6
Layer Effects are being applied here to the layer with the ellipse in it. Layer Effects can be applied through the Layers window (lower right). In Photoshop 5.5 you can also change layer effects through the layers pull-down menu.

Step 7
Layer Effects are being applied here to the text layer. Here I have simply embossed the text to give it better separation from the ellipse. Save Optimized As and you have a button!
These effects can be applied to anything. We made buttons here but it could be a banner, text box, or any other design element.

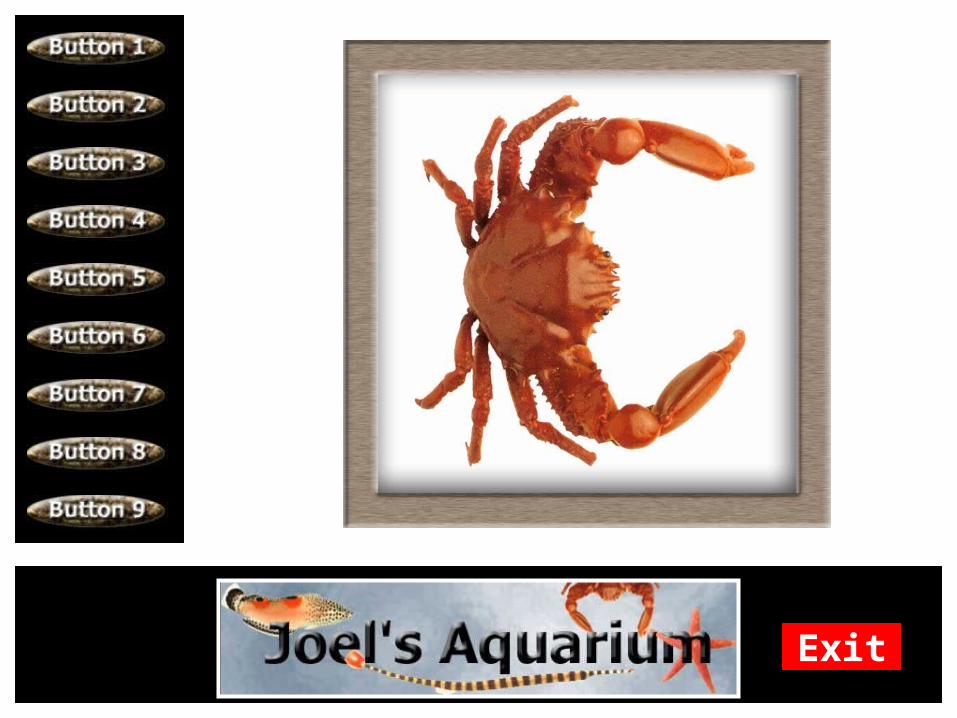
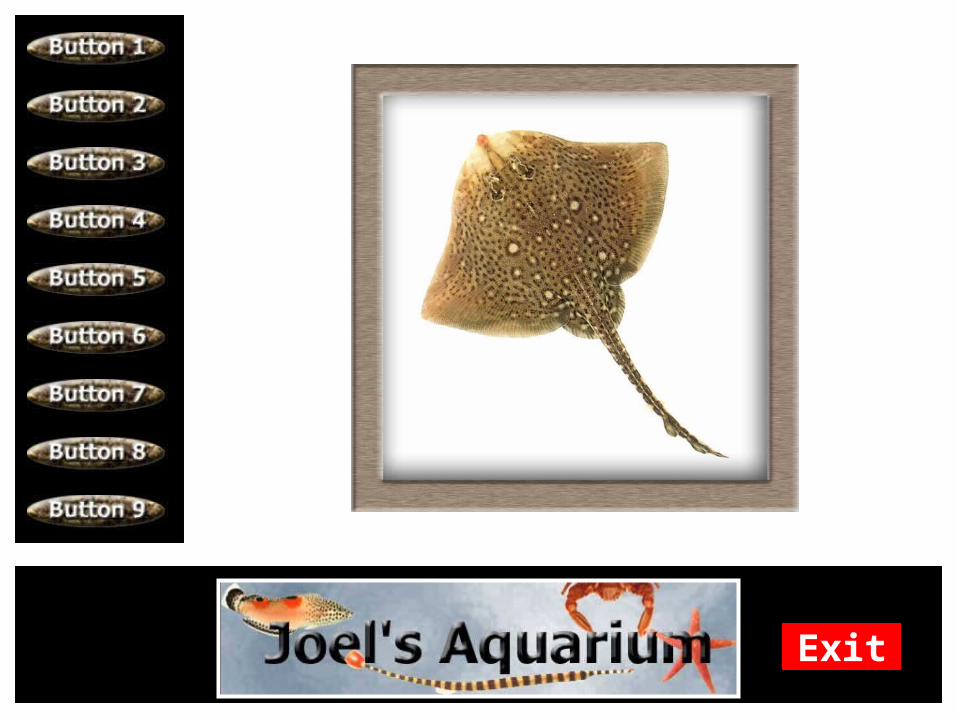
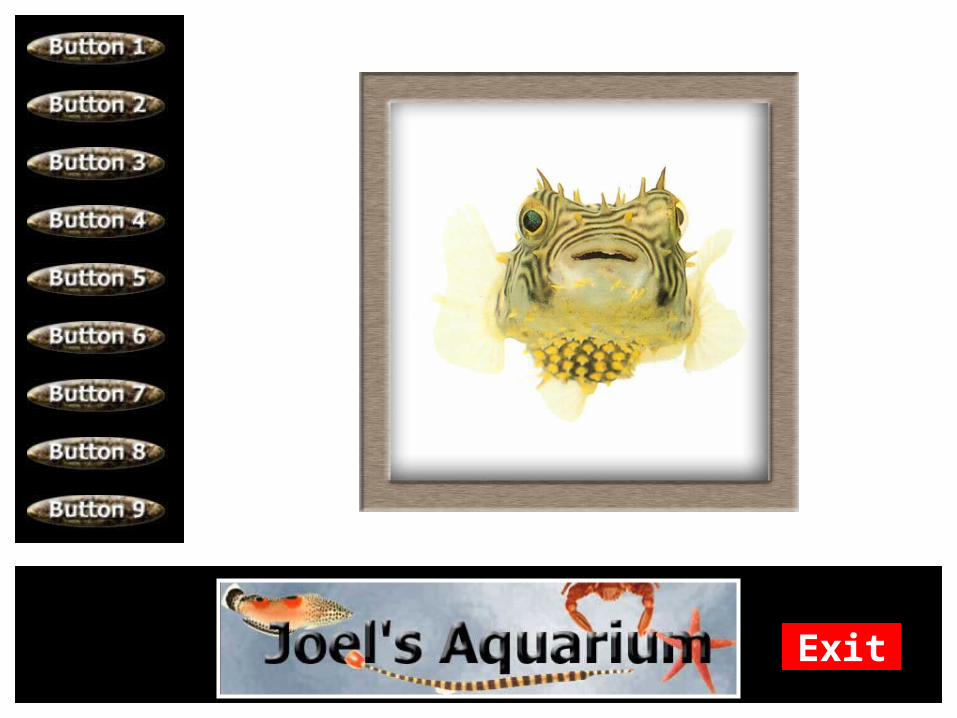
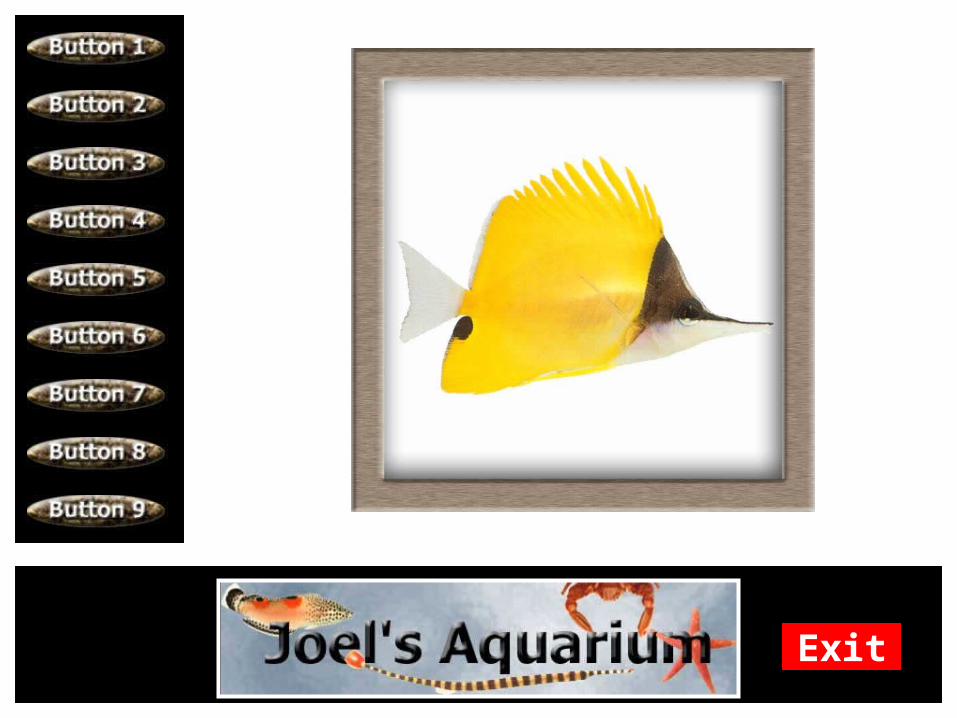
Using Buttons and Banners in PowerPoint
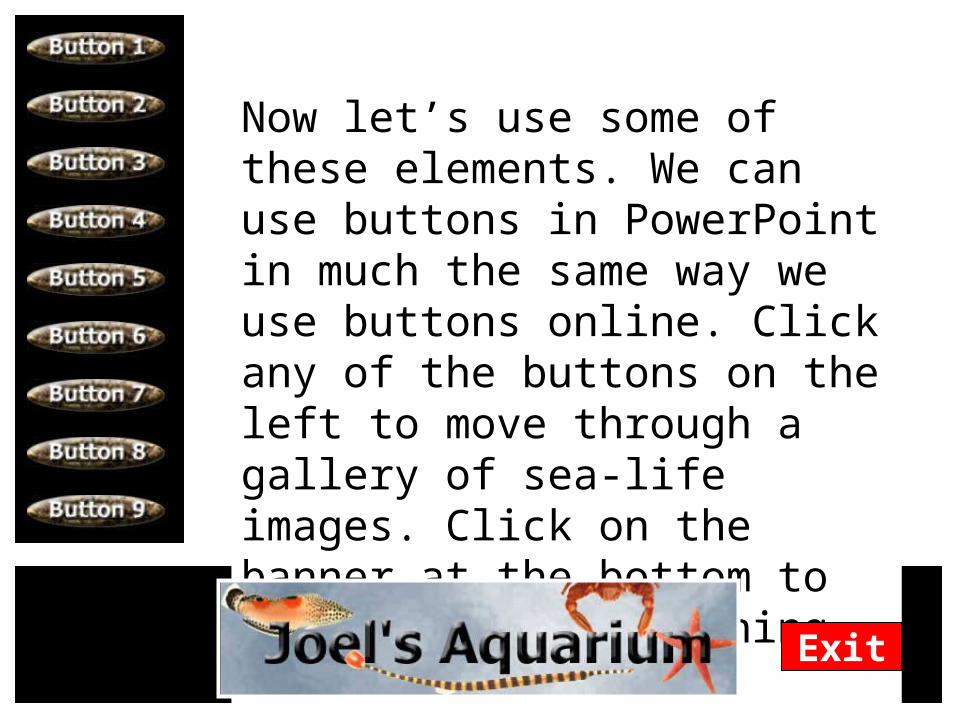
Now let’s use some of these elements. We can use buttons in PowerPoint in much the same way we use buttons online. Click any of the buttons on the left to move through a gallery of sea-life images. Click on the banner at the bottom to return to the beginning of this section.
Exit

Exit
Exit

Exit

Exit
Exit
Exit

Exit
Exit

Exit

Creating Animations in ImageReady

Animated GIF files are GIF files that contain multiple images that can be displayed in sequence to form animations.You can set the delay between frames as well as the decay type. On the left you can see the frames that make up an animated banner. Below you can see the Animation window in ImageReady. Each frame is visible and the delay is below each frame. You can add, move, or remove frames from this window.

Step 1
With our original, layered psd file in Photoshop open, our first step is to Jump To ImageReady. This is done by clicking on the bottom icon in the toolbar (left).
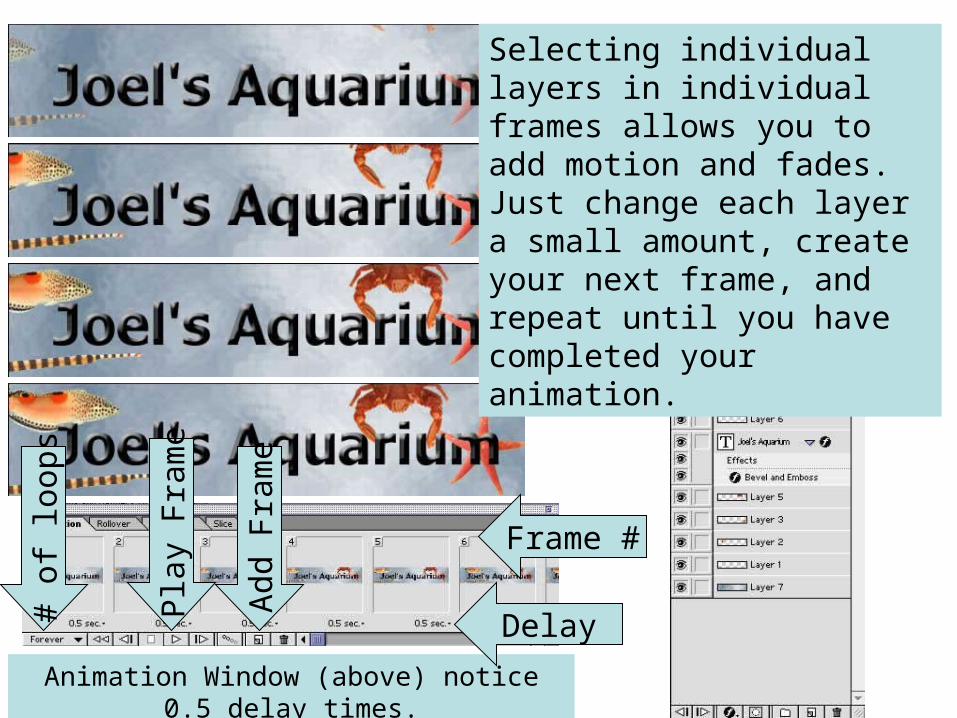
Selecting individual layers in individual frames allows you to add motion and fades. Just change each layer a small amount, create your next frame, and repeat until you have completed your animation.
Animation Window (above) notice 0.5 delay times.
Add
Fra
me
Frame #
Delay
Pla
y F
ram
e
# of
loop
s
Using Animations in PowerPoint

One way of using animations is to incorporate animations into your banners, buttons, and design elements. Here I took the banner from earlier and animated the individual elements to give it an active feel. Animating this brings attention to the banner element, and provides an anchor for all “Joel’s Aquarium” areas to come. We could also animate the buttons on this page if we wanted to draw attention to our navigational elements.
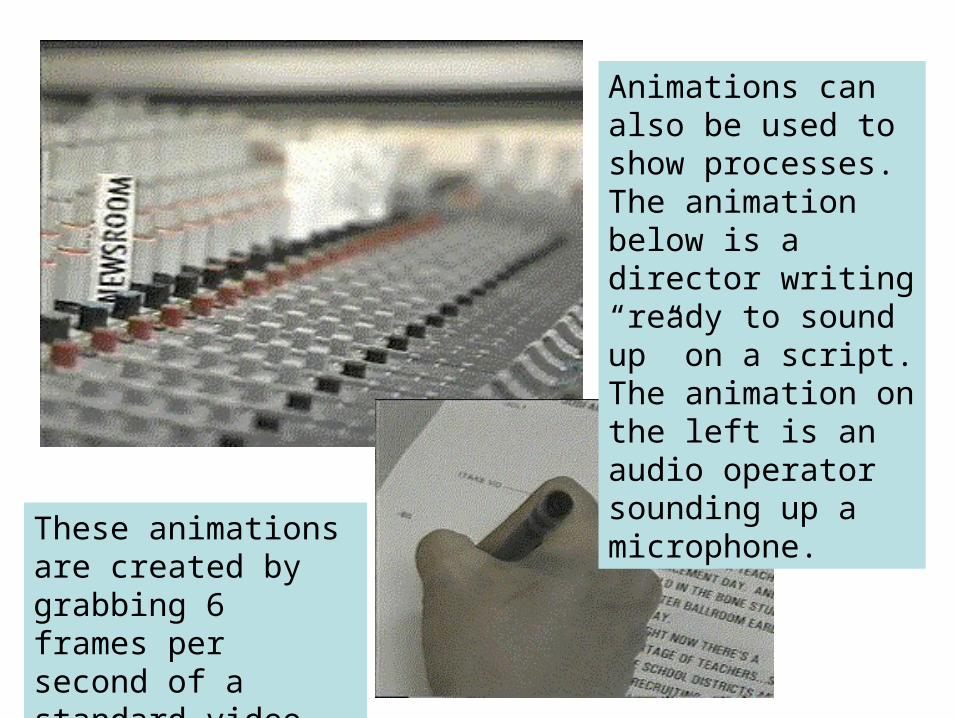
Animations can also be used to show processes. The animation below is a director writing “ready to sound up” on a script. The animation on the left is an audio operator sounding up a microphone.
These animations are created by grabbing 6 frames per second of a standard video (30 fps).

Conclusion
Now you are ready to create backgrounds, buttons, banners, and animations in Photoshop. These skills will carry over directly into other projected media (WWW, TV). Remember to always save your original psd files with layers intact so you can reuse your graphics.

Related Documents