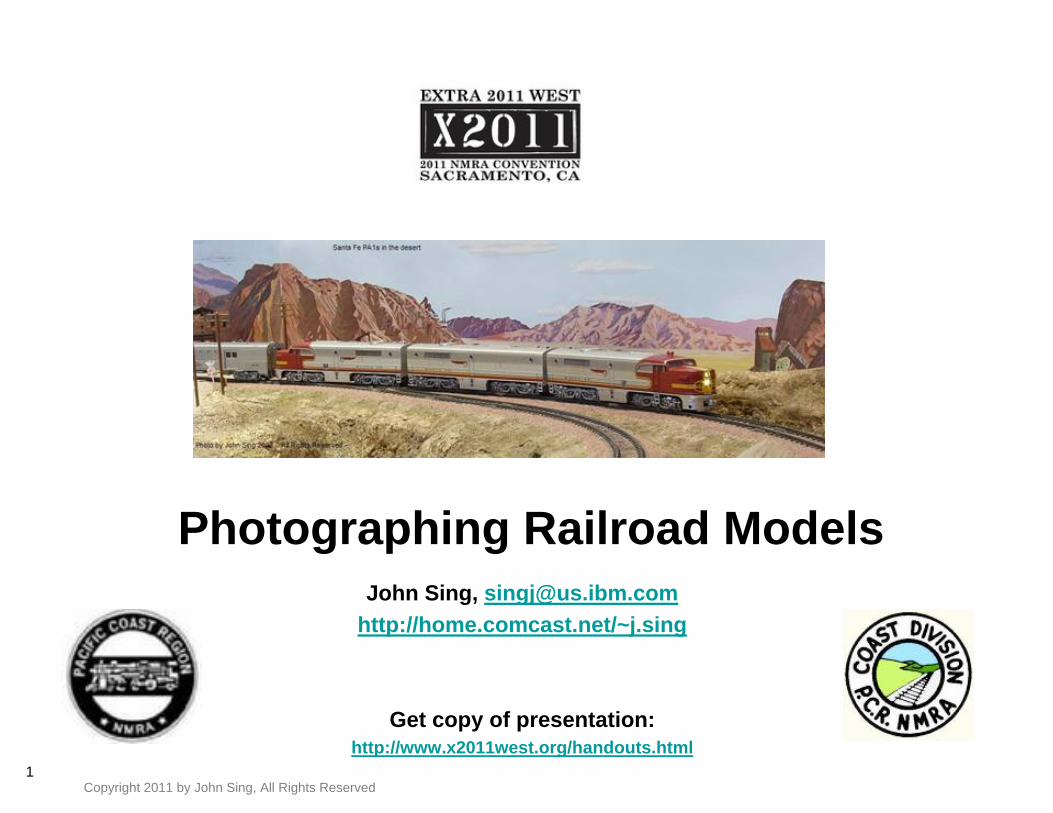
1 Copyright 2011 by John Sing, All Rights Reserved Photographing Railroad Models John Sing, [email protected] http://home.comcast.net/~j.sing Get copy of presentation: http://www.x2011west.org/handouts.html

Welcome message from author
This document is posted to help you gain knowledge. Please leave a comment to let me know what you think about it! Share it to your friends and learn new things together.
Transcript
1Copyright 2011 by John Sing, All Rights Reserved
Photographing Railroad ModelsJohn Sing, [email protected]
http://home.comcast.net/~j.sing
Get copy of presentation:http://www.x2011west.org/handouts.html
2Copyright 2011 by John Sing, All Rights Reserved
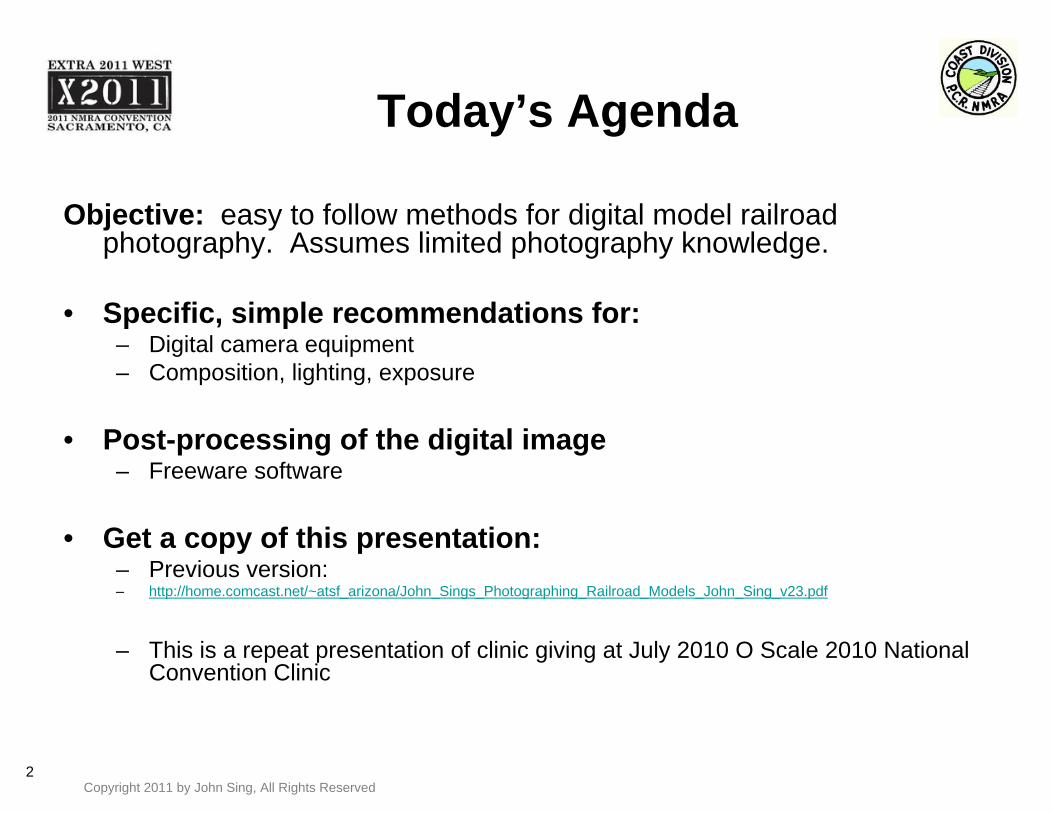
Today’s Agenda
Objective: easy to follow methods for digital model railroad photography. Assumes limited photography knowledge.
• Specific, simple recommendations for:– Digital camera equipment– Composition, lighting, exposure
• Post-processing of the digital image– Freeware software
• Get a copy of this presentation:– Previous version:– http://home.comcast.net/~atsf_arizona/John_Sings_Photographing_Railroad_Models_John_Sing_v23.pdf
– This is a repeat presentation of clinic giving at July 2010 O Scale 2010 National Convention Clinic

3Copyright 2011 by John Sing, All Rights Reserved
Model Photography
• Model railroad photography is different than:– Landscape– Action / sports– Portraits / people
• What you are trying to achieve is:– Representation of a real life object or real life scene
• Therefore:– Small size of our models forces certain techniques and methods– Composition (especially eye-level angles) plays a major role
4Copyright 2011 by John Sing, All Rights Reserved
Set your mind at ease…..
• No matter how expert….. only a low % of the shots anyone takes will turn out well
• Having the right equipment / technique makes all the difference– Equipment doesn’t have to be too expensive– Just needs to be the right *kind* of equipment
• Once you have basics of technique….to get good, there is only one way: Practice, practice, practice– Analyze, study other’s photos that you like– Converse a lot about this topic, ask a lot of good questions, be
observant– Share and give back

5Copyright 2011 by John Sing, All Rights Reserved
Equipment Recommendations
• Affordable digital cameras for model photography– Focus on Optics and Color Quality
• All are not all the same – do your research– If you’re wanting to do inexpensive but good model photography, I
recommend for a particular digital camera type: Super zoom • Also known as ‘bridge’ cameras, between compacts and full digital Single Lens Reflex
(DSLR) cameras
• Usually Super Zooms have these essential features:– Good optical zoom (minimum 10x)– Macro mode (close-ups)– Manual controls for exposure, aperture, time-delay,– Number of pixels: anything over 6 megapixels is plenty
• I use: Canon SX30i or Panasonic Lumix DMC-FZ35 – http://www.dpreview.com/reviews/Q110superzoomgroup/
Types of digital cameras: http://www.neocamera.com/feature_camera_types.html
6Copyright 2011 by John Sing, All Rights Reserved
Super zoom digital camera
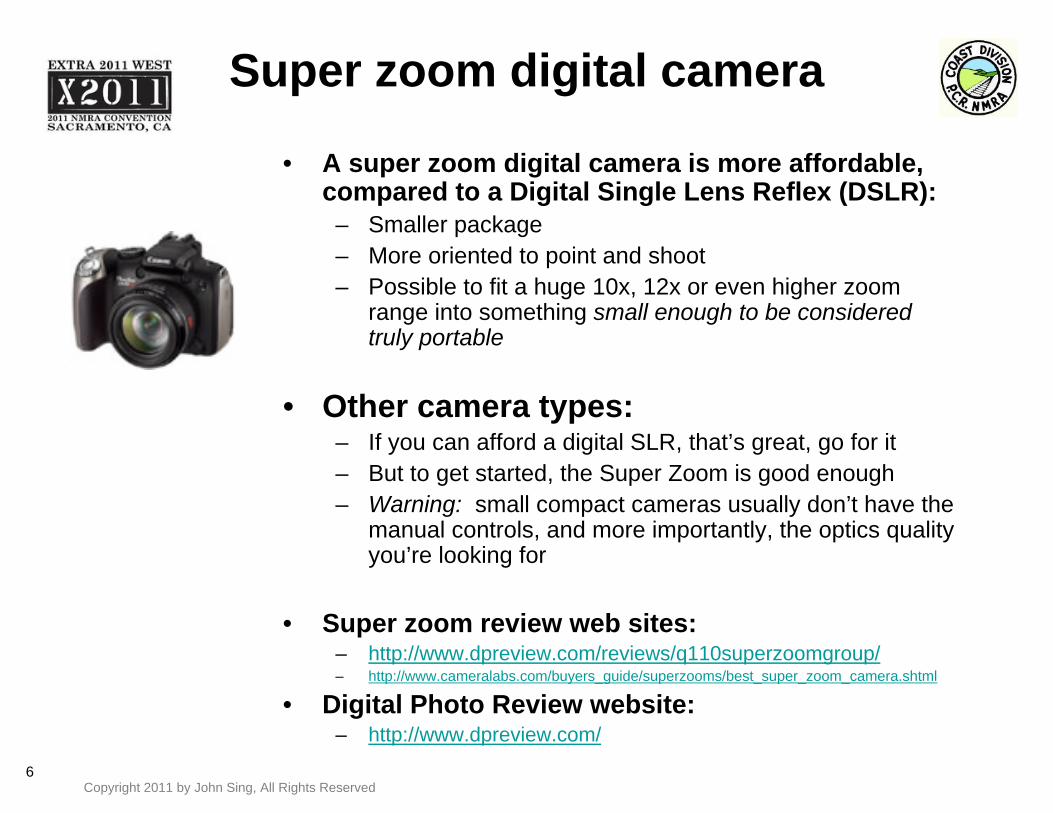
• A super zoom digital camera is more affordable, compared to a Digital Single Lens Reflex (DSLR):
– Smaller package– More oriented to point and shoot – Possible to fit a huge 10x, 12x or even higher zoom
range into something small enough to be considered truly portable
• Other camera types:– If you can afford a digital SLR, that’s great, go for it– But to get started, the Super Zoom is good enough– Warning: small compact cameras usually don’t have the
manual controls, and more importantly, the optics quality you’re looking for
• Super zoom review web sites:– http://www.dpreview.com/reviews/q110superzoomgroup/– http://www.cameralabs.com/buyers_guide/superzooms/best_super_zoom_camera.shtml
• Digital Photo Review website: – http://www.dpreview.com/

7Copyright 2011 by John Sing, All Rights Reserved
In priority order: your camera settings
1. No flash– Use adequate, ambient light– Use proper light setting (color balance)
2. Use high numbered aperture– For depth of field
3. Use macro for close-ups
4. Time delay– Required by high numbered aperture
5. Tripod – To accommodate time-delay– Or set camera on layout if it’s your layout
• Let’s see what I mean by these……
• Digital camera settings explained:– http://www.digital-photography-forbeginners.com/Digital-Camera-Settings.html
x We are not tryingto replicate a
lightning storm!
8Copyright 2011 by John Sing, All Rights Reserved
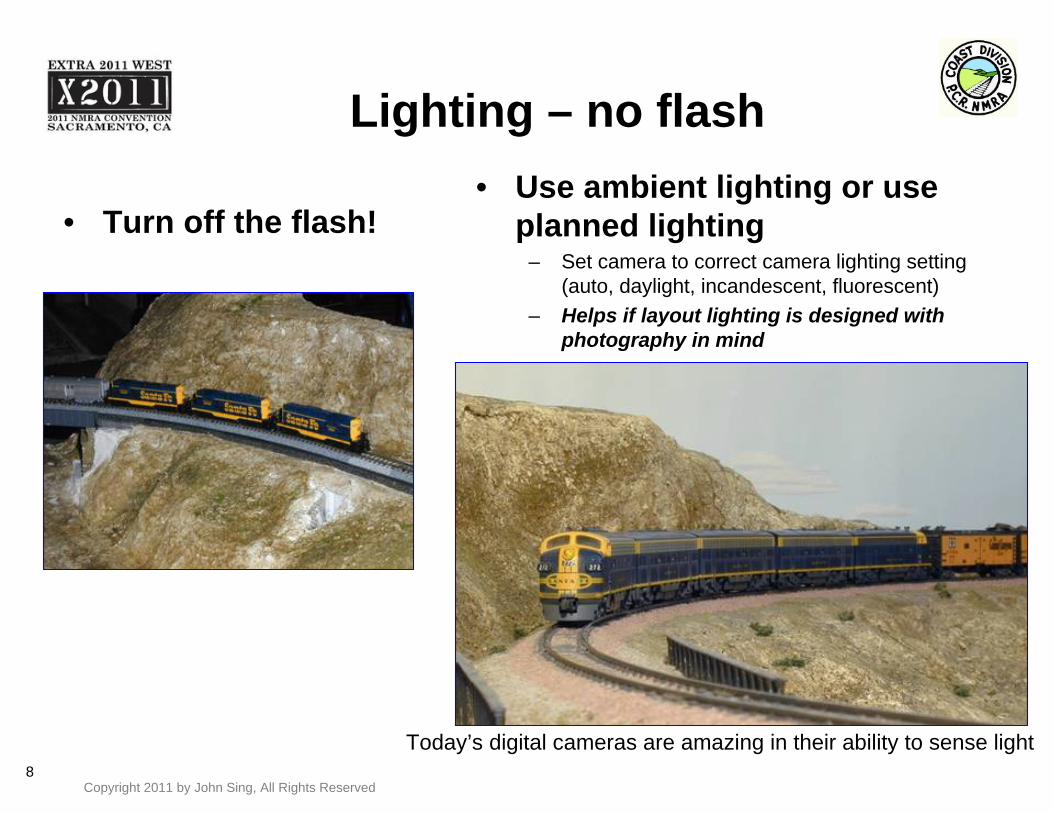
Lighting – no flash
• Turn off the flash!• Use ambient lighting or use
planned lighting– Set camera to correct camera lighting setting
(auto, daylight, incandescent, fluorescent)– Helps if layout lighting is designed with
photography in mind
Today’s digital cameras are amazing in their ability to sense light

9Copyright 2011 by John Sing, All Rights Reserved
Set color balance to the type of light
• Auto, daylight, incandescent, fluorescent….
“Look at the light bulbs”
Experiment,practice
You’ll quickly learnwhich setting
does what☺

10Copyright 2011 by John Sing, All Rights Reserved
Use of Aperture (depth of field)• Use camera’s ‘aperture
setting’– i.e. tell camera to prioritize photo on
your manually set aperture– Use as high a numbered aperture as
camera allows– Bigger number = better depth of field
• Small numbered aperture (F/3.5):
– ‘out of focus’ in foreground and background – not good for model photography
• Medium numbered aperture (F/8):
– Better focus in foreground and background; F/8 is “acceptable”
– F/8 is often all the inexpensive super zooms will support Photos by: Charlie Comstock
11Copyright 2011 by John Sing, All Rights Reserved
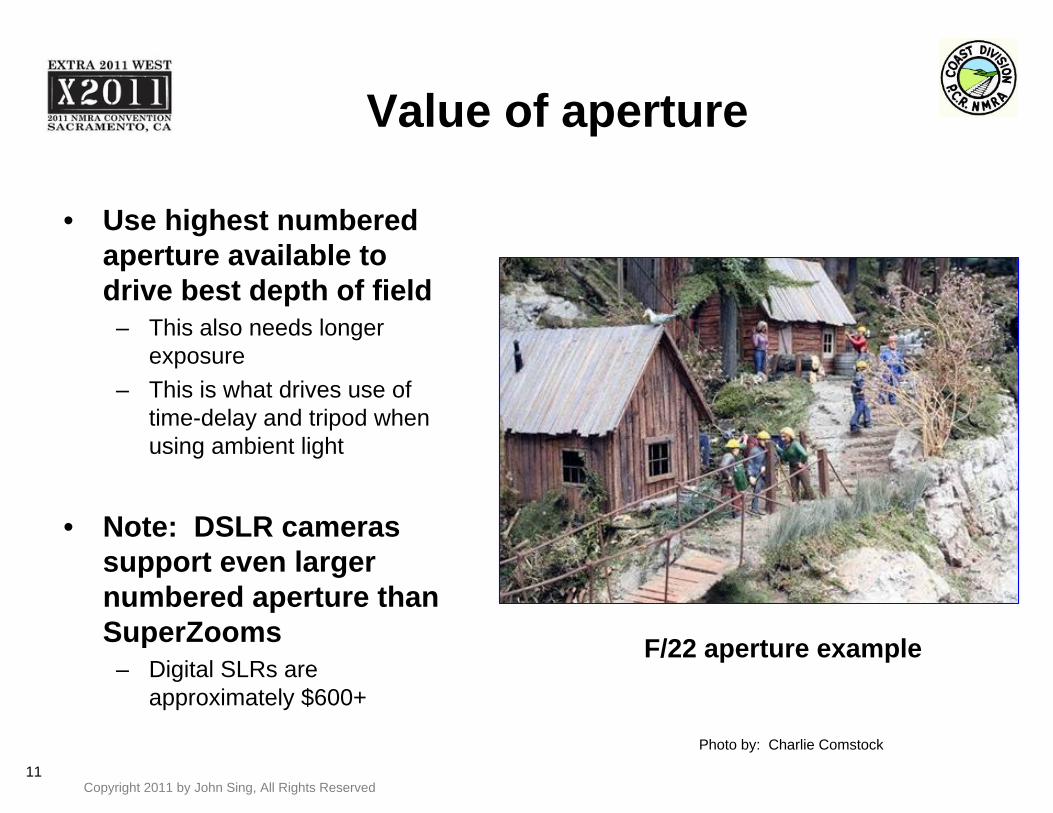
Value of aperture
• Use highest numbered aperture available to drive best depth of field
– This also needs longer exposure
– This is what drives use of time-delay and tripod when using ambient light
• Note: DSLR cameras support even larger numbered aperture than SuperZooms
– Digital SLRs are approximately $600+
F/22 aperture example
Photo by: Charlie Comstock
12Copyright 2011 by John Sing, All Rights Reserved
Use time-delay
• Set the camera on tripod (or on layout, if it’s your layout)• Use the time-delay
– Today’s image stabilization digital cameras help immensely
Simple Lighting• You can use simple incandescent floor lamp • Set camera lighting to ‘incandescent’
– This is known as the ‘white balance’ setting
• This produces:– Single point of major light, simulating “sun”– Supplemented by ambient room lighting – Note: don’t combine different types of lighting
• i.e. incandescent + fluorescent = bad, confuses camera

13Copyright 2011 by John Sing, All Rights Reserved
Basic technique Summary
a. Exposure, lighting, macro– No flash!– Use adequate, well lit, ambient lighting. Don’t mix lighting types– Set ‘white balance’ to match the type of light (incandescent, etc).– Use macro for close-ups
b. Manual controls – set on “aperture mode”– For depth of field– Use the “largest numbered” aperture your camera supports– F/8 is common on the affordable super-zooms – works OK– Much larger aperture numbers available on the higher priced DSLR cameras
c. Tripod, lighting– Use time-delay whenever possible– Use tripod or (if it’s your layout, set camera on the layout) – Today’s Image stabilization in digital cameras help immensely
14Copyright 2011 by John Sing, All Rights Reserved
Setting / Composition
• Diorama - photo backdrop– “the Picture within the picture”
• Outdoor daylight
• The super-simple white paper backdrop
• On the fly (still can do pretty good!)
15Copyright 2011 by John Sing, All Rights Reserved
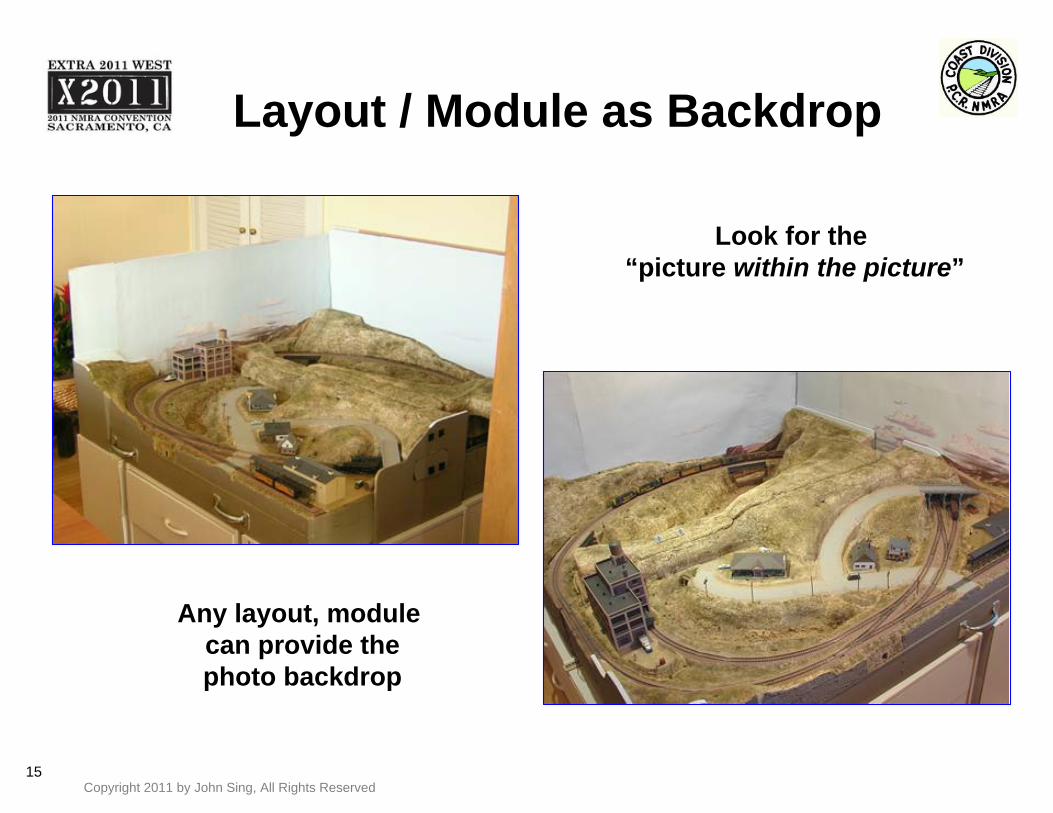
Layout / Module as Backdrop
Any layout, module can provide thephoto backdrop
Look for the “picture within the picture”
16Copyright 2011 by John Sing, All Rights Reserved
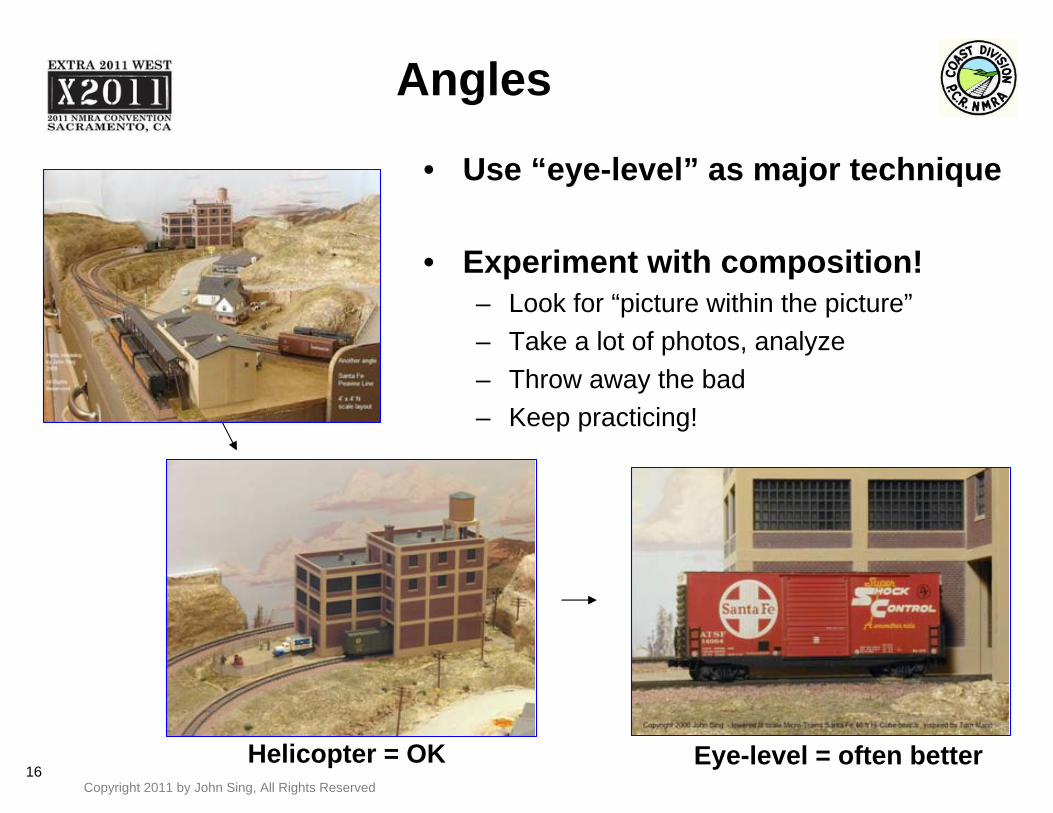
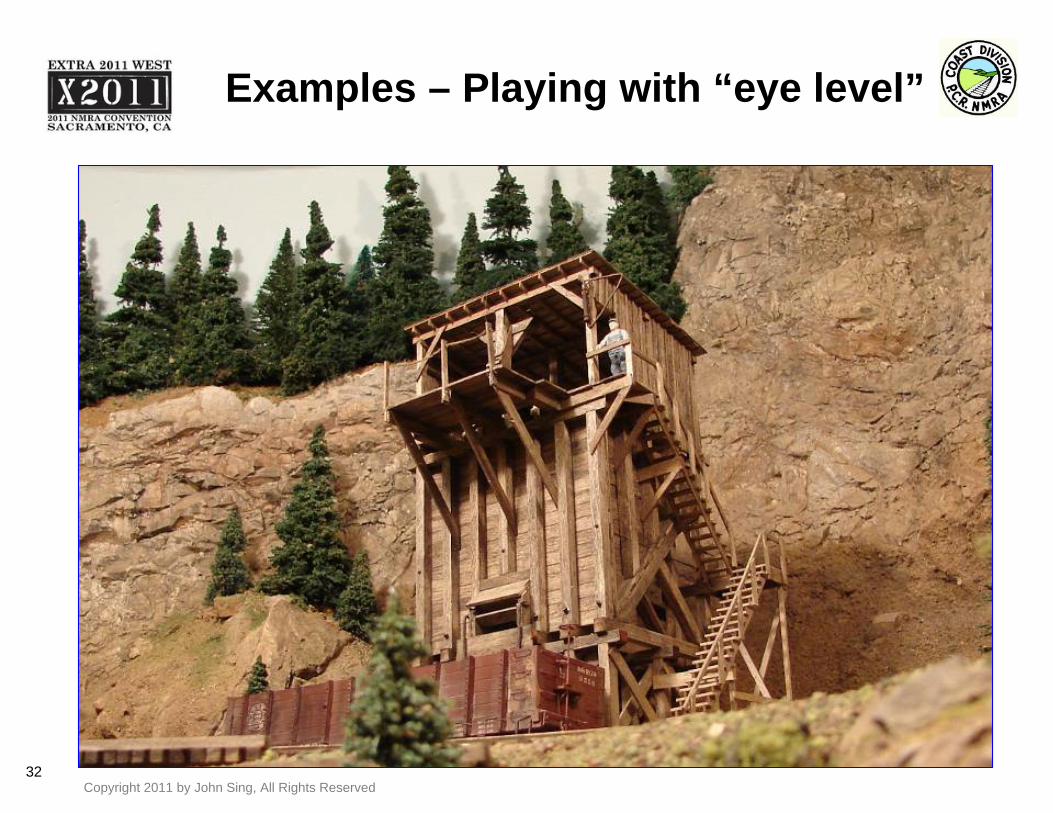
Angles
• Use “eye-level” as major technique
• Experiment with composition! – Look for “picture within the picture”– Take a lot of photos, analyze– Throw away the bad– Keep practicing!
Helicopter = OK Eye-level = often better
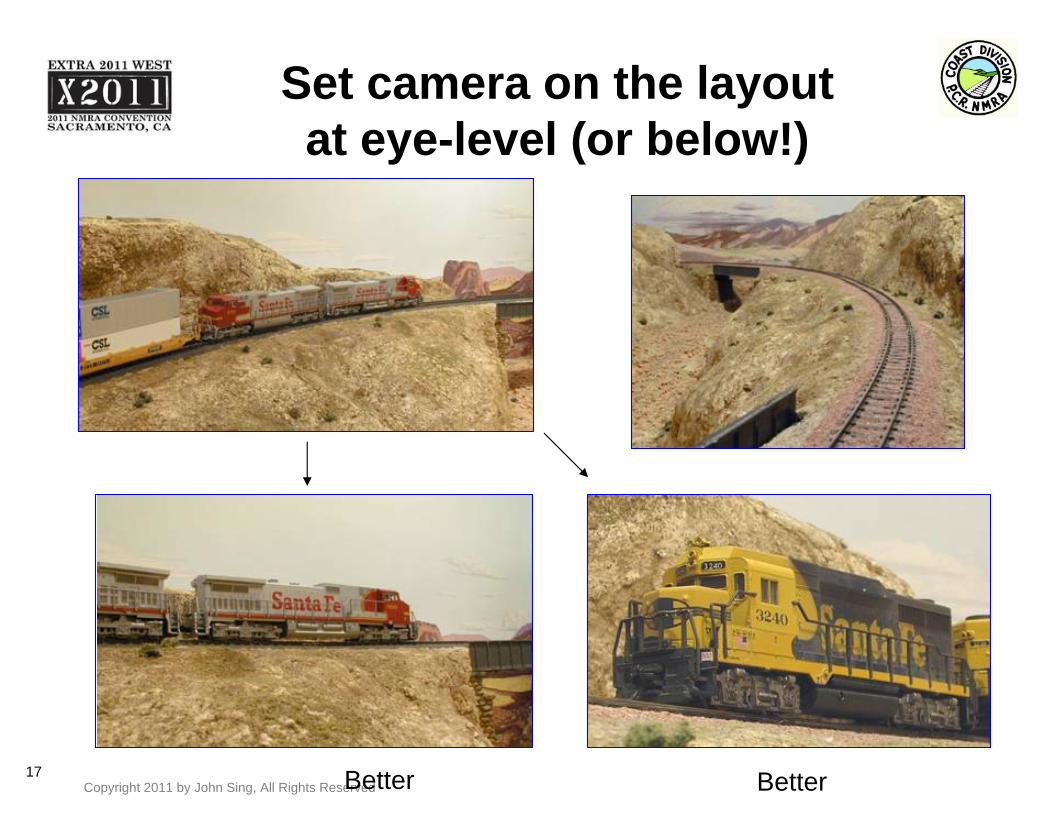
17Copyright 2011 by John Sing, All Rights Reserved
Set camera on the layoutat eye-level (or below!)
Better Better

18Copyright 2011 by John Sing, All Rights Reserved
Practice on Layout Tour, Train Show layouts! “Picture within a Picture”
Red Mountain Narrow Gauge display layout
19Copyright 2011 by John Sing, All Rights Reserved
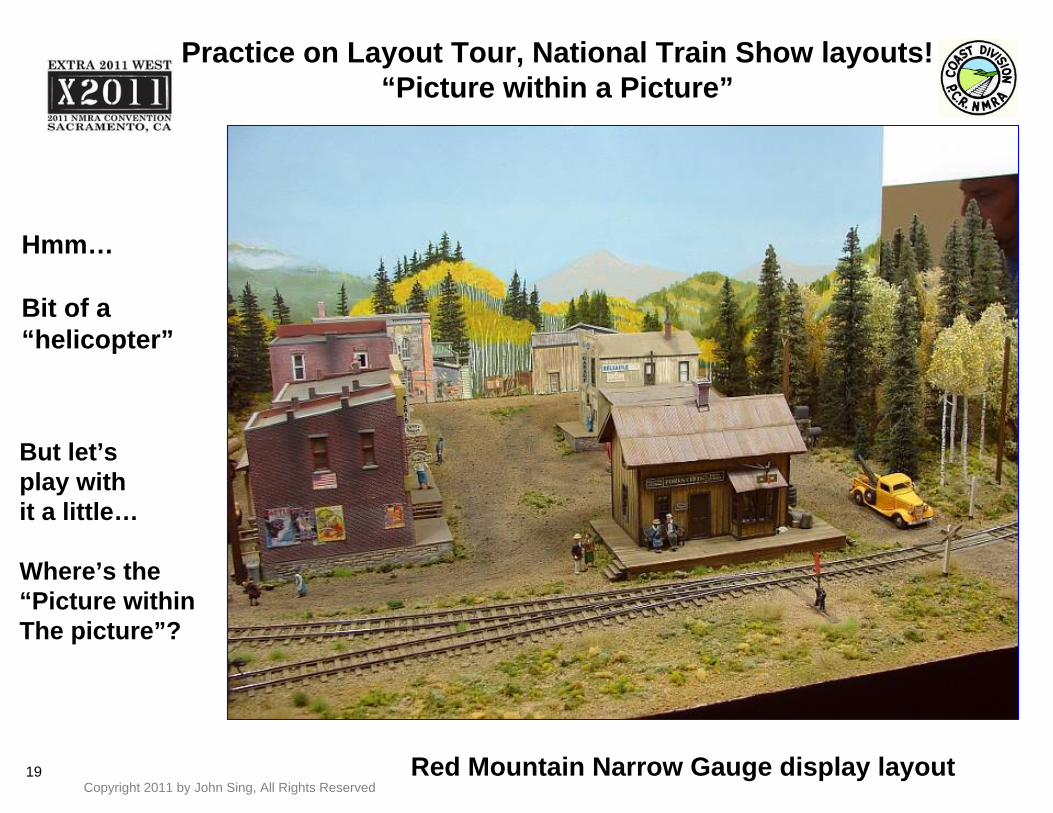
Practice on Layout Tour, National Train Show layouts!“Picture within a Picture”
Red Mountain Narrow Gauge display layout
Hmm…
Bit of a“helicopter”
But let’splay withit a little…
Where’s the“Picture withinThe picture”?

20Copyright 2011 by John Sing, All Rights Reserved
Practice on Layout Tour, National Train Show layouts!
“Picture within a Picture”
Red Mountain Narrow Gauge display layout

21Copyright 2011 by John Sing, All Rights Reserved
Practice on Layout Tour, National Train Show layouts!
“Picture within a Picture”
Red Mountain Narrow Gauge display layout
22Copyright 2011 by John Sing, All Rights Reserved
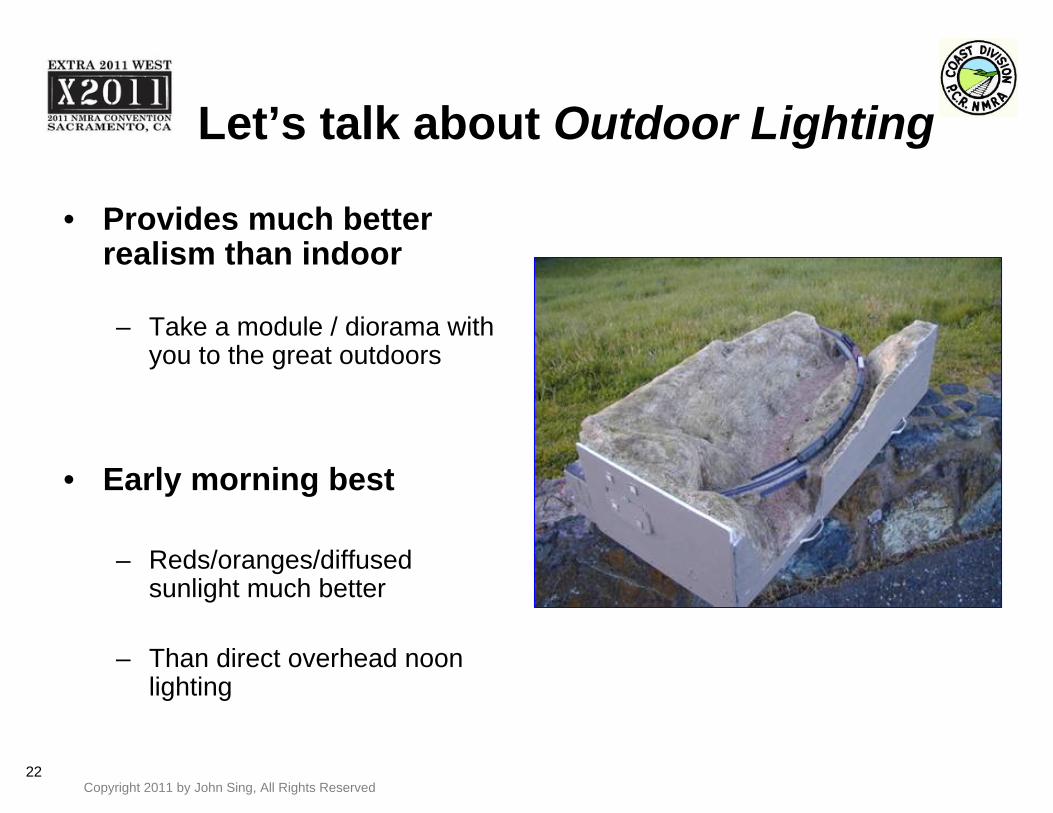
Let’s talk about Outdoor Lighting
• Provides much better realism than indoor
– Take a module / diorama with you to the great outdoors
• Early morning best
– Reds/oranges/diffused sunlight much better
– Than direct overhead noon lighting
23Copyright 2011 by John Sing, All Rights Reserved
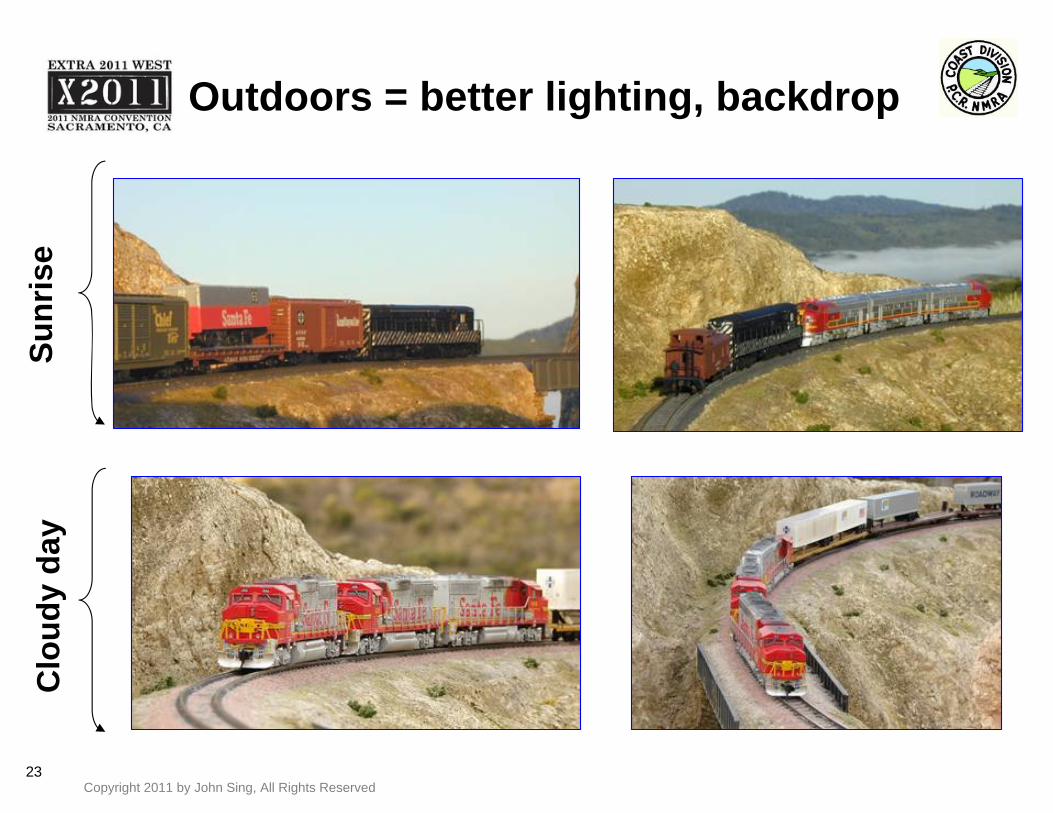
Outdoors = better lighting, backdropSu
nris
eC
loud
y da
y

24Copyright 2011 by John Sing, All Rights Reserved
Outdoor diorama doesn’t have to be complex
Just takes creativity –you can do it too!
25Copyright 2011 by John Sing, All Rights Reserved
Tips for Layout Tour Photos
• Tell a story of the visit
• When composing scenes– Combine eye level, with “You are there”
• Use the other techniques already stated
• Really helps if the owner’s layout is well lit
– Example shots: Mike Schwab’s Sn3 D&RGW
26Copyright 2011 by John Sing, All Rights Reserved
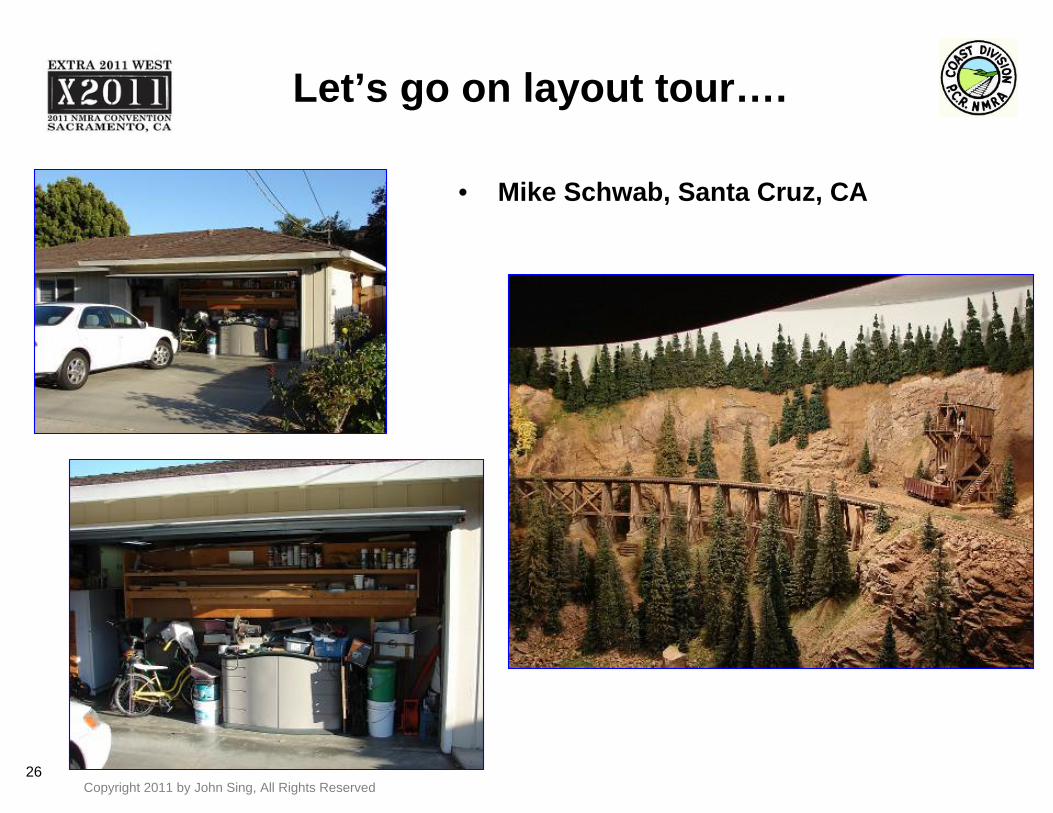
Let’s go on layout tour….
• Mike Schwab, Santa Cruz, CA

27Copyright 2011 by John Sing, All Rights Reserved
Let’s goon a layout tour…
28Copyright 2011 by John Sing, All Rights Reserved
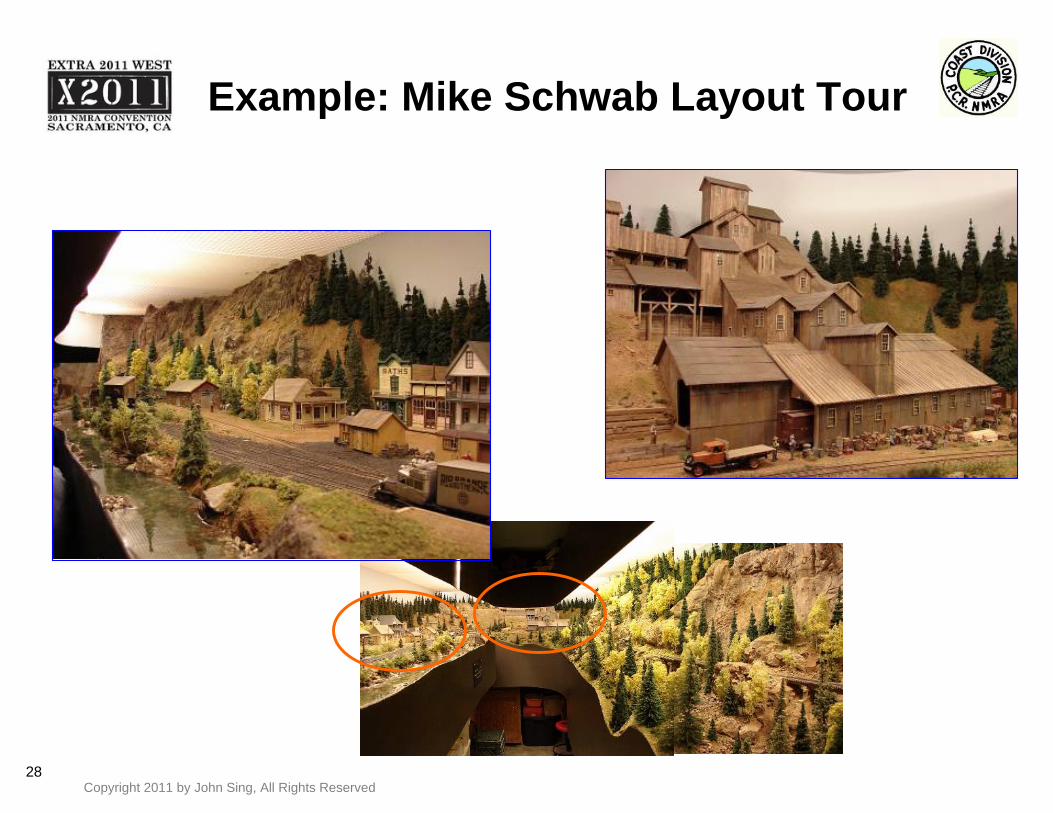
Example: Mike Schwab Layout Tour

29Copyright 2011 by John Sing, All Rights Reserved
Examples – Playing with “eye level”
“helicopter”

30Copyright 2011 by John Sing, All Rights Reserved
Examples – Playing with “eye level”

31Copyright 2011 by John Sing, All Rights Reserved
Examples – Playing with “eye level”
32Copyright 2011 by John Sing, All Rights Reserved
Examples – Playing with “eye level”
33Copyright 2011 by John Sing, All Rights Reserved
Super simple white backdrop
• But… you don’t have to have a layout or even a diorama
• The following photos are nothing more than:– Model posed at near eye level– With simple white printer paper background– Posed with good incandescent lighting and composition
• Using, of course:– Tripod– Time delay– High numbered aperture– Color setting for incandescent (desk lamp)
34Copyright 2011 by John Sing, All Rights Reserved
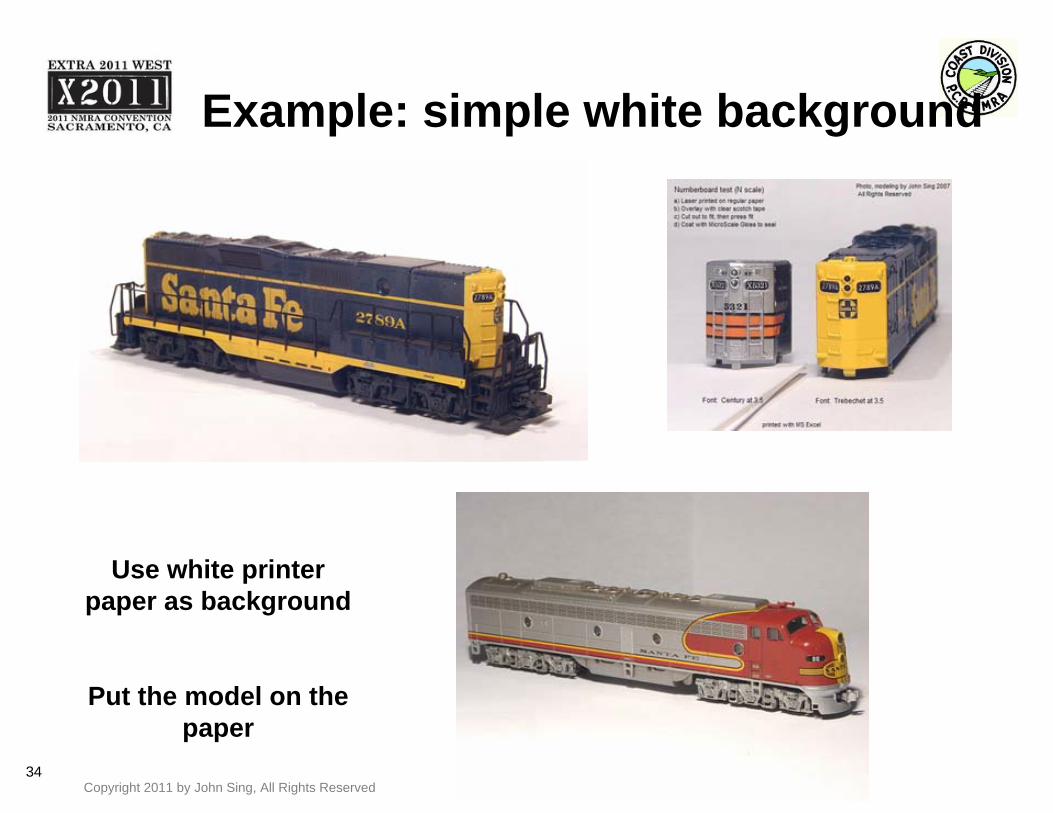
Example: simple white background
Use white printer paper as background
Put the model on the paper

35Copyright 2011 by John Sing, All Rights Reserved
Finally….. “On The Fly” (OTF) photos
• i.e. No backdrop, ambient light, above eye-level, must be taken quickly as time / effort available is minimal– i.e. You are on a layout tour (my layout tour photos all are OTF)– Or you only have short time / effort available to take the Coast
Division Model Contest / Show Tell photos – Goal: create “good enough” raw material
• =>Final result can always be good enough<= ….. when combined with post-processing– Post-processing, in fact, necessary for best model photos
anyway

36Copyright 2011 by John Sing, All Rights Reserved
On The Fly
• Following photos are taken with the Superzoom’s “point and shoot” automatic capability, with:– Tripod– Time delay– Ambient light– Lighting set on camera appropriately
• And then post-processed
• The keys are:– Good technique to create good raw material photos– Straight-forward post-processing using digital photo software

37Copyright 2011 by John Sing, All Rights Reserved
On The Fly
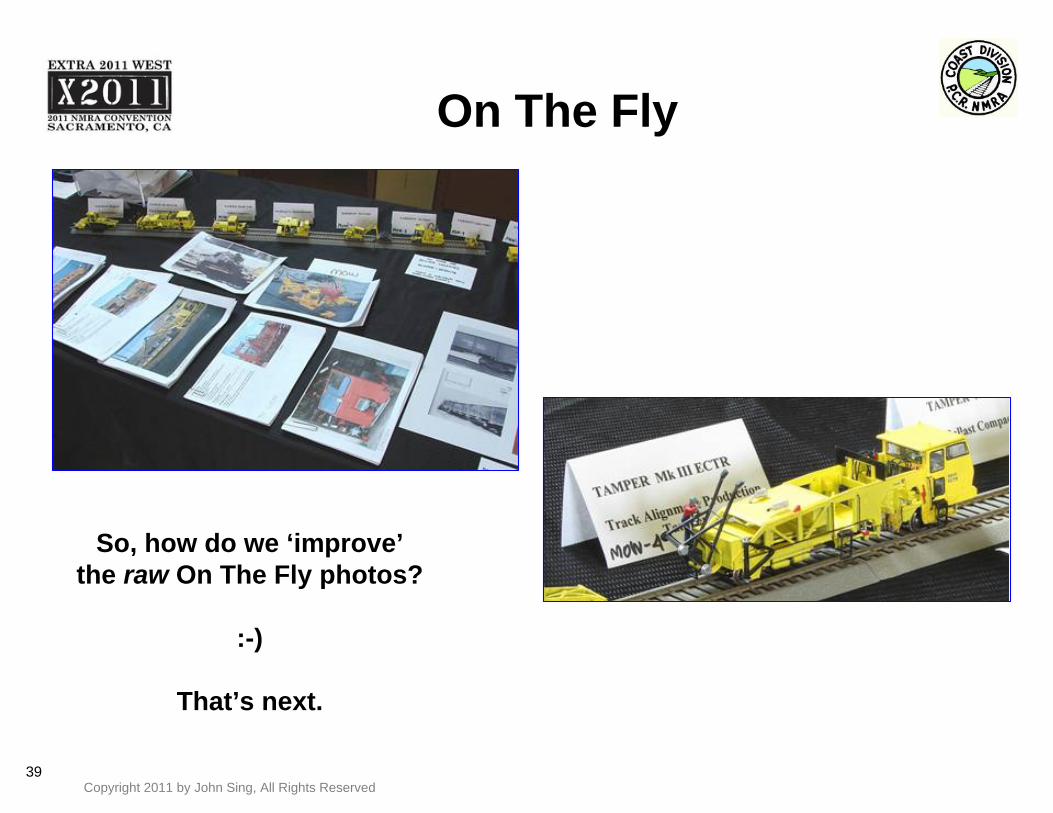
The setting …. not ideal!
38Copyright 2011 by John Sing, All Rights Reserved
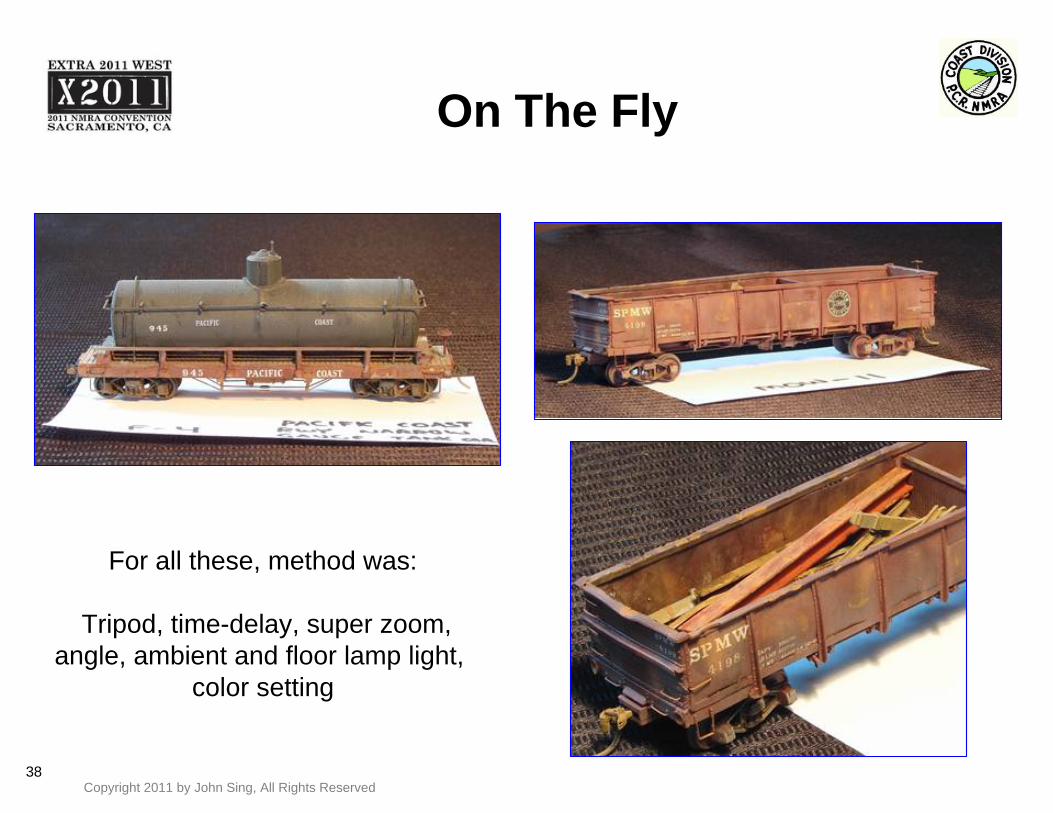
On The Fly
For all these, method was:
Tripod, time-delay, super zoom,angle, ambient and floor lamp light,
color setting
39Copyright 2011 by John Sing, All Rights Reserved
On The Fly
So, how do we ‘improve’the raw On The Fly photos?
:-)
That’s next.

40Copyright 2011 by John Sing, All Rights Reserved
Post-Processing Digital Image
• No matter how expert….. only a low % of the shots anyone takes will turn out well
• Post-processing provides: – Cropping, “after the fact” zoom in – Minor color adjustment– Resizing– Captioning
• Free or inexpensive digital photo editing software makes this within reach of everyone
• Freeware software– Many available
• I use “IRFanView”– http://www.irfanview.com/
41Copyright 2011 by John Sing, All Rights Reserved
Basic digital photo editing
• Cropping
• Color adjustment
• Resizing
• Adding Captions
42Copyright 2011 by John Sing, All Rights Reserved
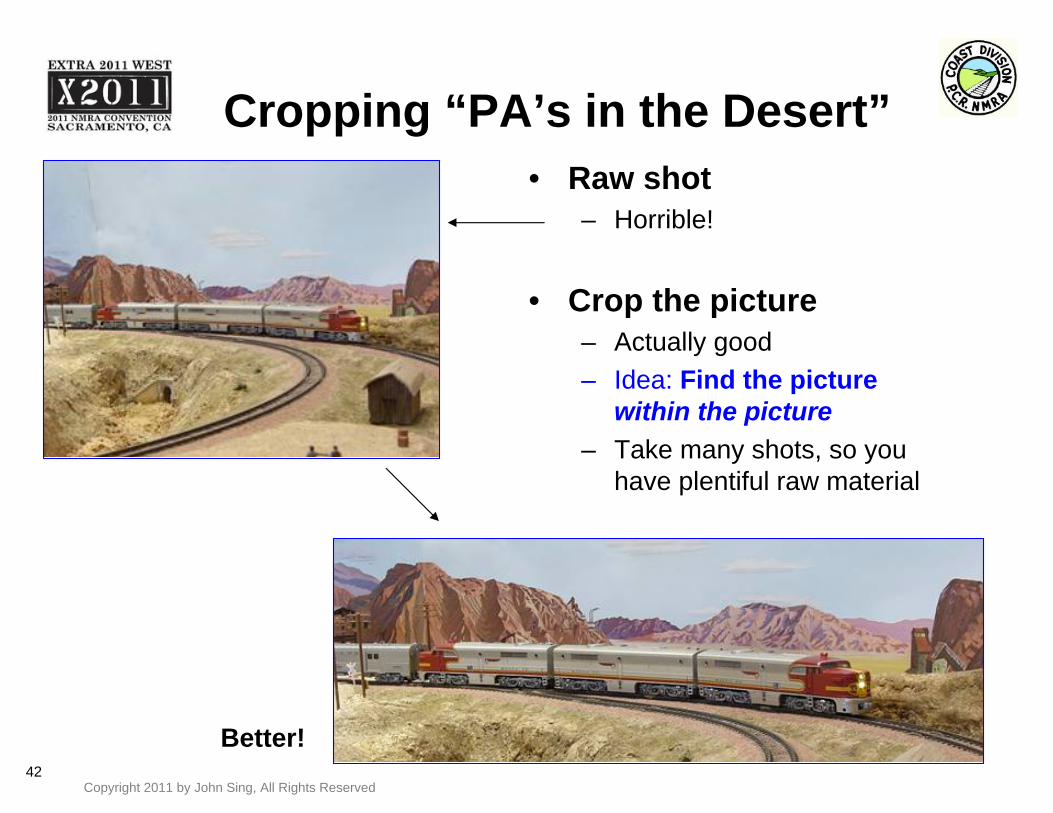
Cropping “PA’s in the Desert”• Raw shot
– Horrible!
• Crop the picture– Actually good– Idea: Find the picture
within the picture– Take many shots, so you
have plentiful raw material
Better!
43Copyright 2011 by John Sing, All Rights Reserved
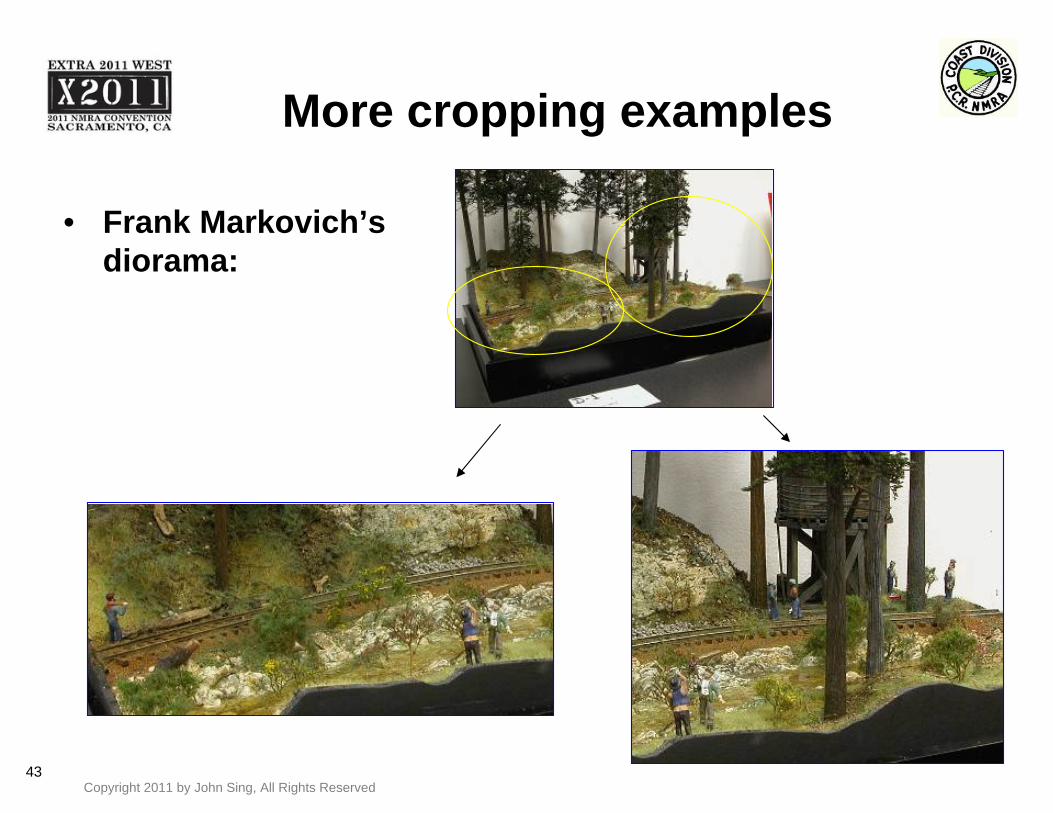
More cropping examples
• Frank Markovich’sdiorama:

44Copyright 2011 by John Sing, All Rights Reserved
Minor color adjustment
• Can’t save everything, but can turn marginal into acceptable, as shown
Must start with good lighting
whenever possible
45Copyright 2011 by John Sing, All Rights Reserved
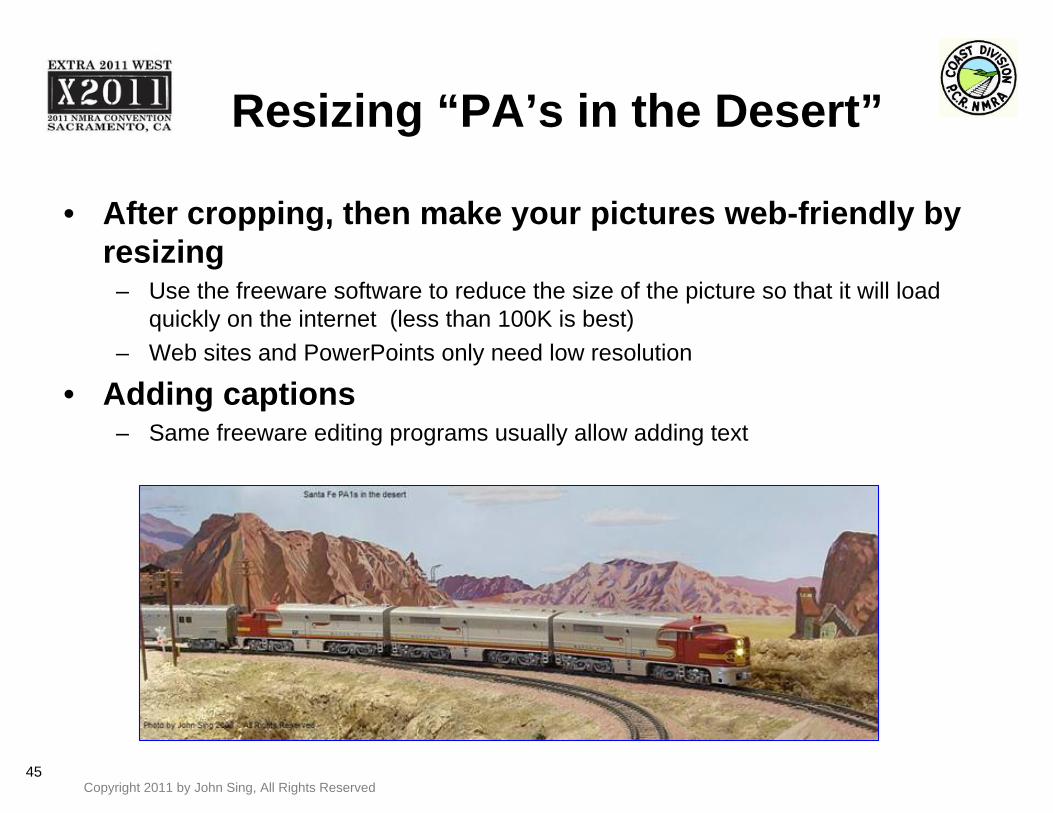
Resizing “PA’s in the Desert”
• After cropping, then make your pictures web-friendly by resizing
– Use the freeware software to reduce the size of the picture so that it will load quickly on the internet (less than 100K is best)
– Web sites and PowerPoints only need low resolution
• Adding captions– Same freeware editing programs usually allow adding text
46Copyright 2011 by John Sing, All Rights Reserved
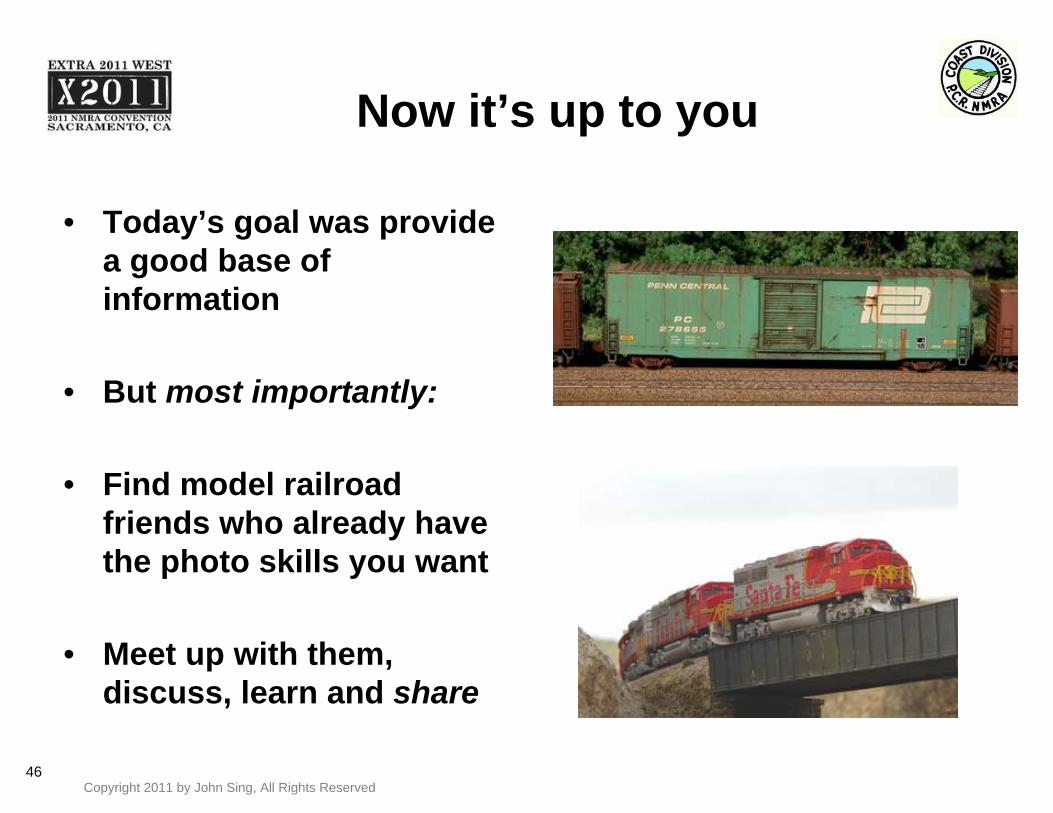
Now it’s up to you
• Today’s goal was provide a good base of information
• But most importantly:
• Find model railroad friends who already have the photo skills you want
• Meet up with them, discuss, learn and share

47Copyright 2011 by John Sing, All Rights Reserved
Thank YouThank You
Merci
Grazie
GraciasObrigado
Danke
Japanese
Hebrew
English
French
Russian
German
Italian
Spanish
Brazilian Portuguese
Arabic
Traditional Chinese
Simplified Chinese
Hindi
Tamil
Korean
Thai
TesekkurlerTurkish
48Copyright 2011 by John Sing, All Rights Reserved
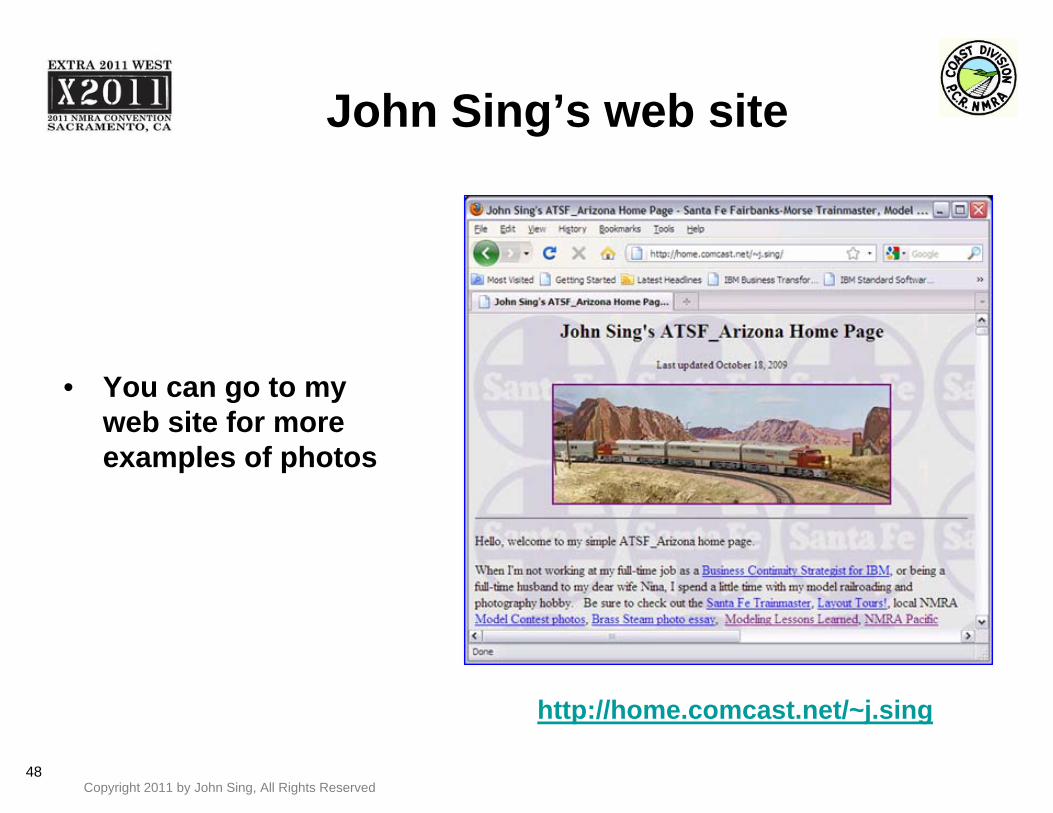
John Sing’s web site
• You can go to my web site for more examples of photos
http://home.comcast.net/~j.sing

49Copyright 2011 by John Sing, All Rights Reserved
Other follow-on clinics: “Building Website for your Model RR”
This clinic is also designed for everyone - you don't have to be a Internet expert! In fact, doing a web site.... it's a lot like designing a model railroad. :-)
It's not as hard as you think! *You* can do it!
We'll take an entertaining, easy-to-understand look at the following :
1. What's possible with Model RR web sites? Who's doing what locally? 2. What should my "Givens & Druthers" be for my web site?3. What are my web site options? (from Easy to Advanced). Lots of options.4. What is my easy step-by-step list of things to do? Easy steps.5. Examples / resources of what you can do today!
You'll see many examples, including how the Coast Division quarterly web site gets built. Click below to download
Comments on this clinic? Email to: [email protected]
http://home.comcast.net/~atsf_arizona/Web_Site_for_your_Model_RR_John_Sing_v14.pdf

50Copyright 2011 by John Sing, All Rights Reserved
Great resources
• Charlie Comstock – http://s145079212.onlinehome.us/rr/howto/photography/index.html
• Bob Boudreau– http://sites.google.com/site/railphotog/
• Model RR Photo How-To – UK forum– http://www.all-model-railroading.co.uk/forum/showthread.php?t=5593
• Google– Search on “model railroad photography”

51Copyright 2011 by John Sing, All Rights Reserved
More resources
• Digital Photography camera web site– http://www.dpreview.com/
Related Documents