PRÁCTICAS DE PROGRAMACIÓN CON ARDUINO P2: SEMÁFORO José Pujol Pérez IES Vicente Aleixandre

Welcome message from author
This document is posted to help you gain knowledge. Please leave a comment to let me know what you think about it! Share it to your friends and learn new things together.
Transcript

PRÁCTICAS DE PROGRAMACIÓN CON ARDUINO
P2: SEMÁFORO
José Pujol Pérez IES Vicente Aleixandre
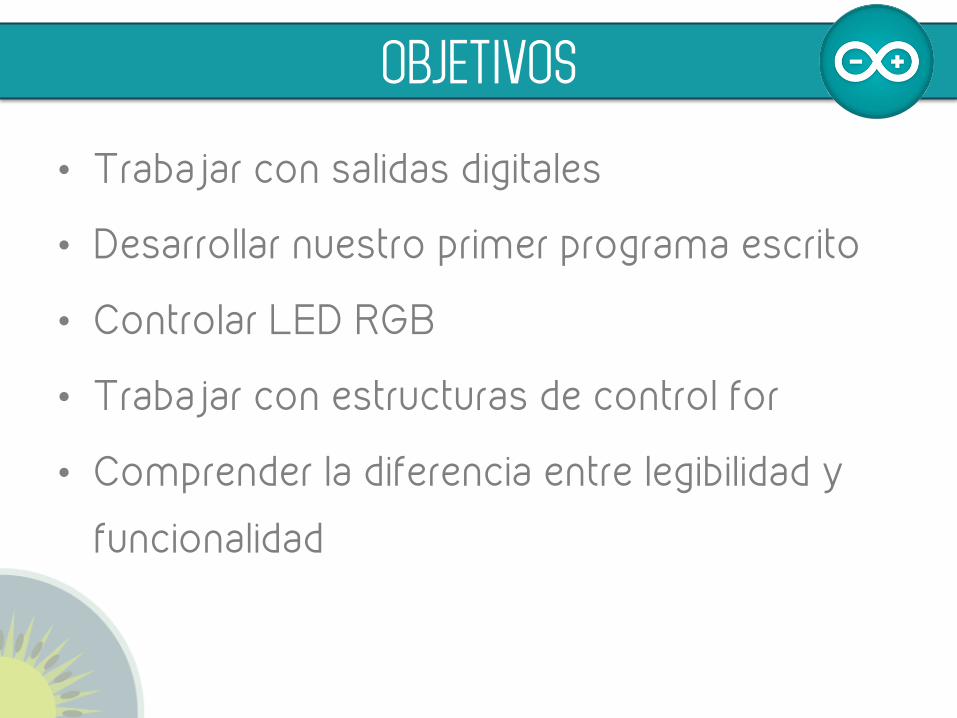
OBJETIVOS
• Trabajar con salidas digitales
• Desarrollar nuestro primer programa escrito
• Controlar LED RGB
• Trabajar con estructuras de control for
• Comprender la diferencia entre legibilidad y
funcionalidad

Ideas Previas:
• ¿Cómo funciona un semáforo?
• ¿Cuántos estados tiene?
• ¿Qué podemos añadirle usando sólo salidas
digitales?
INTRODUCCIÓN

• ARDUINO BASIC SHIELD
• SALIDAS DIGITALES
• ESQUEMA LED RGB
• COLORES RGB
• ESTRUCTURA FOR
• PROGRAMA MODIFICAR
INFORMACIÓN

ARDUINO BASIC SHIELD
LED RGB D5: LED Azul D6: LED Rojo D9: LED Verde D10: Zumbador
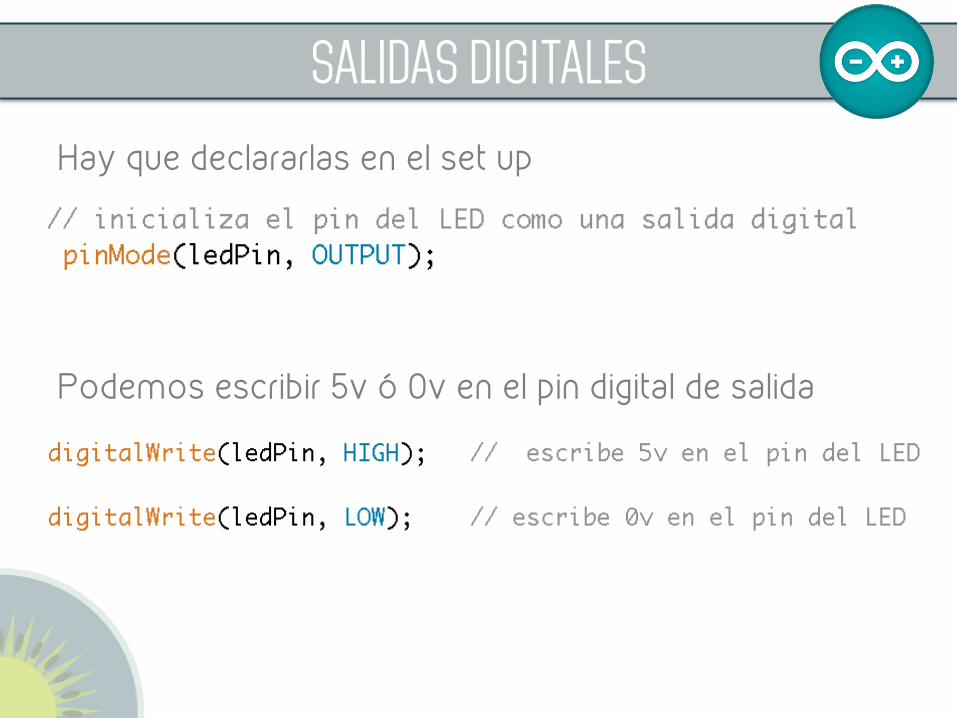
SALIDAS DIGITALES Hay que declararlas en el set up
Podemos escribir 5v ó 0v en el pin digital de salida
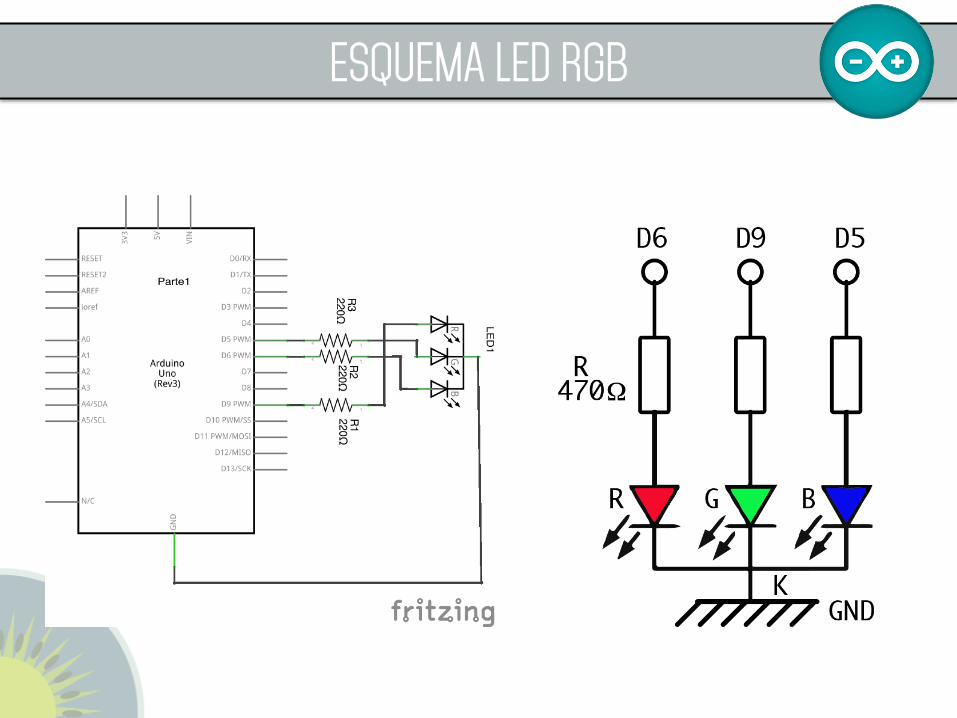
ESQUEMA LED RGB
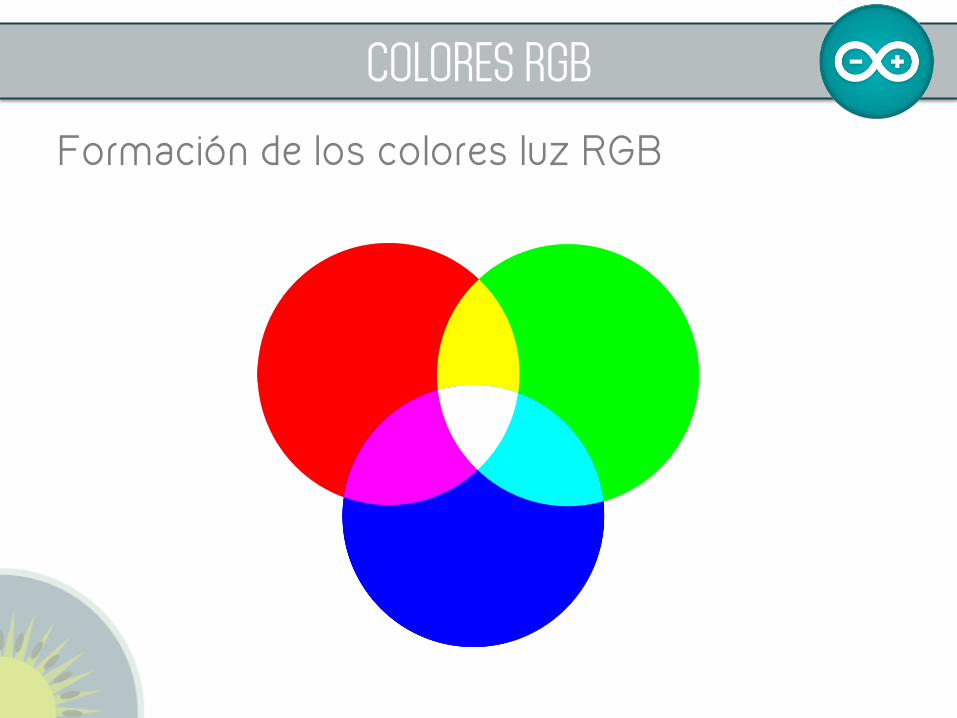
Formación de los colores luz RGB
COLORES RGB

PROGRAMA COMPLETAR

ESTRUCTURA DE CONTROL FOR
Se usa para repetir las sentencias entre los corchetes for (int i=0; i<10; i++){// sentencias que queremos repetir
}
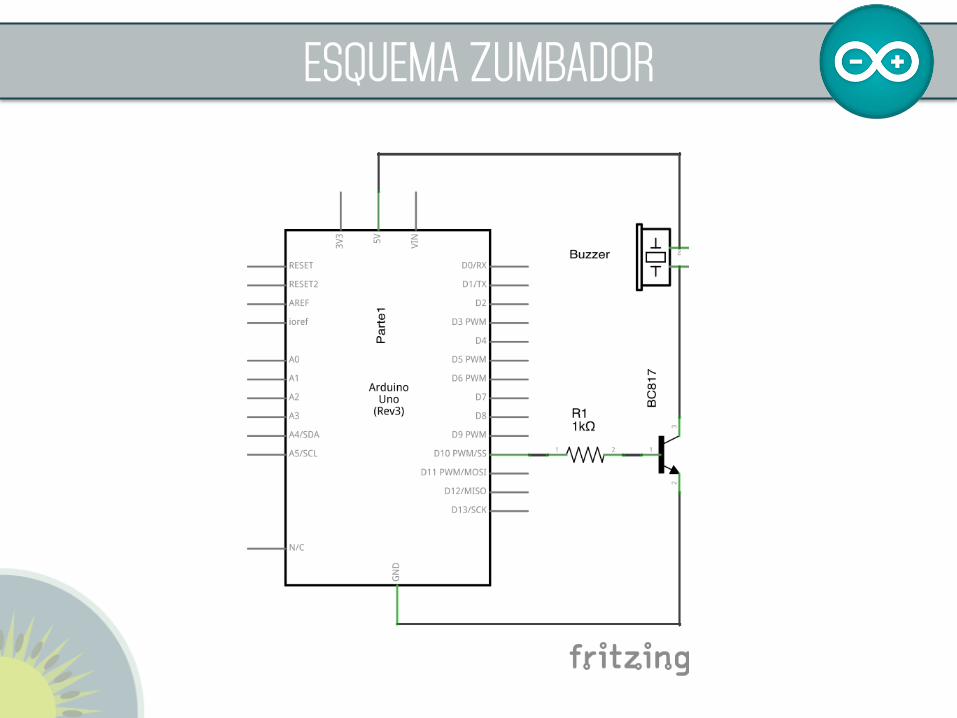
ESQUEMA ZUMBADOR

Realizar un semáforo 10s verde, 2s amarillo, 5s rojo
• Completar el programa anterior
• Simplificar el código
• Añadir parpadeo de 0,2s a la luz amarilla
• Usar for para la repetición
• Añadir timbre, que puede sonar al unísono con la luz
amarilla parpadeante
• Reducir el tiempo de parpadeo en cada bucle
HACER

• ¿Qué hemos conseguido hacer?
reflexionamos
Este guía se distribuye bajo licencia Reconocimiento-‐ ComparMrIgual CreaMve commons 4.0
(cc) 2014 José Pujol Pérez Some rights reserved. This work licensed under CreaMve Commons AXribuMon-‐ShareAlike License. To view a copy of full license, see
hXp://creaMvecommons.org/licenses/by-‐sa/3.0/ or write to CreaMve Commons, 559 Nathan AbboX Way, Stanford, California 94305, USA.
Some of the figures have been taken from the Internet Source, and author and licence if known, is specified.
For those images, fair use applies.
licencia
Related Documents


