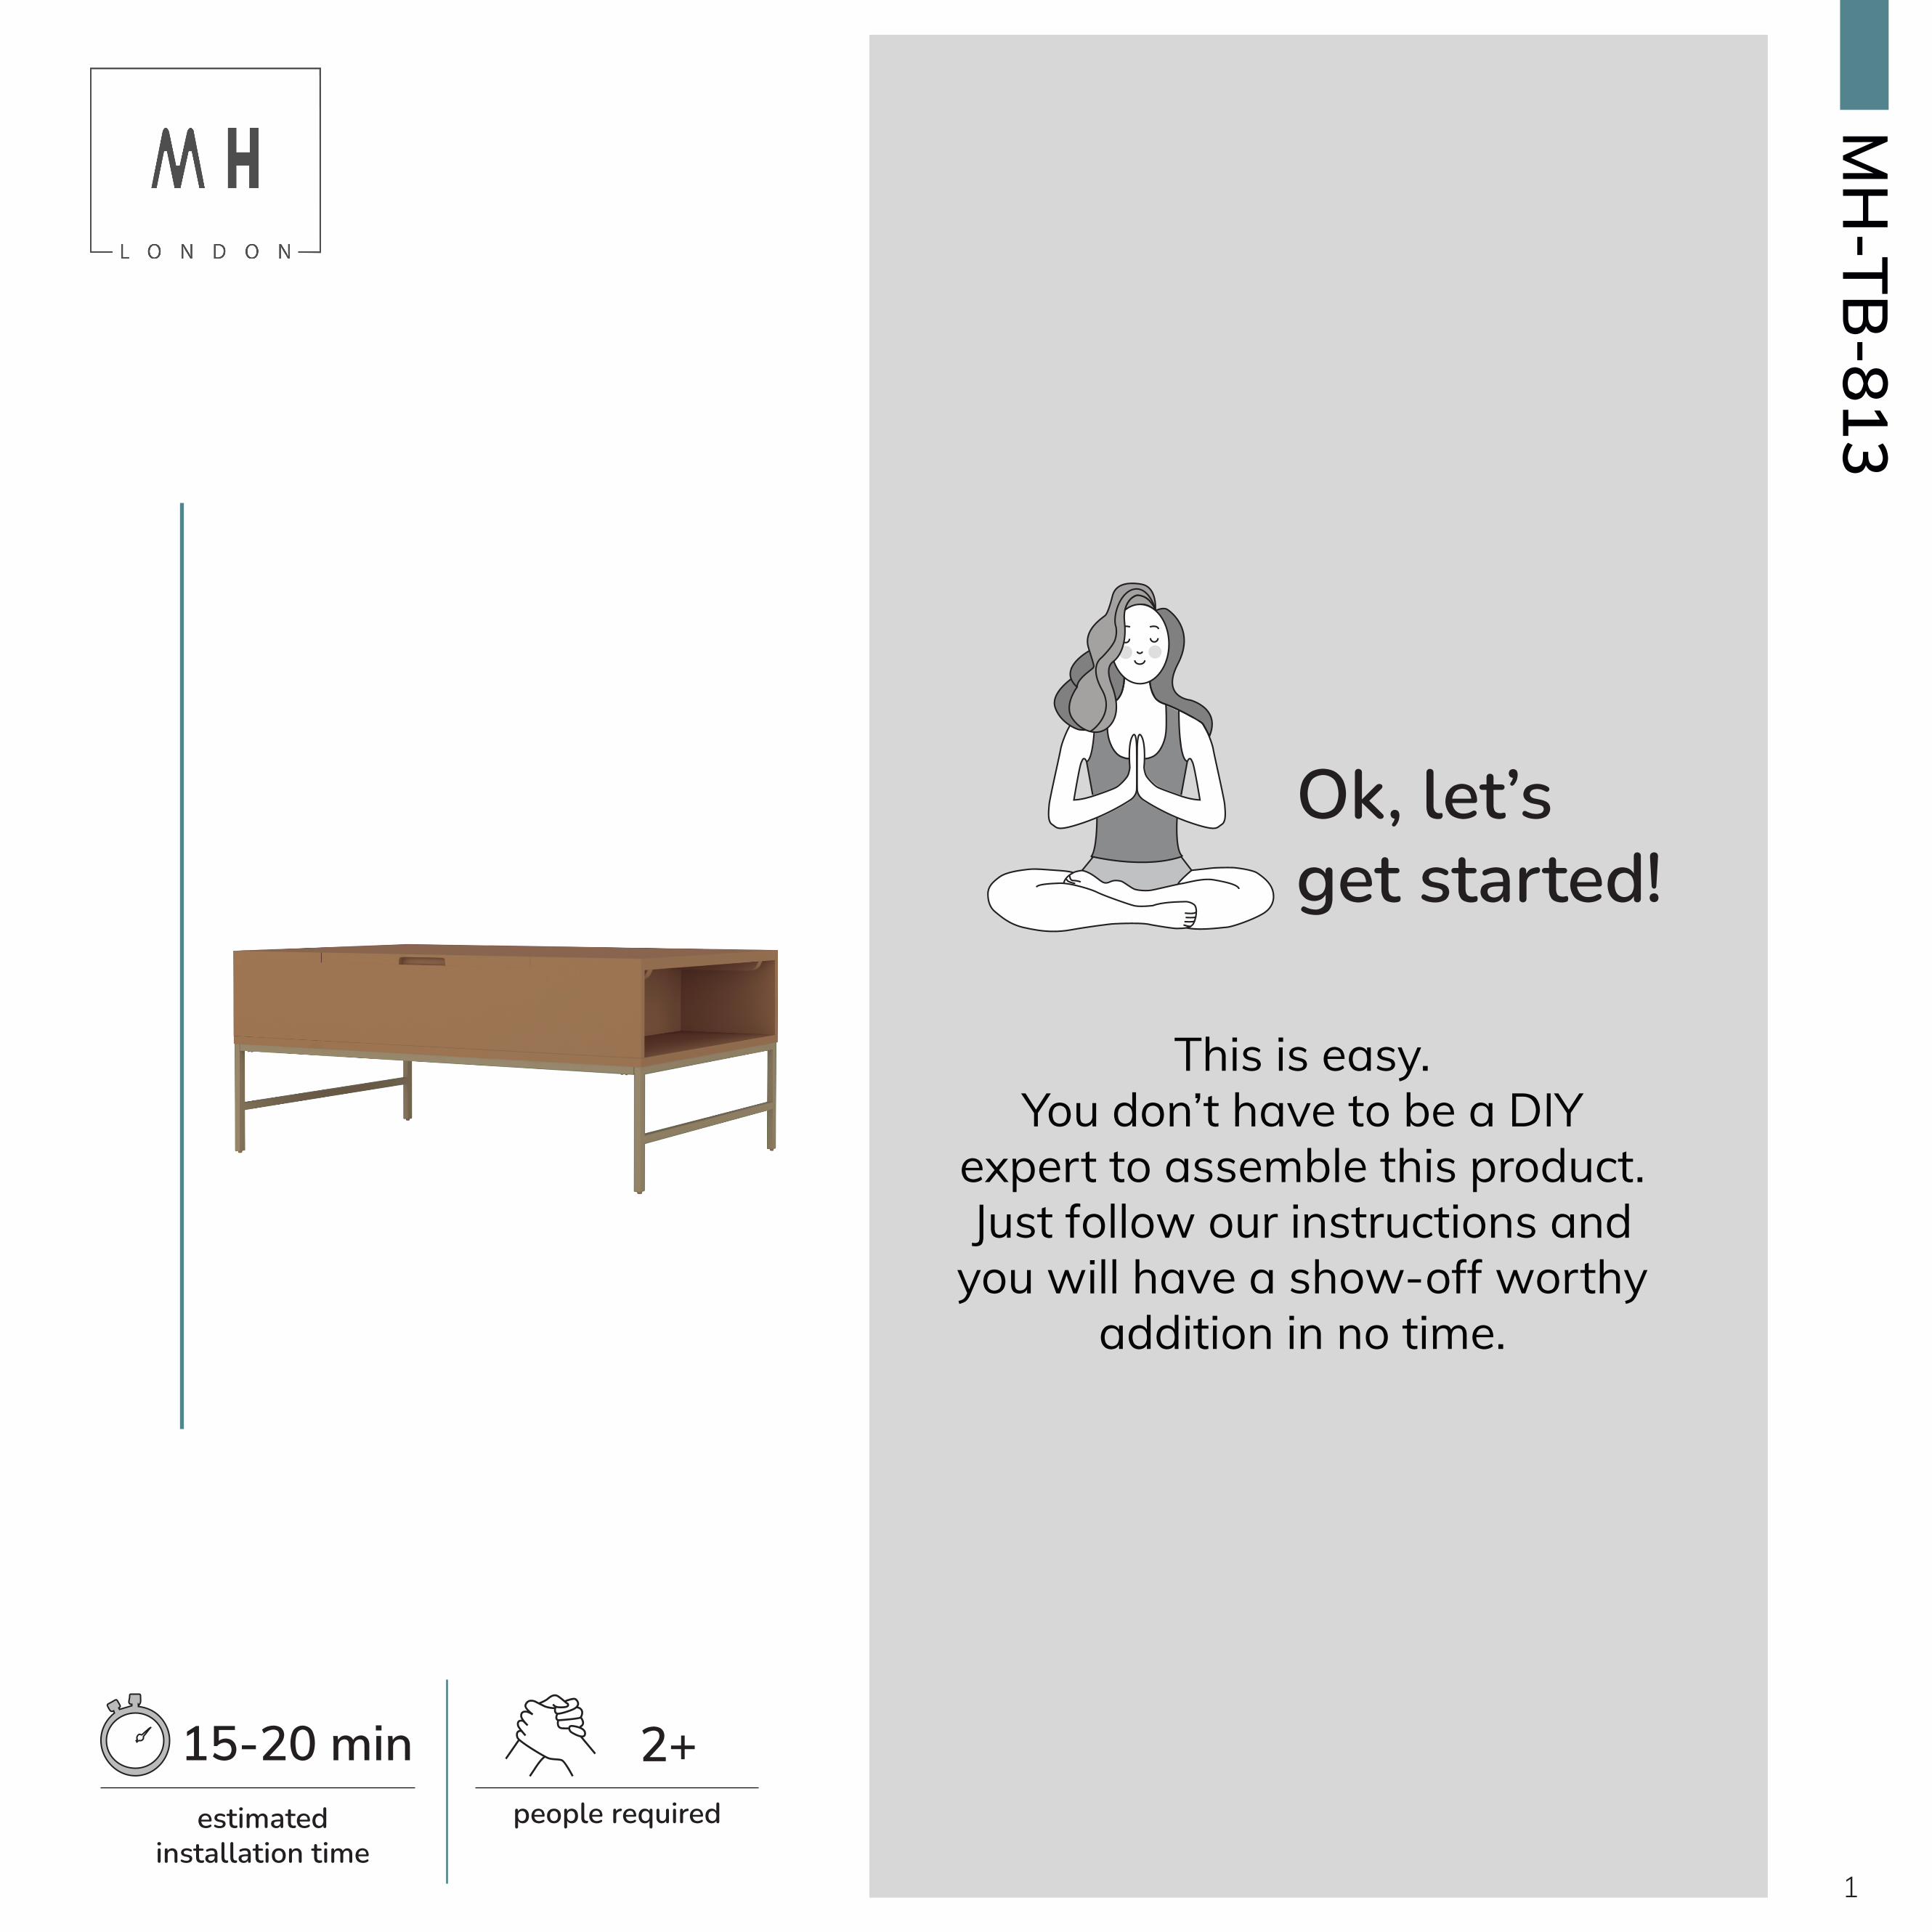
MH-TB-813 This is easy. You don’t have to be a DIY expert to assemble this product. Just follow our instructions and you will have a show-off worthy addition in no time. Ok, let’s get started! 1 estimated installation time 15-20 min people required 2+

Welcome message from author
This document is posted to help you gain knowledge. Please leave a comment to let me know what you think about it! Share it to your friends and learn new things together.
Transcript
MH
-TB-813
This is easy. You don’t have to be a DIY
expert to assemble this product. Just follow our instructions and
you will have a show-off worthy addition in no time.
Ok, let’s get started!
1
estimated installation time
15-20 min people required
2+
2
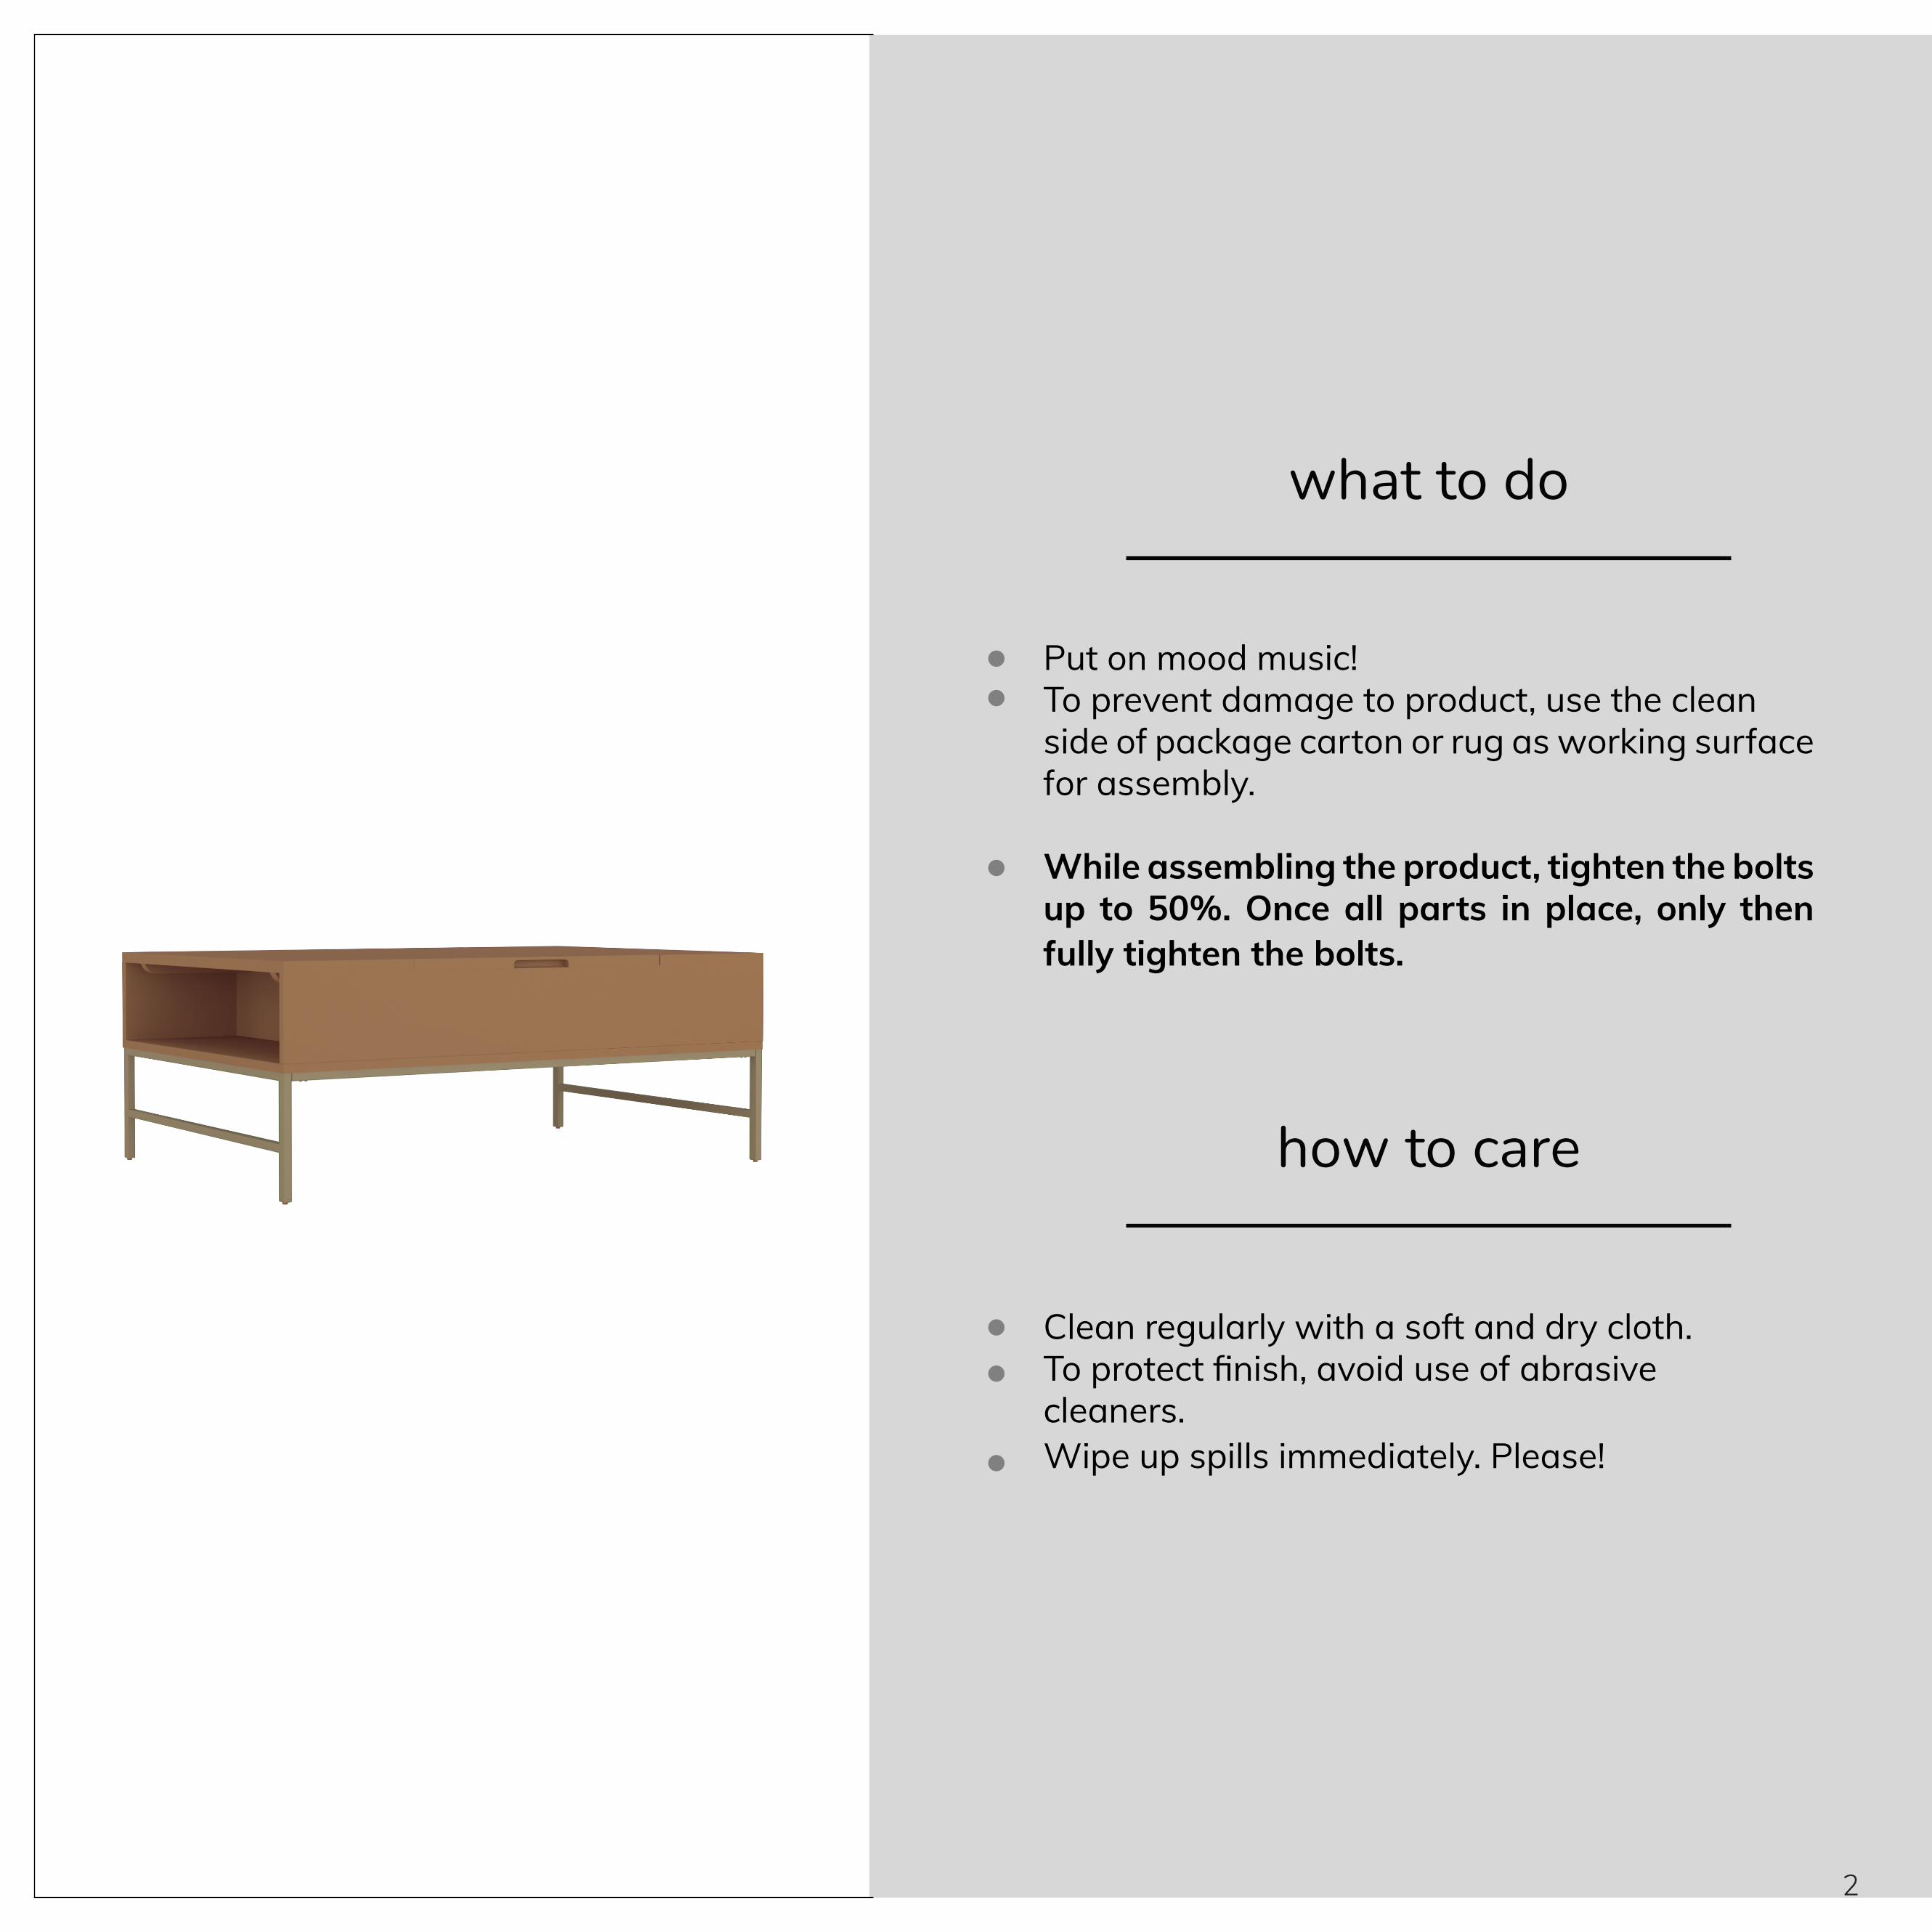
what to do
how to care
Put on mood music! To prevent damage to product, use the cleanside of package carton or rug as working surfacefor assembly.
While assembling the product, tighten the bolts up to 50%. Once all parts in place, only then fully tighten the bolts.
Clean regularly with a soft and dry cloth. To protect finish, avoid use of abrasive cleaners. Wipe up spills immediately. Please!

what’s included
product parts
(F)-Screw (M6X20mm)10x
Table Base
Left Metal Leg
Metal Rod - 2x
Right Metal Leg
(E)-Lock Washer (Ø15mmxØ8mm)10x
(D)-Flat Washer (Ø20mmxØ8mm)10x
A
(B - Left)
C(H)-Allen Key (Ø4mmx8mm)1x
(G)-Screw (M6X10mm)8x
3
(B - Right)
4
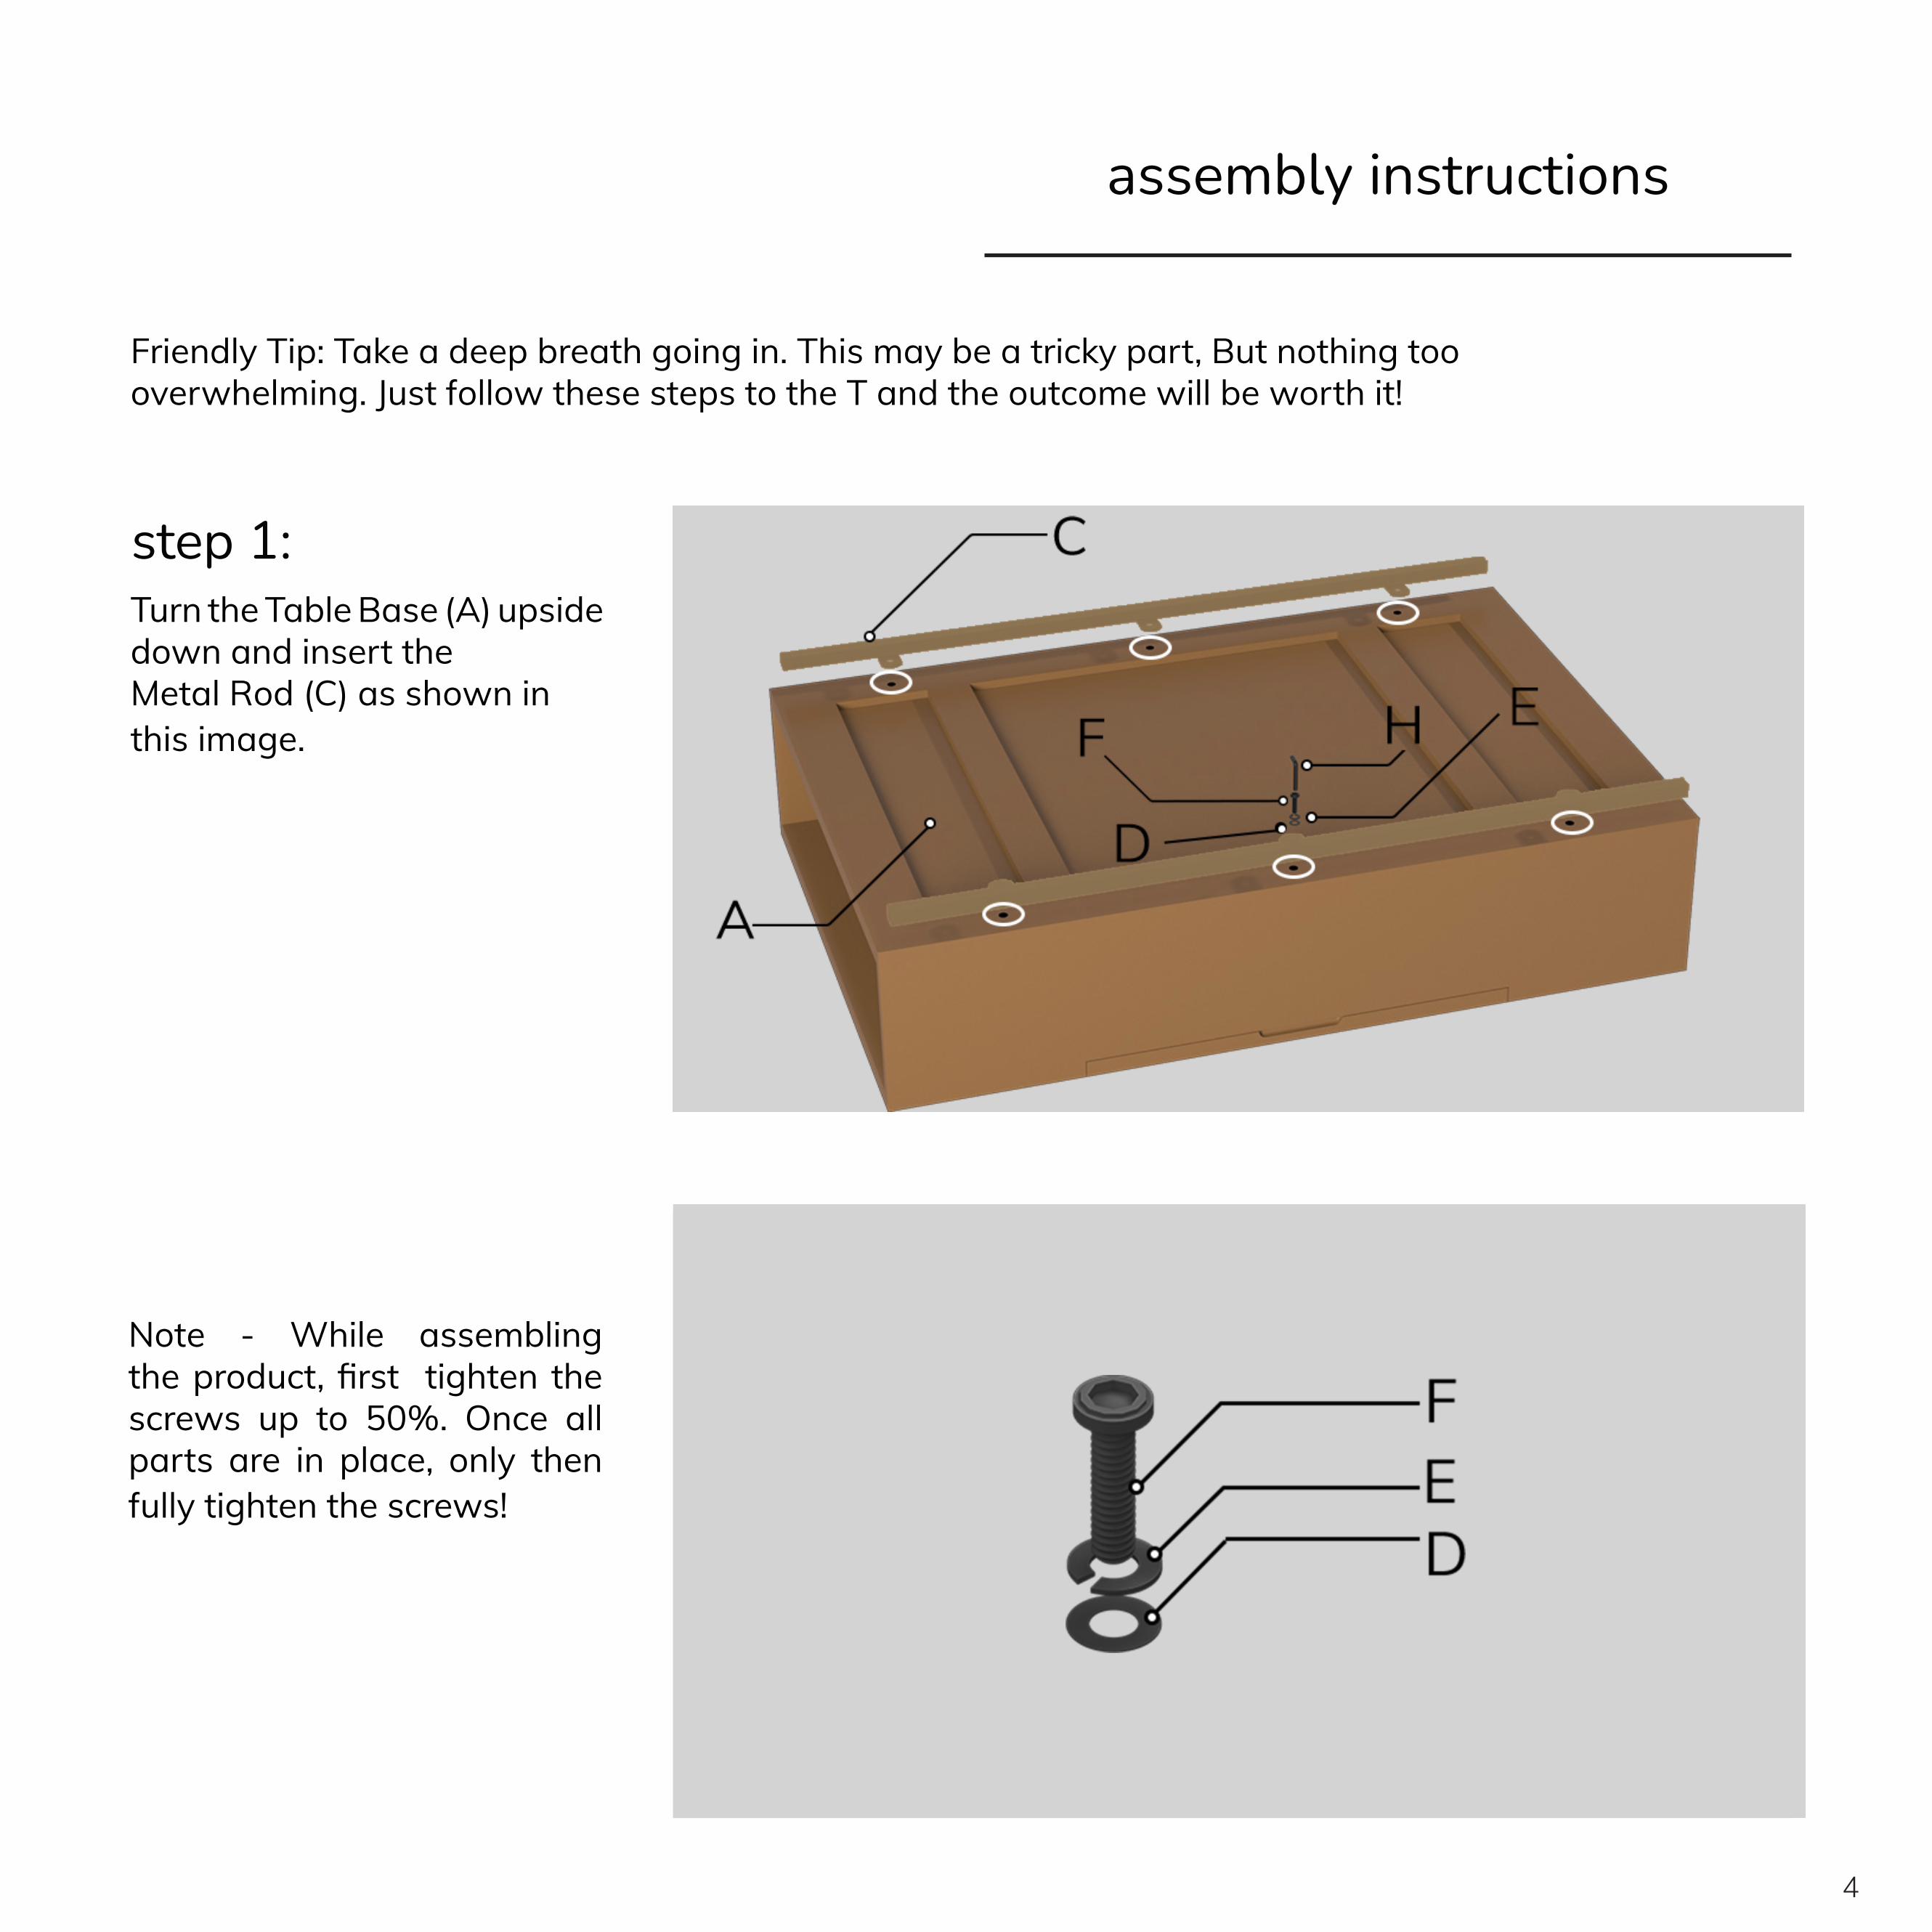
step 1:
assembly instructions
Friendly Tip: Take a deep breath going in. This may be a tricky part, But nothing too overwhelming. Just follow these steps to the T and the outcome will be worth it!
Turn the Table Base (A) upside down and insert the Metal Rod (C) as shown inthis image.
Note - While assembling the product, first tighten the screws up to 50%. Once all parts are in place, only then fully tighten the screws!

5
step 2:
step 3
Insert the Right Metal Leg (B-Right) into the Metal Rod (C) shown in this image.
Repeat the same with the Left Metal Leg (B-Left) using the image as reference.
6
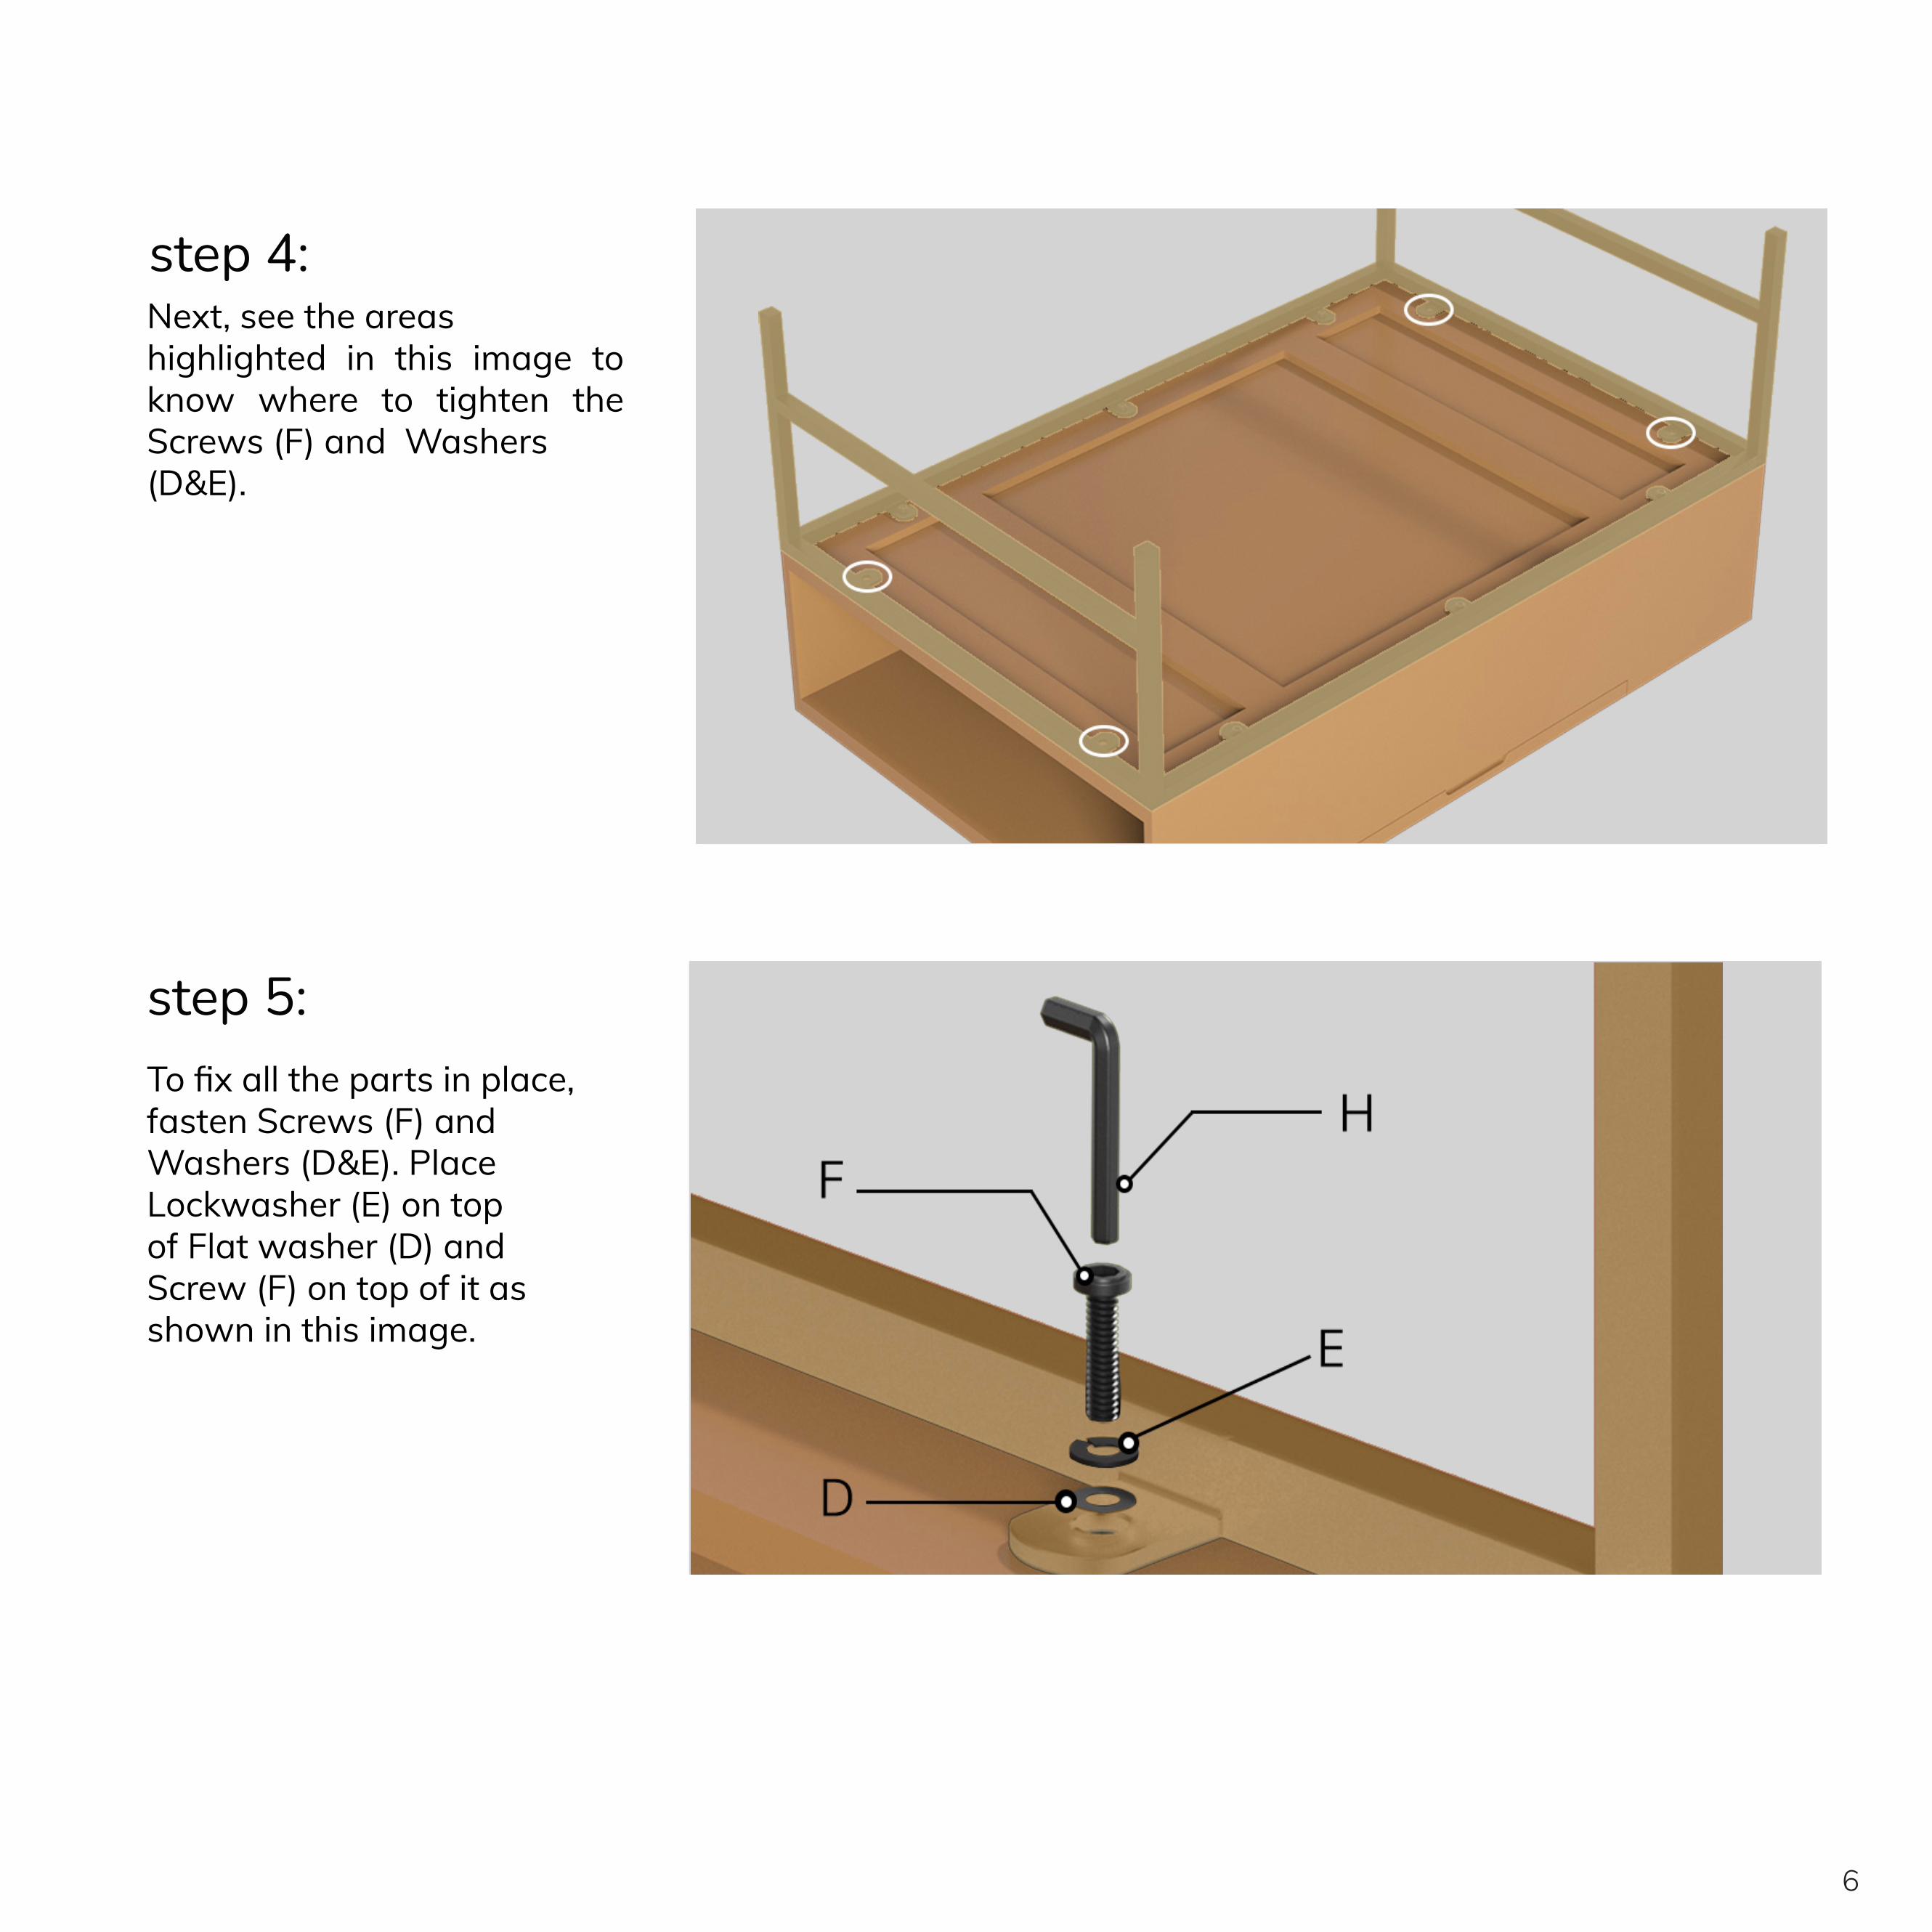
Next, see the areas highlighted in this image to know where to tighten the Screws (F) and Washers (D&E).
step 4:
To fix all the parts in place,fasten Screws (F) and Washers (D&E). Place Lockwasher (E) on top of Flat washer (D) and Screw (F) on top of it as shown in this image.
step 5:

Voila! Your coffee table is now assembled and secure!
step 6:To complete assembly, fasten the final set of Screws (G) using an Allen Key (H) as shown in the highlighted areas.
7

to err is human
Drop-tested packing, double-checks, experienced
craftspeople, high-end materials- we keep everything in mind to
ensure your furniture arrives at your doorstep without any problems. But
mistakes can sometimes happen because, well, to err is human. So, in the event of missing parts, delivery problems, damaged parts, please reach out to our team. We will be
happy to fix the problem!
8
Related Documents


