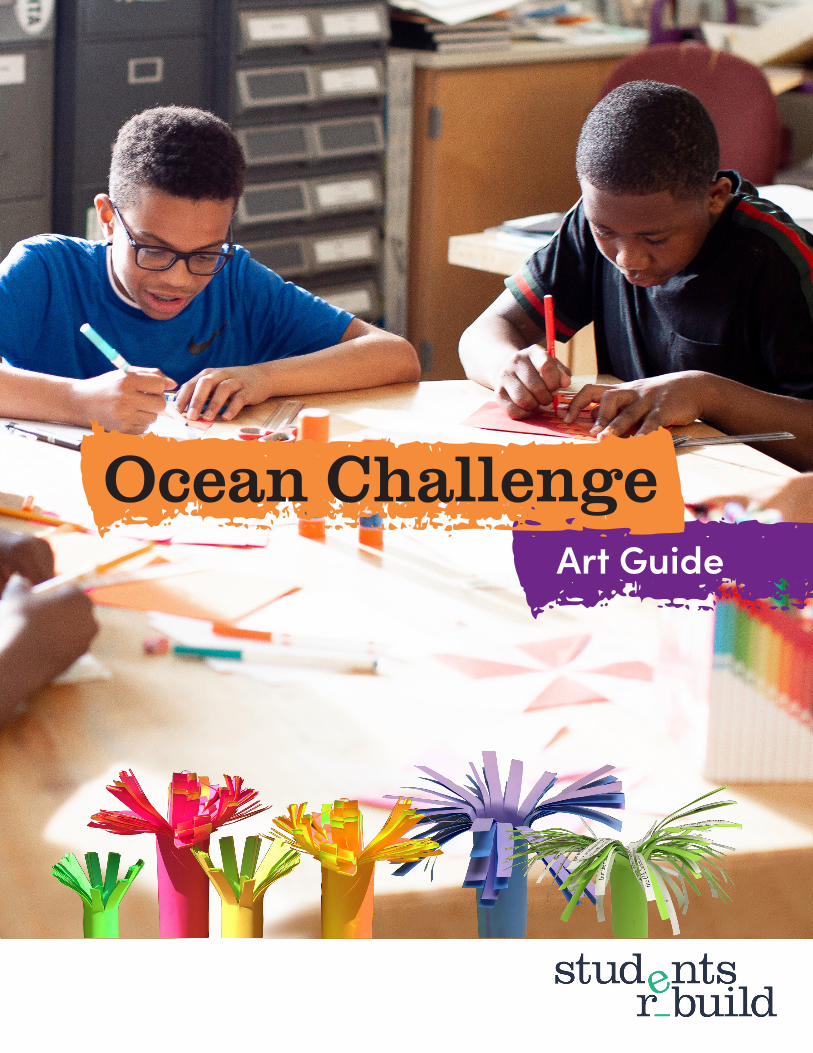
Art Guide Ocean Challenge

Welcome message from author
This document is posted to help you gain knowledge. Please leave a comment to let me know what you think about it! Share it to your friends and learn new things together.
Transcript
Art Guide
Ocean Challenge
2Art Guide
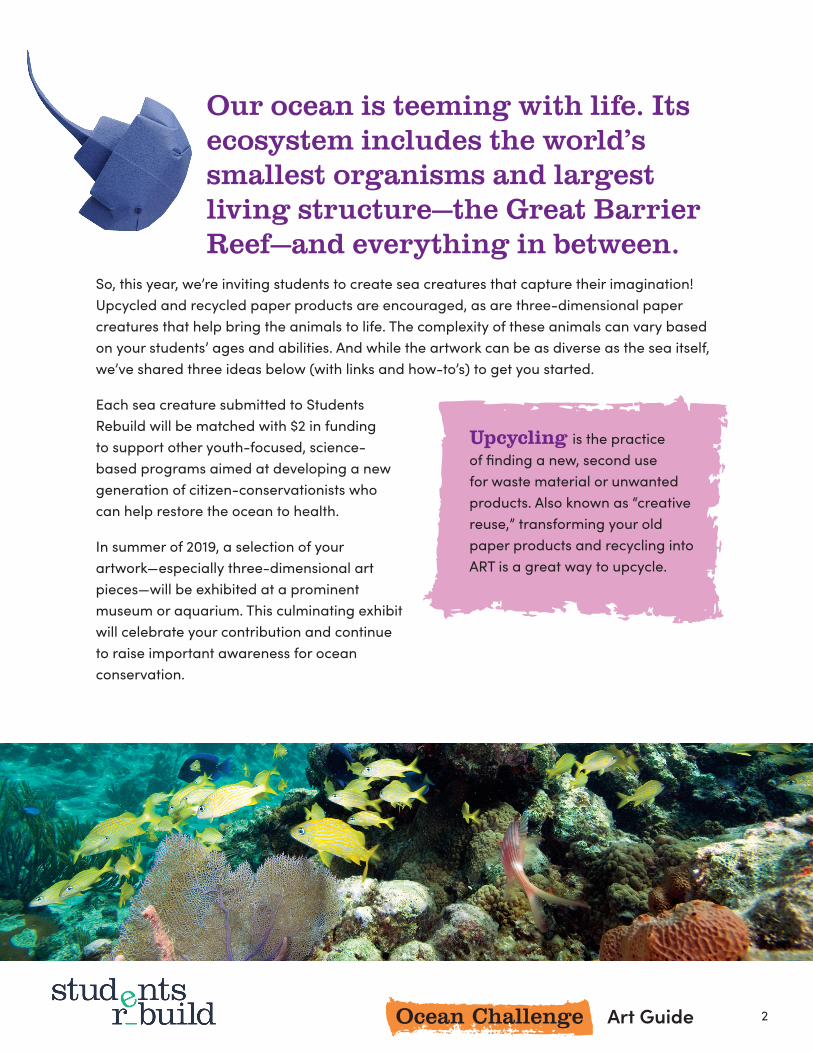
Our ocean is teeming with life. Its ecosystem includes the world’s smallest organisms and largest living structure—the Great Barrier Reef—and everything in between.
So, this year, we’re inviting students to create sea creatures that capture their imagination! Upcycled and recycled paper products are encouraged, as are three-dimensional paper creatures that help bring the animals to life. The complexity of these animals can vary based on your students’ ages and abilities. And while the artwork can be as diverse as the sea itself, we’ve shared three ideas below (with links and how-to’s) to get you started.
Each sea creature submitted to Students Rebuild will be matched with $2 in funding to support other youth-focused, science-based programs aimed at developing a new generation of citizen-conservationists who can help restore the ocean to health.
In summer of 2019, a selection of your artwork—especially three-dimensional art pieces—will be exhibited at a prominent museum or aquarium. This culminating exhibit will celebrate your contribution and continue to raise important awareness for ocean conservation.
Upcycling is the practice of finding a new, second use for waste material or unwanted products. Also known as “creative reuse,” transforming your old paper products and recycling into ART is a great way to upcycle.
3Art Guide
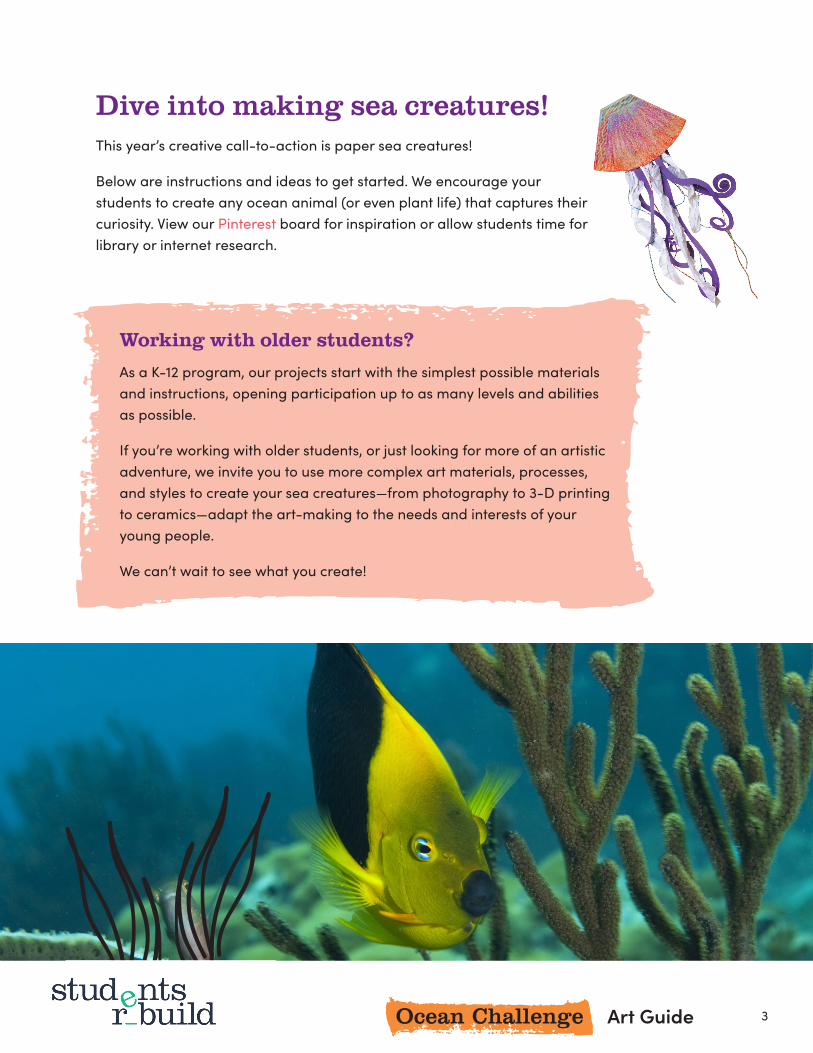
Dive into making sea creatures!This year’s creative call-to-action is paper sea creatures!
Below are instructions and ideas to get started. We encourage your students to create any ocean animal (or even plant life) that captures their curiosity. View our Pinterest board for inspiration or allow students time for library or internet research.
Working with older students? As a K-12 program, our projects start with the simplest possible materials and instructions, opening participation up to as many levels and abilities as possible.
If you’re working with older students, or just looking for more of an artistic adventure, we invite you to use more complex art materials, processes, and styles to create your sea creatures—from photography to 3-D printing to ceramics—adapt the art-making to the needs and interests of your young people.
We can’t wait to see what you create!

4Art Guide
MaterialsThere are many creative ways to participate in the Ocean Challenge. To stay eco-friendly and support all environments, we encourage you to primarily use upcycled and recycled paper products for your creations.
Here’s a list of materials to consider:
• Paper: Plain paper, colored paper, newspaper, magazines, old homework, etc.
• Paper towel rolls, egg crates
• Crepe paper, paper plates, coffee filters, paper packing materials, etc.
• Colors: Paints (tempera, watercolor, and acrylic), crayons, markers, colored pencils, etc.
• Scissors, paper cutters, etc.
• Glue sticks, white glue, masking tape
Want to reduce your carbon footprint and keep your artwork? No problem! Submit a photo of your artwork to Students Rebuild through our website submission form. We hope you also consider creating your own ocean art display in your local community to raise environmental awareness!
5Art Guide
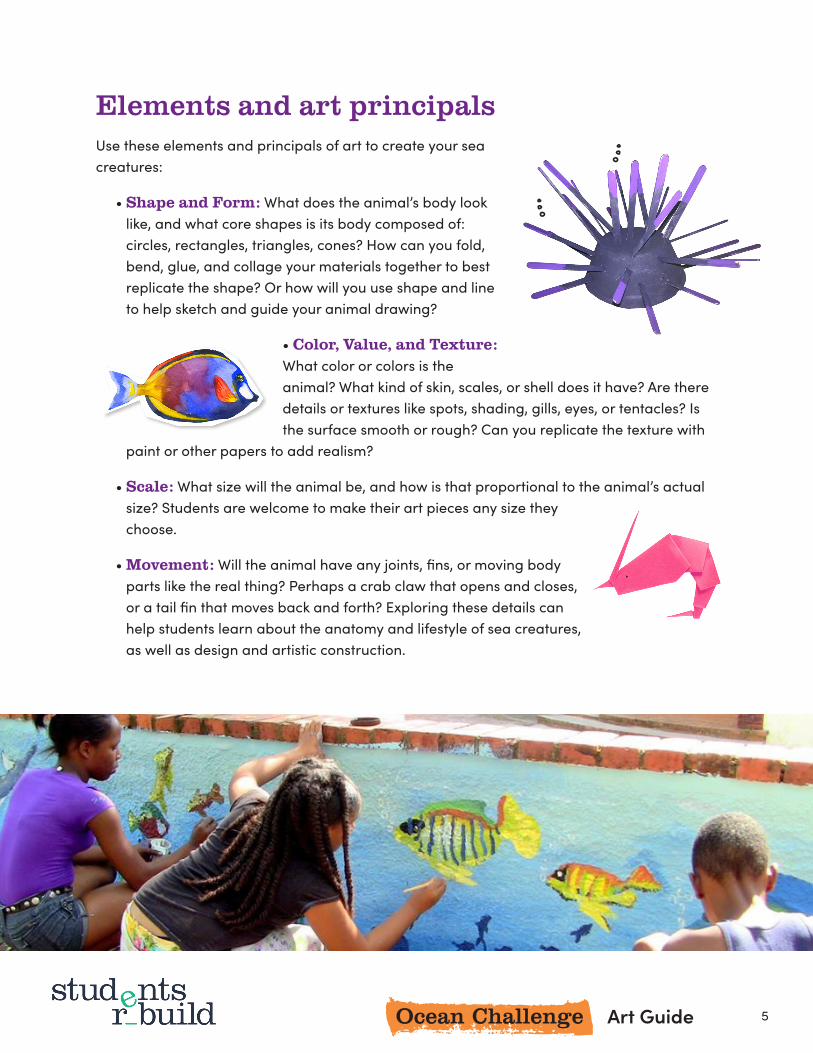
Elements and art principals Use these elements and principals of art to create your sea creatures:
• Shape and Form: What does the animal’s body look like, and what core shapes is its body composed of: circles, rectangles, triangles, cones? How can you fold, bend, glue, and collage your materials together to best replicate the shape? Or how will you use shape and line to help sketch and guide your animal drawing?
• Color, Value, and Texture: What color or colors is the animal? What kind of skin, scales, or shell does it have? Are there details or textures like spots, shading, gills, eyes, or tentacles? Is the surface smooth or rough? Can you replicate the texture with
paint or other papers to add realism?
• Scale: What size will the animal be, and how is that proportional to the animal’s actual size? Students are welcome to make their art pieces any size they choose.
• Movement: Will the animal have any joints, fins, or moving body parts like the real thing? Perhaps a crab claw that opens and closes, or a tail fin that moves back and forth? Exploring these details can help students learn about the anatomy and lifestyle of sea creatures, as well as design and artistic construction.
6Art Guide
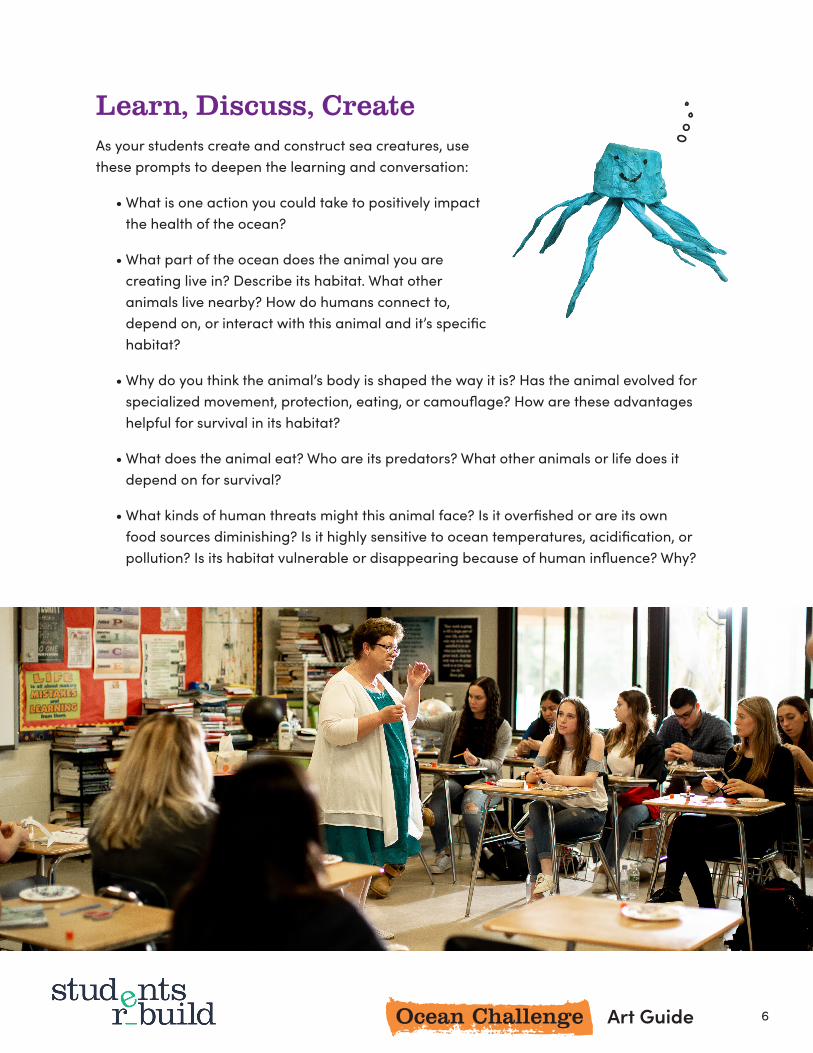
Learn, Discuss, CreateAs your students create and construct sea creatures, use these prompts to deepen the learning and conversation:
• What is one action you could take to positively impact the health of the ocean?
• What part of the ocean does the animal you are creating live in? Describe its habitat. What other animals live nearby? How do humans connect to, depend on, or interact with this animal and it’s specific habitat?
• Why do you think the animal’s body is shaped the way it is? Has the animal evolved for specialized movement, protection, eating, or camouflage? How are these advantages helpful for survival in its habitat?
• What does the animal eat? Who are its predators? What other animals or life does it depend on for survival?
• What kinds of human threats might this animal face? Is it overfished or are its own food sources diminishing? Is it highly sensitive to ocean temperatures, acidification, or pollution? Is its habitat vulnerable or disappearing because of human influence? Why?
7Art Guide
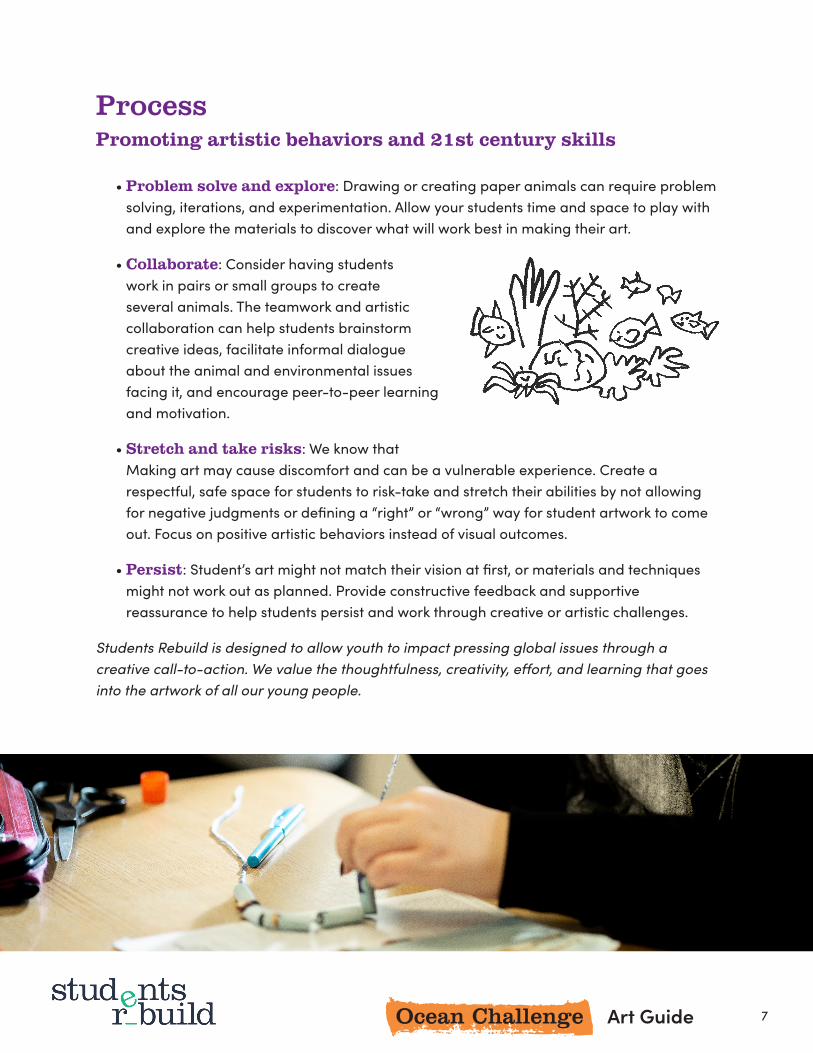
ProcessPromoting artistic behaviors and 21st century skills
• Problem solve and explore: Drawing or creating paper animals can require problem solving, iterations, and experimentation. Allow your students time and space to play with and explore the materials to discover what will work best in making their art.
• Collaborate: Consider having students work in pairs or small groups to create several animals. The teamwork and artistic collaboration can help students brainstorm creative ideas, facilitate informal dialogue about the animal and environmental issues facing it, and encourage peer-to-peer learning and motivation.
• Stretch and take risks: We know that Making art may cause discomfort and can be a vulnerable experience. Create a respectful, safe space for students to risk-take and stretch their abilities by not allowing for negative judgments or defining a “right” or “wrong” way for student artwork to come out. Focus on positive artistic behaviors instead of visual outcomes.
• Persist: Student’s art might not match their vision at first, or materials and techniques might not work out as planned. Provide constructive feedback and supportive reassurance to help students persist and work through creative or artistic challenges.
Students Rebuild is designed to allow youth to impact pressing global issues through a creative call-to-action. We value the thoughtfulness, creativity, effort, and learning that goes into the artwork of all our young people.
8Art Guide
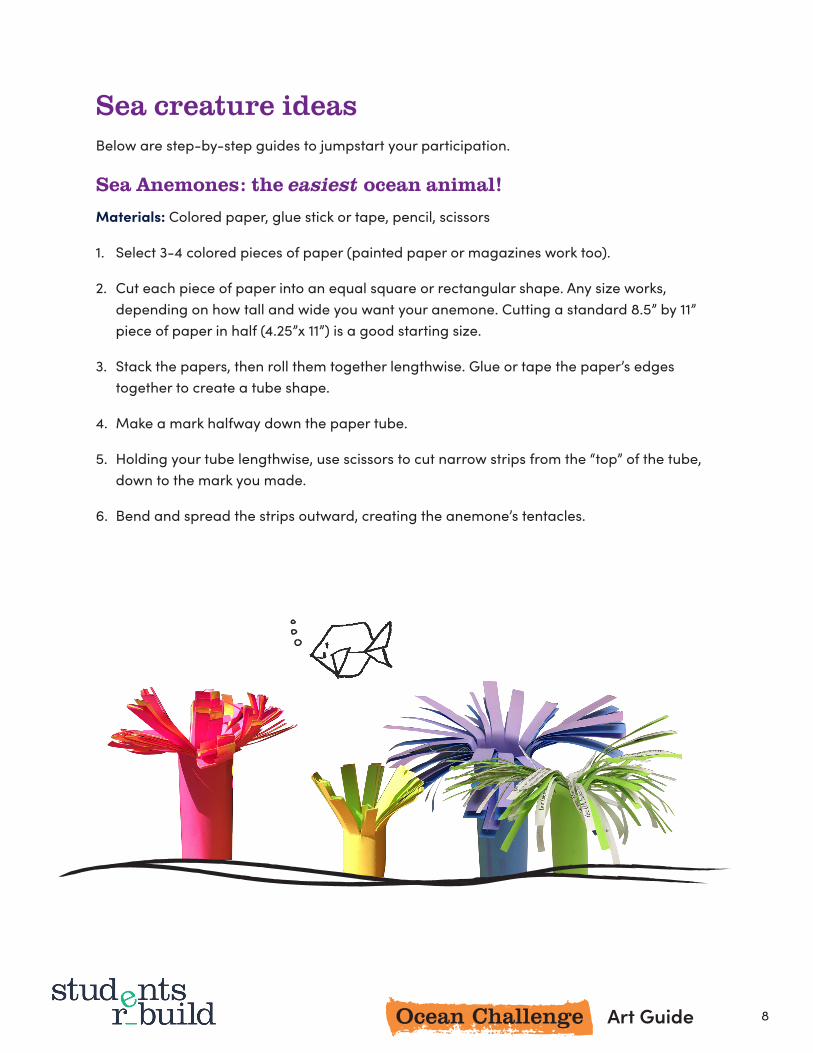
Sea creature ideasBelow are step-by-step guides to jumpstart your participation.
Sea Anemones: the easiest ocean animal! Materials: Colored paper, glue stick or tape, pencil, scissors
1. Select 3-4 colored pieces of paper (painted paper or magazines work too).
2. Cut each piece of paper into an equal square or rectangular shape. Any size works, depending on how tall and wide you want your anemone. Cutting a standard 8.5” by 11” piece of paper in half (4.25”x 11”) is a good starting size.
3. Stack the papers, then roll them together lengthwise. Glue or tape the paper’s edges together to create a tube shape.
4. Make a mark halfway down the paper tube.
5. Holding your tube lengthwise, use scissors to cut narrow strips from the “top” of the tube, down to the mark you made.
6. Bend and spread the strips outward, creating the anemone’s tentacles.

9Art Guide
Origami Fish Materials: Paper, crayons or markers, scissors (optional)
1. Start with a square piece of paper.
2. Fold diagonally (both sides).
3. Fold in half (one side), crease and unfold as shown.
4. Hold the paper as indicated with green spots and fold towards the center to get a triangle shape.
5. Hold the right bottom corner of the triangle and fold it toward the center along the crease.
6. Repeat step 5 with the opposite corner to finish and create the fish tail.
7. Use crayons or markers to add color and details to your fish (optional).
10Art Guide
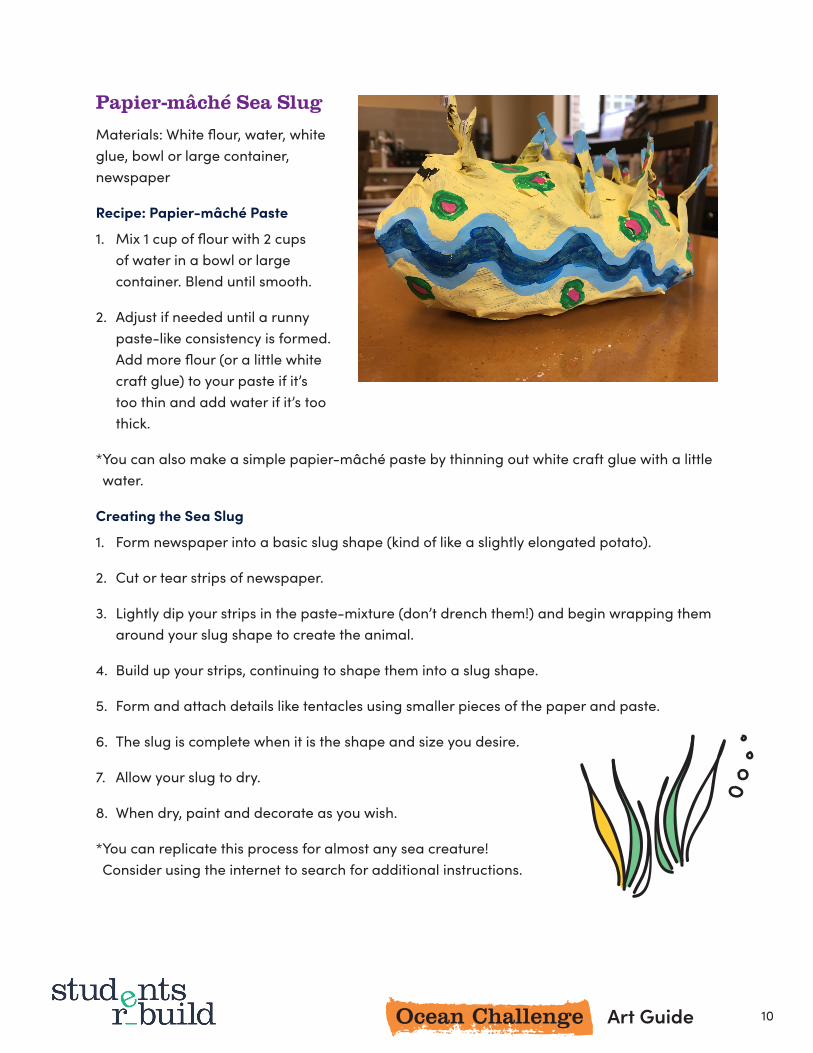
Papier-mâché Sea SlugMaterials: White flour, water, white glue, bowl or large container, newspaper
Recipe: Papier-mâché Paste
1. Mix 1 cup of flour with 2 cups of water in a bowl or large container. Blend until smooth.
2. Adjust if needed until a runny paste-like consistency is formed. Add more flour (or a little white craft glue) to your paste if it’s too thin and add water if it’s too thick.
* You can also make a simple papier-mâché paste by thinning out white craft glue with a little water.
Creating the Sea Slug
1. Form newspaper into a basic slug shape (kind of like a slightly elongated potato).
2. Cut or tear strips of newspaper.
3. Lightly dip your strips in the paste-mixture (don’t drench them!) and begin wrapping them around your slug shape to create the animal.
4. Build up your strips, continuing to shape them into a slug shape.
5. Form and attach details like tentacles using smaller pieces of the paper and paste.
6. The slug is complete when it is the shape and size you desire.
7. Allow your slug to dry.
8. When dry, paint and decorate as you wish.
* You can replicate this process for almost any sea creature! Consider using the internet to search for additional instructions.
Related Documents


