Notes to Teachers: 1. These Excel modules are intended for higher level ESL learners and native speaking students. 2. Place the document: “cell phone workbook.xlsx” on each student’s desktop. 3. You may want to give the NorthStar MS Excel assessment before doing these lessons. Certificates for assessments must be issued through an approved proctoring site/agency. 4. A vocabulary list is included on last slide. You may want to print this on 8.5 x 11 paper so you and students can refer to it during the lesson.

Notes to Teachers: 1.These Excel modules are intended for higher level ESL learners and native speaking students. 2.Place the document: “cell phone workbook.xlsx”
Jan 01, 2016
Welcome message from author
This document is posted to help you gain knowledge. Please leave a comment to let me know what you think about it! Share it to your friends and learn new things together.
Transcript

Notes to Teachers:1. These Excel modules are intended for higher level ESL learners and
native speaking students.
2. Place the document: “cell phone workbook.xlsx” on each student’s desktop.
3. You may want to give the NorthStar MS Excel assessment before doing these lessons. Certificates for assessments must be issued through an approved proctoring site/agency.
4. A vocabulary list is included on last slide. You may want to print this on 8.5 x 11 paper so you and students can refer to it during the lesson.

Review
• Did you do your homework? Was it too easy, too difficult, or just right?
• Turn to your partner and discuss what you learned about MS Word: a) What is a Word Document? - examplesb) What are the parts of a Word screen? - examplesc) What are some ribbon tabs? – examplesd) What is the difference between save and save-as?

Microsoft Excel – Part 1
Your teachers are:

What is an Excel Workbook?This is what a completed Excel workbook looks like:
Can you think of some other uses for Excel?

Today’s Goals
1. Assess your knowledge of Microsoft Excel
2. Open a Workbook in Microsoft Excel
3. Practice navigating around a workbook
4. Practice navigating around a sheet
5. Locating cells and entering data
6. Formatting and aligning cells
7. Undo and Redo

Open Microsoft Excel
• Where do you find the icon?
• Click on the MS Excel Icon
• Click on ‘Blank workbook’.

Parts of Microsoft (MS) Excel Screen
Title BarQuick Access Toolbar
Status Bar (views and zoom)
Ribbon
Active Cell
Name Box Formula Bar
Sheet Tabs

Navigating a Workbook
1. Open the Excel Workbook on your desktop named “Cell Phone Workbook”
2. Locate the sheet tabs on the bottom left of screen3. Add a new sheet (sheet4) by clicking the “New Sheet” button4. Double click on “sheet1” and rename it by typing “Cell Phone
Minutes”, then click anywhere on the sheet to enter the name5. Right click on the “Cell Phone Minutes” sheet to change the
sheet tab color to yellow
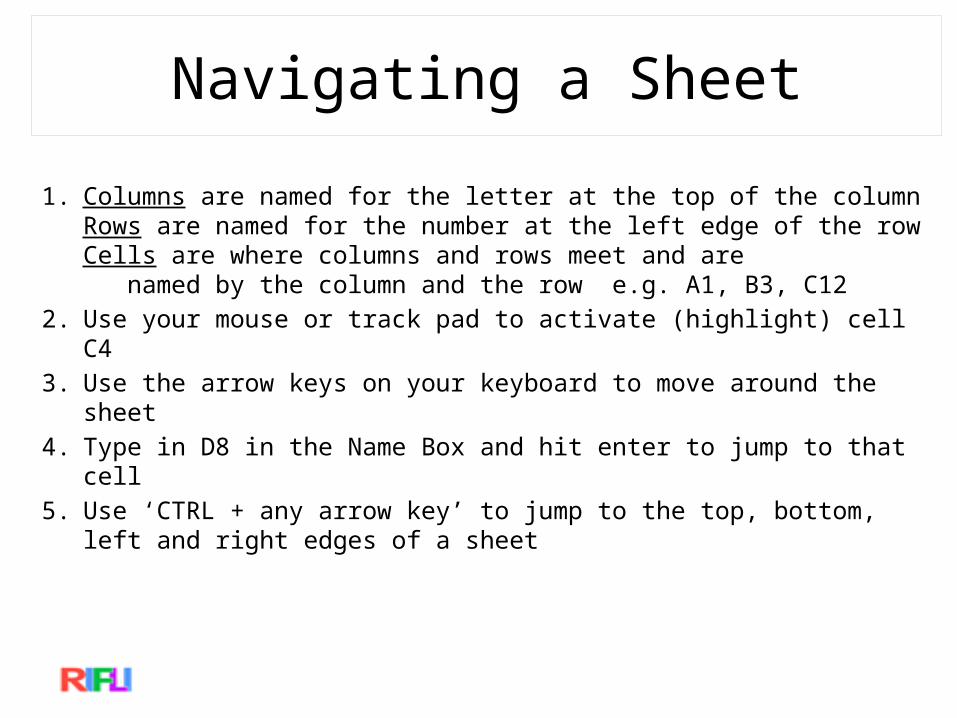
Navigating a Sheet
1. Columns are named for the letter at the top of the columnRows are named for the number at the left edge of the rowCells are where columns and rows meet and are named by the column and the row e.g. A1, B3, C12
2. Use your mouse or track pad to activate (highlight) cell C43. Use the arrow keys on your keyboard to move around the sheet4. Type in D8 in the Name Box and hit enter to jump to that cell5. Use ‘CTRL + any arrow key’ to jump to the top, bottom, left and
right edges of a sheet

Hover on the Home ribbonand find the following:
• Font Group– Default style is Calibri and default text size is 11
• Formatting tools– Bold (Ctrl +B)– Italic (Ctrl + I)– Underline (Ctrl +U)– Fill Color– Font Color

1. Highlight cells B3 through E3, then click the ‘Bold’ tool on the ribbon.
2. Highlight the entire column A, then change the font color to blue.
3. Highlight the entire row 3, then change the font color to blue.
4. Highlight the entire sheet (CTRL + A), then change the font size to 14.
Formatting Practice
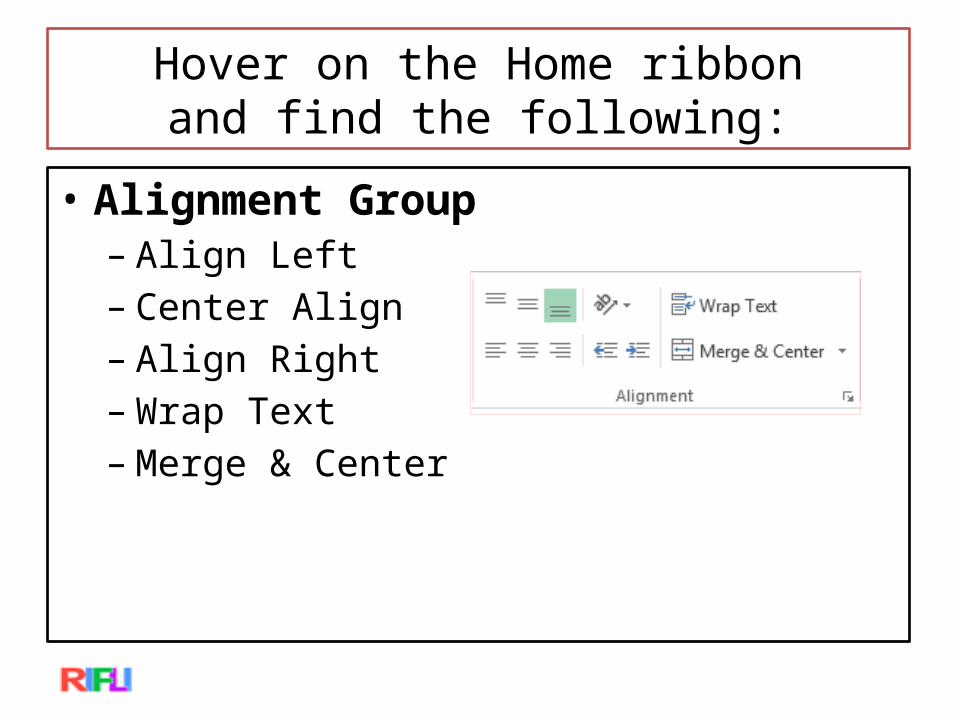
Hover on the Home ribbonand find the following:
• Alignment Group– Align Left– Center Align– Align Right– Wrap Text– Merge & Center

1. Highlight cells B3 through E3, then click the ‘Align Right’ tool on the ribbon.
2. Highlight cells B3 through E16, then click the ‘Center Align’ tool.
3. Highlight cells A1 through E1, then click the ‘Merge & Center’ tool on the ribbon.
4. Then change the newly merged cells font size to 18.
Alignment Practice

Hover on the Quick Access Toolbarand find the following:
• Quick Access– Save– Undo– Redo
• Now click back to the Home Ribbon and choose a tool off the ribbon to right click on and add it to the Quick Access Toolbar.

1. Change the cell contents for Mary’s December total from 50 to 80.
2. Change the cell contents for John’s January total from 200 to 220.
3. Click the UNDO tool on the Quick Access Toolbar to “step back in time: one step at a time”.
4. Click the REDO (Repeat) tool on the Quick Access Toolbar to “step forward in time: one step at a time”.
Undo and Redo Practice

Save your Document
1. Click on file.
2. Click on save as in the left hand menu.
3. Click on computer.
4. Click on desktop.
5. Give your document your name and type it in the file name box.
6. Click on save.
Questions?
1. Today’s lesson was: – Too easy– Too difficult– Just right
2. What was the most useful thing you learned today?
3. Comments, suggestions?

Homework
1. Go to:– http://www.gcflearnfree.org/excel2013/4– Read and click through the 6 screens of this lesson– Watch the video on screen 1– About 15 minutes– Write down 3 things you learned about Excel

Vocabulary1. Microsoft (MS) Excel – create a workbook2. Sheet Tabs – each workbook is made up of one or more “sheets”3. Title Bar – shows the “title” of your workbook4. Quick Access Toolbar – Save, Undo, Redo5. Ribbon – quick access to workbook editing tools6. Name Box – displays the location, or "name" of a selected cell7. Formula Bar – where you enter or edit data or a formula that will appear in a specific cell8. Column – group of cells that runs from the top of the page to the bottom identified by letters 9. Row – group of cells that runs from the left of the page to the right identified by numbers10. Cell – The rectangle where at the intersection of a row and a column11. Status Bar (views and zoom) – your view of the workbook12. Ctrl + Arrow Key – takes you top, bottom, left edge or right edge of sheet13. Scroll Bar on right of screen – move up and down within a sheet14. Font – the printed “style” of your text15. Undo/Redo – reverse a change to a sheet/repeat a previous change16. Formatting – change the appearance of text in a cell(s) (Bold, Italic, Size, Color, etc.)17. Alignment – when all of the text “lines up” the same (left, center, right)18. Text Wrap – when the contents of a cell roll to a second line to fit in the cell19. Merge & Center – allows you to combine the contents of two or more cells into one cell
Related Documents


![Francophone ESL Learners and [h]-Epenthesisdoe.concordia.ca/copal/documents/05_p_john-w_cardoso.pdf · Francophone ESL learners and h-epenthesis 80 phonologically (i.e., undergoing](https://static.cupdf.com/doc/110x72/5e709e413972c876b65b9da0/francophone-esl-learners-and-h-francophone-esl-learners-and-h-epenthesis-80-phonologically.jpg)