Wimba Modules for Moodle 1.6 - 1.9 Version 3.1 User Guide

Welcome message from author
This document is posted to help you gain knowledge. Please leave a comment to let me know what you think about it! Share it to your friends and learn new things together.
Transcript
Wimba Modules
for Moodle 1.6 - 1.9
Version 3.1
User Guide
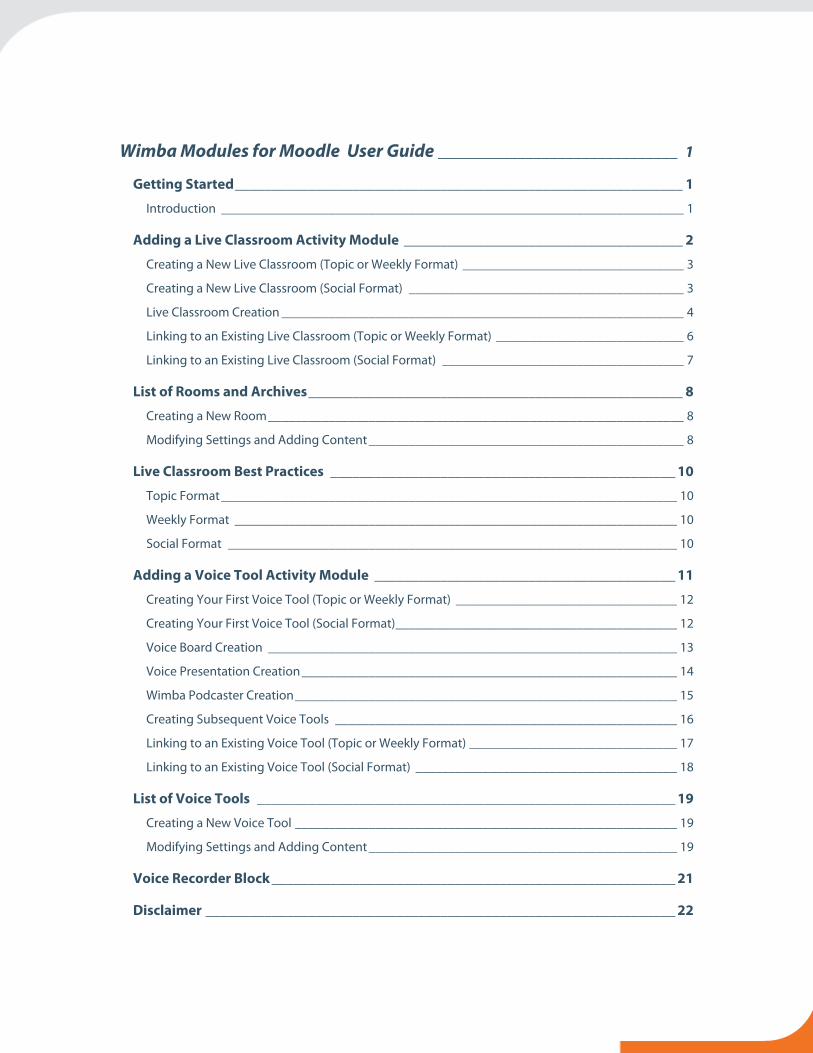
Wimba Modules for Moodle User Guide ______________________________ 1
Getting Started _____________________________________________________________ 1
Introduction _____________________________________________________________________ 1
Adding a Live Classroom Activity Module ______________________________________ 2
Creating a New Live Classroom (Topic or Weekly Format) _________________________________ 3
Creating a New Live Classroom (Social Format) _________________________________________ 3
Live Classroom Creation ____________________________________________________________ 4
Linking to an Existing Live Classroom (Topic or Weekly Format) ____________________________ 6
Linking to an Existing Live Classroom (Social Format) ____________________________________ 7
List of Rooms and Archives ___________________________________________________ 8
Creating a New Room ______________________________________________________________ 8
Modifying Settings and Adding Content _______________________________________________ 8
Live Classroom Best Practices _______________________________________________ 10
Topic Format ____________________________________________________________________ 10
Weekly Format __________________________________________________________________ 10
Social Format ___________________________________________________________________ 10
Adding a Voice Tool Activity Module _________________________________________ 11
Creating Your First Voice Tool (Topic or Weekly Format) _________________________________ 12
Creating Your First Voice Tool (Social Format) __________________________________________ 12
Voice Board Creation _____________________________________________________________ 13
Voice Presentation Creation ________________________________________________________ 14
Wimba Podcaster Creation _________________________________________________________ 15
Creating Subsequent Voice Tools ___________________________________________________ 16
Linking to an Existing Voice Tool (Topic or Weekly Format) _______________________________ 17
Linking to an Existing Voice Tool (Social Format) _______________________________________ 18
List of Voice Tools _________________________________________________________ 19
Creating a New Voice Tool _________________________________________________________ 19
Modifying Settings and Adding Content ______________________________________________ 19
Voice Recorder Block _______________________________________________________ 21
Disclaimer ________________________________________________________________ 22
Wimba Modules for Moodle User Guide
Getting Started Introduction
Wimba Modules enable institutions to easily enhance their Moodle courses by allowing seamless access to complementary applications. Wimba Modules allow instructors and students to access up to five tools from within the Moodle environment:
• Live Classroom: a live virtual classroom supporting multi-way audio, video, application sharing, polling and content display
• Voice Board: a threaded, voice-based discussion board that can also be used for one to one vocal exercises
• Voice Presentation: a presentation consisting of web content alongside voice messages
• Voice Recorder: a recorded message that a user can play back anytime, usually accompanying content within a web page (available only via the Wimba Voice Recorder Block)
• Wimba Podcaster: a tool that allows for the creation and subscription of podcasts
Wimba Modules feature:
• Single Sign On: students and instructors seamlessly access Wimba Live Classroom and Voice Tools within Moodle. They do not need to log in again or type a URL.
• Integrated creation and management of Wimba tools: Instructors can easily create and manage Wimba tools using the Moodle interface. There is no need to access and learn a new administration interface.
• Consistent look and feel and navigation: Wimba tools look like, and can be used as, any other Moodle tool. Consequently, there is almost no learning curve.
In order to access these tools, your Administrator will first need to install and configure the appropriate Wimba Module(s) on your Moodle server.
Documentation of all Wimba products is available on Wimba’s website: http://www.wimba.com/support
1
Adding a Live Classroom Activity Module Teachers (with editing privileges) and Administrators may add Live Classroom as an Activity Module to any Moodle Course homepage, provided the course is configured with the Topic, Weekly, or Social Format.
By default, the Live Classroom Module contains 4 Live Classrooms: 1 Main Room and 3 Group Rooms. The Main Room and Group Rooms are essentially the same, with one main difference. Within the Main Room, a teacher in a Moodle course has Presenter-level access to Live Classroom. In contrast, within each of the Group Rooms, both students and teachers within Moodle have Presenter-level access to Live Classroom.
Therefore, sessions within the Main Room are instructor-led; students rely on the instructor to present content and start an archive (recording) of the session. The Main Room is appropriate for lectures, office hours, and other presentations where the course instructor takes the lead. Sessions within any of the Group Rooms may be student-led. This format can be appropriate for meetings among students or any student-led activity that does not require an instructor presence.
All rooms are permanent and can be utilized an unlimited number of times; there is no need to create a room for each new session.
2
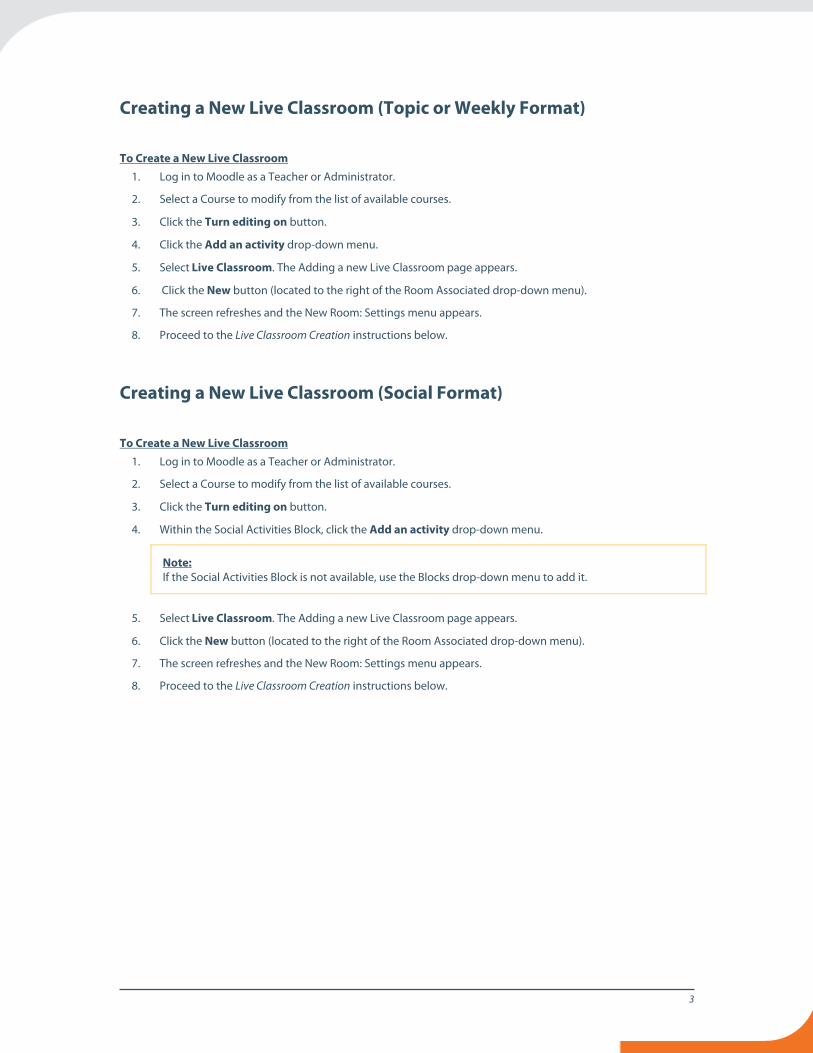
Creating a New Live Classroom (Topic or Weekly Format)
To Create a New Live Classroom 1. Log in to Moodle as a Teacher or Administrator.
2. Select a Course to modify from the list of available courses.
3. Click the Turn editing on button.
4. Click the Add an activity drop-down menu.
5. Select Live Classroom. The Adding a new Live Classroom page appears.
6. Click the New button (located to the right of the Room Associated drop-down menu).
7. The screen refreshes and the New Room: Settings menu appears.
8. Proceed to the Live Classroom Creation instructions below.
Creating a New Live Classroom (Social Format)
To Create a New Live Classroom 1. Log in to Moodle as a Teacher or Administrator.
2. Select a Course to modify from the list of available courses.
3. Click the Turn editing on button.
4. Within the Social Activities Block, click the Add an activity drop-down menu.
Note: If the Social Activities Block is not available, use the Blocks drop-down menu to add it.
5. Select Live Classroom. The Adding a new Live Classroom page appears.
6. Click the New button (located to the right of the Room Associated drop-down menu).
7. The screen refreshes and the New Room: Settings menu appears.
8. Proceed to the Live Classroom Creation instructions below.
3

Live Classroom Creation
To Specify Live Classroom Settings 1. Complete the requested information in the following tabs:
a. Room Info
1. Title: Give your Live Classroom a relevant title.
2. Description (optional): Enter a description that is helpful to you. Students do not have access to the Description text.
3. Type: Select Students and instructors have the same rights if you would like to provide all students with Presenter access to your room (by default, Instructors lead the presentation is selected).
b. Media
1. Student Privileges (only available if Instructors lead the presentation is selected in the Type setting above):
• Enable students to speak by default: controls whether student microphones are turned on when they enter the Live Classroom.
• Enable students to show their video by default: controls whether students may broadcast video when they enter the Live Classroom.
• Enable students to use the phone: controls students' use of the phone simulcast option.
2. Video Bandwidth: determines the necessary bandwidth to view/share video, as well as set a ceiling at which participants and presenters can broadcast video.
c. Features
1. Status Indicators:
• Enable User Status Indicators: allows users to select Status Indicator emoticons during a live presentation
• User Status updates appear in chat: controls whether a textual message appears whenever user status changes occur
2. eBoard (only applicable if Instructors lead the presentation is selected in the Type setting above):
• Enable students to use the eBoard by default: controls student access to the eBoard (virtual white board) when they enter Live Classroom
3. Breakout Rooms (only applicable if Instructors lead the presentation is selected in the Type setting above):
• Enable Breakout Rooms: provides access to separate rooms to which instructors may distribute students for group work and practice
• Students can see content created in other Breakout Rooms: grants students the ability to view content created in other Breakout Rooms, from the time they are distributed
• Students in Breakout Rooms can see Main Room folders: provides students in Breakout Rooms access to Main Room content
4. Presenter Console (only applicable if Students and instructors have the same rights is selected in the Type setting above):
4
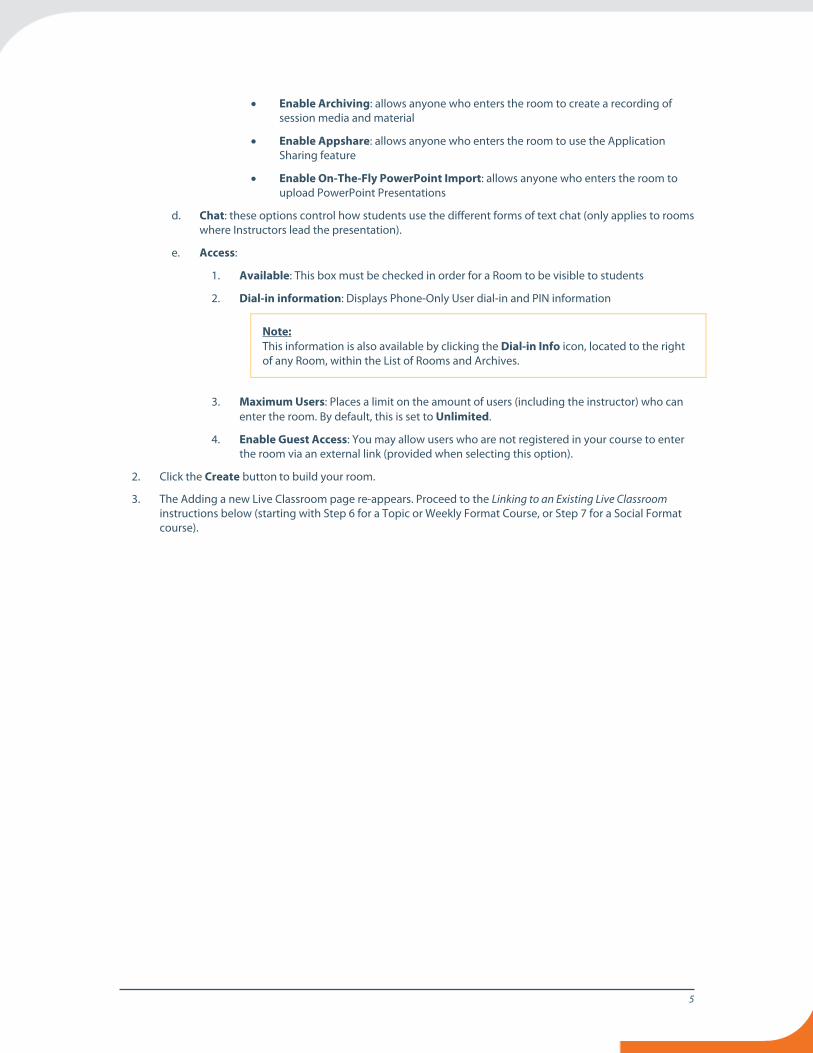
• Enable Archiving: allows anyone who enters the room to create a recording of session media and material
• Enable Appshare: allows anyone who enters the room to use the Application Sharing feature
• Enable On-The-Fly PowerPoint Import: allows anyone who enters the room to upload PowerPoint Presentations
d. Chat: these options control how students use the different forms of text chat (only applies to rooms where Instructors lead the presentation).
e. Access:
1. Available: This box must be checked in order for a Room to be visible to students
2. Dial-in information: Displays Phone-Only User dial-in and PIN information
Note: This information is also available by clicking the Dial-in Info icon, located to the right of any Room, within the List of Rooms and Archives.
3. Maximum Users: Places a limit on the amount of users (including the instructor) who can enter the room. By default, this is set to Unlimited.
4. Enable Guest Access: You may allow users who are not registered in your course to enter the room via an external link (provided when selecting this option).
2. Click the Create button to build your room.
3. The Adding a new Live Classroom page re-appears. Proceed to the Linking to an Existing Live Classroom instructions below (starting with Step 6 for a Topic or Weekly Format Course, or Step 7 for a Social Format course).
5
Linking to an Existing Live Classroom (Topic or Weekly Format)
To Link to an Existing Live Classroom 1. Log in to Moodle as a Teacher or Administrator.
2. Select a Course to modify from the list of available courses.
3. Click the Turn editing on button.
4. Click the Add an activity drop-down menu.
5. Select Live Classroom. The Adding a new Live Classroom page appears.
6. Enter a title for the room link in the Name field.
7. Select the appropriate area where you wish the link to appear in the Week (or Topic) for this activity field.
8. Choose the room to which you wish to link within the Room associated drop-down menu.
9. Select Show or Hide from the Visible to students drop-down menu to set room availability.
10. If you wish to link to this room from your course calendar, leave the Add a calendar event box checked (or uncheck this box, if you do not want to create a calendar entry). Enter the relevant time, date, and Duration (Description is optional).
11. Click the Create button.
The Live Classroom launches in a pop-up window (which you may close). A permanent link also appears within the appropriate Topic or Week.
You may access your Course homepage, or the List of Rooms and Archives, using the breadcrumb bar in the upper left-hand corner of the screen.
6

Linking to an Existing Live Classroom (Social Format)
To Link to an Existing Live Classroom 1. Log in to Moodle as a Teacher or Administrator.
2. Select a Course to modify from the list of available courses.
3. Click the Turn editing on button.
4. Within the Social Activities Block, click the Add an activity drop-down menu.
Note: If the Social Activities Block is not available, use the Blocks drop-down menu to add it.
5. Select Live Classroom. The Adding a new Live Classroom page appears.
6. Enter a title for the room link in the Name field.
7. Choose the room to which you wish to link within the Room associated drop-down menu.
8. Select Show or Hide from the Visible to students drop-down menu to set room availability.
9. If you wish to link to this room from your course calendar, leave the Add a calendar event box checked (or uncheck this box, if you do not want to create a calendar entry). Enter the relevant time, date, and Duration (Description is optional).
10. Click the Create button.
The Live Classroom launches in a pop-up window (which you may close). A permanent link also appears within the Social Activities Block.
You may access your Course homepage, or the List of Rooms and Archives, using the breadcrumb bar in the upper left-hand corner of the screen.
7

List of Rooms and Archives Following the creation of your first Live Classroom Activity Module, a Live Classrooms link appears in the Activities Block on the Course homepage.
Note: If the Activities Block is not visible, add it using the Blocks drop-down menu.
Click this link to display a List of all Rooms and Archives associated with this Course. This List provides Teachers and Administrators with the ability to create additional Rooms, as well as modify existing Rooms.
Archives (recorded sessions from a Room) automatically appear nested below each Room in the List of Rooms and Archives.
Creating a New Room
To Create a New Room 1. Log in to Moodle as a Teacher or Administrator.
2. Select a Course to modify from the list of available courses.
3. Click the Live Classrooms link within the Activities Block. The List of Rooms and Archives will load
4. Click the New (+) button in the toolbar at the top of the List
5. Proceed to the Creating a New Live Classroom instructions above, relevant to your course format.
Modifying Settings and Adding Content
To Modify Settings and Add Content 1. Log in to Moodle as a Teacher or Administrator.
2. Select a Course to modify from the list of Available courses.
3. Click the Live Classrooms link within the Activities Block. The List of Rooms and Archives loads.
4. Click the title of the Room/Archive of your choice
5. Select the appropriate icon in the toolbar of the list:
a. Launch: Access a selected Room/Archive in a new window, test your content, and actually conduct your class.
b. Add Activity: Link to any Room from a Topic/Week (or from the Social Activities Block, within a Social Format course).
c. New: Build a new Live Classroom. For more information, refer to Live Classroom Creation.
d. Content: Click here to open a new browser window. From this window, you may use more advanced tools for managing Live Classroom content. Refer to Live Classroom Documentation for additional details.
e. Reports:
8

• Poll Results: View results of any Live Classroom polls published in this Room/Archive. Refer to Live Classroom Documentation for additional details.
• Tracking: View attendance data for this Room/Archive.
f. Settings: These settings are detailed in Live Classroom Creation. An additional tab, Advanced, is available when modifying a Room. When navigating to this tab, a confirmation prompt appears. Click OK to proceed. Two buttons appear:
• Advanced Room Settings...
• Advanced Media Settings...
These buttons provide more in-depth room options not available in the Settings panel.
g. Delete: Delete a selected Room/Archive permanently.
Additional features include:
• Search Box: Search for a specific Room/Archive by its title.
• Instructor View Menu: Switch to Student View to see what your students will see when accessing the List of Rooms and Archives.
• Dial-in Info Icon: Located to the right of a Room/Archive's Status Icon. This displays Phone-Only User dial-in and PIN information. Instructors can review this information for Instructors and Students. Students see only Student relevant info.
Note: This information is also available to Instructors within the Access section of the Settings panel.
• Status Icons: Located to the far right of each Room/Archive title. Green indicates that students can access the Room/Archive. Red indicates it is hidden. Double-click this icon to launch the Room/Archive (you may also double-click the entire row, or select the Room and click the Launch icon, as detailed above). Room status can only be changed from within the Settings panel.
Note: When an Archive is created, it is unavailable by default.
To Make an Archive Available to Students 1. Click the title of the Archive.
2. Click the Settings icon.
3. Click the Access tab.
4. Check the Available box.
5. Click the Save all button.
9
Live Classroom Best Practices Live Classroom provides the flexibility to enhance Moodle Courses utilizing the Weekly or Topic Format. With these Formats in mind, consider the following Best Practices to make the most out of Live Classroom integration within Moodle.
Topic Format
Teachers may consider creating a Live Classroom Activity Module within 0. Topic, linking to the Main Room, providing quick access similar to that of the Forums. This room can then be used repeatedly for synchronous class meetings, without the need to build additional rooms.
It may also be helpful to add text to 0. Topic containing instructions on how to access Archives from the List of Rooms and Archives.
Group Rooms (for practice and/or student-led presentations) can be linked from Activity Modules specific to particular assignments associated with an appropriate Topic, or also from 0. Topic, for fast navigation.
Weekly Format
As the Weekly Format of a Moodle Course provides time sensitive information to students, Teachers may wish to consider adding a Live Classroom Activity Module within Week 0: Introduction session, linking to the Main Room. This room can then be used repeatedly for synchronous class meetings, without the need to build additional rooms.
It may also be helpful to add text to Week 0, containing instructions on how to access Archives from the List of Rooms and Archives.
Group Rooms (for practice and/or student-led presentations) can be linked from Activity Modules specific to particular assignments associated with an appropriate week, or also from Week 0, for fast navigation.
Social Format
As previously discussed, in order for the List of Rooms and Archives to appear, at least one Live Classroom Activity Module must be added to the Social Activities Block. With this in mind, Teachers may wish to link to the Main Room, providing easy access in the same vicinity as the Forums. This room can then be used repeatedly for synchronous class meetings, without the need to build additional rooms.
It may also be helpful to add a Topic containing instructions on how to access Archives from the List of Rooms and Archives.
Group Rooms (for practice and/or student-led presentations) can be linked from the Social Activities Block for fast navigation.
10

Adding a Voice Tool Activity Module Teachers (with editing privileges) and Administrators may add a Voice Tool (Voice Board, Voice Presentation, or Wimba Podcaster) as an Activity Module to any Moodle Course homepage, provided the course is configured with the Topic, Weekly, or Social Format.
The first time you add a Voice Tool Activity Module, you will be prompted to create a Voice Tool. When adding subsequent Voice Tool Activity Modules, you may either link to an existing Voice Tool, or create a new one.
These steps must be completed before you can build additional Tools.
11
Creating Your First Voice Tool (Topic or Weekly Format)
To Create Your First Voice Tool 1. Log in to Moodle as a Teacher or Administrator.
2. Select a Course to modify from the list of available courses.
3. Click the Turn editing on button.
4. Click the Add an activity drop-down menu.
5. Select Wimba Voice Tool. A prompt appears, displaying the words: "Welcome to Wimba Voice Tools! There are no Voice Tools associated with this course. Click OK to create one."
6. Click OK.
7. The screen refreshes and the New Wimba Voice Tool menu appears.
8. Proceed to the appropriate instructions below (Voice Board Creation, Voice Presentation Creation, or Wimba Podcaster Creation).
Creating Your First Voice Tool (Social Format)
To Create Your First Voice Tool 1. Log in to Moodle as a Teacher or Administrator.
2. Select a Course to modify from the list of available courses.
3. Click the Turn editing on button.
4. Within the Social Activities Block, click the Add an activity drop-down menu.
Note: If the Social Activities Block is not available, use the Blocks drop-down menu to add it.
5. Select Wimba Voice Tool. A prompt appears, displaying the words: "Welcome to Wimba Voice Tools! Click OK to create your first tool."
6. Click OK.
7. The screen refreshes and the New Wimba Voice Tool menu appears.
8. Proceed to the appropriate instructions below (Voice Board Creation, Voice Presentation Creation, or Wimba Podcaster Creation).
12

Voice Board Creation
To Specify Voice Board Settings
1. Click the New Board icon.
2. Complete the requested information in the following tabs:
a. Info
1. Title: Give your Voice Board a relevant name.
2. Description (optional): Text entered here appears below the Title and above the Voice Board.
3. Type: By default, students can see one another's posts, and post replies to any message, in a (Public) Voice Board.
• Select Students can start a new thread to enable their ability to compose top-level messages (only applicable to a Public Board).
• If you select Private, students cannot view each other’s threads. The instructor can still view all threads. This is a powerful tool for creating private exercises, assessments, and other types of one-on-one exchanges between instructors and students.
b. Media
1. Audio Quality: Adjust the quality of recording depending on the environment in which the Voice Board will be used. The higher the quality is set, the more bandwidth that will be required. This setting can be changed at any time but messages that have already been posted will play in their original encoding. The default setting of Standard Quality (12.8 kbits/s) works well for most situations.
2. Max message length: Adjust the maximum recording length allowed for users to post messages.
c. Features
1. Display short message titles: When checked, the Voice Board provides less information in the title of the messages (length of the audio message, date of the posting...) making the display more compact.
2. Display messages in chronological order: When checked, the Voice Board displays the messages beginning with oldest messages first (at the top).
3. Allow students to forward messages: When checked, students can forward messages from the Voice Board via email. The Voice Board only accepts email addresses external to Moodle.
d. Access
1. Available: This box must be checked in order for a Voice Board to be visible to students. You may also specify time/date parameters for this Board's availability to students.
3. Click the Create button to build your Voice Board.
4. The Adding a new Wimba Voice Tool page re-appears. Proceed to the Linking to an Existing Voice Tool instructions below (starting with Step 6 for a Topic or Weekly Format Course, or Step 7 for a Social Format course).
13

Voice Presentation Creation
To Specify Voice Presentation Settings
1. Click the New Presentation icon.
2. Complete the requested information in the following tabs:
a. Info
1. Title: Give your Voice Presentation a relevant name.
2. Description (optional): Text entered here appears below the Title and above the Voice Presentation.
3. Students can comment the slides: When checked, students can add vocal and/or text comments to each slide within the Voice Presentation.
4. Make slide comments private: When checked, students cannot view each other’s comments within the Voice Presentation. The instructor can still view all comments. This is a powerful tool for creating private exercises, assessments, and other types of one-on-one exchanges between instructors and students.
b. Media
1. Audio Quality: Adjust the quality of recording depending on the environment in which Voice Presentation will be used. The higher the quality is set, the more bandwidth that will be required. This setting can be changed at any time but messages that have already been recorded will play in their original encoding. The default setting of Standard Quality (12.8 kbits/s) works well for most situations.
2. Max message length: Adjust the maximum recording length allowed for users to post messages.
c. Access
1. Available: This box must be checked in order for a Voice Presentation to be visible to students. You may also specify time/date parameters for this Presentation's availability to students.
3. Click the Create button to build your Voice Presentation.
4. The Adding a new Wimba Voice Tool page re-appears. Proceed to the Linking to an Existing Voice Tool instructions below (starting with Step 6 for a Topic or Weekly Format Course, or Step 7 for a Social Format course).
14
Wimba Podcaster Creation
To Specify Wimba Podcaster Settings
1. Click the New Wimba Podcaster icon.
2. Complete the requested information in the following tabs:
a. Info
1. Title: Give your Podcaster a relevant name.
2. Description (optional): Text entered here appears below the Title and above the Podcaster.
3. Allow users to post to podcast: When checked, students can add vocal and textual posts to Podcaster. (This option is useful if you would like individual students, or study groups, to have their own podcast). Otherwise, only the instructor can post messages.
b. Media
1. Audio Quality: Adjust the quality of recording depending on the environment in which the Podcaster will be used. The higher the quality is set, the more bandwidth that will be required. This setting can be changed at any time but messages that have already been posted will play in their original encoding. The default setting of Standard Quality (12.8 kbits/s) works well for most situations.
2. Podcast auto publish: By default, posts are published (and therefore downloaded to the computers of subscribed users) after 5 minutes of creation. Only during this time may the author edit the text within the post and/or re-record the audio. You may adjust this setting to a shorter or longer duration.
c. Features
1. Display short message titles: When checked, the Podcaster provides less information in the title of the messages (length of the audio message, date of the posting...) making the display more compact.
d. Access
1. Available: This box must be checked in order for a Podcaster to be visible to students. You may also specify time/date parameters for this Podcaster's availability to students.
3. Click the Create button to build your Wimba Podcaster.
4. The Adding a new Wimba Voice Tool page re-appears. Proceed to the Linking to an Existing Voice Tool instructions below (starting with Step 6 for a Topic or Weekly Format Course, or Step 7 for a Social Format course).
15
Creating Subsequent Voice Tools
To Create Subsequent Voice Tools 1. Log in to Moodle as a Teacher or Administrator.
2. Select a Course to modify from the list of available courses.
3. Click the Turn editing on button.
4. Click the Add an activity drop-down menu.
5. Select Wimba Voice Tool. The Adding a new Wimba Voice Tool page appears.
6. Click the New button (located to the right of the Associated Voice Tools drop-down menu).
7. The screen refreshes and the New Wimba Voice Tool menu appears.
8. Proceed to the appropriate instructions above (Voice Board Creation, Voice Presentation Creation, or Wimba Podcaster Creation).
16

Linking to an Existing Voice Tool (Topic or Weekly Format)
Once you have created your first Voice Tool Activity Module (which requires that you build your first Voice Tool), you can now link to this tool, or any subsequently built Voice Tools.
Note: If you reached the Adding a new Wimba Voice Tool page following the creation of a new Voice Tool, proceed to Step 6.
To Link to an Existing Voice Tool 1. Log in to Moodle as a Teacher or Administrator.
2. Select a Course to modify from the list of available courses.
3. Click the Turn editing on button.
4. Click the Add an activity drop-down menu.
5. Select Wimba Voice Tool. The Adding a new Wimba Voice Tool page appears.
6. Enter a title for the tool link in the Name field
7. Select the appropriate area where you wish the link to appear in the Week (or Topic) for this activity field
8. Choose the tool to which you wish to link within the Associated Voice Tools drop-down menu (listed by tool)
Note: If you just created a new Voice Tool, this menu will be pre-populated with that tool and does not need to be modified.
9. Select Show or Hide from the Visible to students drop-down menu to set room availability
10. If you wish to link to this tool from your course calendar, leave the Add a calendar event box checked (or uncheck this box, if you do not want to create a calendar entry). Enter the relevant time, date, and Duration (Description is optional).
11. Click the Create button.
The Voice Tool launches in a pop-up window (which you may close). A permanent link also appears within the appropriate Topic or Week.
You may access your Course homepage, or the List of Voice Tools, using the breadcrumb bar in the upper left-hand corner of the screen.
17

Linking to an Existing Voice Tool (Social Format)
Once you have created your first Voice Tool Activity Module (which requires that you build your first Voice Tool), you can now link to this tool, or any subsequent Voice Tools
Note: If you reached the Adding a new Wimba Voice Tool page following the creation of a new Voice Tool, proceed to Step 7.
1. Log in to Moodle as a Teacher or Administrator.
2. Select a Course to modify from the list of available courses.
3. Click the Turn editing on button.
4. Within the Social Activities Block, click the Add an activity drop-down menu.
Note: If the Social Activities Block is not available, use the Blocks drop-down menu to add it.
5. Select Wimba Voice Tool. The Adding a new Wimba Voice Tool page appears.
6. Enter a title for the tool link in the Name field.
7. Choose the tool to which you wish to link within the Voice Tool associated drop-down menu (listed by tool).
Note: If you just created a new Voice Tool, this menu will be pre-populated with that tool and does not need to be modified.
8. Select Show or Hide from the Visible to students drop-down menu to set room availability.
9. If you wish to link to this tool from your course calendar, leave the Add a calendar event box checked (or uncheck this box, if you do not want to create a calendar entry). Enter the relevant time, date, and Duration (Description is optional).
10. Click the Create button.
The Voice Tool launches in a pop-up window (which you may close). A permanent link also appears within the Social Activities Block.
You may navigate to your Course homepage, or the List of Voice Tools, using the breadcrumb bar in the upper left-hand corner of the screen.
18

List of Voice Tools Following the creation of your first Voice Tool Activity Module, a Wimba Voice Tools link appears in the Activities Block on the Course homepage.
Note: If the Activities Block is not visible, add it using the Blocks drop-down menu.
Click this link to display a List of all Voice Tools associated with this Course. This List provides Teachers and Administrators with the ability to create additional resources, as well as modify existing ones.
Creating a New Voice Tool
To Create a New Voice Tool 1. Log in to Moodle as a Teacher or Administrator.
2. Select a Course to modify from the list of available courses.
3. Click the Wimba Voice Tools link within the Activities Block. The List of Voice Tools loads.
4. Click the New (+) button in the toolbar at the top of the List.
5. Proceed to the appropriate instructions above (Voice Board Creation, Voice Presentation Creation, or Wimba Podcaster Creation).
Modifying Settings and Adding Content
To Modify Settings and Add Content 1. Log in to Moodle as a Teacher or Administrator.
2. Select a Course to modify from the list of Available courses.
3. Click the Voice Tools link within the Activities Block. The List of Voice Tools loads.
4. Click the title of the tool of your choice.
5. Select the appropriate icon in the toolbar of the list:
a. Launch: Access a selected tool in a new window, add content, and fully utilize the tool.
b. Add Activity: Link to any tool from a Topic/Week (or from the Social Activities Block, within a Social Format course).
c. New: Build a new Voice Tool. For more information, refer to Creating a New Voice Tool.
d. Settings: These settings are detailed in Adding a Voice Tool Activity Module (refer to the Creation section relevant to the tool you wish to modify).
e. Delete: Delete a selected tool permanently.
19

Additional features include:
• Search Box: Search for a specific tool by its title.
• Instructor View Menu: Switch to Student View to see what your students see when accessing the List of Voice Tools.
• Status Icons: Located to the far right of each tool's title. Green indicates that students can access the tool. Red indicates it is hidden. Double-click this icon to launch the tool (you may also double-click the entire row, or select the tool and click the Launch button, as detailed above). Tool status can only be changed from within the Settings panel.
20

Voice Recorder Block Voice Recorder enhances Moodle courses by providing Instructors an ability to embed vocal messages and announcements. This Block can be added multiple times to the Course homepage.
To Add a Voice Recorder Block 1. Log in to Moodle as a Teacher or Administrator.
2. Select a Course to modify from the list of available courses.
3. Click the Turn editing on button.
4. Click the Blocks drop-down menu.
5. Select Voice Recorder. The Voice Recorder Block appears.
6. An applet loads, displaying the following controls:
a. Click the Record button (circle icon) and speak into a headset or microphone connected to your computer to record your message.
b. Click Pause (two bars icon) to pause recording. Click this button again to resume recording.
c. Click Stop (square icon) when you have completed your message.
d. Click Play (triangle icon) to listen to your message. Click Record to re-record the message, if desired.
7. If you wish to change the title or description:
a. Click the Edit link.
b. Enter a fitting name for this announcement in the top box.
c. You may also type an optional description in the box below the title.
d. Click the Save link (or click anywhere outside the Voice Recorder applet).
21

22
Disclaimer
This Guide, as well as the software described in it, furnished under license may only be used or copied in accordance with the terms of such license. The information in this Guide is furnished for information purposes only, is subject to change without notice, and should not be construed as a commitment by Wimba, Inc. Wimba, Inc. assumes no responsibility or liability for any errors or inaccuracies that may appear in this Guide. Except as permitted by such license, no part of this Guide publication may be reproduced, stored in a retrieval system or transmitted in any form by any means, electronic, mechanical, recording or otherwise without the prior written permission of Wimba, Inc. Any references to company names in examples or illustrations are for demonstration purposes only and are not intended to refer to any actual organizations.
Live Classroom, Wimba Voice Tools, and the Wimba logos and trademarks are property of Wimba, Inc., 10 East 40th St, Floor 11, New York, NY, 10016.
(c) 2008 Wimba, Inc. All Rights Reserved.
Related Documents