Moodle at Palmyra
Feb 24, 2016
Moodle at Palmyra . Presented by Kim-Kathie Knudsen Kim- [email protected]. Goals of this Tutorial. Understand the history of Moodle See how Moodle fits in Palmyra View completed Moodle pages of those in your building Create your own Moodle page Ask questions - PowerPoint PPT Presentation
Welcome message from author
This document is posted to help you gain knowledge. Please leave a comment to let me know what you think about it! Share it to your friends and learn new things together.
Transcript

Moodle at Palmyra Presented by Kim-Kathie [email protected]

Goals of this Tutorial
• Understand the history of Moodle• See how Moodle fits in Palmyra• View completed Moodle pages of those in
your building• Create your own Moodle page• Ask questions• Explore the Moodle interface
What is Moodle?
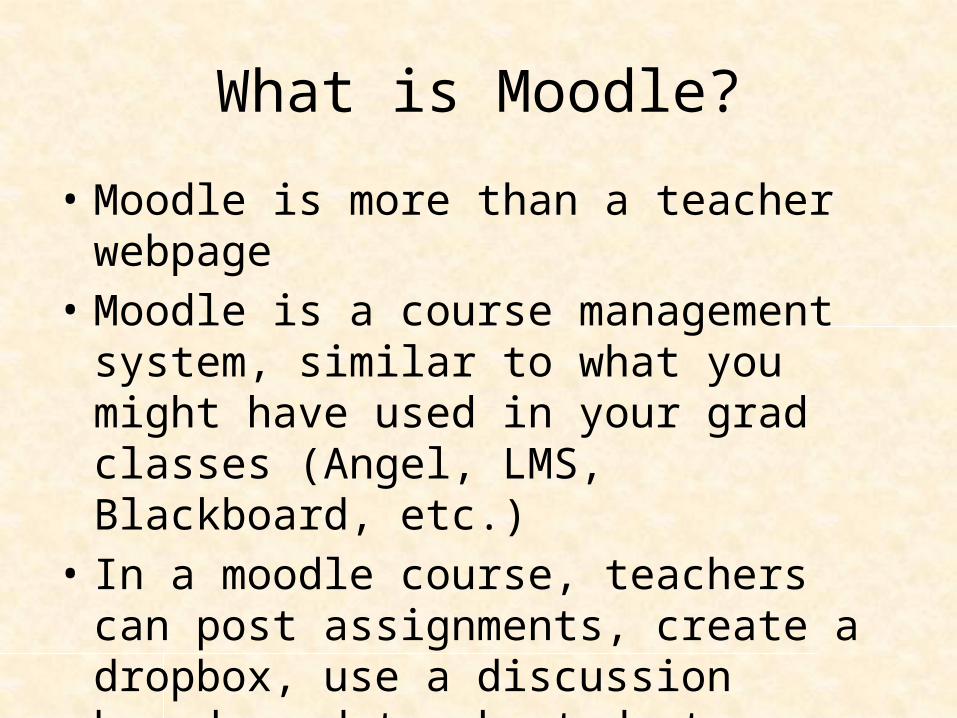
• Moodle is more than a teacher webpage• Moodle is a course management system,
similar to what you might have used in your grad classes (Angel, LMS, Blackboard, etc.)
• In a moodle course, teachers can post assignments, create a dropbox, use a discussion board, and track student progress

Moodle at Palmyra
• Suitable for all levels• Middle school: team page, teacher links• High school: organized by department
Moodle Facts
• Students log in with usernames and passwords, which are generated by the Technology department.
• Teachers log in with the same username/password combo as school email and wireless.
• KK sets up a blank course in Moodle.• Teachers create content, make changes, and
constantly update Moodle.

Moodle Roles- everyone has one!
• Administrators can see all courses and can assist if you have problems. Admins are building admins and tech.
• Teachers create and manage courses.• Non-editing teachers can see your course and
can download resources. This is great for special ed aides.
• Students enroll in courses.

Ready to Moodle?
• Try out the Moodle demo course• Check out Moodle courses of current Palmyra
teachers: • Melanie Wiscount’s Keyboarding I• Kim Shirk’s College Prep Algebra II• Lisa Hollenbach’s Psychology• Please contact KK for more courses. Some are
closed for guest access.
Let’s Begin!
• Decide which course you want to begin• KK will create a blank course for you• Log into Moodle using the Moodle icon on the
PASD homepage• Click on the course to enter it• Edit your course• Email admin for approval

Welcome to your Moodle page! Here are the basics…
• Moodle is organized in Topics, which can be topics in your course or chapters/units of curriculum. You can add more topics.
• The settings tab lets you change enrollment, page layout, and color.
• To make any changes in Moodle, you need to be in Edit mode, which is turned on at the top right of the page.
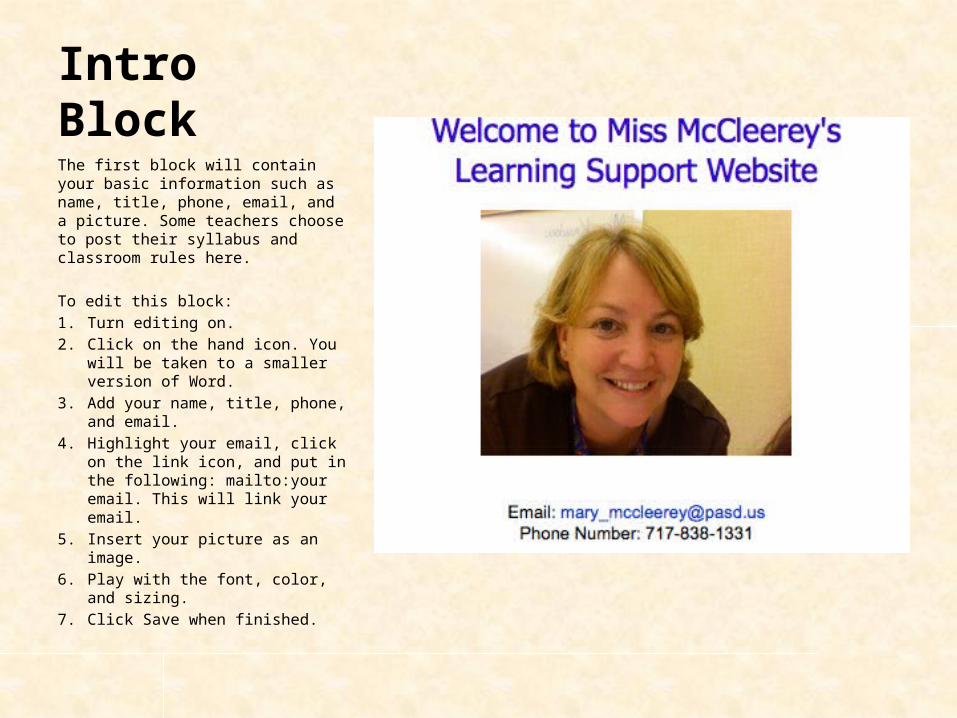
Intro BlockThe first block will contain your basic information such as name, title, phone, email, and a picture. Some teachers choose to post their syllabus and classroom rules here.
To edit this block:1. Turn editing on.2. Click on the hand icon. You will be
taken to a smaller version of Word.3. Add your name, title, phone, and
email.4. Highlight your email, click on the
link icon, and put in the following: mailto:your email. This will link your email.
5. Insert your picture as an image.6. Play with the font, color, and sizing.7. Click Save when finished.

Organizing your Moodle page
• Think about your topics/blocks and plan the titles. To add a title or description, click on the hand symbol of the block.
• To edit, add your text and images, and save the changes. This can be as long as you want!

Uploading Files
• Uploading files is a useful feature on Moodle.
• In edit mode, click on “Add a resource”.
• Follow the directions to upload the file.
• Consider uploading files as a PDF!

Adding Labels or Descriptions
• In Moodle, if you want to add a line of text to describe your file, you need to add a label.
• Click on “Add a resource” and then “Insert a label”. Add content, save, and close.
Linking to Webpages
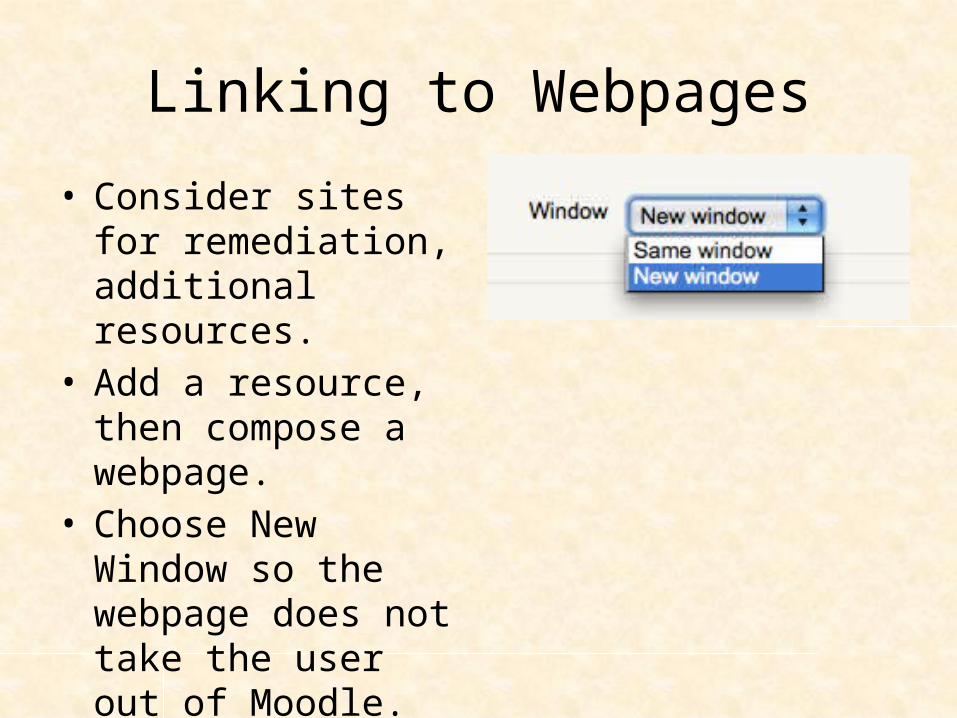
• Consider sites for remediation, additional resources.
• Add a resource, then compose a webpage.
• Choose New Window so the webpage does not take the user out of Moodle.

Additional Moodle Features
• Moodle can be more than a storage space of information.
• You can add a dropbox, quiz, test, glossary, discussion board, and a wiki.
• See the Advanced Moodle tutorial for more info.

Think you are finished? What to do next….
• Email your principal for approval.
• Once approved, make your Moodle public.
• On the settings page, choose to make it available and create a key.
• Let KK know when you are at this step.
Congratulations! You have now created your first Moodle
course!
-Let KK know if you have questions at any time.
Related Documents