Mission 2 Message the player https://roderickvella.wordpress.com

Welcome message from author
This document is posted to help you gain knowledge. Please leave a comment to let me know what you think about it! Share it to your friends and learn new things together.
Transcript

Mission 2 Message the player
https://roderickvella.wordpress.com

Mission Objectives
• Welcome to your second mission. In this mission we are going to learn how to message a user when s/he joins your multiplayer server.
• First we need to create the necessary files and then program the code to display a message to the player on the screen. Let’s start.
Example: Mission 2 – Prog 1

Step 1
• From now onwards [root] means the default installation path of Call of Duty 4.
• Which is C:\Program Files\Activision\Call of Duty 4 - Modern Warfare
Step 1
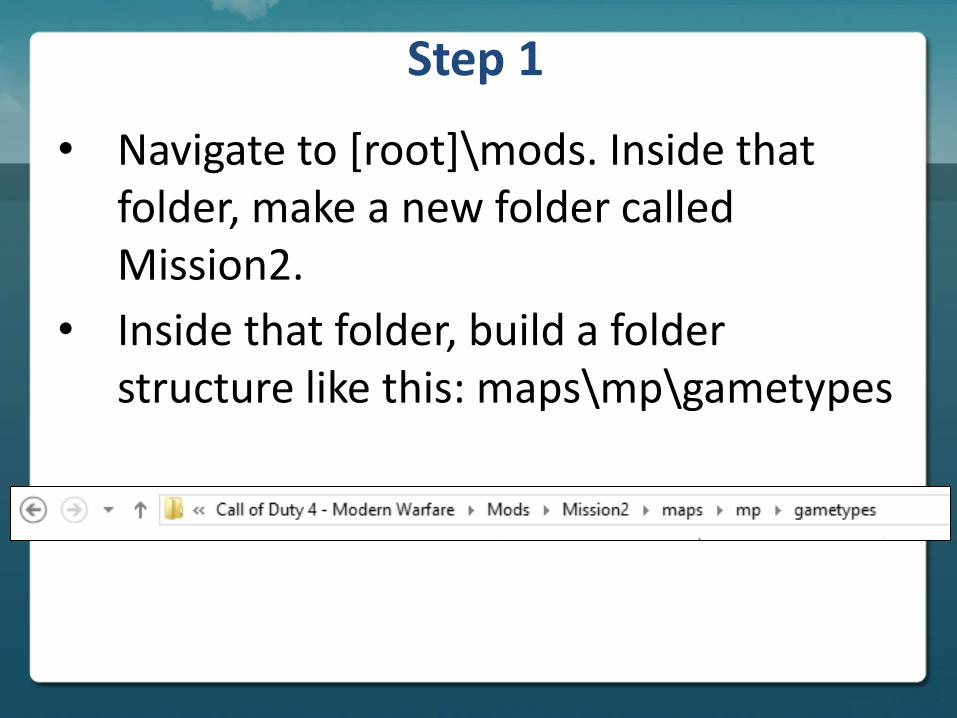
• Navigate to [root]\mods. Inside that folder, make a new folder called Mission2.
• Inside that folder, build a folder structure like this: maps\mp\gametypes

Step 1
• Now navigate to [root]\raw\maps\mp\gametypes and copy the file dm.gsc and place it in Mission2\maps\mp\gametypes
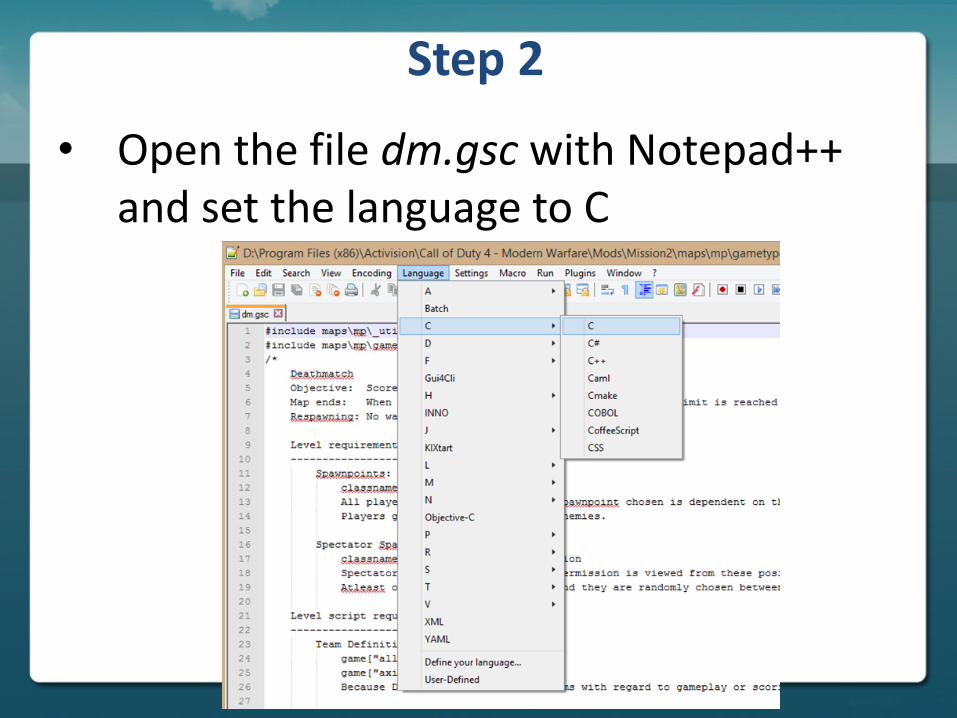
Step 2
• Open the file dm.gsc with Notepad++ and set the language to C

Step 3
Navigate to the function onSpawnPlayer(), type the following command and press save Mission 2 – Prog 1

Notes on Mission 2 – Prog 1
onSpawnPlayer() is a function that is called when the player spawns in the map. Functions are used to run multiple lines of code.
IprintLnBold writes bold line on the screen
Notes on Mission 2 – Prog 1
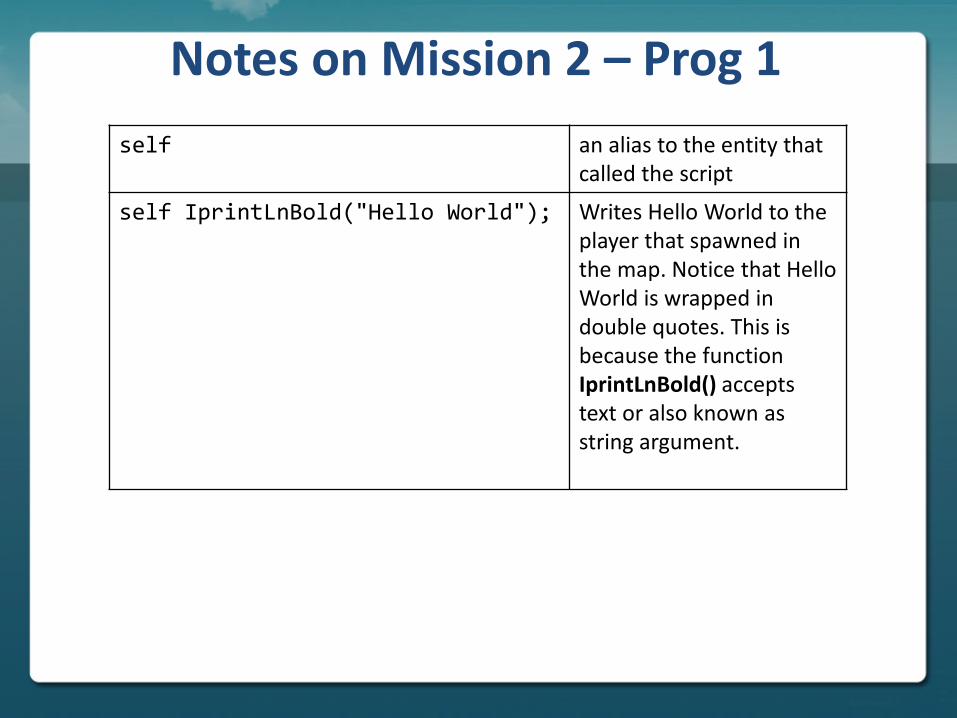
self an alias to the entity that called the script
self IprintLnBold("Hello World"); Writes Hello World to the player that spawned in the map. Notice that Hello World is wrapped in double quotes. This is because the function IprintLnBold() accepts text or also known as string argument.

Step 4
• Open [root]\bin\MoDBuilder.exe
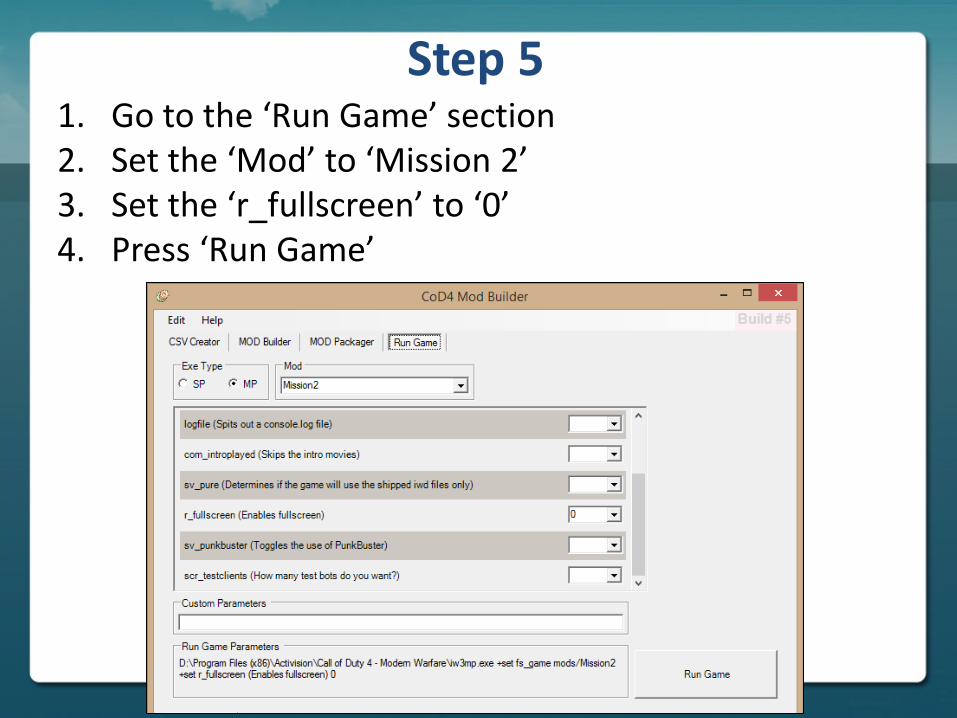
Step 5
1. Go to the ‘Run Game’ section 2. Set the ‘Mod’ to ‘Mission 2’ 3. Set the ‘r_fullscreen’ to ‘0’ 4. Press ‘Run Game’

Step 6
• Press ‘Start new Server’

Step 7
• For ‘Game Mode’ select ‘Free for all’ and press ‘Start’
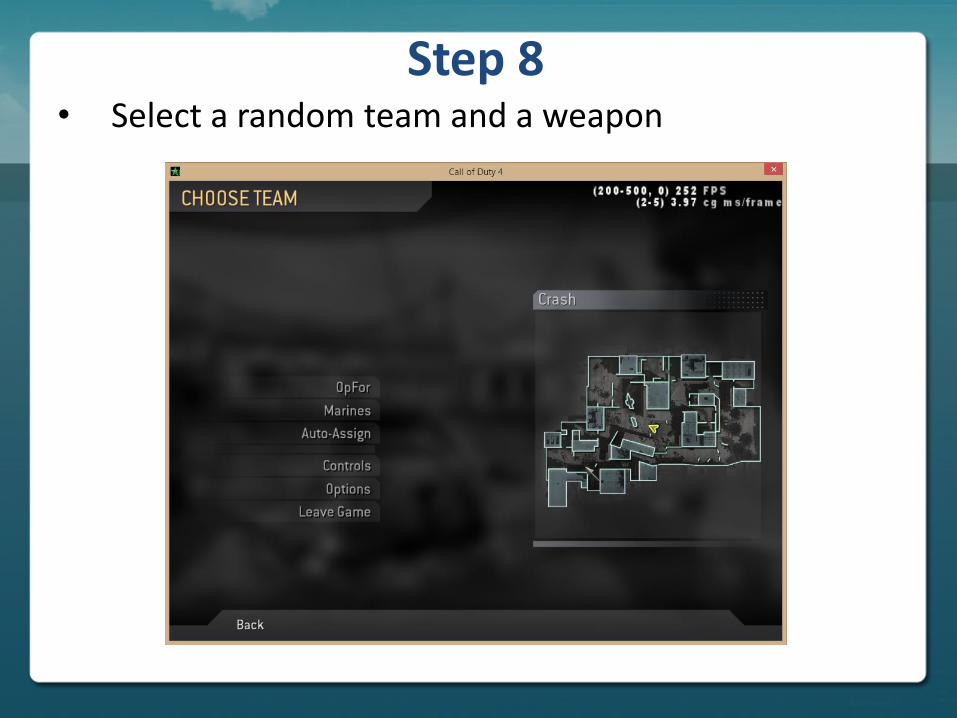
Step 8
• Select a random team and a weapon

Step 9
• When the player spawns on the map, ‘Hello world’ appears on the screen.
Practical Task

Mission 2 – Task 1
Create a new mod and name it ‘Mission2Task1’. When the player spawns on the map a message containing the following phrase should appear: “Good Luck Soldier”.

Related Documents