Creating a New Document [Ctrl+N]: Click File Menu Select & click new option Click blank document. Otherwise click (new blank document) icon in standard tool bar. To Open a Document [Ctrl+O]: It is used to opens already existed document. Click File menu Select on open option & click it. Otherwise click open icon in the standard tool bar. It opens a dialogue box & gives the file name then you will get the document. To Save a Document [Ctrl+S]: Click File menu select & click save option

MICROSOFT WORD.doc
Nov 29, 2015
eng
Welcome message from author
This document is posted to help you gain knowledge. Please leave a comment to let me know what you think about it! Share it to your friends and learn new things together.
Transcript
Creating a New Document [Ctrl+N]:
Click File Menu Select & click new option Click blank document. Otherwise click (new blank document) icon in standard tool bar.
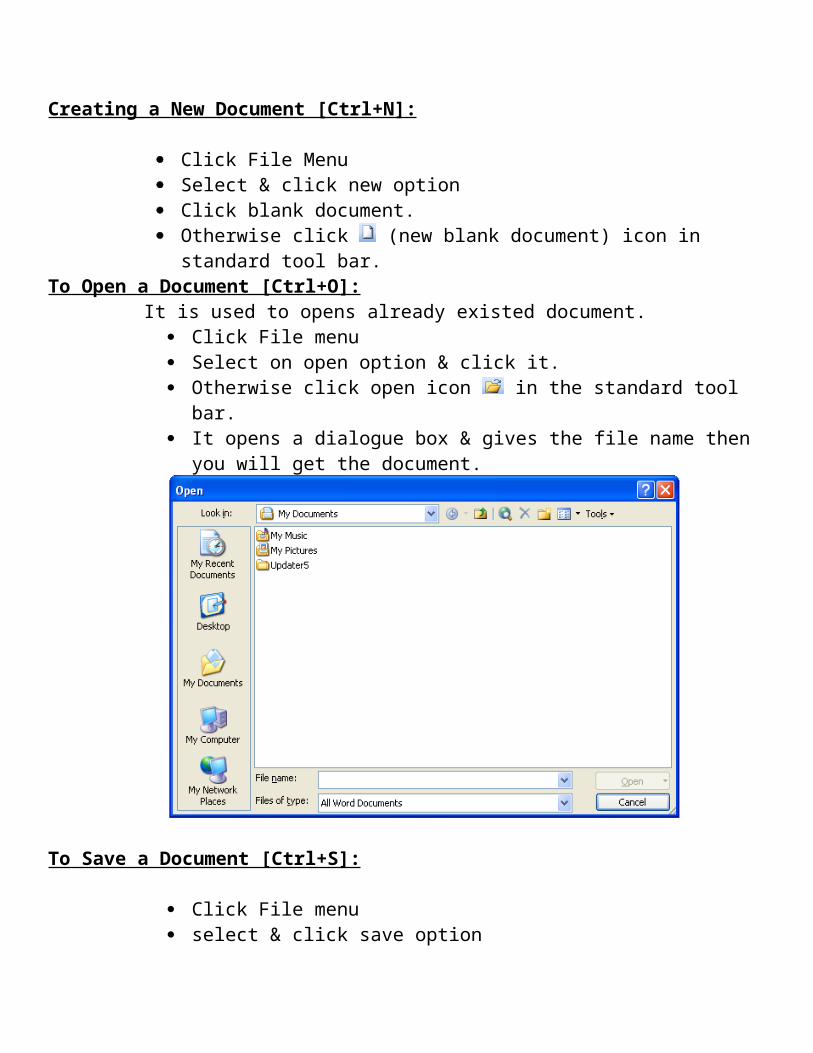
To Open a Document [Ctrl+O]:It is used to opens already existed document.
Click File menu Select on open option & click it. Otherwise click open icon in the standard tool bar. It opens a dialogue box & gives the file name then you will get the
document.
To Save a Document [Ctrl+S]:
Click File menu select & click save option Otherwise click save icon in Standard Toolbar.
Save As: It is used to apply a new name to the document. Click on file menu. Select on Save As option & click on it.
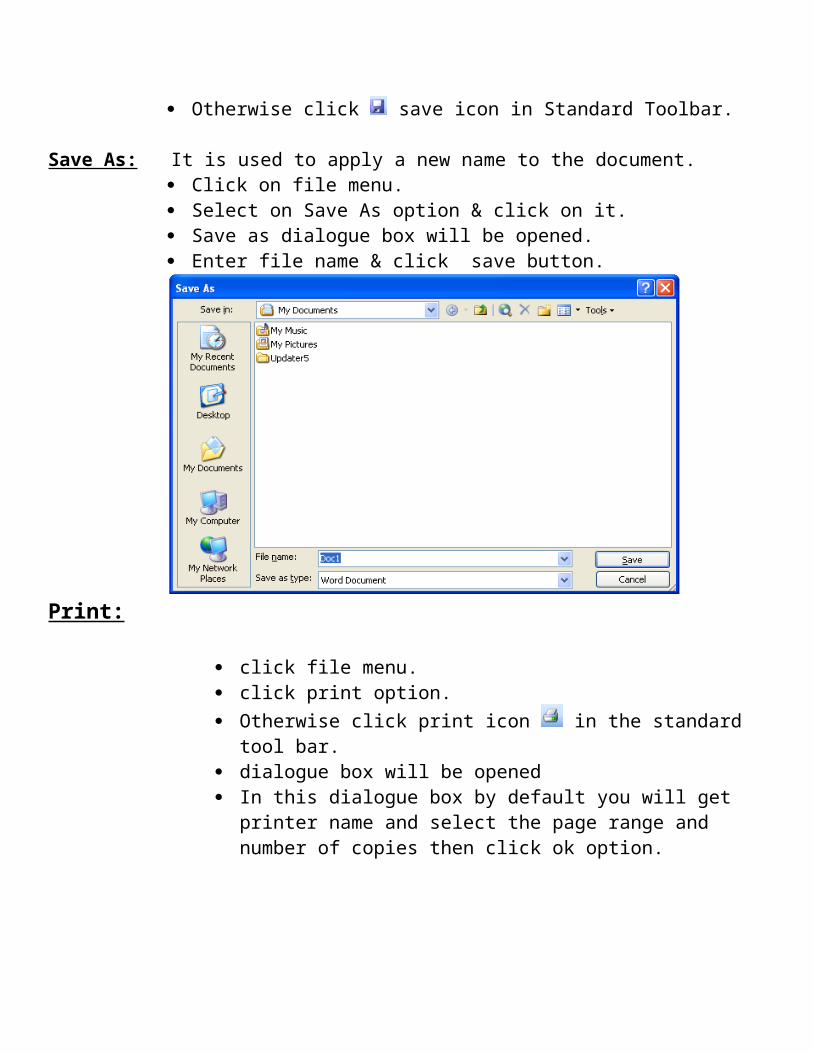
Save as dialogue box will be opened. Enter file name & click save button.
Print:
click file menu. click print option.
Otherwise click print icon in the standard tool bar. dialogue box will be opened In this dialogue box by default you will get printer name and select
the page range and number of copies then click ok option.

Page setup:
click file menu select page set up option A dialogue box is opened Here you have to set the margins like top,bottom,left & right Select the type of type of Orientation.

closing a Document:
click file menu select & click close option otherwise click close button in the menu bar.
Edit Word Document:
Cut, copy, paste options:
These options will allow you to cut or copy a piece of text from one location and to paste at a new location.
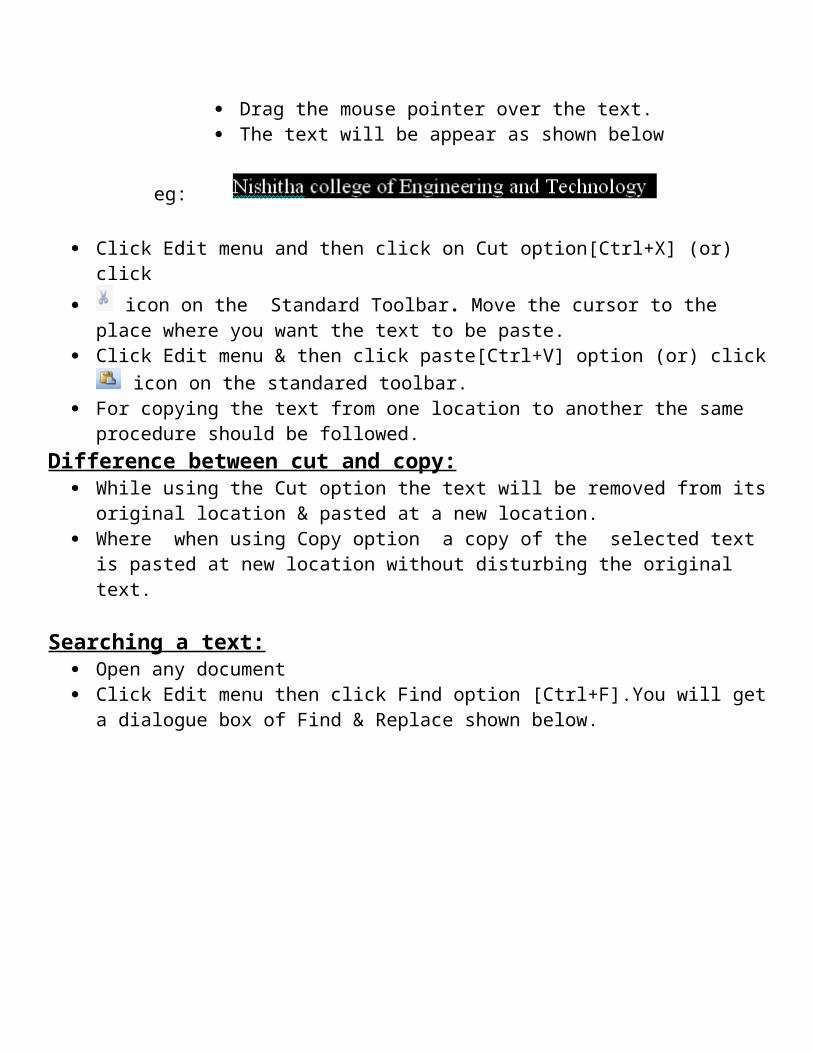
To do these functions: Place the cursor at the beginning of the text to be selected Drag the mouse pointer over the text. The text will be appear as shown below
eg:
Click Edit menu and then click on Cut option[Ctrl+X] (or) click
icon on the Standard Toolbar. Move the cursor to the place where you want the text to be paste.
Click Edit menu & then click paste[Ctrl+V] option (or) click icon on the standared toolbar.
For copying the text from one location to another the same procedure should be followed.Difference between cut and copy:
While using the Cut option the text will be removed from its original location & pasted at a new location.
Where when using Copy option a copy of the selected text is pasted at new location without disturbing the original text.
Searching a text: Open any document Click Edit menu then click Find option [Ctrl+F].You will get a dialogue box of Find &
Replace shown below.
In Find tab Find what text box type the word you want to find & then click FindNext button.
Continue clicking FindNext button until you get a message box as shown below.

Then click on ok & then click close button to close Find & Replace dialogue box.Replacing text:
Open any document. Click Edit menu then click replace option. A dialogue box is opened as shown above. In that click replace tab entet text in Find what text box & again enter text in Replace
with text box . Click replace all button then you will get a message box.
Moving cursor to a specific page:
If your document contains more than one page ,you can directly go to specified page by clicking Edit menu and then clicking GO TO option. You will get the dialogue box as shown below.

In the Enter page number text box ,type the required page number then you will get Go To button click Go TO option. Cursor will immediately jump to that particular page.
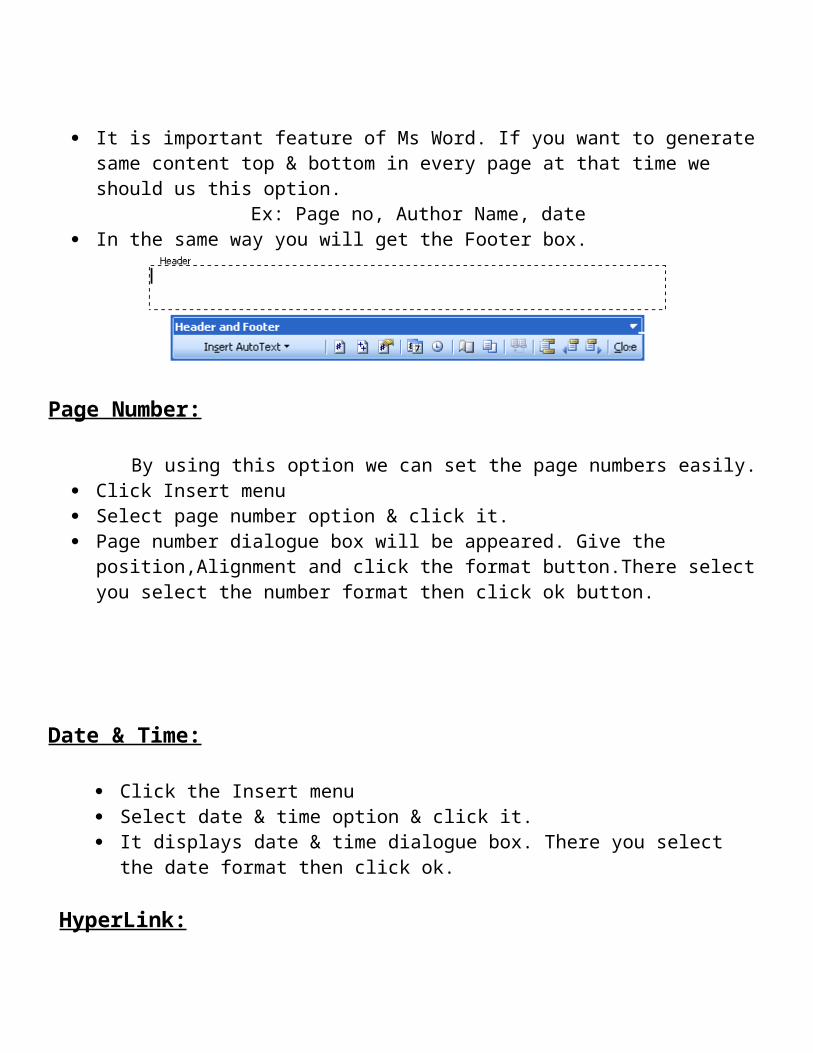
Creating Header and Footer:
It is important feature of Ms Word. If you want to generate same content top & bottom in every page at that time we should us this option.
Ex: Page no, Author Name, date In the same way you will get the Footer box.
Page Number:
By using this option we can set the page numbers easily. Click Insert menu Select page number option & click it. Page number dialogue box will be appeared. Give the position,Alignment and click the
format button.There select you select the number format then click ok button.
Date & Time:
Click the Insert menu Select date & time option & click it. It displays date & time dialogue box. There you select the date format then click ok.
HyperLink:
By using this option we can apply link between current working file to existed File. Steps:
Saves the current working document.
Click on insert menu and select the hyperlink. It opens insert hyperlink dialogue box. Here you have Text to display text box there enter the text.
There we should click on browse for file button it opens link to dialogue box it contains existed files list.
We should select the target file then click on ok button. The selected file name is insert on the document.
By moving the mouse pointer over the link & press Ctrl key to open the link then we get the target file
Inserting Word Art:
Click Insert menu then click picture & then click word art. Now word Art dialogue box opens.

Select any style which you like Click on ok. Now you can write your own text there And click on ok.
Bullets and Numbering:
Select some set of text The click Format menu and click Bullets & numbering option Then you will get a dialogue box. There you select different styles.
Creating Paragraph:
Select the some set of text Now click the format menu Click the paragraph option in that then paragraph dialogue box will be appeared. There you select the alignment and indention and spaces between the paragraph &lines.

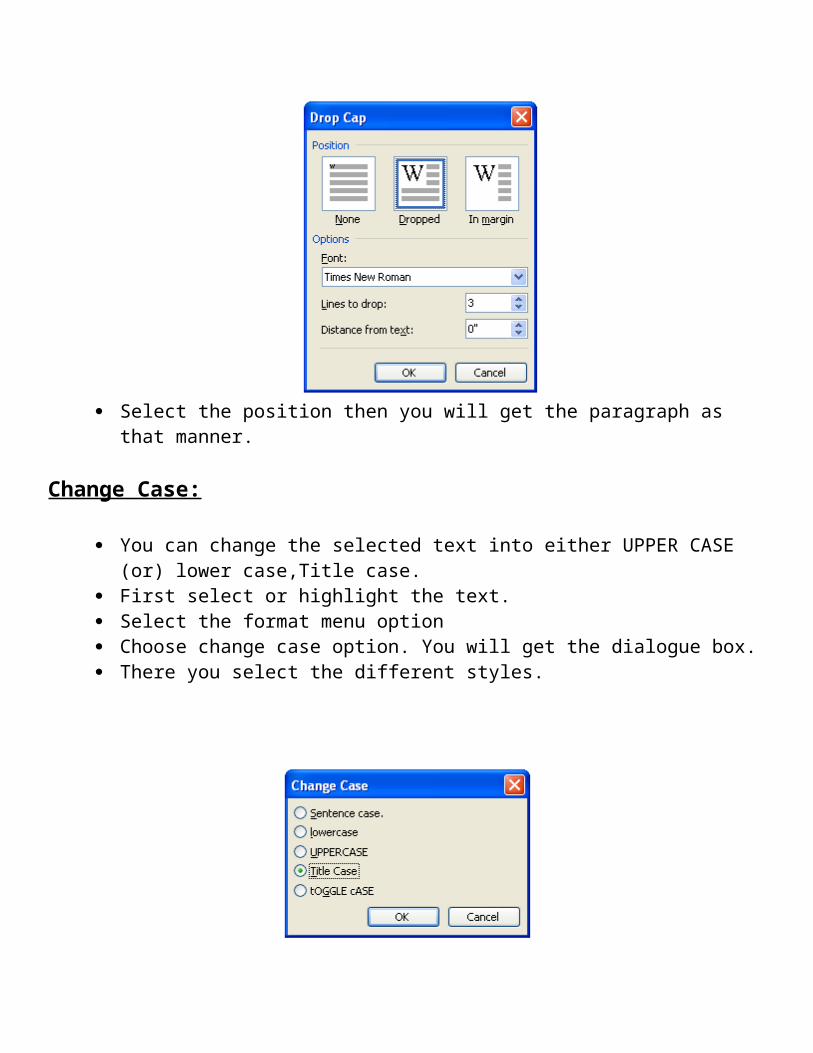
Drop Cap:
Formats a letter, word or selected text with a large initial ¾ or “dropped” ¾ capital letter. Slect the paragraph then click Format menu and then click Drop Cap . Then you will get a dialogue box as shown below.
Select the position then you will get the paragraph as that manner.
Change Case:
You can change the selected text into either UPPER CASE (or) lower case,Title case. First select or highlight the text. Select the format menu option Choose change case option. You will get the dialogue box. There you select the different styles.

Creating columns in document:
By using this we can convert the data from ordinary format to column format. Before applying this option we should type more than half page data . Steps:
Open any document file. Click format menu and click Columns option. Now you will get a screen as shown below.
Here select the Presets tab, select anyone option then click ok. Now your document will be converted to that number of columns.
Spelling and Grammar:
By using this option we can rectify the spell mistakes and grammar mistake. Steps:
Write some text and select the text. Click tools menu and click spelling and grammar option. You will get the below dialog
box.
Note all words that appear red color in first box are spelling mistakes. If you want to accept the suggested word, in the second box click on change. If no click Ignore button. You can also add a word to the dictionary by clicking on the ADD button.
Continue this process until you get the dialog box.
Click ok button.

Mail Merge:
It used to send same content to different persons at same time.Steps: Click tools menu option. Select Letters and Mailings option, then select Mail Merge option. Now you will get a Mail Merge window right side of the screen. Now select the document type i.e., letters radio button, etc... then click starting
document in that window. Now select the starting document by clicking the Use the current document radio
button. Then click select recipients list. Now Select recipients by clicking the radio buttons. Click the Type a new List Now click create a new list. It opens a New Address List dialoge box..
After entering the details click close button .Then it opens a Save Address List dialogue box. Give some file name & click save button.
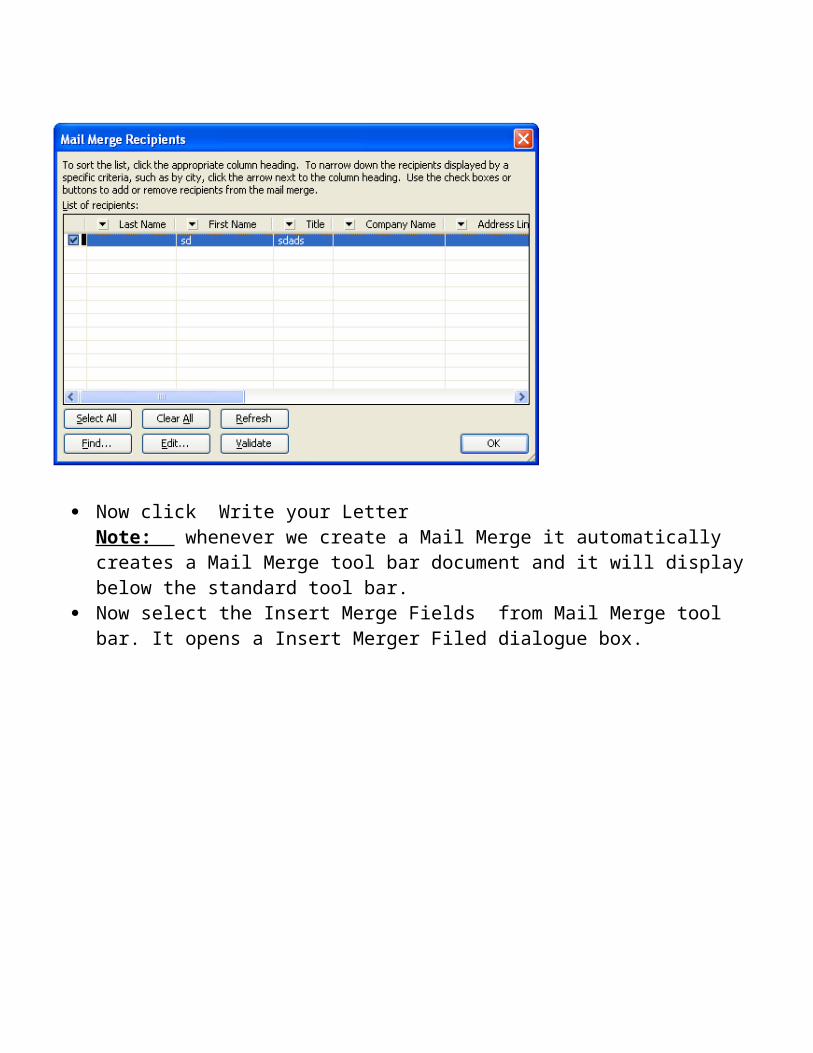
Then it opens a Mail Merge recipients dialogue box. In that we can add new record also. Then click ok button.

Now click Write your LetterNote: whenever we create a Mail Merge it automatically creates a Mail Merge tool bar document and it will display below the standard tool bar.
Now select the Insert Merge Fields from Mail Merge tool bar. It opens a Insert Merger Filed dialogue box.

Click Field name and click insert button and then close the window. Click preview your letter and then click complete the Merger Now click edit individual letters. It opens a dialogue box.
Click all radio button then click ok. Then the letter will be distributed to other persons at a time.
Macro:By using this option we can record the content, as it is manner. We can invoke that
particular whenever we want by using shortcut keys.Steps:
Select the tools menu bar. Select & click the Macro, in that click Record a New Macros. Then you will get a
Record Ne w Macro dialogue box. Here give the macro name then click keyboard click ok.

Now you will get another window Customize keyboard. In that Press New Shortcut key as Ctrl+M.
Now click close button. The Macro will be started recording until we stop the Macro Recording.
Stop Macro Recording: Go to tools menu
Select & click Macro & click stop recording.
Insert a Table:By specifying the number of rows and columns we can insert a table.
Steps: Go to Table menu. Click Insert option & click table Now you will get a window.
Now give the number of columns & rows as you required and set column width also then click ok.
Then an empty table is inserted in the document.
Related Documents