Microsoft Windows LEARNING HOW USE AN OPERATING SYSTEM 1

Microsoft Windows LEARNING HOW USE AN OPERATING SYSTEM 1.
Dec 26, 2015
Welcome message from author
This document is posted to help you gain knowledge. Please leave a comment to let me know what you think about it! Share it to your friends and learn new things together.
Transcript

1
Microsoft Windows LEARNING HOW USE AN OPERATING SYSTEM
2
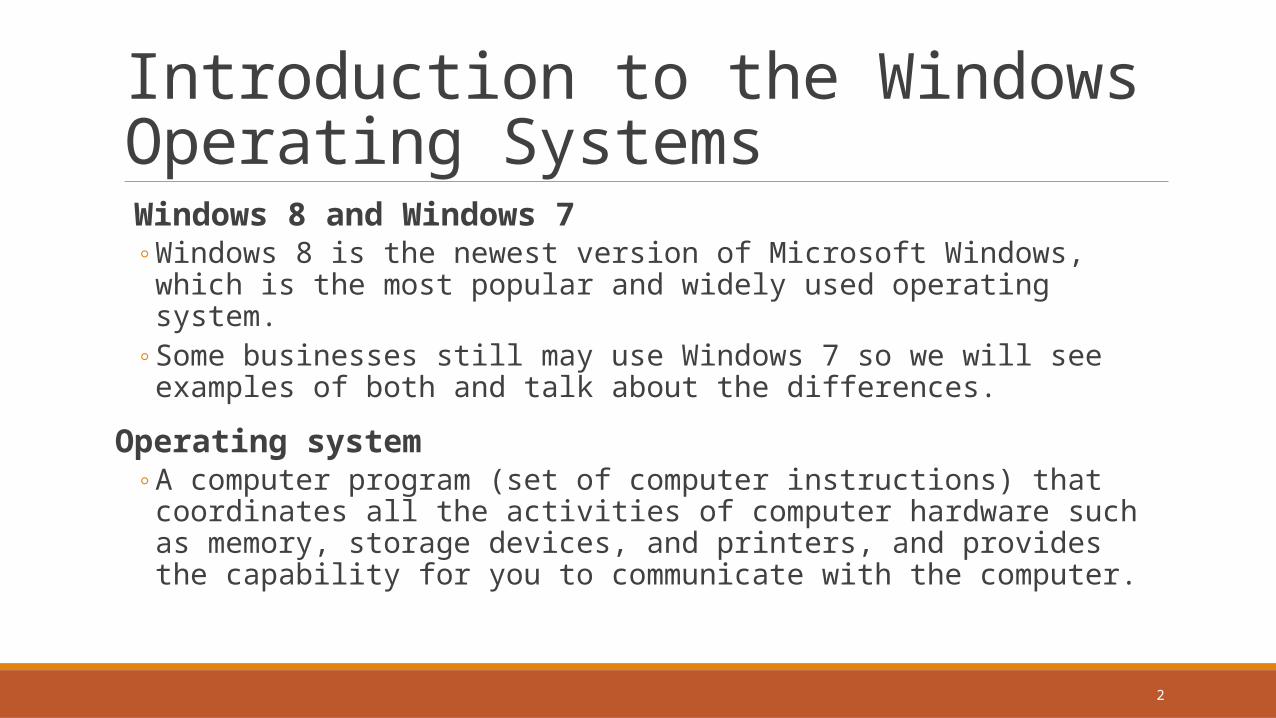
Windows 8 and Windows 7◦ Windows 8 is the newest version of Microsoft Windows, which is the most popular
and widely used operating system. ◦ Some businesses still may use Windows 7 so we will see examples of both and talk
about the differences.
Operating system◦ A computer program (set of computer instructions) that coordinates all the activities
of computer hardware such as memory, storage devices, and printers, and provides the capability for you to communicate with the computer.
Introduction to the Windows Operating Systems
3
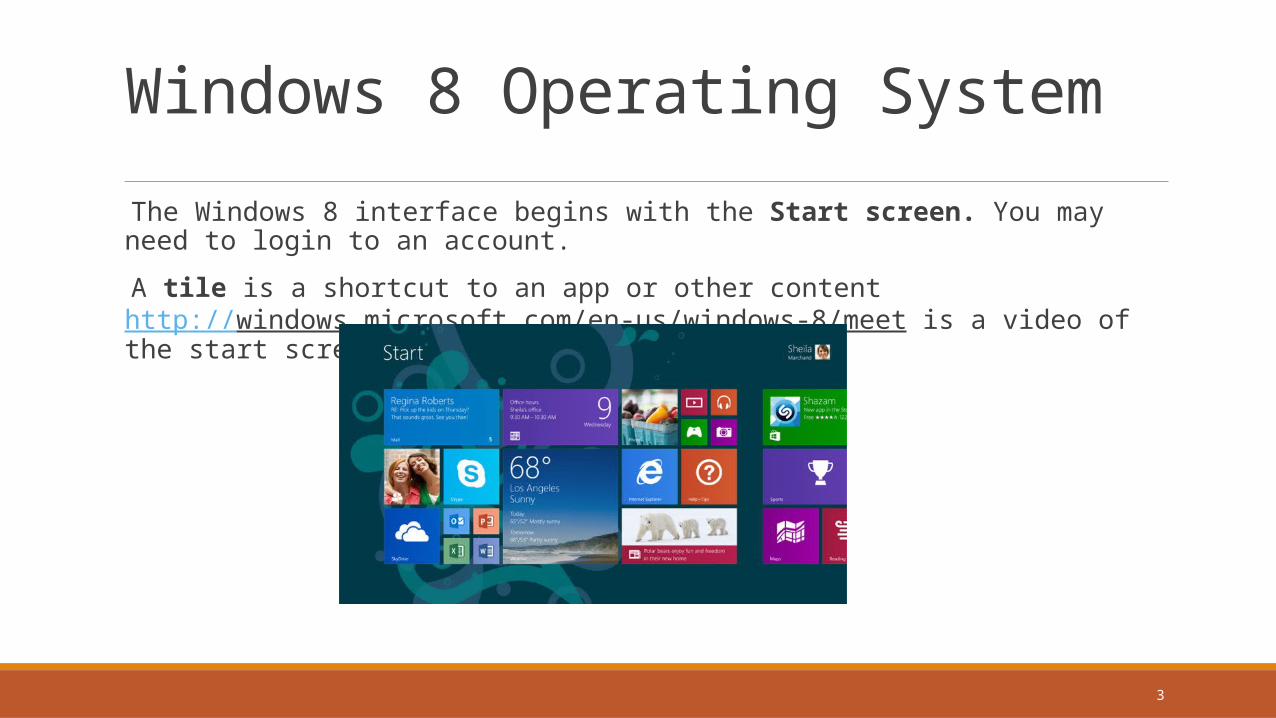
The Windows 8 interface begins with the Start screen. You may need to login to an account.
A tile is a shortcut to an app or other contenthttp://windows.microsoft.com/en-us/windows-8/meet is a video of the start screen options
Windows 8 Operating System

4
The Windows interface has a Start button and shortcuts that lead to other programs
You may need to login to an account.
Windows 7 Operating System

5
File Management - Creating a Folder
6
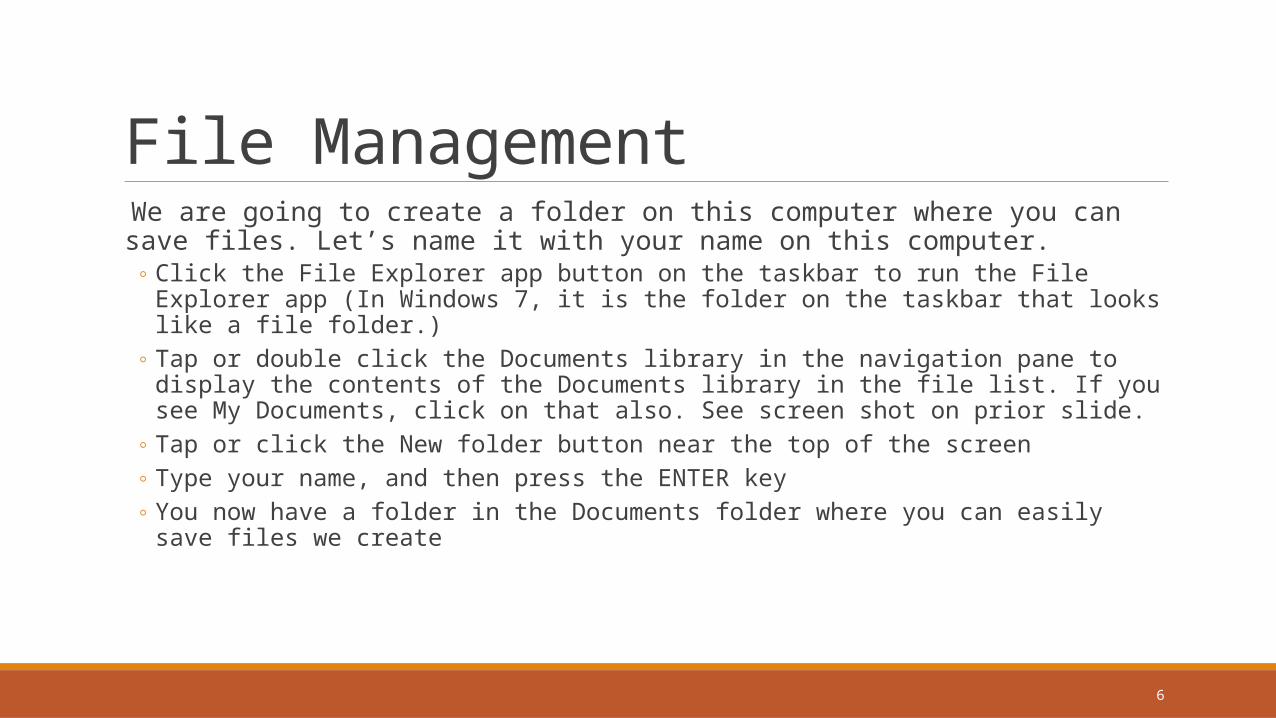
We are going to create a folder on this computer where you can save files. Let’s name it with your name on this computer.
◦ Click the File Explorer app button on the taskbar to run the File Explorer app (In Windows 7, it is the folder on the taskbar that looks like a file folder.)
◦ Tap or double click the Documents library in the navigation pane to display the contents of the Documents library in the file list. If you see My Documents, click on that also. See screen shot on prior slide.
◦ Tap or click the New folder button near the top of the screen◦ Type your name, and then press the ENTER key◦ You now have a folder in the Documents folder where you can easily save files we create
File Management

7
Double-tap or double-click the desired folder in the navigation pane to display its contents and display a black arrow to the left of the folder icon
Double-tap or double-click the desired folder in the navigation pane to collapse the folder
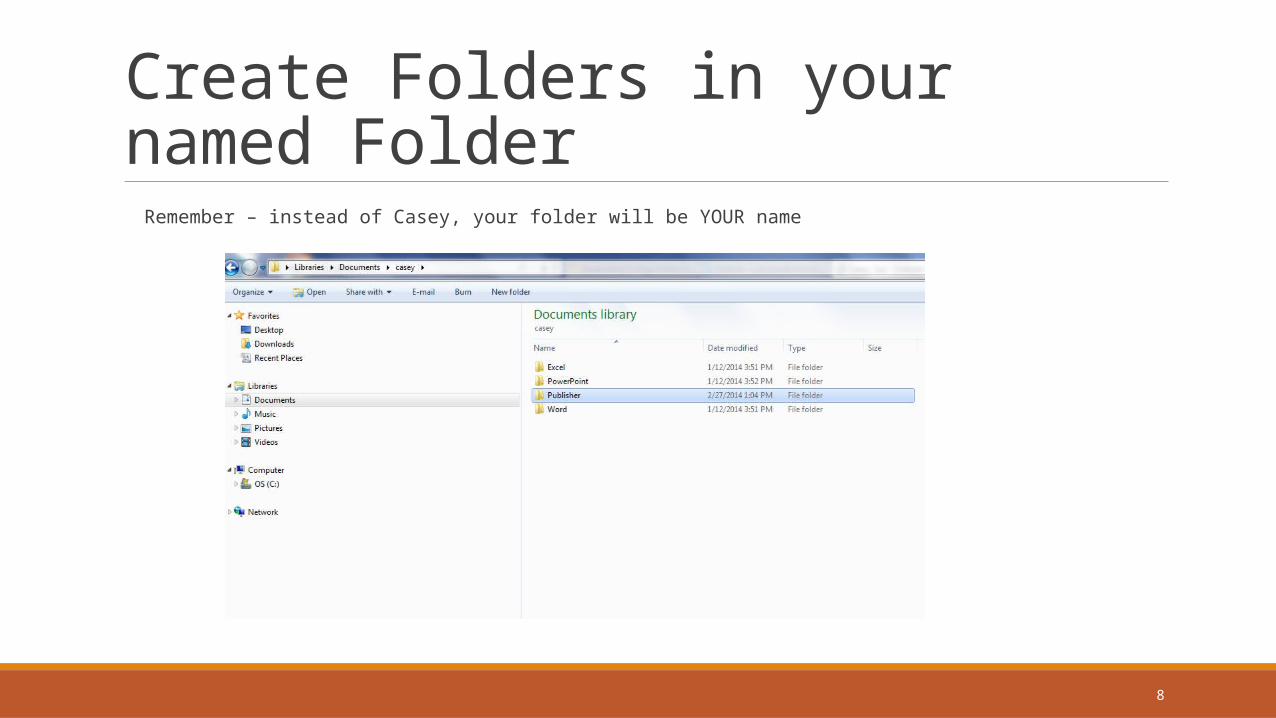
Now let’s make some folders in your folder where you will store the Word files you create, the Excel files you create, and so on.
◦ Double click on the folder with your name to open it.◦ Click on New Folder and make a folder named Word. Press Enter. Then make a folder for Excel. Make a
folder for PowerPoint. Make a folder for Publisher◦ See next slide for screen shot.
Expanding a Folder, Scrolling through Folder Contents, and Collapsing a Folder
8
Create Folders in your named Folder
Remember – instead of Casey, your folder will be YOUR name

9
Tap or click the Minimize button on the app’s title bar to minimize the window
If necessary, click the app button on the taskbar to restore the minimized window
Minimizing and Restoring a Window
Minimize button
Folders automaticallyalphabetize
Navigation pane
Contents of casey folder are displayed since I have clicked on it

10
Microsoft Office 2013 is the newest version of Microsoft Office, offering features that provide users with better functionality and easier ways to work with the various files they create. Office 365 is the same thing but is paid with yearly subscriptions
◦ Microsoft Word 2013◦ Microsoft PowerPoint 2013◦ Microsoft Excel 2013◦ Microsoft Access 2013◦ Microsoft Outlook 2013◦ Microsoft Publisher 2013
Introduction to Microsoft Office 2013
11
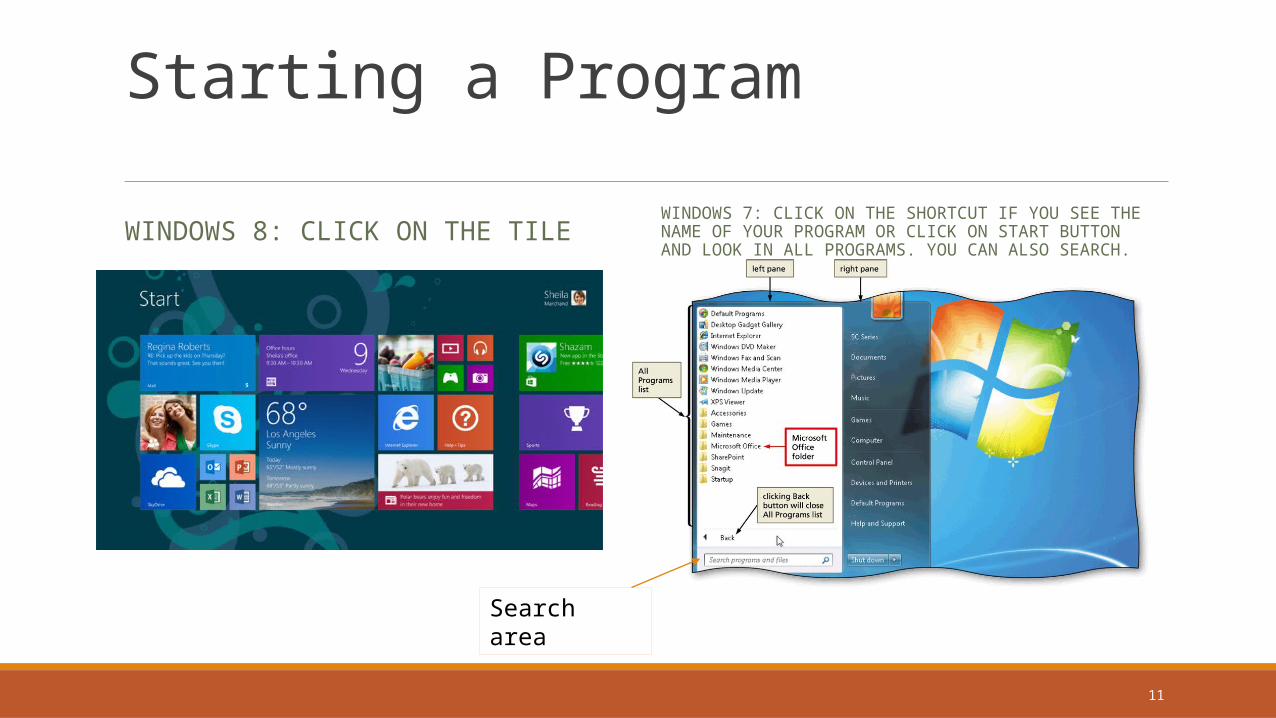
Starting a Program
WINDOWS 8: CLICK ON THE TILEWINDOWS 7: CLICK ON THE SHORTCUT IF YOU SEE THE NAME OF YOUR PROGRAM OR CLICK ON START BUTTON AND LOOK IN ALL PROGRAMS. YOU CAN ALSO SEARCH.
Search area

12
Create File in Word and Save◦ Use any one of these ways to open Microsoft Word 2013
◦ Click on the tile or shortcut◦ Click on the Start button. If you do not see Word listed there, type Word in the Search bar at the bottom and then click on Microsoft
Word when it finds it◦ Click on the Start button. Click on All Programs. Click on Microsoft Office 2013. Click on Word 2013.
◦ Once Word is open, type something there such as Welcome to Class!!◦ Save to your Word folder
◦ Click on File / Save As / Computer◦ Click on the Browse icon◦ Find your folder there in My Documents and double click on it to open your folder◦ Double click on the Word folder there ◦ It will use the first line of your document as the file name unless you type something to change it. Click in the box File Name and
type First File and click on Save.◦ Close Word by clicking on the X in the upper right hand corner of the screen.

13
Browsing the InternetUsually Internet Explorer is the default browser. Click the Internet Explorer icon on the Start screen. If your computer uses another browser (such as Mozilla Firefox or Google Chrome), you will see an icon for that. You may see several as I have on my computer
Google Chrome
Mozilla Firefox
Internet Explorer
14
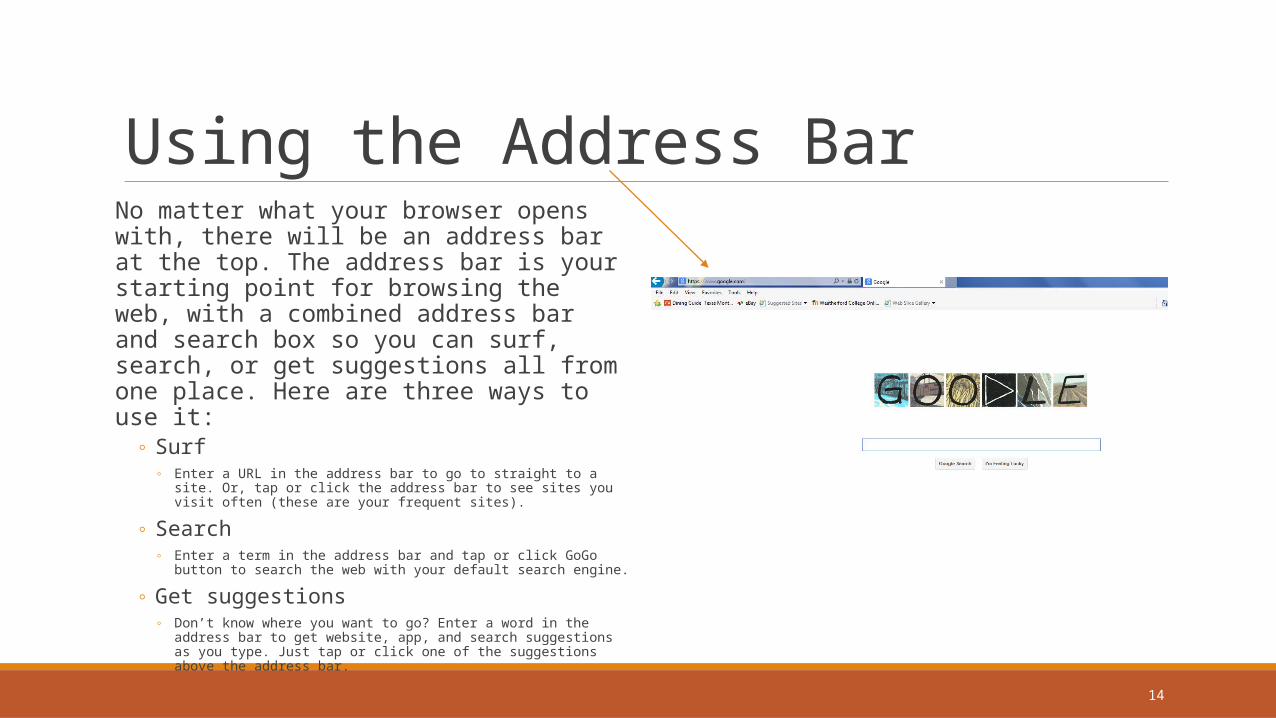
Using the Address BarNo matter what your browser opens with, there will be an address bar at the top. The address bar is your starting point for browsing the web, with a combined address bar and search box so you can surf, search, or get suggestions all from one place. Here are three ways to use it:
◦ Surf◦ Enter a URL in the address bar to go to straight to a site. Or, tap or click the address
bar to see sites you visit often (these are your frequent sites).
◦ Search◦ Enter a term in the address bar and tap or click GoGo button to search the web with
your default search engine.
◦ Get suggestions◦ Don’t know where you want to go? Enter a word in the address bar to get website,
app, and search suggestions as you type. Just tap or click one of the suggestions above the address bar.

15
Setting Home Page for Browser The browser opens with pages listed as home pages. You can set your browser to always open with one home page – or several. I have several. To change the home page:
◦ With your browser open, click on Tools / Internet options
◦ Type in - or copy and paste the URL (address) for the page you want the browser to always open with. Type one per line if you want it to always open with several.
◦ Click OK◦ Notice that I have 3: my online course page,
my outlook email, and google
16
Using Google to Search Let’s do a search. I prefer doing my searches with Google. Let’s try that search engine:◦ In the address line of the browser, start typing google. The browser should
finish if not, then keep typing and type google.com◦ In the search box, type FUMC Hurst. You should see the link to our church’s website◦ For another search, let’s see what the term phishing really means. Type phishing in the search area.
You may see something from Wikipedia. That is an easy source for information, but realize that people change it. It is monitored and someone tries to remove wrong information quickly. Use if for quick ideas, but don’t use if for references.
◦ I also see something from Microsoft, so that is probably more reliable. Click on that if you have that link to see the results on phishing from Microsoft. Read the information to see how to protect yourself from phishing.
◦ Read how to recognize spams and phishing.
17
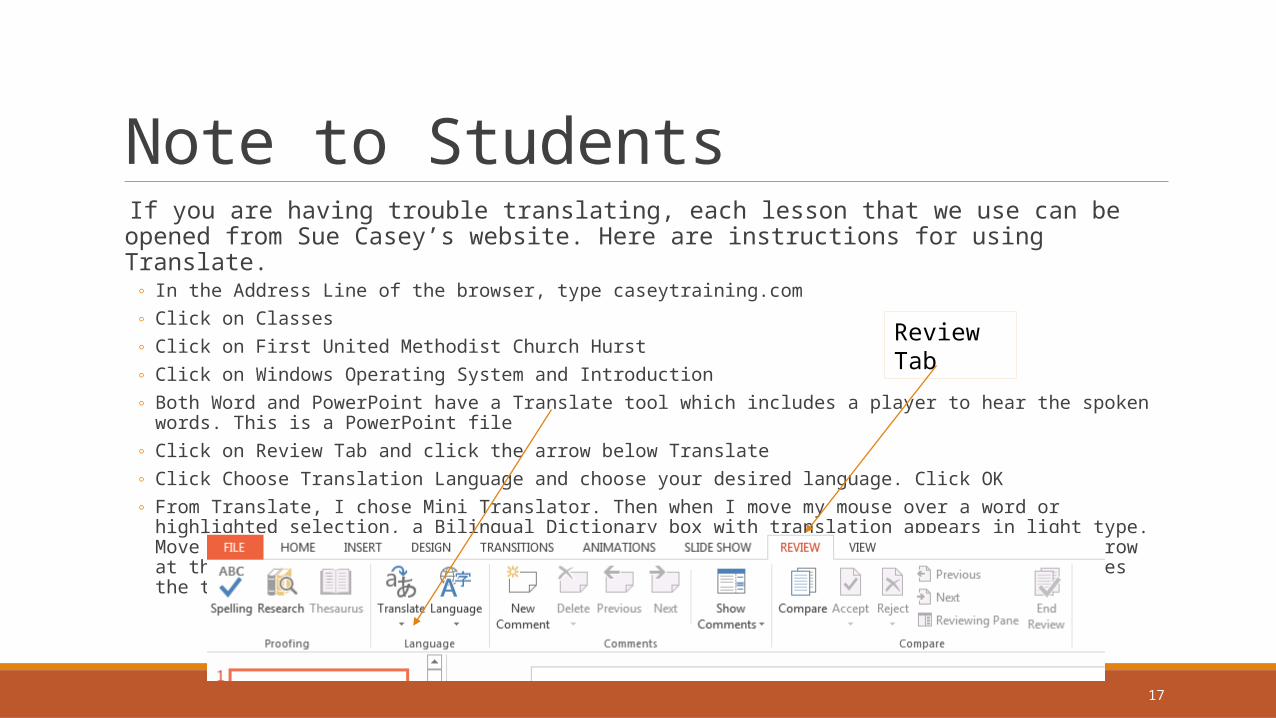
Note to Students If you are having trouble translating, each lesson that we use can be opened from Sue Casey’s website. Here are instructions for using Translate.
◦ In the Address Line of the browser, type caseytraining.com◦ Click on Classes◦ Click on First United Methodist Church Hurst◦ Click on Windows Operating System and Introduction◦ Both Word and PowerPoint have a Translate tool which includes a player to hear the spoken words. This is a PowerPoint file ◦ Click on Review Tab and click the arrow below Translate◦ Click Choose Translation Language and choose your desired language. Click OK◦ From Translate, I chose Mini Translator. Then when I move my mouse over a word or highlighted selection, a Bilingual Dictionary box
with translation appears in light type. Move your mouse pointer over the box to see it better. Clicking on the small green arrow at the bottom of the box plays the selection. Clicking on Mini Translator again removes the translations.
Review Tab

18
Using Email and Cloud Storage You probably all have an email account. If not, you might create one at outlook.com or google.com. Go ahead and login to your email account or create one. Ask your instructor for help if you have never used email.
Cloud Storage◦ In Gmail – click on the squares in the upper right corner and click on Drive to get to your cloud storage
◦ In Outlook – click on the arrow beside Outlook and then click on One Drive.
19
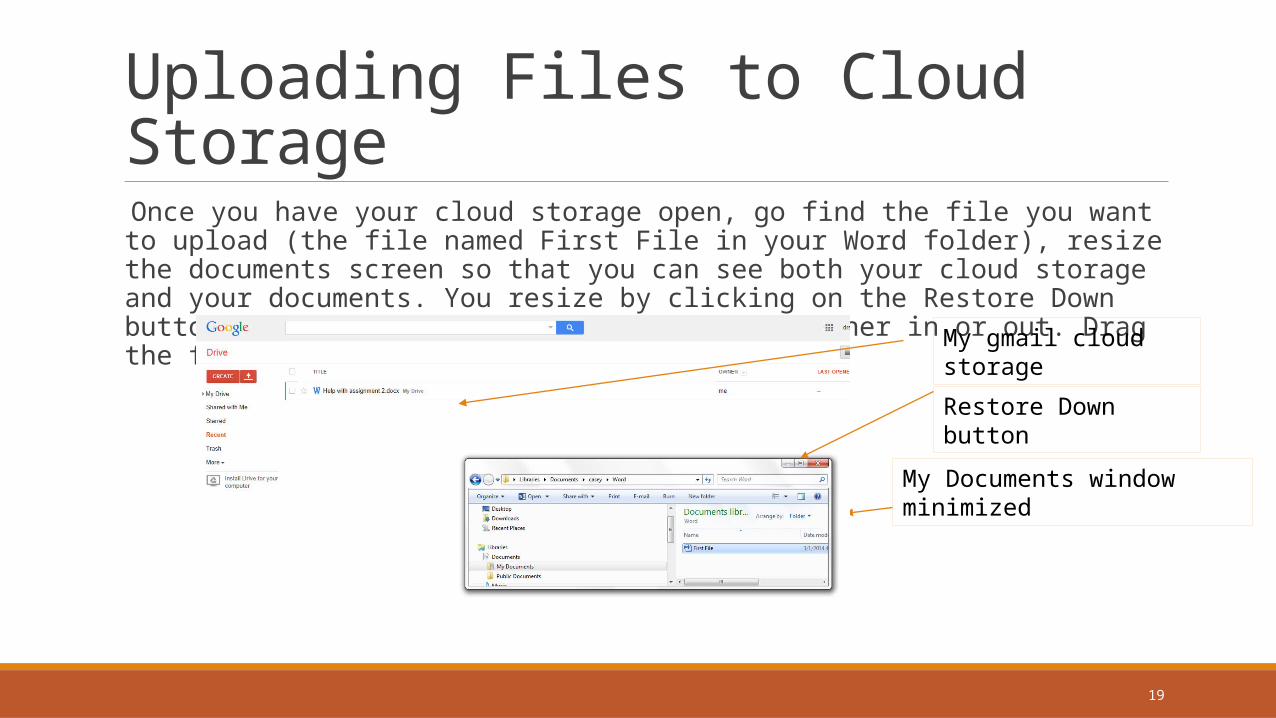
Uploading Files to Cloud Storage Once you have your cloud storage open, go find the file you want to upload (the file named First File in your Word folder), resize the documents screen so that you can see both your cloud storage and your documents. You resize by clicking on the Restore Down button. You can then resize by dragging a corner in or out. Drag the file and drop in the cloud storage area.
My gmail cloud storage
My Documents window minimized
Restore Down button
Related Documents