Microscope Structure

Microscope Structure. From its humble beginnings the microscope has undergone numerous revisions since Leeuwenhoek’s day. But its usefulness has certainly.
Dec 24, 2015
Welcome message from author
This document is posted to help you gain knowledge. Please leave a comment to let me know what you think about it! Share it to your friends and learn new things together.
Transcript
Microscope Structure
From its humble beginnings the microscope has undergone numerous revisions since Leeuwenhoek’s day. But its usefulness has certainly not diminished. Numerous types of Microscopes are currently being used. Visit the following for a more detailed description of them.
Microscopes are instruments which produce a magnified visual or photographic image to help us to examine small objects and their fine details which our eye cannot resolve. Biologists are interested in small objects such as animal and plant cells or small creatures like bacteria to reveal their fine structure.
Microscopes range from simple devices such as a handheld lens up to high end compound or electron microscopes. All have common features: to magnify a small object, to separate its fine details in order to achieve
a high resolution and to render the object against the adjacent
background to achieve an acceptable contrast.
The contrast is a property of the object compared to its surrounding background when light falls upon the sample. It is produced by absorption of light, reflectance of the object, light scattering, diffraction and fluorescence, which is interesting for this website. The differences in light intensity and colour create contrast visible for our eye or other observation methods.
The light microscope is widely used among biologists. It has a magnification of between 30x and 2000x and a resolution of up to 0.25μm. This allows easily to have a look at the details of a human hair (around 80μm thick) or the much smaller human erythrocyte, which has approximately a size of 8μm.

The term light microscope means that it uses light sources visible for our eye, starting with wavelengths in the blue at 400nm and ending with wavelengths in the red at 700nm. The resolution of up to 0.25μm is the limit for a light microscope whereas microscopes using radiation of a much shorter wavelength like x-rays or electron beams can resolve even finer details, such as viruses (0.1μm) or glucose molecules (1nm), but could destroy biological samples.

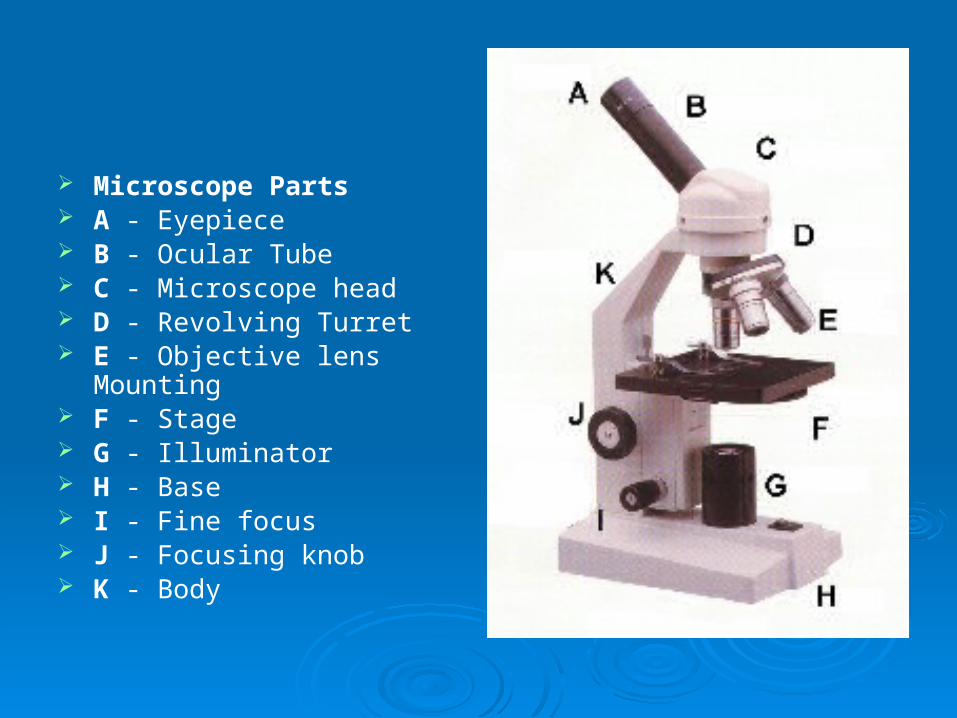
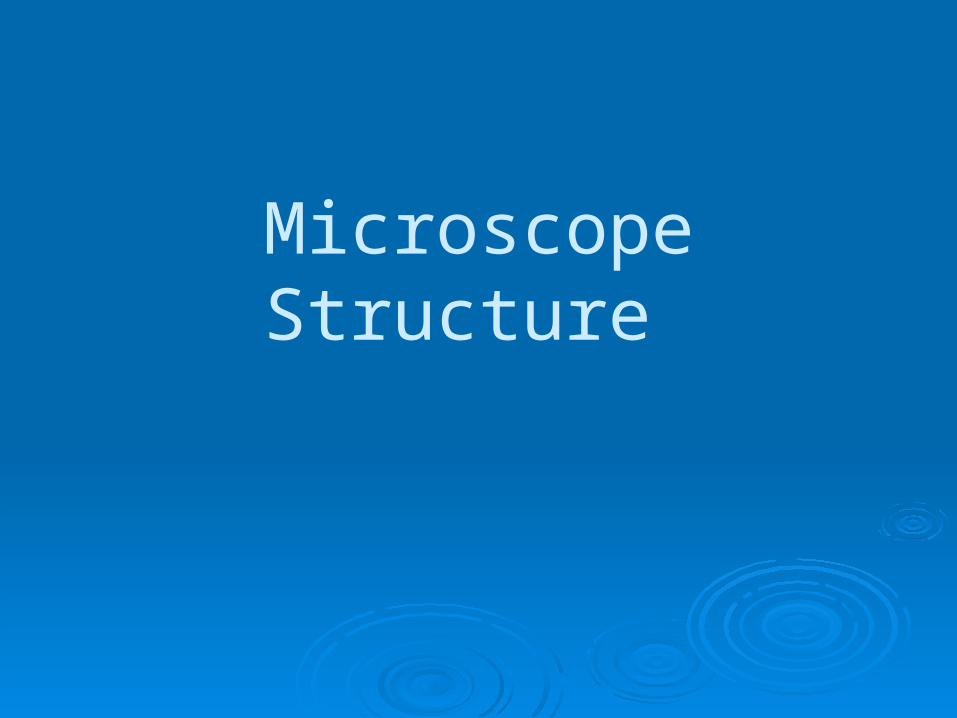
Microscope Parts A - Eyepiece B - Ocular Tube C - Microscope head D - Revolving Turret E - Objective lens Mounting F - Stage G - Illuminator H - Base I - Fine focus J - Focusing knob K - Body
Modern microscopes magnify images by passing light through two lenses, the objective lens (the one closest to the specimen) and the eyepiece (the one you look into).
The total range of magnification for a microscope is found by taking the magnifying power of the objective lens (or lenses) and multiplying it by the magnifying power of the eyepiece.
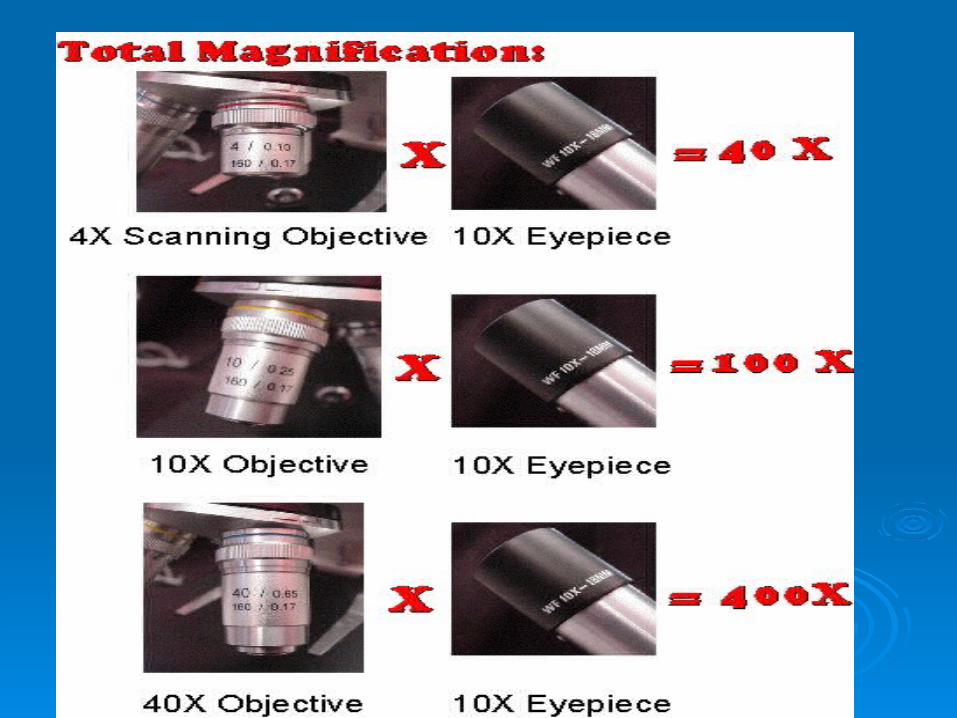
An example would be a microscope with three objective lenses 4x, 10x, 40x and a 10x eyepiece. This combination would give you a magnification range of 40x, 100x and 400x
LIGHT SOURCE AND CONTROL- A built in light source is better than a mirror
unless you need to use your microscope in field research where you have no power. Whatever your light source, light control is important.
There is usually some type of sub stage condensing lens found on most microscopes. The condenser is a lens that focuses light up through your specimen. For magnifications of 400X or lower, a fixed lens is fine. At higher magnifications more light is required and an adjustable ABBE condenser is preferred.
Sometimes instead of more light you need less light. This is done using a diaphragm. There are two types: DISH and IRIS.
DISH diaphragms are simply circles with six to eight different size holes allowing different amounts of light through. This is the type most frequently seen on student microscopes.
The IRIS diaphragms work much like the pupil in your eye. They give a much wider range than the six to eight settings that dish diaphragms offer.

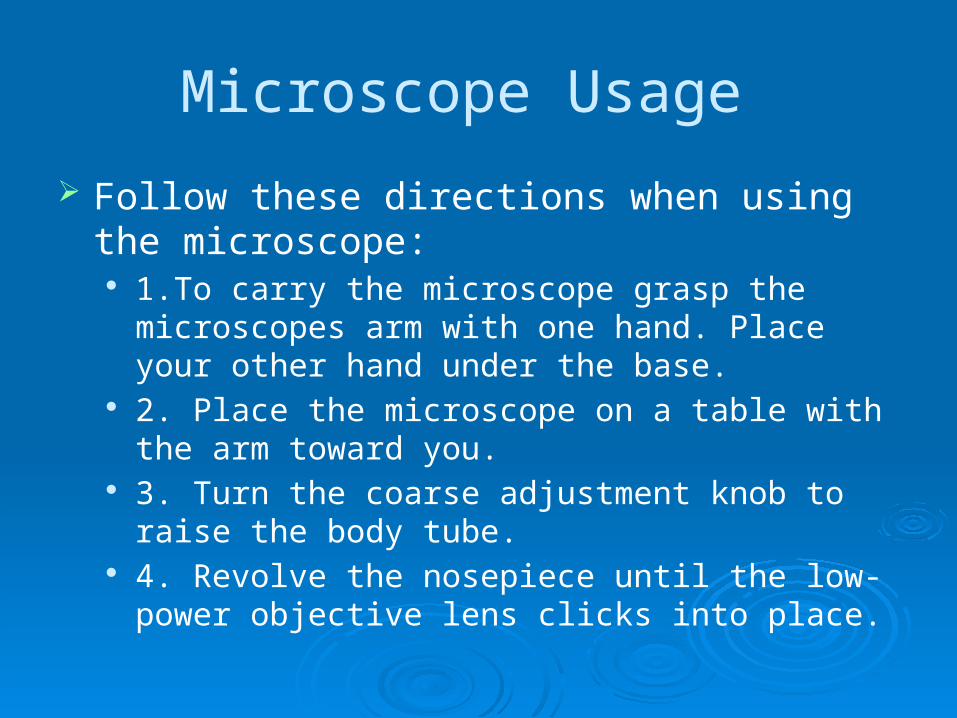
Microscope Usage
Follow these directions when using the microscope:
1.To carry the microscope grasp the microscopes arm with one hand. Place your other hand under the base.
2. Place the microscope on a table with the arm toward you.
3. Turn the coarse adjustment knob to raise the body tube.
4. Revolve the nosepiece until the low-power objective lens clicks into place.
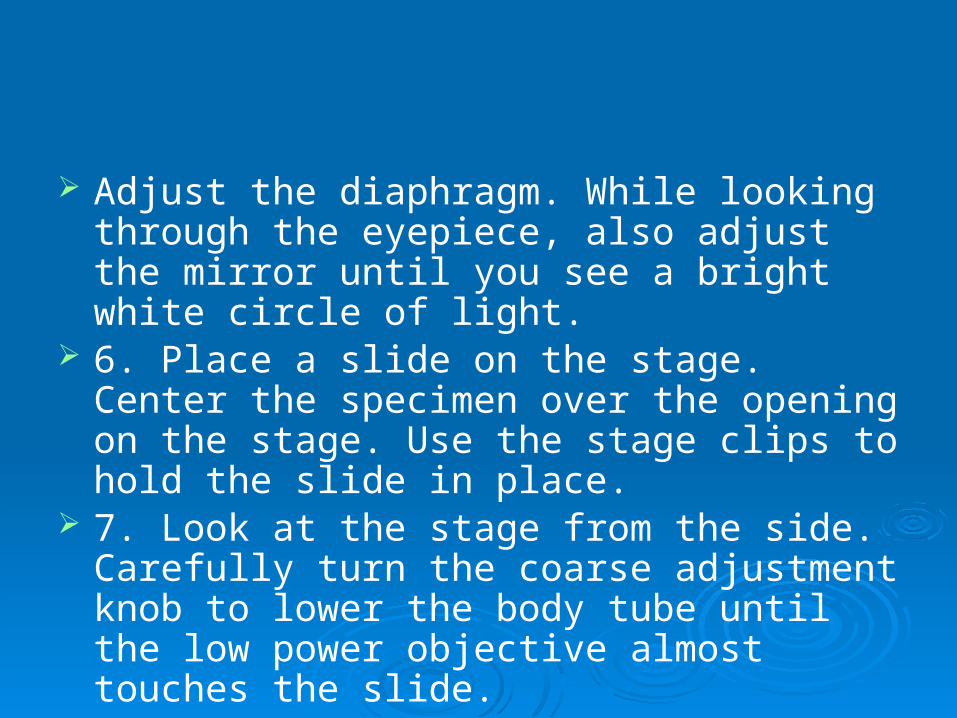
Adjust the diaphragm. While looking through the eyepiece, also adjust the mirror until you see a bright white circle of light.
6. Place a slide on the stage. Center the specimen over the opening on the stage. Use the stage clips to hold the slide in place.
7. Look at the stage from the side. Carefully turn the coarse adjustment knob to lower the body tube until the low power objective almost touches the slide.
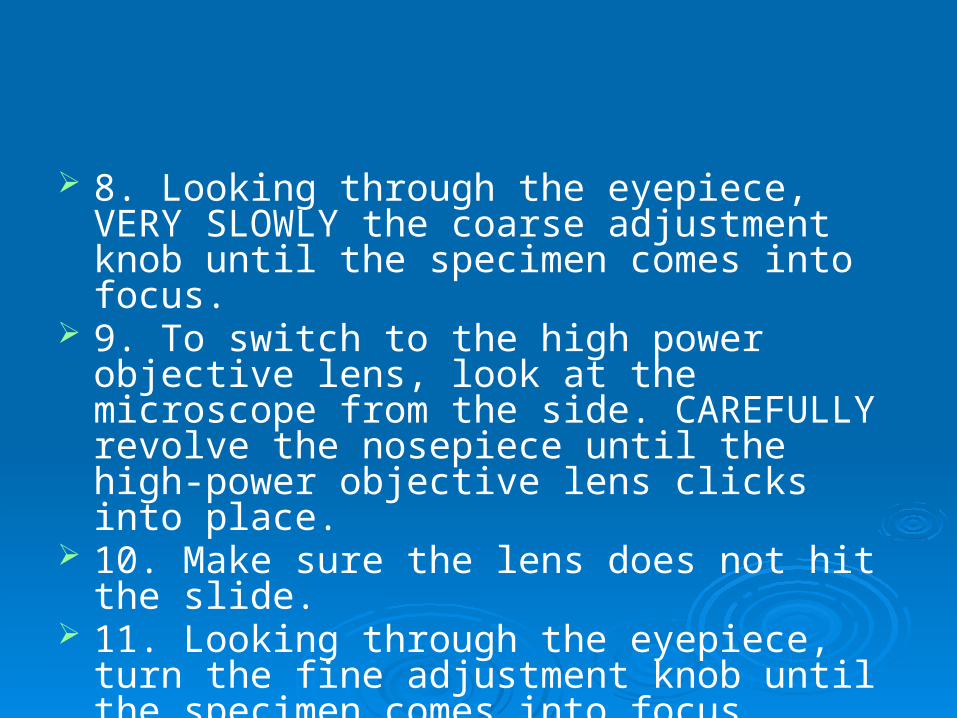
8. Looking through the eyepiece, VERY SLOWLY the coarse adjustment knob until the specimen comes into focus.
9. To switch to the high power objective lens, look at the microscope from the side. CAREFULLY revolve the nosepiece until the high-power objective lens clicks into place.
10. Make sure the lens does not hit the slide. 11. Looking through the eyepiece, turn the fine
adjustment knob until the specimen comes into focus.

Magnification:
Magnifying Objects/ Focusing Image: When viewing a slide through the microscope make
sure that the stage is all the way down and the 4X scanning objective is locked into place. Place the slide that you want to view over the aperture and gently move the stage clips over top of the slide to hold it into place. Beginning with the 4X objective, looking through the eyepiece making sure to keep both eyes open (if you have trouble cover one eye with your hand) slowly move the stage upward using the coarse adjustment knob until the image becomes clear.
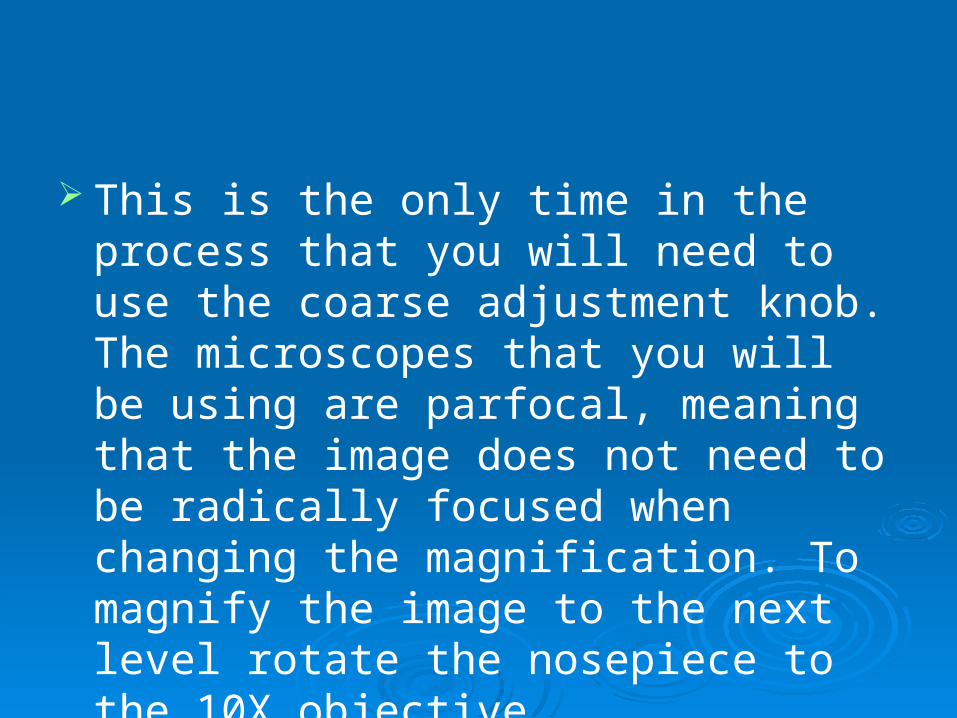
This is the only time in the process that you will need to use the coarse adjustment knob. The microscopes that you will be using are parfocal, meaning that the image does not need to be radically focused when changing the magnification. To magnify the image to the next level rotate the nosepiece to the 10X objective.
While looking through the eyepiece focus the image into view using only the fine adjustment knob, this should only take a slight turn of the fine adjustment knob to complete this task. To magnify the image to the next level rotate the nosepiece to the 40X objective. While looking through the eyepiece focus the image into view using only the fine adjustment knob, this should only take a slight turn of the fine adjustment knob to complete this task.
Total Magnification: To figure the total magnification of an image
that you are viewing through the microscope is really quite simple. To get the total magnification take the power of the objective (4X, 10X, 40x) and multiply by the power of the eyepiece, usually 10X.
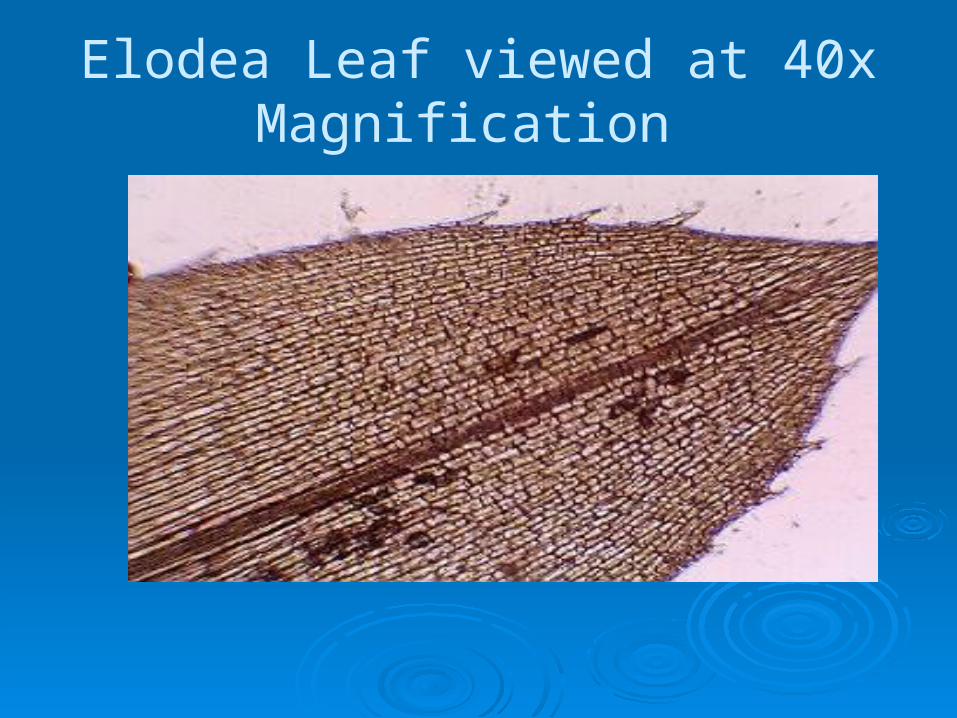
Elodea Leaf viewed at 40x Magnification
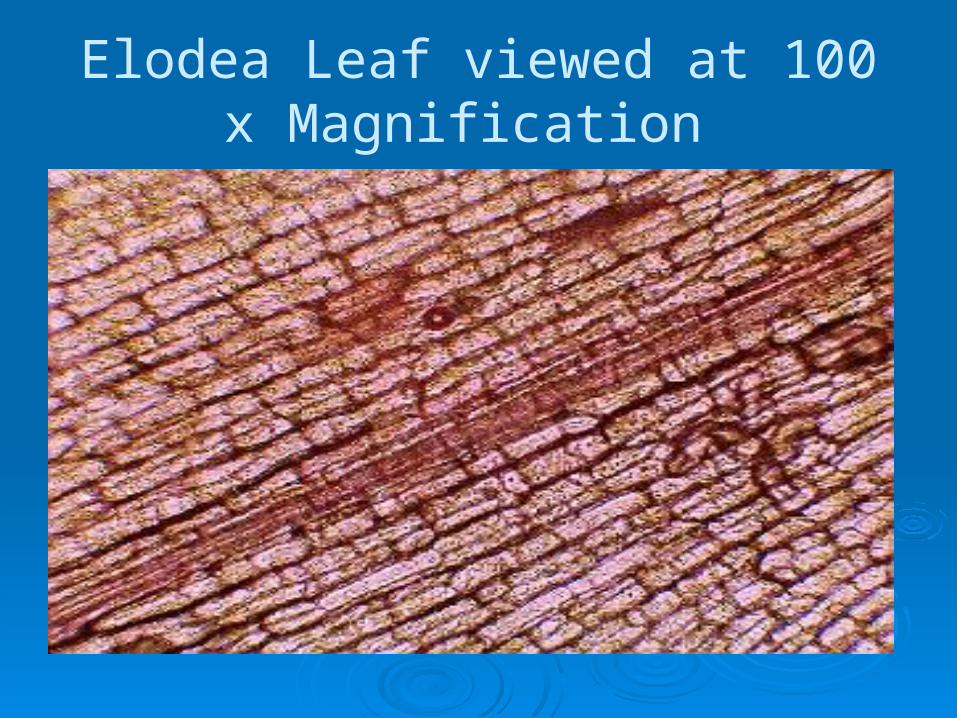
Elodea Leaf viewed at 100 x Magnification
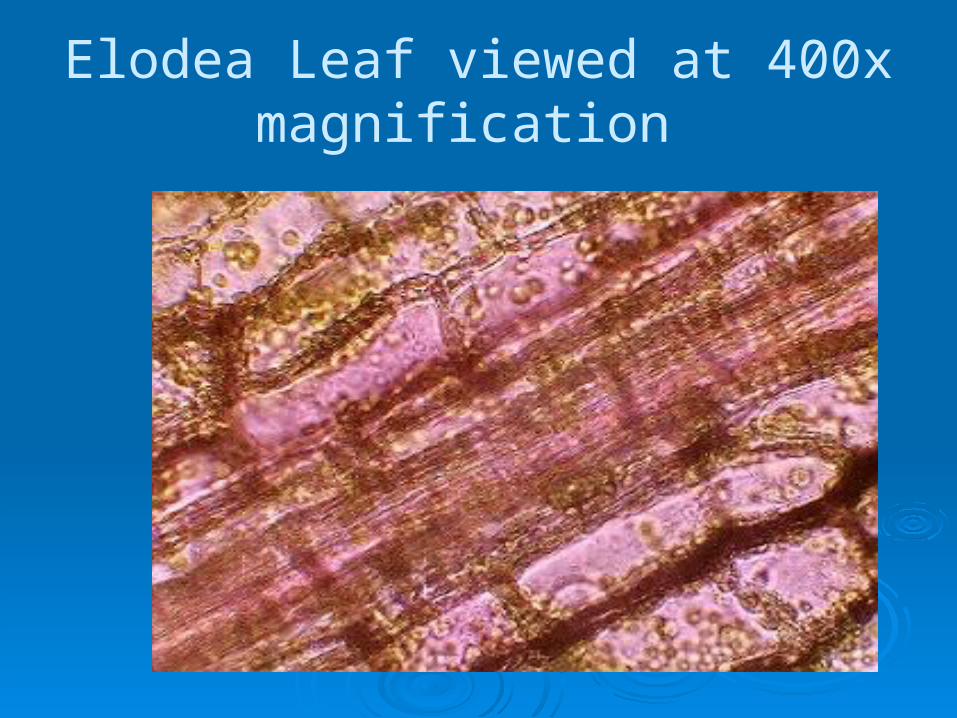
Elodea Leaf viewed at 400x magnification
Resolution
Resolution is the amount of detail you can see in an image. You can enlarge a photograph indefinitely using more powerful lenses, but the image will blur together and be unreadable. Therefore, increasing the magnification will not improve the resolution. This is also known as the resolving power.
In a compound microscope, the wavelength of the light waves that illuminate the specimen limits the resolution. The wavelength of visible light ranges from about 400 to 700 nanometers. The best compound microscopes cannot resolve parts of a specimen that are closer together than about 200 nanometers
Dissection Microscope Resolution:
Just like in a compound microscope, the wavelength of light limits resolution. This microscope does not use light to see through the specimen, but uses light to aid in viewing the specimen under magnification. The resolution of the dissecting or stereoscope is about 120 nanometers.
Microscope Skills
Biological Drawings
Guidelines for Biological Drawings 1. The diagram should be titled
appropriately and the title should be underlined.
2. The diagram should be done in pencil and should be at least ½ page in size.
3. Magnification should be included and written like this: viewed at X100 magnification.
4. Lines should be sharp and concise. No shading - only stippling should be used to show detail.
5. Do not draw the field of view. If a cluster of cells is drawn, each individual cell should be large enough to label details.
6. If drawing a cluster of cells, you need to label the details of only one of the cells in the cluster.
7. All label lines should be drawn horizontally using a ruler.
8. All words (labels) should be written neatly and horizontally.

Detailed Instructions
Activities
Complete Core Lab 1 "Caring for and Using the Microscope" Pages 15-19 of McGraw Hill Ryerson. Consult Appendix E : Page 742 of McGraw Hill Ryerson for assistance in Preparing Biological Drawings.
Read Pages 12-22 of McGraw Hill Ryerson

Test Yourself
Related Documents