M240B/H PMI Instructors: Sgt.Caudle

M240B/H PMI Instructors: Sgt.Caudle Instructors: Sgt.Caudle.
Dec 17, 2015
Welcome message from author
This document is posted to help you gain knowledge. Please leave a comment to let me know what you think about it! Share it to your friends and learn new things together.
Transcript

M240B/H PMI
M240B/H PMI
Instructors:Sgt.Caudle
Instructors:Sgt.Caudle
• Task: To conduct PMI on the M240B/H.
• Conditions:Given a classroom environment and M240B/H as a learning tool.
• Standards:Soldiers will be able to perform basic procedures on the M240B/H and have a basic knowledge of the weapon.
• Task: To conduct PMI on the M240B/H.
• Conditions:Given a classroom environment and M240B/H as a learning tool.
• Standards:Soldiers will be able to perform basic procedures on the M240B/H and have a basic knowledge of the weapon.
• Loading & clearing
• Weapon malfunctions(P.O.P.S.)
• Safe & Fire
• WEAPON SPECIFICATIONS
• Loading & clearing
• Weapon malfunctions(P.O.P.S.)
• Safe & Fire
• WEAPON SPECIFICATIONS
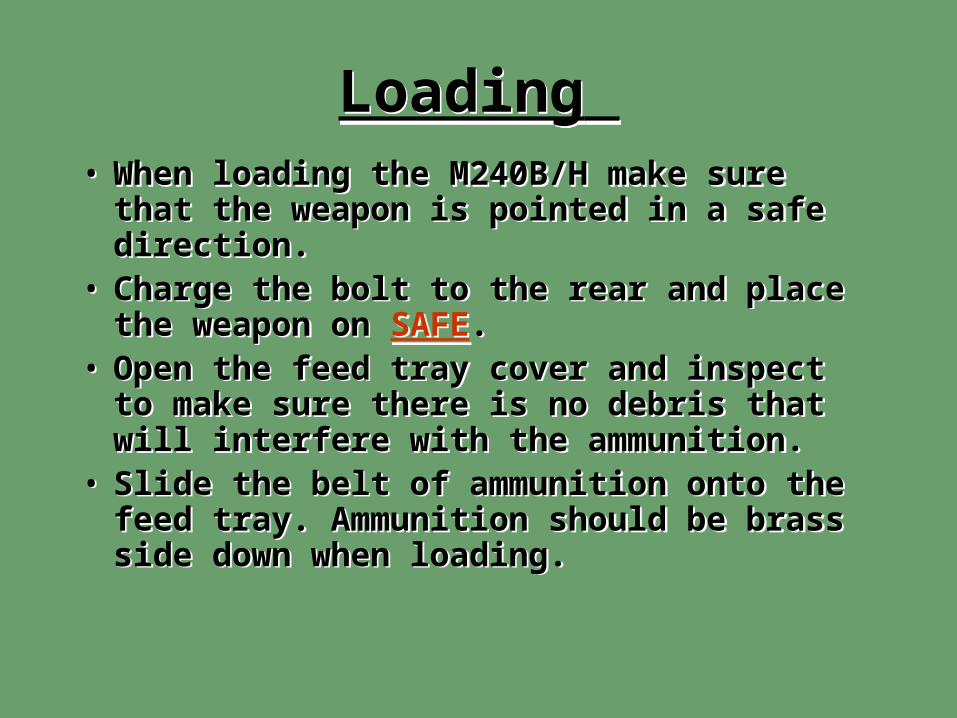
Loading Loading • When loading the M240B/H make sure
that the weapon is pointed in a safe direction.
• Charge the bolt to the rear and place the weapon on SAFE.
• Open the feed tray cover and inspect to make sure there is no debris that will interfere with the ammunition.
• Slide the belt of ammunition onto the feed tray. Ammunition should be brass side down when loading.
• When loading the M240B/H make sure that the weapon is pointed in a safe direction.
• Charge the bolt to the rear and place the weapon on SAFE.
• Open the feed tray cover and inspect to make sure there is no debris that will interfere with the ammunition.
• Slide the belt of ammunition onto the feed tray. Ammunition should be brass side down when loading.
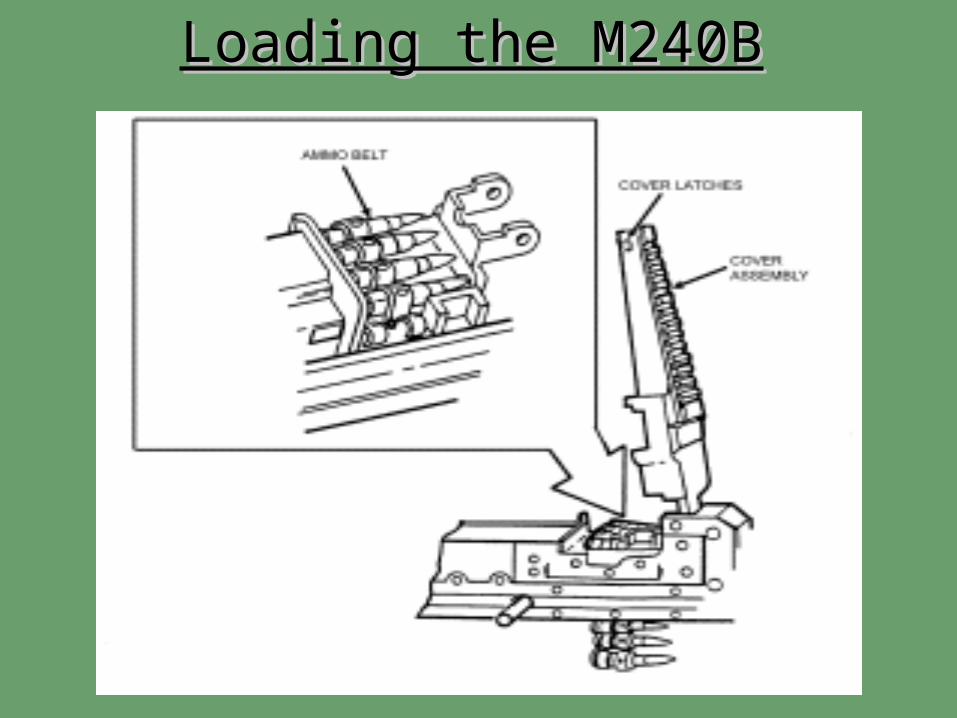
Loading the M240BLoading the M240B
Loading Loading • Close the feed tray and insure
that the ammo is locked into the weapon and is not sliding back out.
• Place the weapon on fire.• The weapon fires in the open
bolt position.
• Close the feed tray and insure that the ammo is locked into the weapon and is not sliding back out.
• Place the weapon on fire.• The weapon fires in the open
bolt position.

ClearingClearing
• Make sure bolt is to the rear and that the weapon is on SAFE.
• Open the feed tray cover (Remove belt if ammunition is remaining).
• With two fingers, sweep the feed tray clear of any remaining brass or link.
• Lift the feed tray up and inspect the chamber to insure that the weapon is CLEAR.
• Make sure bolt is to the rear and that the weapon is on SAFE.
• Open the feed tray cover (Remove belt if ammunition is remaining).
• With two fingers, sweep the feed tray clear of any remaining brass or link.
• Lift the feed tray up and inspect the chamber to insure that the weapon is CLEAR.
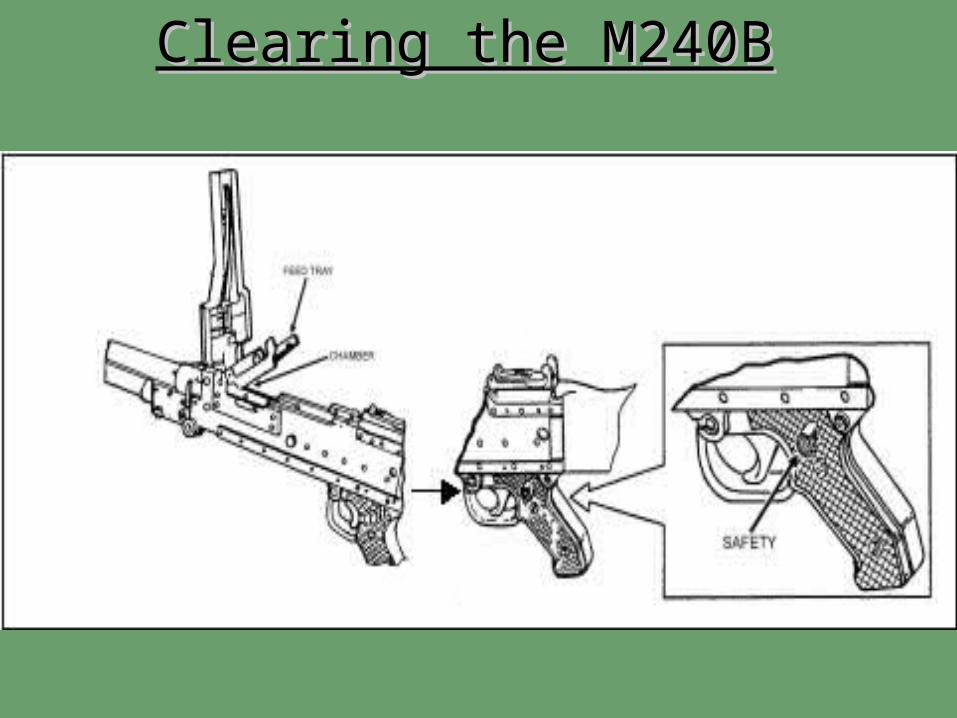
Clearing the M240BClearing the M240B
ClearingClearing
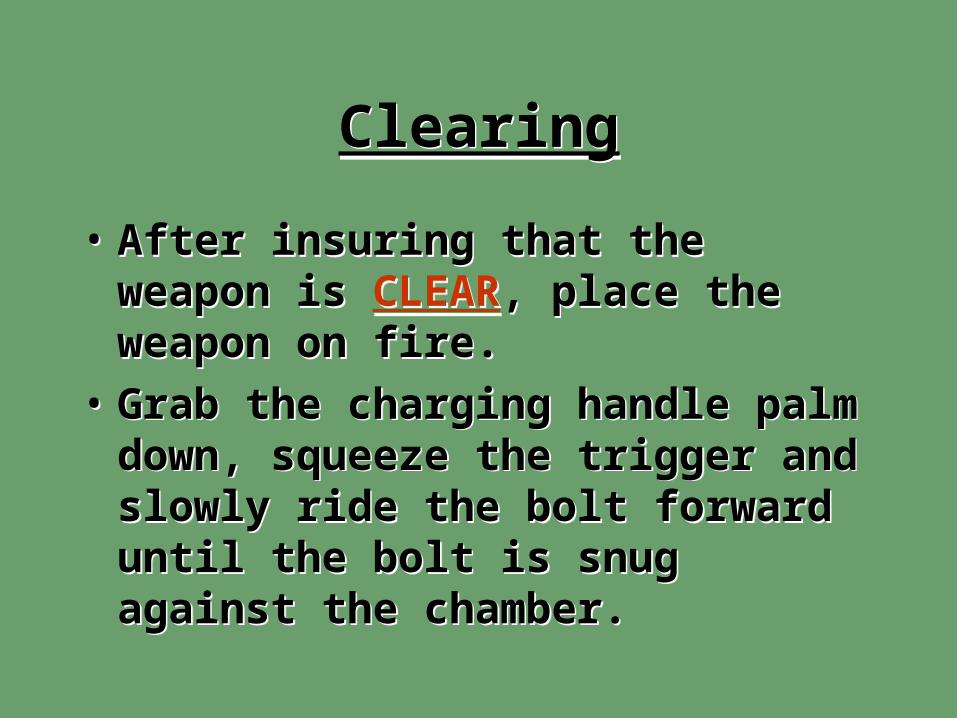
• After insuring that the weapon is CLEAR, place the weapon on fire.
• Grab the charging handle palm down, squeeze the trigger and slowly ride the bolt forward until the bolt is snug against the chamber.
• After insuring that the weapon is CLEAR, place the weapon on fire.
• Grab the charging handle palm down, squeeze the trigger and slowly ride the bolt forward until the bolt is snug against the chamber.
Weapon MalfunctionsWeapon Malfunctions
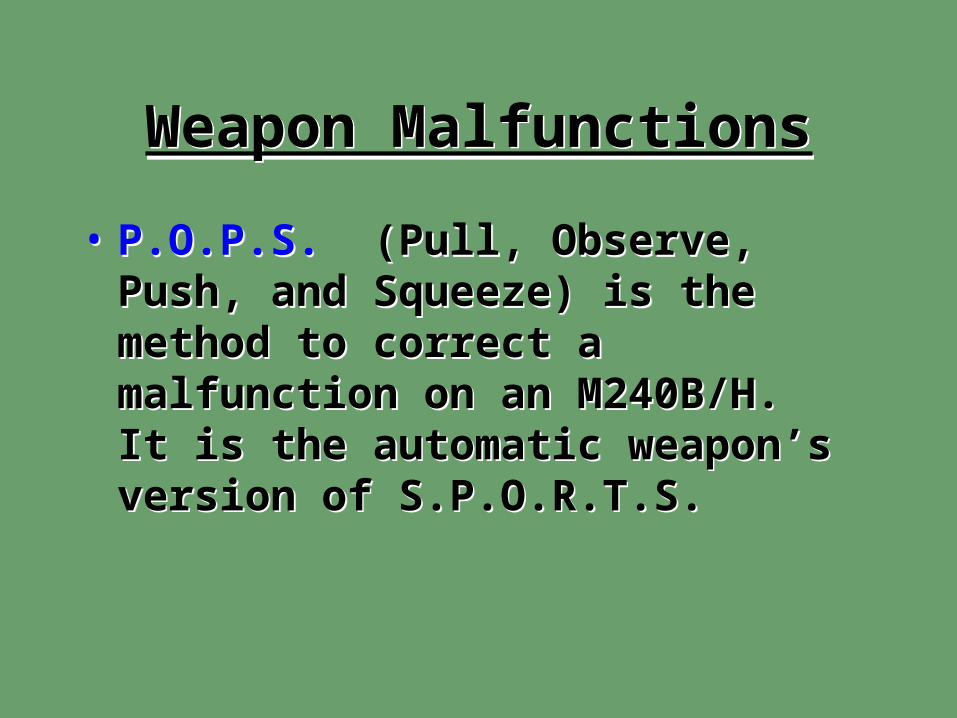
• P.O.P.S. (Pull, Observe, Push, and Squeeze) is the method to correct a malfunction on an M240B/H. It is the automatic weapon’s version of S.P.O.R.T.S.
• P.O.P.S. (Pull, Observe, Push, and Squeeze) is the method to correct a malfunction on an M240B/H. It is the automatic weapon’s version of S.P.O.R.T.S.

Weapon MalfunctionsWeapon Malfunctions
•Pull the charging handle to the rear to eject the malfunctioning round
• Observe the round leaving the weapon.
• Push the charging handle forward to lock the charging handle grip.
• Squeeze the trigger to fire the next round.
•Pull the charging handle to the rear to eject the malfunctioning round
• Observe the round leaving the weapon.
• Push the charging handle forward to lock the charging handle grip.
• Squeeze the trigger to fire the next round.

Safe & FireSafe & Fire
• To place the weapon on safe the bolt has to be charged to the rear.
• The weapon can be placed on fire no matter what position the bolt is in. When turning the M240B/H in to the Armorer, the bolt should be to the front, the weapon on fire, and CLEAR.
• To place the weapon on safe the bolt has to be charged to the rear.
• The weapon can be placed on fire no matter what position the bolt is in. When turning the M240B/H in to the Armorer, the bolt should be to the front, the weapon on fire, and CLEAR.

Weapon SpecificationsWeapon Specifications
Types of Ammunition
Linked 7.62mm
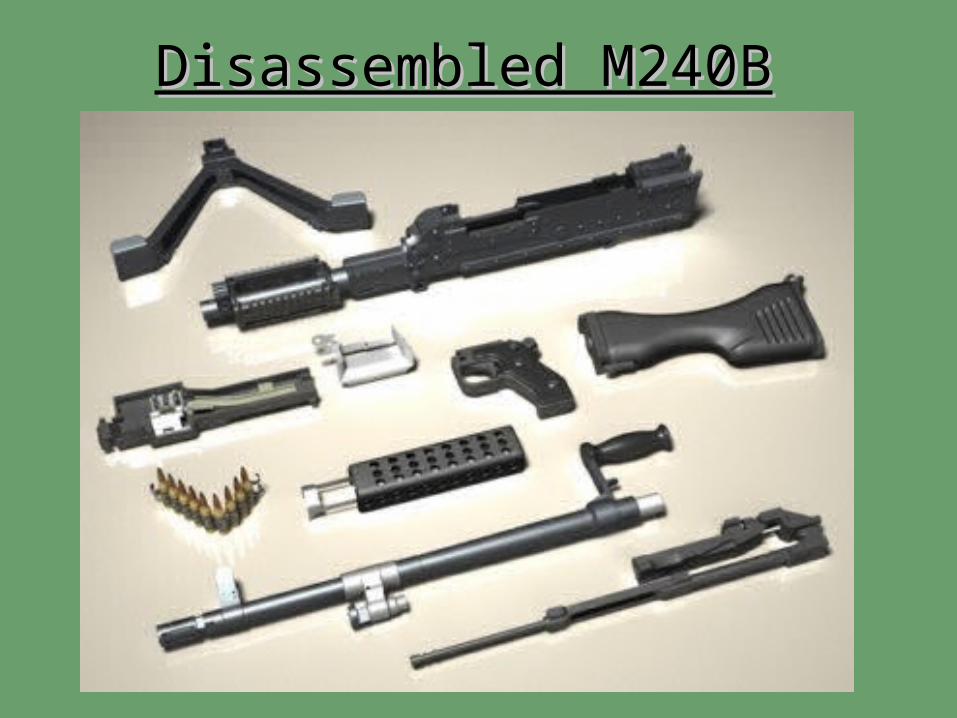
Disassembled M240BDisassembled M240B

QuestionsQuestions
??
Related Documents