Ink Brayer Slab

Welcome message from author
This document is posted to help you gain knowledge. Please leave a comment to let me know what you think about it! Share it to your friends and learn new things together.
Transcript

Ink
Brayer
Slab

Put a “dab” of ink on the slab.

Use the brayer to spread the ink uniformly over the slab.

Start at the top of the slab and roll to the bottom.

Lift up the brayer and bring it back to the top.

Roll it down again until the ink is just right.

Do this as long as it takes to spread out the ink. Keep up this circular motion
(top bottom lift top bottom lift…)so the ink is spread evenly on the brayer as well as the slab.


.


It’s important to get just the right amount of ink. Keep adding “dabs” of
ink until you have it right.

The right amount of ink makes a crackling sound and has a furry
texture.

This is not enough ink. It is flat rather than furry and you can see through it.

This is too much ink. It has lines.
This is called “ropey” ink. Always fix ropey ink.

To fix ropey ink, hold the roller,
then drag the extra ink to the top of the slab.


Leave the line of ink at the top of the slab. Use this ink when you start to run out of ink instead of adding another
“dab” of ink from the tube.
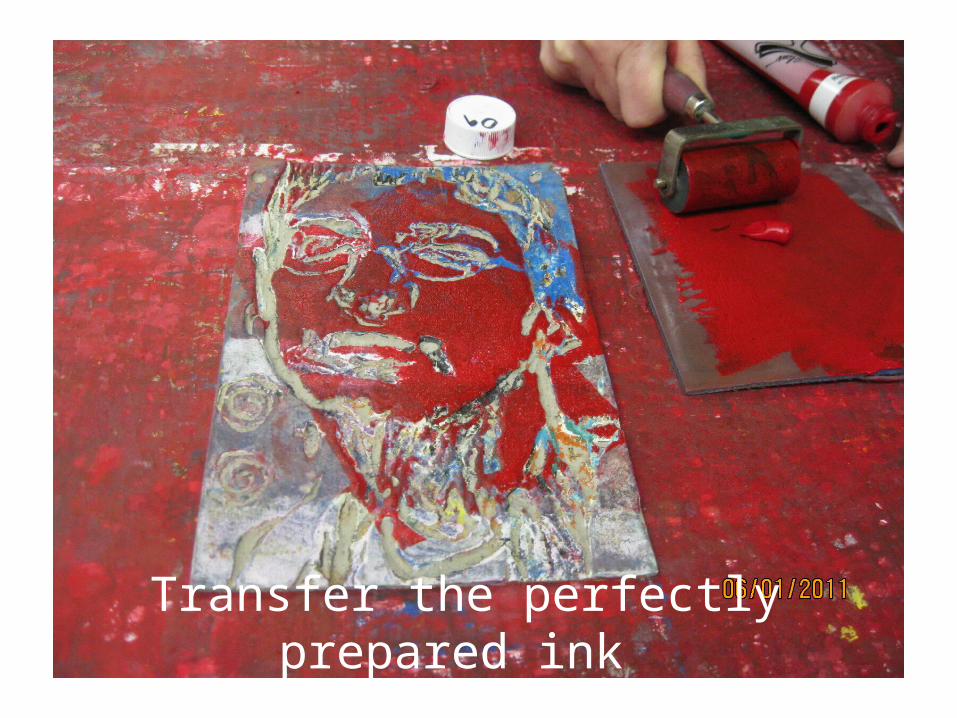
Transfer the perfectly prepared ink from the slab to your linoleum block.

Keep applying ink until the entire surface is coated with with one color of ink. The ink should crackle.
You shouldn’t be able to see through the ink. The ink shouldn’t be ropey. This is called a base coat.

This is the texture of a good base coat.

Once you have a good base coat, you can add as many colors as you want.

When you use other colors, some of the inks are going to mix on the brayer
and the slab.

Don’t worry about the colors mixing. Only add ink if the ink is running out.
Related Documents