Mental Abacus Lesson 3: Teaching Sequence

Welcome message from author
This document is posted to help you gain knowledge. Please leave a comment to let me know what you think about it! Share it to your friends and learn new things together.
Transcript

Mental AbacusLesson 3: Teaching Sequence
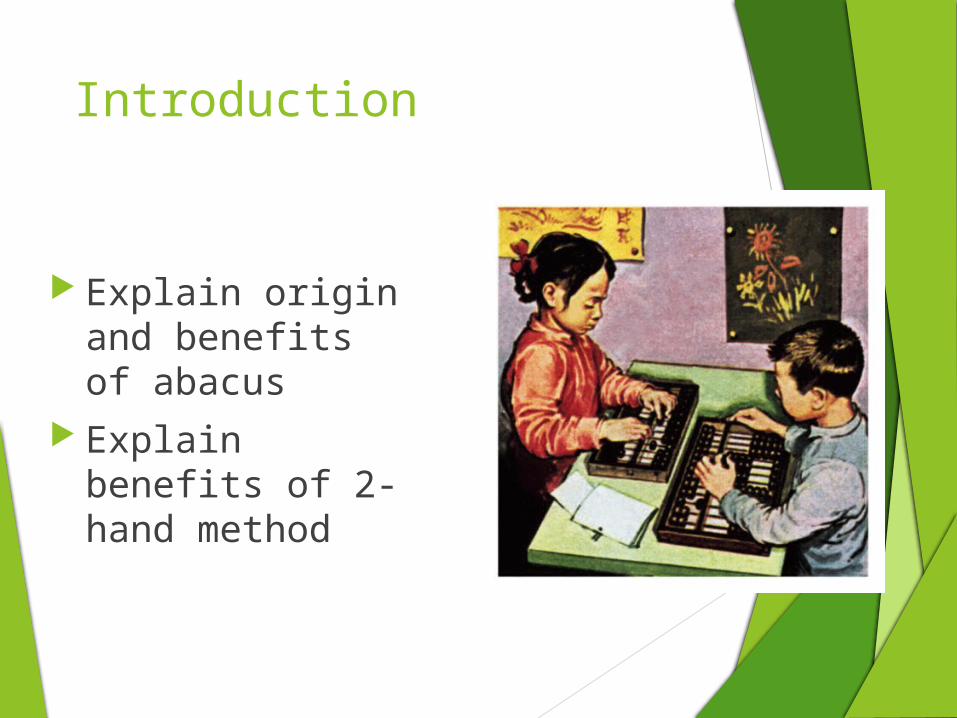
Introduction
Explain origin and benefits of abacus
Explain benefits of 2-hand method

Basics Names of parts of
the abacus How to hold
pencil Which fingers
push beads
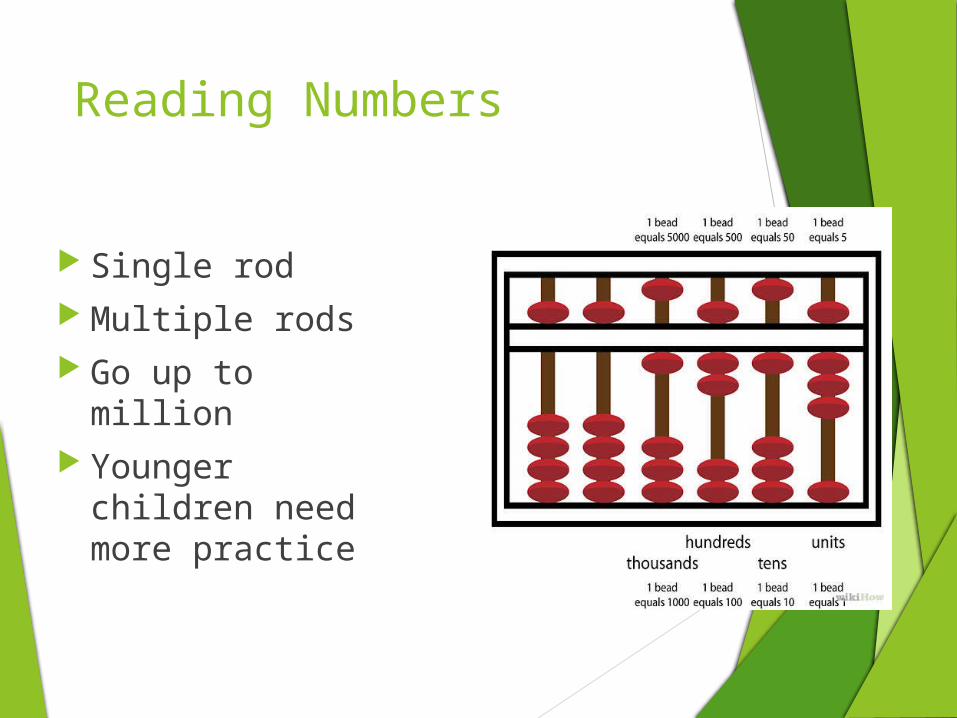
Reading Numbers
Single rod Multiple rods Go up to million Younger
children need more practice
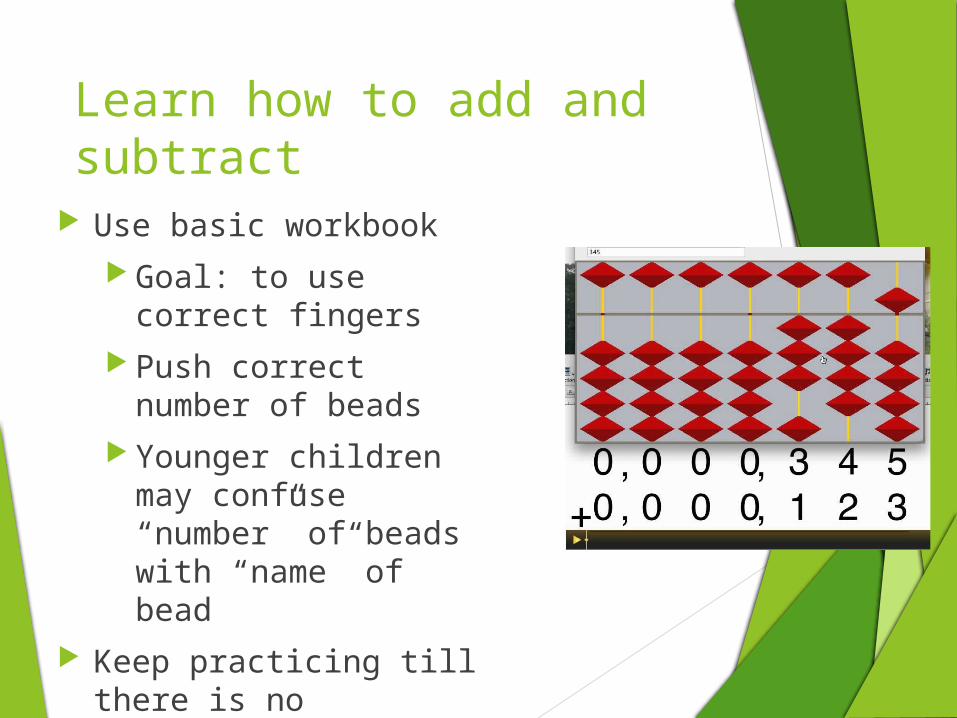
Learn how to add and subtract
Use basic workbook Goal: to use correct
fingers Push correct number
of beads Younger children
may confuse “number” of beads with “name” of bead
Keep practicing till there is no hesitation

Add & Subtract on 1 Rod
Within 4 Add 5, 6, 7, 8, 9 Go up to 10 numbers, Mix addition and
subtraction

Start visualization exercises
Use picture of abacus
Add and subtract on one rod

Practice other mental skills
Memory exercises What did you eat for breakfast? The weather yesterday Other
Relaxation exercises Straight back, flat feet, hands on knees,
eyes closed Slow breathing, slower, slower No cringing or frowning Visualize blue sky,

Learn Big Friends Put poster on wall Teach as a chant Use fingers and
clapping Practice daily as a
class
Add & Subtract using Big Friends
While doing worksheet, student should say out loud the chant: Example:
8 +9 -1+10 answer: 17
If this is done regularly, the fingers will automatically do -1+10 when the mouth says (and the brain thinks) +9
Whole class does a few lines in unison out loud. Then each can work on his/her own.

Learn Little Friends Put poster on wall Teach as a rap Use fingers and clapping Practice daily as a class
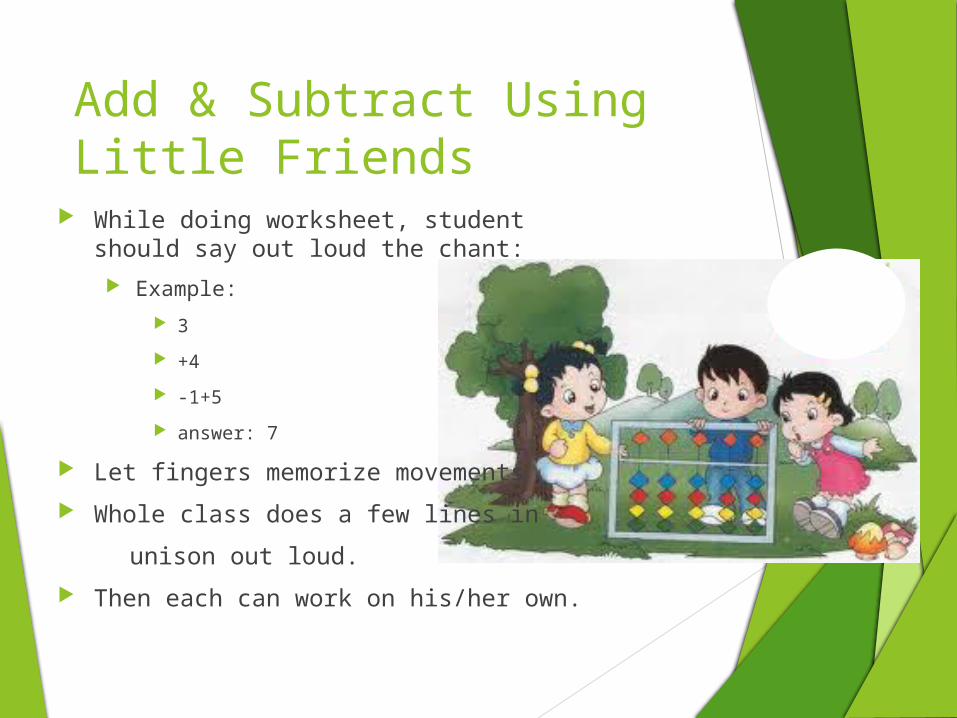
Add & Subtract Using Little Friends
While doing worksheet, student should say out loud the chant: Example:
3 +4 -1+5 answer: 7
Let fingers memorize movements Whole class does a few lines in unison out loud. Then each can work on his/her own.

Practice +/- on 2 or more rods
When all big friends and little friends have been taught, there follows a section of mixed practice.
Follow this sequence: A) try pushing normal amount of
beads B) if not possible, look for little
friends C) if not possible, then look for
big friends

Start Daily Practices
+1 till 20 +2 till 20 +3 till 30 +4 till 40 +5 till 50 +6 till 60 +7 till 70 +8 till 80 +9 till 90
Say out loud: 1 +1, is 2 +1, is 3 +1, is 4 +1, is 5 (little friends) +1, is 6 +1, is 7 +1, is 8 +1, is 9 +1 is 10 (big friends) etc

Start on Level 12 There are 12
levels of abacus skills
Level 12 is the lowest Single digit,
addition/subtraction, 3 numbers

Mental practice Daily, do not
forget to practice mentally
If time does not allow, at least once a week

Looking to next levels
Master Times Tables Multiplication Division

Thank You!From TER
Related Documents