Adventures in Aerospace: Lesson 1 Volunteer’s Guide Page 1 of 12 Key to Curriculum Formatting: ► Volunteer Directions ■ Volunteer Notes ♦ Volunteer-led Classroom Activities Lesson 1: YOU’RE PILOTING A PLANE! ► Begin the presentation with “Lesson 1: You’re Piloting a Plane!” Introduce yourself and the program. A suggested personal introduction: “Hello, my name is _____________, and I am a _________________ (position title) at Aerojet. I will be visiting your class once every month to speak to you about space exploration and space travel. We will learn about the basics of aerodynamics, rocket propulsion, and spaceflight to the space station, the moon, and future missions to Mars!” ► Tell the students that in the coming months you (or another volunteer) will not only be discussing with them the scientific principles that govern space flight, but will perform some simple experiments with them to demonstrate these principles. ■ While addressing historical developments that led to flight as we know it today, this lesson introduces students to scientific principles of flight. Various activities help reinforce students’ understanding of these

Welcome message from author
This document is posted to help you gain knowledge. Please leave a comment to let me know what you think about it! Share it to your friends and learn new things together.
Transcript
Adventures in Aerospace: Lesson 1 Volunteer’s Guide
Page 1 of 12
Key to Curriculum Formatting:
► Volunteer Directions
■ Volunteer Notes
♦ Volunteer-led Classroom Activities
Lesson 1: YOU’RE PILOTING A PLANE! ► Begin the presentation with “Lesson 1: You’re Piloting a Plane!”
Introduce yourself and the program. A suggested personal introduction: “Hello, my name is _____________, and I am a _________________ (position title) at Aerojet. I will be visiting your class once every month to speak to you about space exploration and space travel. We will learn about the basics of aerodynamics, rocket propulsion, and spaceflight to the space station, the moon, and future missions to Mars!”
► Tell the students that in the coming months you (or another volunteer) will not only be discussing with them the scientific principles that govern space flight, but will perform some simple experiments with them to demonstrate these principles.
■ While addressing historical developments that led to flight as we know
it today, this lesson introduces students to scientific principles of flight.
Various activities help reinforce students’ understanding of these
Adventures in Aerospace: Lesson 1 Volunteer’s Guide
Page 2 of 12
principles and the associated engineering designs allowing for manned
flight. Optional experiments, found at the end of this lesson plan, provide
extra opportunities for older students to develop their knowledge of flight
principles.
MATERIALS NEEDED • AiA Multimedia Presentation (AMP)
• DVD-ROM
• TV or projection screen
• Student folders (one for each student)
• Index cards
► See lesson to assess total equipment needs.
LESSON OUTLINE Introduction
Lesson Concepts
Vocabulary
Flight: History and Overview
• Introduction to Flight – Icarus
• The Wright Brothers
• The Montgolfiers
• Space Flight
Applying What We’ve Learned
Let’s Look Ahead
Experiments
INTRODUCTION
For centuries people have wondered exactly what it takes to fly. While modern flight
technologies, such as airplanes and rockets, have existed for barely 100 years, people have been
thinking about flight throughout history. Famed artist Leonardo Da Vinci designed flying
machines that drew upon principles of flight nearly 500 years ago! Da Vinci is so important to
flight history that part of the International Space Station is named after him!
LESSON CONCEPTS
• The properties of air and vacuum
Adventures in Aerospace: Lesson 1 Volunteer’s Guide
Page 3 of 12
• Principles of lift
VOCABULARY
Dense: Mass packed tightly together
Density: The ratio of an object's mass compared to volume
Gravity: The force that tends to draw all bodies together.
Force: Causes an object to alter its movement
Mass: The amount of matter in a body
Vacuum: A volume of space that is essentially empty of matter Volume: A three-dimensional space
► Ask students what they already know about space travel or other
relevant topics. Here are some questions you might ask:
• Have you ever flown on a jet airplane?
• Have you ever seen a rocket launch in person? What was it like?
• Have you ever heard the word "Apollo”? What does it mean to you?
• Have you seen a shuttle launching or landing? What was it like?
• Can you name any of the astronauts?
► Show the Introductory Video Clip. Discuss key elements of the video.
Adventures in Aerospace: Lesson 1 Volunteer’s Guide
Page 4 of 12
FLIGHT HISTORY AND OVERVIEW
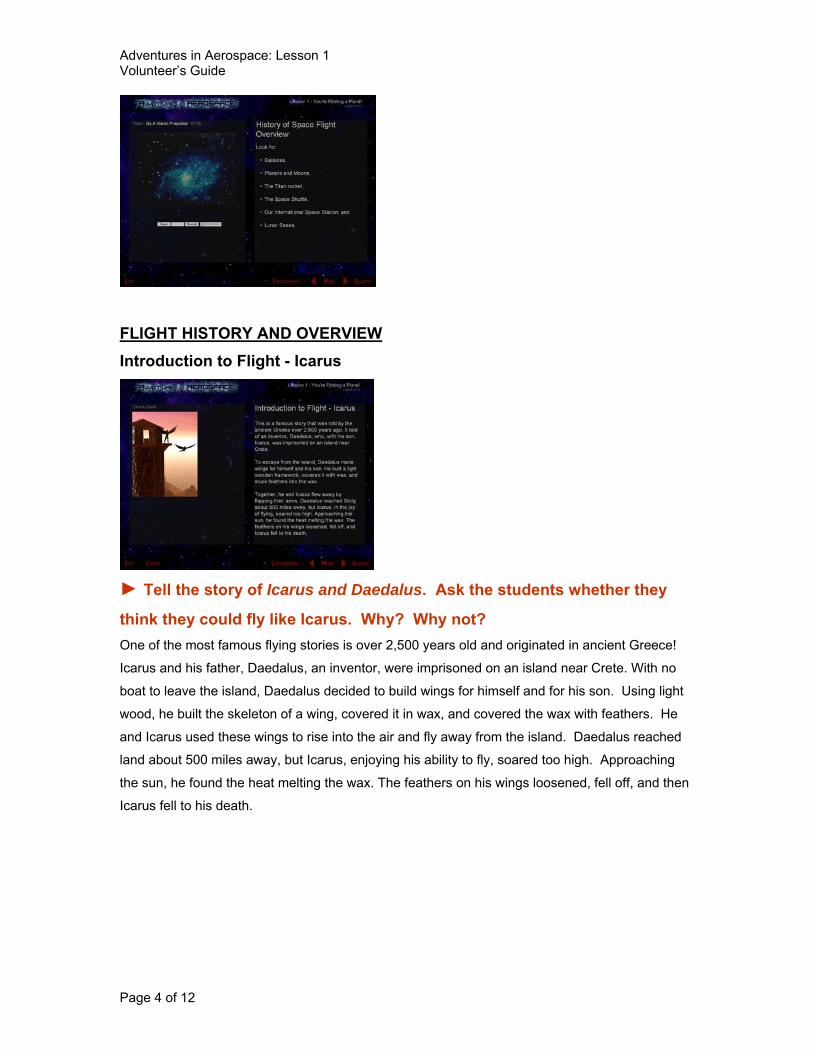
Introduction to Flight - Icarus
► Tell the story of Icarus and Daedalus. Ask the students whether they
think they could fly like Icarus. Why? Why not? One of the most famous flying stories is over 2,500 years old and originated in ancient Greece!
Icarus and his father, Daedalus, an inventor, were imprisoned on an island near Crete. With no
boat to leave the island, Daedalus decided to build wings for himself and for his son. Using light
wood, he built the skeleton of a wing, covered it in wax, and covered the wax with feathers. He
and Icarus used these wings to rise into the air and fly away from the island. Daedalus reached
land about 500 miles away, but Icarus, enjoying his ability to fly, soared too high. Approaching
the sun, he found the heat melting the wax. The feathers on his wings loosened, fell off, and then
Icarus fell to his death.

Adventures in Aerospace: Lesson 1 Volunteer’s Guide
Page 5 of 12
♦ Can You Fly? Experiment Activity Concepts
• Gravity
• Force
• Mass
Activity Instructions
1. If room and class size allow, instruct students to stand up.
2. If you are speaking to a larger crowd, students can stay seated and do this exercise.
3. Explain to them that you are conducting a very “important” experiment.
4. Proceed to ask students to flap their arms like wings, to try to fly.
5. This is a great exercise to get kids moving and aware of their surroundings before other
experiments begin.
Activity Explanation
Gravity keeps humans on the ground and causes objects fall to the ground. But when birds,
bats, and insects beat their wings against the air to fly, they don’t fall! Having wings alone can’t
make a person, or even a bird, fly. What counts is the amount of power generated by the
muscles used to flap wings. The larger the mass of the animal, the stronger the muscles must be
to allow it to fly. Humans have neither wings nor strong muscles to lift us into the air. Most
animals that have wings have the muscles necessary to lift themselves into the air. Others do
Adventures in Aerospace: Lesson 1 Volunteer’s Guide
Page 6 of 12
not, like penguins or chickens. Man made objects that have wings, like airplanes, need some sort
of engine to get into the air. What do you suppose helps get these objects into the air? What sort
of “muscles” or force do airplanes use?
Bag of Exotic Things
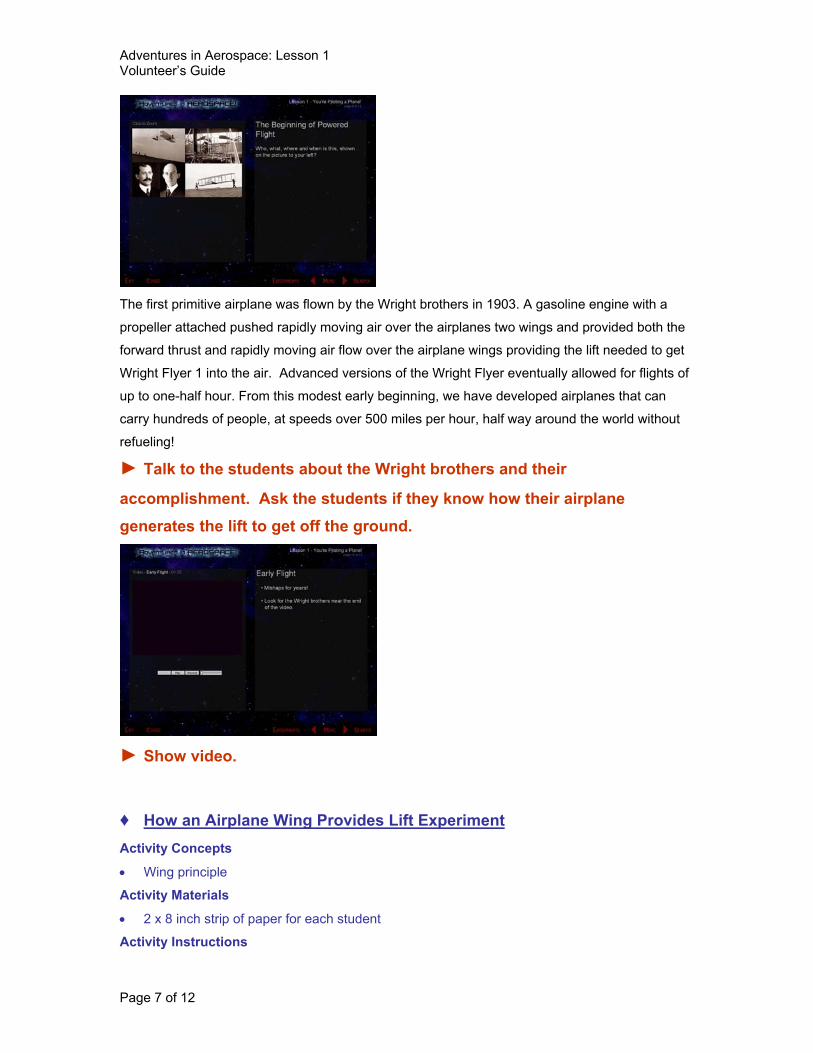
The Montgolfiers
In 1783, a Frenchman, Joseph Montgolfier and his younger brother, Jacques, noticed that smoke from fire rose and lifted light things with it and were able to build the first successful hot air balloon.
You've all probably seen ashes and bits of paper fly up from a campfire. That is because hot air is lighter, or less dense, than cold air. We could build a campfire here in the middle of the classroom to demonstrate how it works, but your teacher might have to call the fire department if we did.
We should demonstrate it another way!
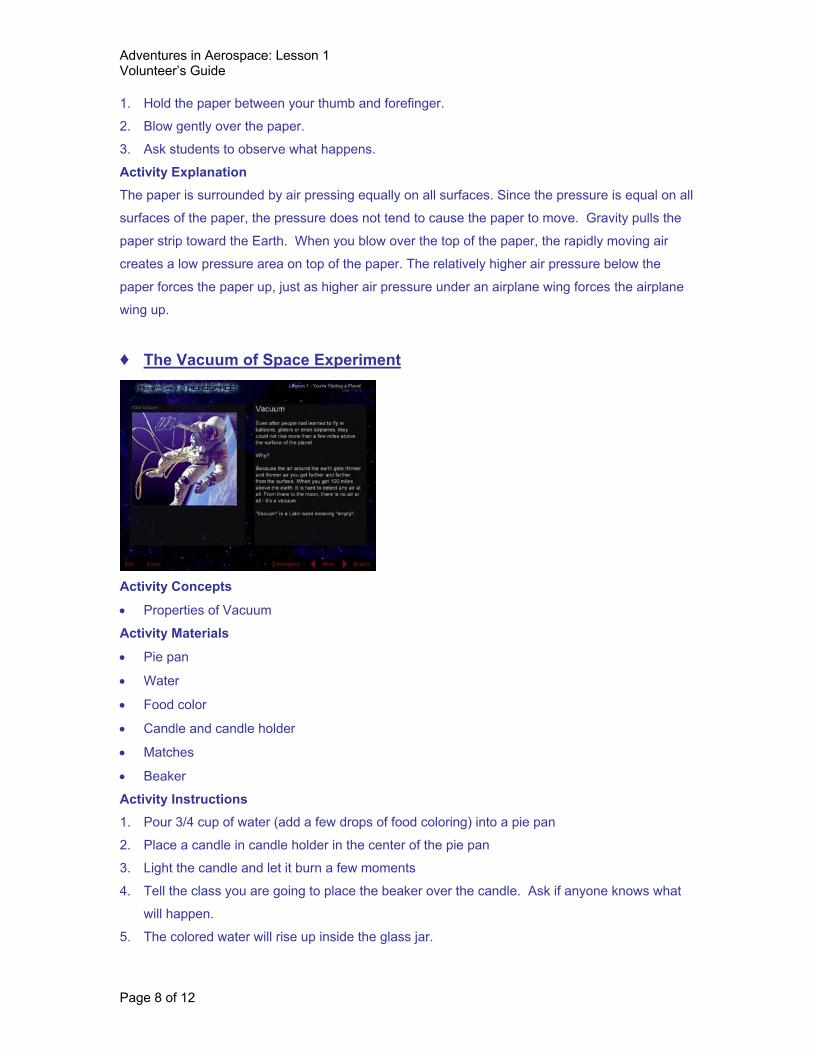
The Wright Brothers
Adventures in Aerospace: Lesson 1 Volunteer’s Guide
Page 7 of 12
The first primitive airplane was flown by the Wright brothers in 1903. A gasoline engine with a
propeller attached pushed rapidly moving air over the airplanes two wings and provided both the
forward thrust and rapidly moving air flow over the airplane wings providing the lift needed to get
Wright Flyer 1 into the air. Advanced versions of the Wright Flyer eventually allowed for flights of
up to one-half hour. From this modest early beginning, we have developed airplanes that can
carry hundreds of people, at speeds over 500 miles per hour, half way around the world without
refueling!
► Talk to the students about the Wright brothers and their
accomplishment. Ask the students if they know how their airplane generates the lift to get off the ground.
► Show video.
♦ How an Airplane Wing Provides Lift Experiment Activity Concepts
• Wing principle
Activity Materials
• 2 x 8 inch strip of paper for each student
Activity Instructions
Adventures in Aerospace: Lesson 1 Volunteer’s Guide
Page 8 of 12
1. Hold the paper between your thumb and forefinger.
2. Blow gently over the paper.
3. Ask students to observe what happens.
Activity Explanation
The paper is surrounded by air pressing equally on all surfaces. Since the pressure is equal on all
surfaces of the paper, the pressure does not tend to cause the paper to move. Gravity pulls the
paper strip toward the Earth. When you blow over the top of the paper, the rapidly moving air
creates a low pressure area on top of the paper. The relatively higher air pressure below the
paper forces the paper up, just as higher air pressure under an airplane wing forces the airplane
wing up.
♦ The Vacuum of Space Experiment
Activity Concepts
• Properties of Vacuum
Activity Materials
• Pie pan
• Water
• Food color
• Candle and candle holder
• Matches
• Beaker
Activity Instructions 1. Pour 3/4 cup of water (add a few drops of food coloring) into a pie pan
2. Place a candle in candle holder in the center of the pie pan
3. Light the candle and let it burn a few moments
4. Tell the class you are going to place the beaker over the candle. Ask if anyone knows what
will happen.
5. The colored water will rise up inside the glass jar.
Adventures in Aerospace: Lesson 1 Volunteer’s Guide
Page 9 of 12
Activity Explanation THE OXYGEN WAS USED UP UNSIDE THE JAR. A partial vacuum was created. The air
pressure on the water surrounding the jar pushes the water into the jar to fill the vacuum created
by the loss of oxygen.
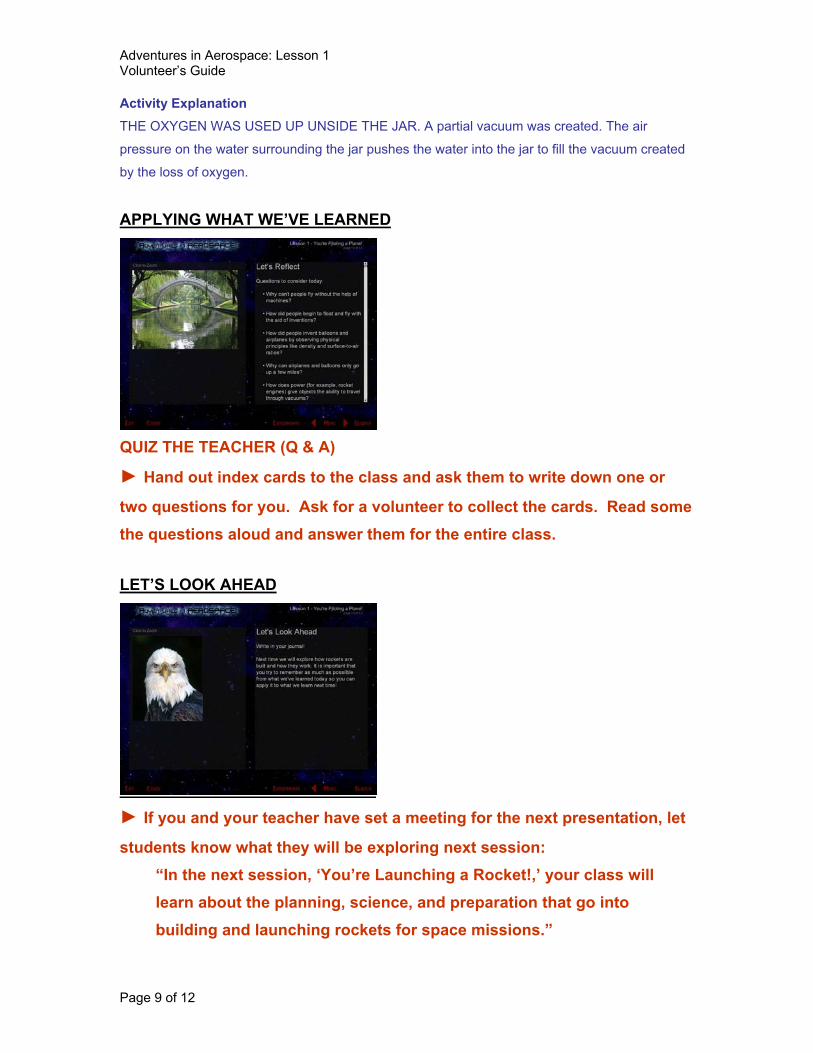
APPLYING WHAT WE’VE LEARNED
QUIZ THE TEACHER (Q & A)
► Hand out index cards to the class and ask them to write down one or
two questions for you. Ask for a volunteer to collect the cards. Read some the questions aloud and answer them for the entire class.
LET’S LOOK AHEAD
► If you and your teacher have set a meeting for the next presentation, let
students know what they will be exploring next session: “In the next session, ‘You’re Launching a Rocket!,’ your class will learn about the planning, science, and preparation that go into building and launching rockets for space missions.”
Adventures in Aerospace: Lesson 1 Volunteer’s Guide
Page 10 of 12
► Thank class.
♦ ADDITIONAL EXPERIMENTS (time-permitting):
♦ Floating Rocks?!! Experiment Activity Concepts
• Density
Activity Materials
• Clear bowl (filled with water)
• Small piece of wood
• Pumice rock
Activity Instructions 1. Show the class the pumice stone and the piece of wood.
2. Take a class survey: Will each object float or sink?
3. Hand objects to volunteer and ask the student to drop the piece of wood into a bowl of water
4. Ask how many students were right about the wood piece.
5. Ask volunteer to drop the pumice stone into the water.
6. Ask how many students were right about the pumice stone.
Activity Explanation The reason the pumice floats is because of density. Because volcanic pumice is so much less
dense than ordinary rock, it floats. Ask students, which would weigh more, a pound of lead or a
pound of feathers. If students understand the concept of density, they will answer that both
objects weight the same, lead just occupies less volume.
♦ Popcorn(y) Science I Experiment Activity Concepts
• Density
Activity Materials
• Clear bowl of water
• 1 cup uncooked popcorn kernels
• 1 cup cooked popcorn
Activity Instructions 1. Drop the uncooked popcorn in the bowl and allow students to watch popcorn sink.
2. Ask students what happened to the popcorn and why.
3. Explain that you are dropping a similar amount of popcorn into the bowl; the only
Adventures in Aerospace: Lesson 1 Volunteer’s Guide
Page 11 of 12
difference is that it is cooked.
4. Allow students to take guesses as to what will happen.
5. Drop cooked popcorn into the bowl.
6. Lead students through a discussion about what just happened in the activity.
Activity Explanation The popcorn’s density changed, allowing the cooked popcorn to float while the uncooked popcorn
sinks. Ask students about the relationship between size and density.
♦ Popcorn(y) Science II Experiment Activity Concepts
• Density
Activity Materials
• Popcorn popper
• Uncooked popcorn
• Oil
• Scale
• Measuring cup
Activity Instructions 1. Have a volunteer carefully measure and record the amount and weight of popcorn that is put
into the popper.
2. While you talk about density, let the popcorn pop.
3. When finished, have a volunteer carefully measure and record the weight and the volume of
the popcorn.
4. At the end of the experiment, share popcorn with the class.
Activity Explanation Ask the class the following questions to guide them through a discussion about the relationship
between density and weight.
Has the total weight changed? (No)
Has the total volume changed? (Yes)
What do you notice?
♦ Spin-a-Round Experiment Activity Concepts
• Gravity
Activity Materials
• 1 large glass jar
• 1 small rubber ball
Adventures in Aerospace: Lesson 1 Volunteer’s Guide
Page 12 of 12
Activity Instructions 1. Place the ball on top of the table, and then place the jar over the ball so that the ball is inside
the mouth of the canning jar.
2. Start spinning the jar around in a circular motion (keeping it on the table).
3. Once the ball starts spinning inside the jar lift it from the table top. The ball is lifted from the
table and will continue to spin inside the jar until it loses its speed.
Activity Explanation This works because the ball spinning inside the jar is trying to escape but the jar itself forces the
ball to stay inside the wall of the jar. Due to the force of the spin or speed the ball will continue to
spin until it loses its speed and gravity will pull it back to earth and the ball will fall from the jar.
♦ Full of Hot Air Experiment Activity Concepts
• Density
• Volume
Activity Materials
• Large dry cleaner’s bag
• Hot air gun (hair dryer)
Activity Instructions 1. Have a helper hold the bag open while you blow hot air into the bag. (Be careful not to melt
the bag). As the air in the bag heats up, it will start to lift on its own.
2. Hold the bag by the opening until the air in it is good and warm — then release it. It should
rise up to the ceiling and float for several seconds.
3. While the bag may tip over and spill the air out, you can prevent this by placing a few strips of
tape around the opening of the bag to weight the open end down.
Activity Explanation Heating a gas reduces its density. Heating the air increases the energy of the gas molecules.
This causes the molecules to vibrate more so that each one takes up more space. Since you can
fit fewer molecules in a given volume, the density of the gas is decreased. When you heat the air
in a balloon, you decrease its density relative to the cool air around the outside of the balloon.
This difference in density causes the balloon to want to float up through the dense cold air.
Related Documents