Launching the Laser Launching the Laser into an Optical Fibre into an Optical Fibre To launch a laser into an To launch a laser into an optical fibre, proceed as optical fibre, proceed as follows. follows.

Launching the Laser into an Optical Fibre
Jan 07, 2016
Launching the Laser into an Optical Fibre. To launch a laser into an optical fibre, proceed as follows. Remove the Shutter. Rotate the Filters. Set 100%, all lines. Switch the laser on and let it warm for about 20 minutes Select high power. Measure the Laser Power with the Fibre Removed. - PowerPoint PPT Presentation
Welcome message from author
This document is posted to help you gain knowledge. Please leave a comment to let me know what you think about it! Share it to your friends and learn new things together.
Transcript
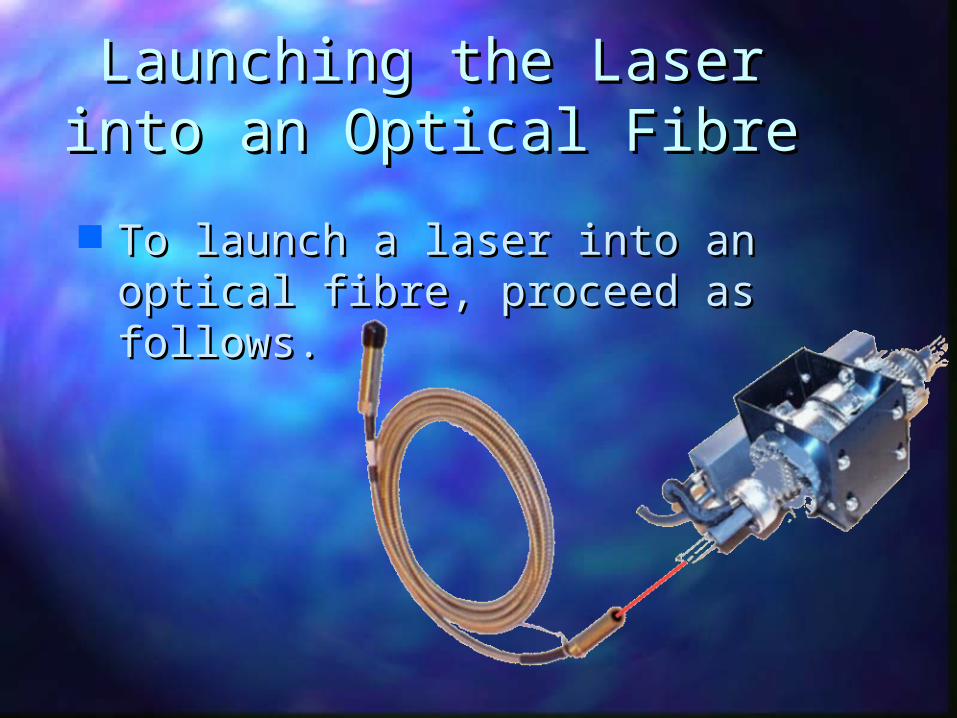
Launching the Laser into Launching the Laser into an Optical Fibrean Optical Fibre
To launch a laser into an optical To launch a laser into an optical fibre, proceed as follows.fibre, proceed as follows.
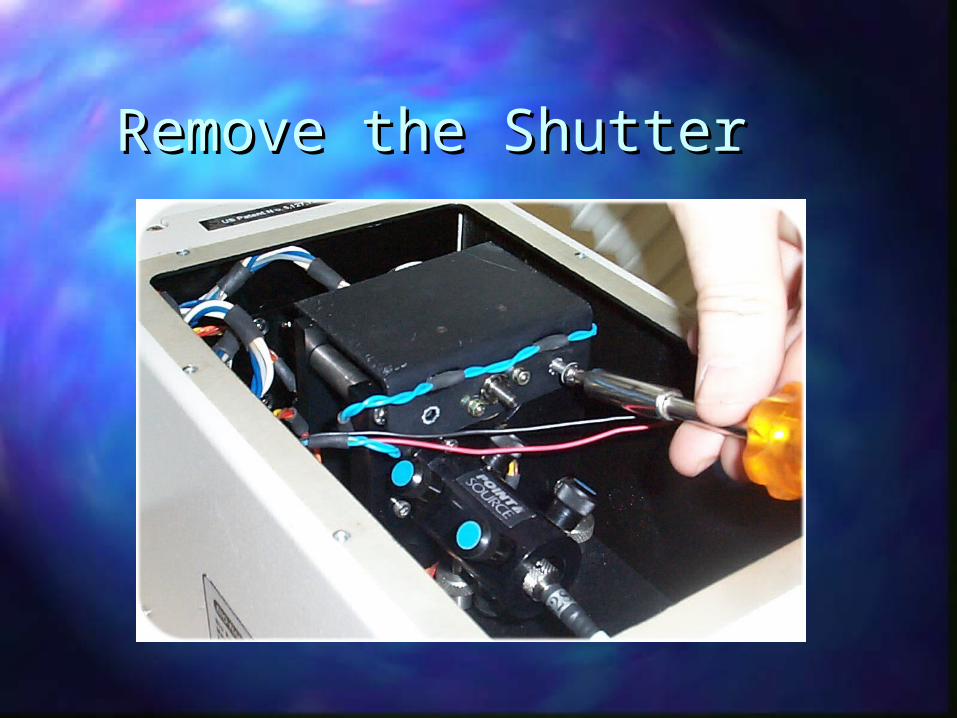
Remove the ShutterRemove the Shutter
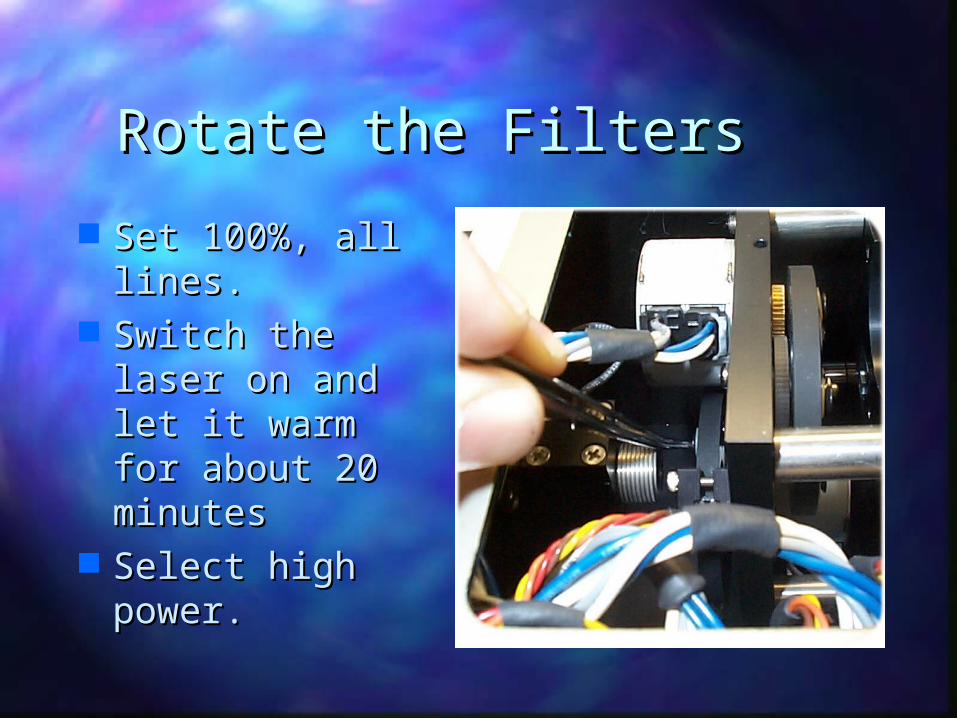
Rotate the FiltersRotate the Filters
Set 100%, all Set 100%, all lines.lines.
Switch the laser Switch the laser on and let it on and let it warm for about warm for about 20 minutes20 minutes
Select high Select high power.power.
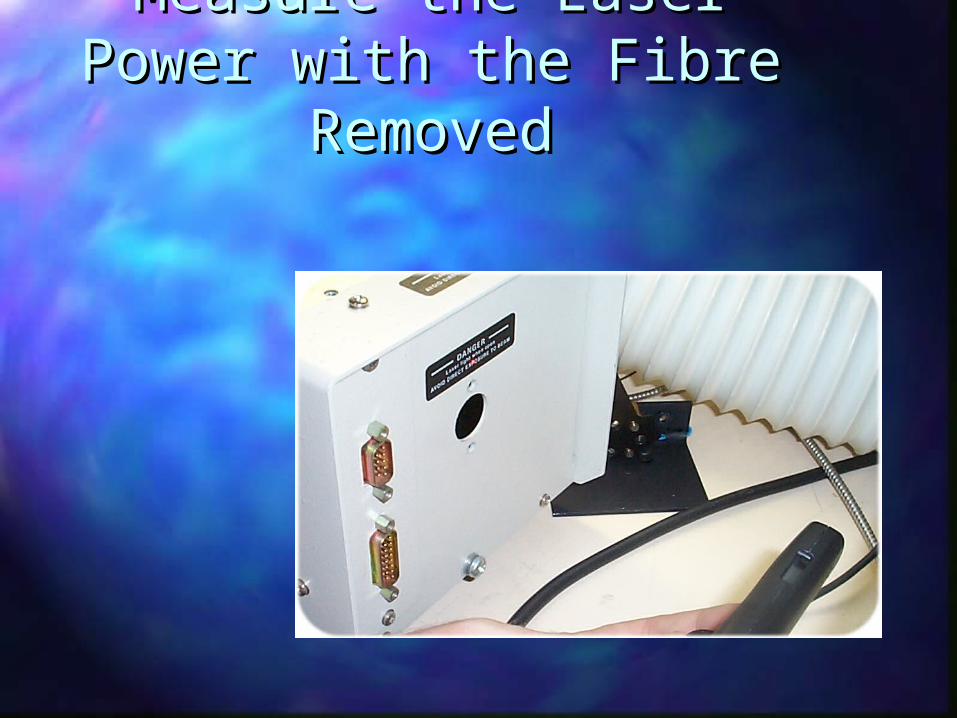
Measure the Laser Power Measure the Laser Power with the Fibre Removedwith the Fibre Removed
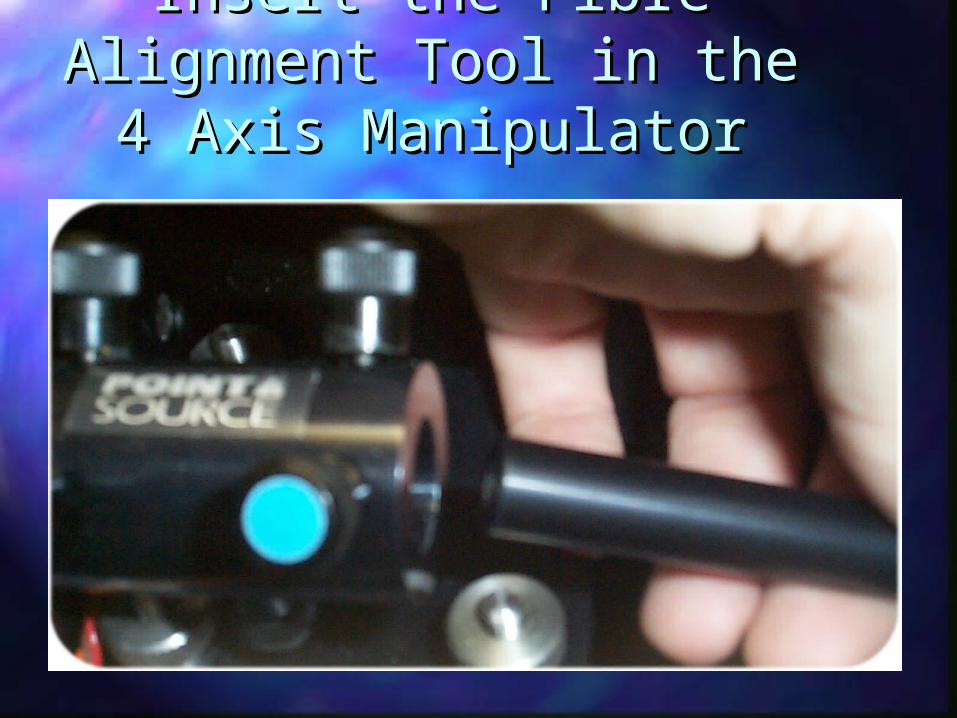
Insert the Fibre Alignment Insert the Fibre Alignment Tool in the 4 Axis Tool in the 4 Axis
ManipulatorManipulator
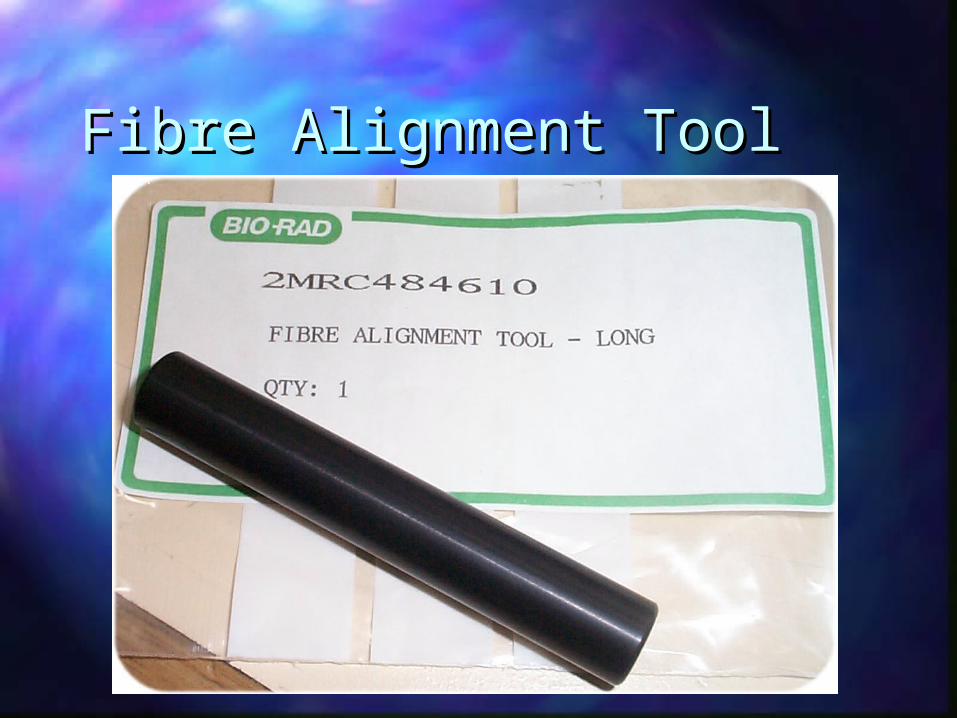
Fibre Alignment ToolFibre Alignment Tool
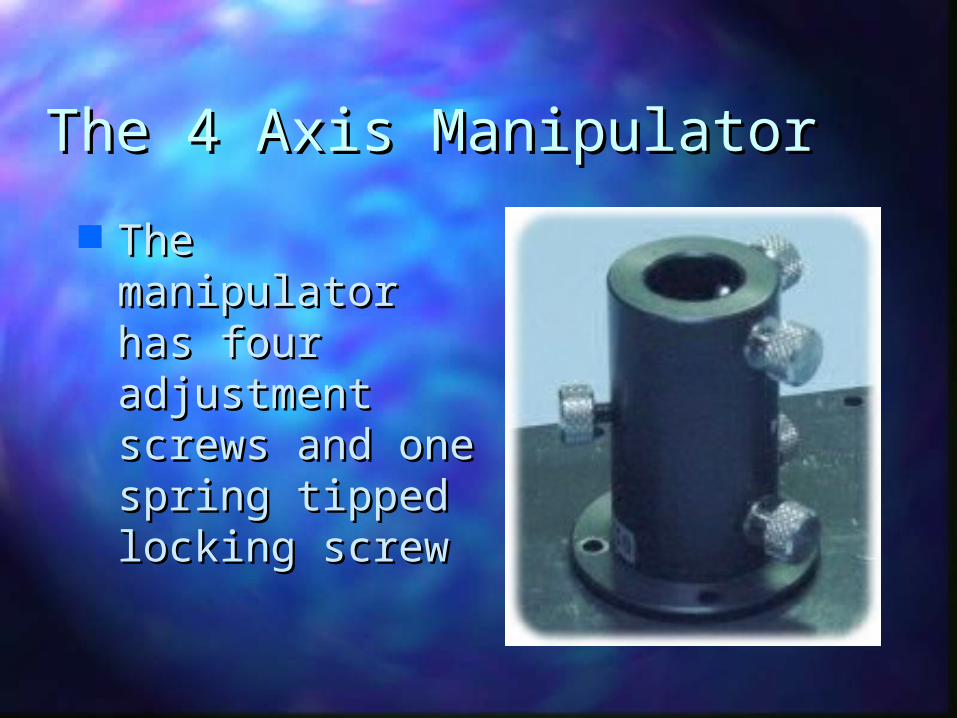
The 4 Axis ManipulatorThe 4 Axis Manipulator
The manipulator The manipulator has four has four adjustment adjustment screws and one screws and one spring tipped spring tipped locking screwlocking screw
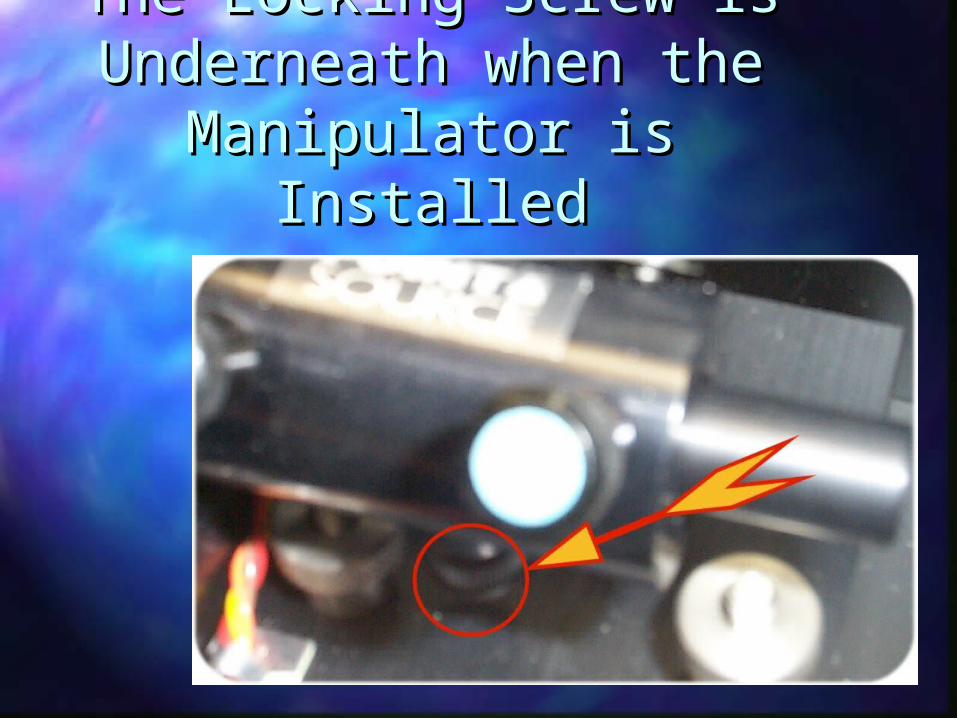
The Locking Screw is The Locking Screw is Underneath when the Underneath when the
Manipulator is InstalledManipulator is Installed
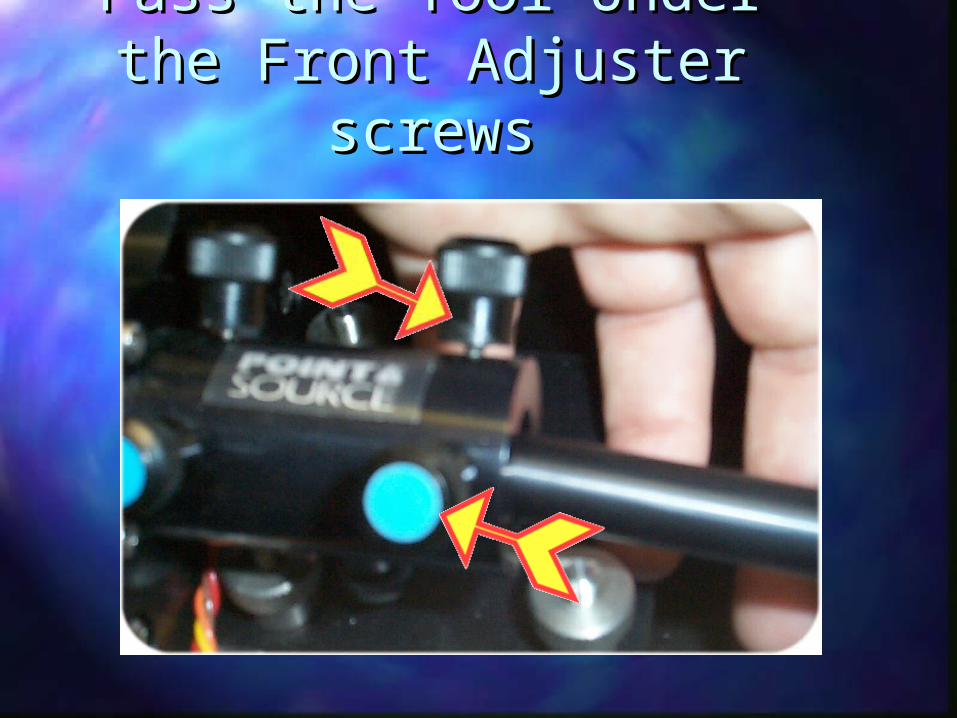
Pass the Tool Under the Pass the Tool Under the Front Adjuster screwsFront Adjuster screws
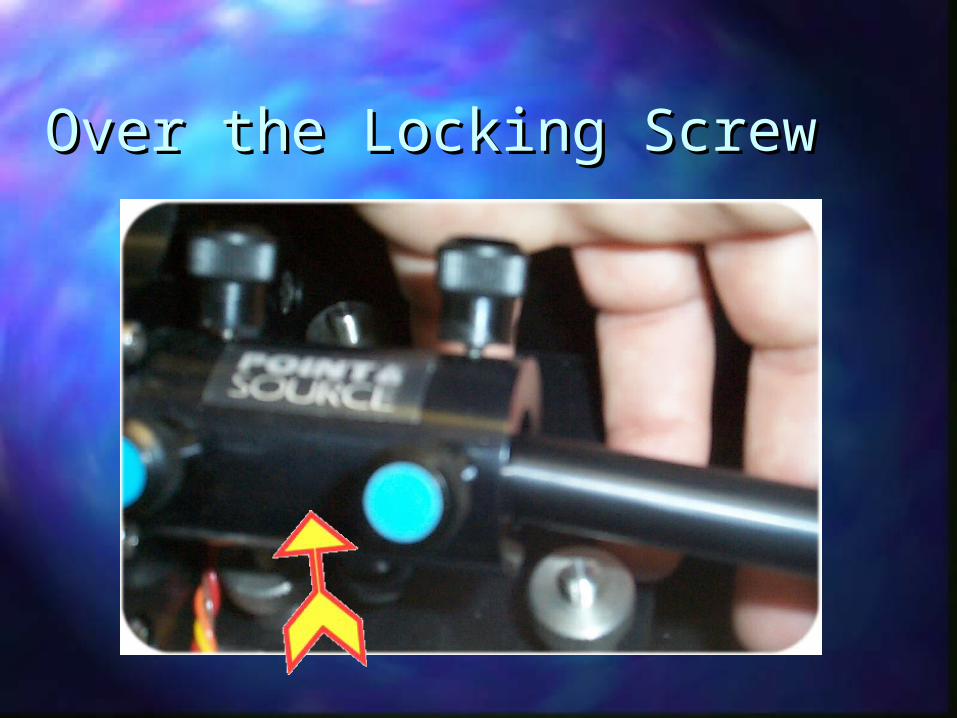
Over the Locking ScrewOver the Locking Screw
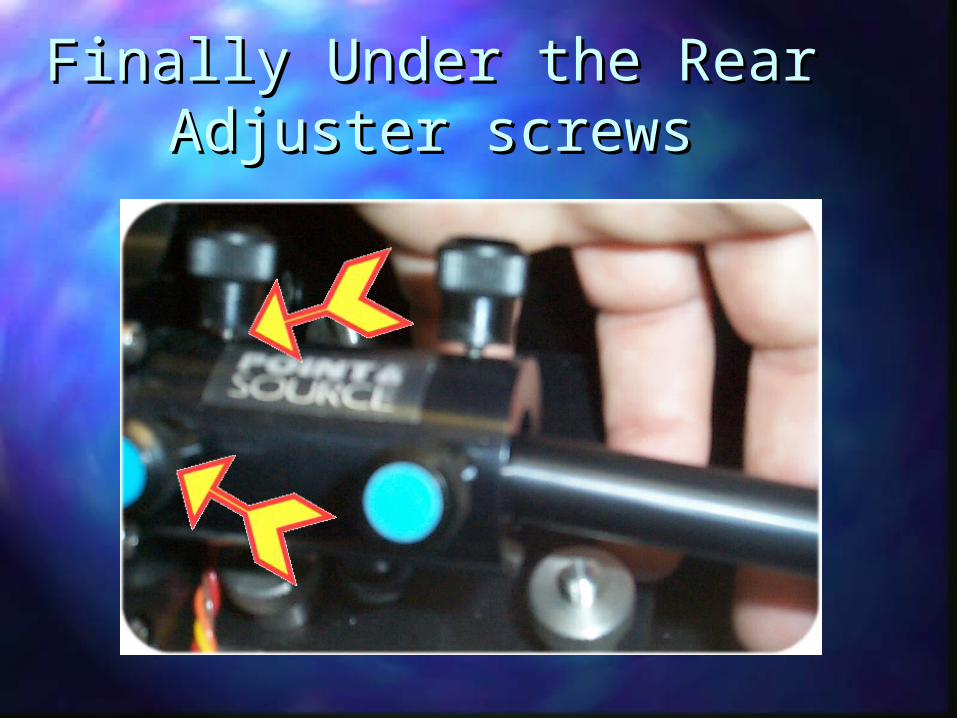
Finally Under the Rear Finally Under the Rear Adjuster screwsAdjuster screws
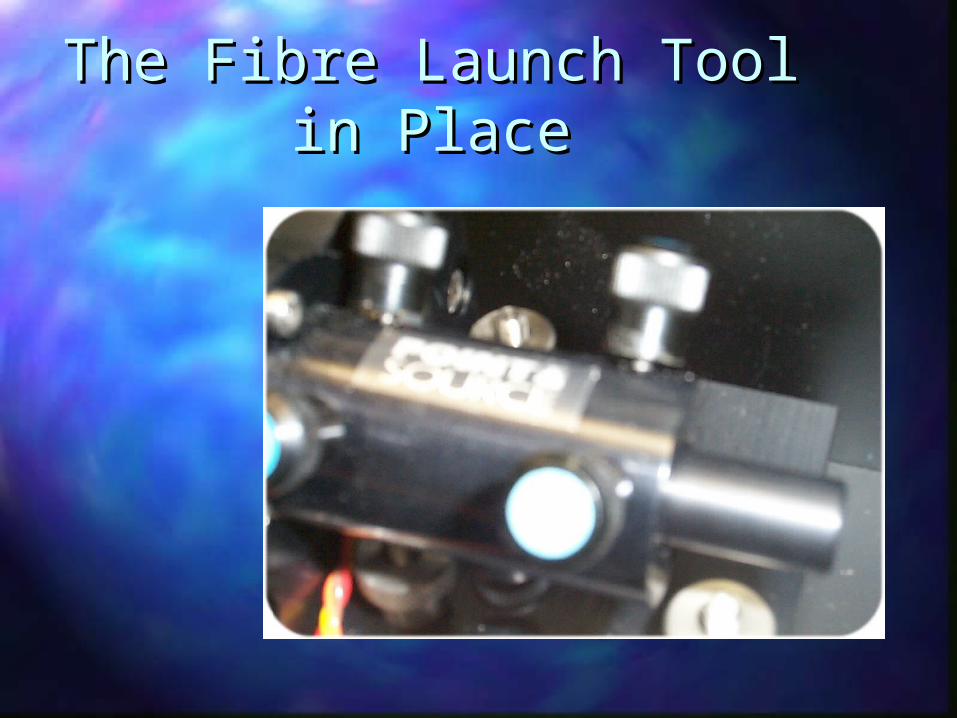
The Fibre Launch Tool in The Fibre Launch Tool in PlacePlace
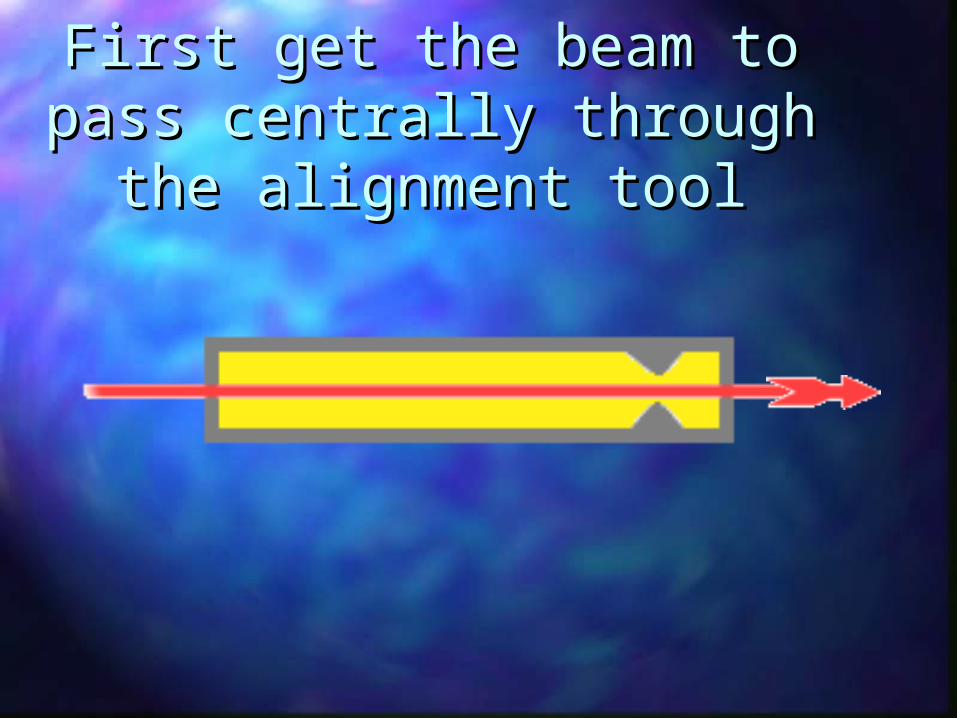
First get the beam to pass First get the beam to pass centrally through the centrally through the
alignment toolalignment tool
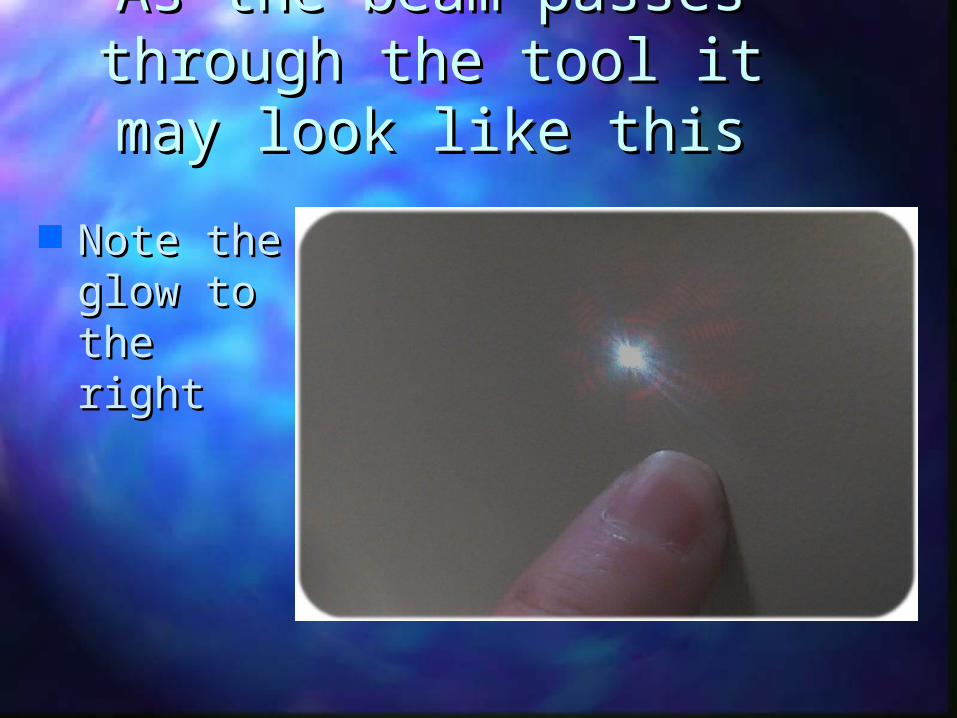
As the beam passes As the beam passes through the tool it may through the tool it may
look like thislook like this
Note the Note the glow to glow to the rightthe right
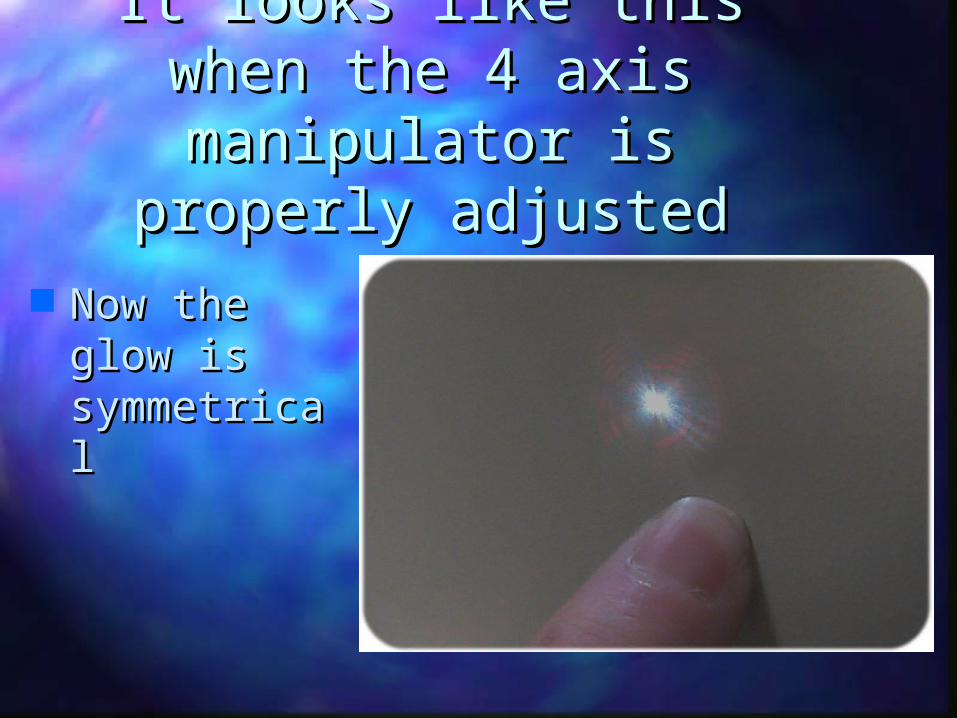
It looks like this when the It looks like this when the 4 axis manipulator is 4 axis manipulator is
properly adjustedproperly adjusted Now the Now the
glow is glow is symmetricalsymmetrical
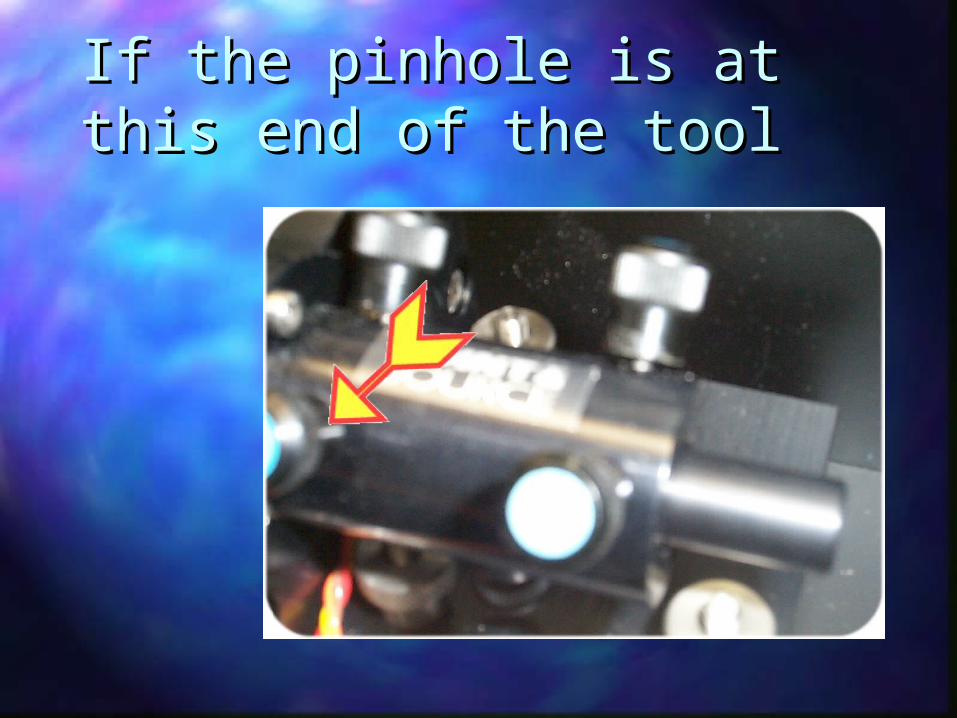
If the pinhole is at this end If the pinhole is at this end of the toolof the tool
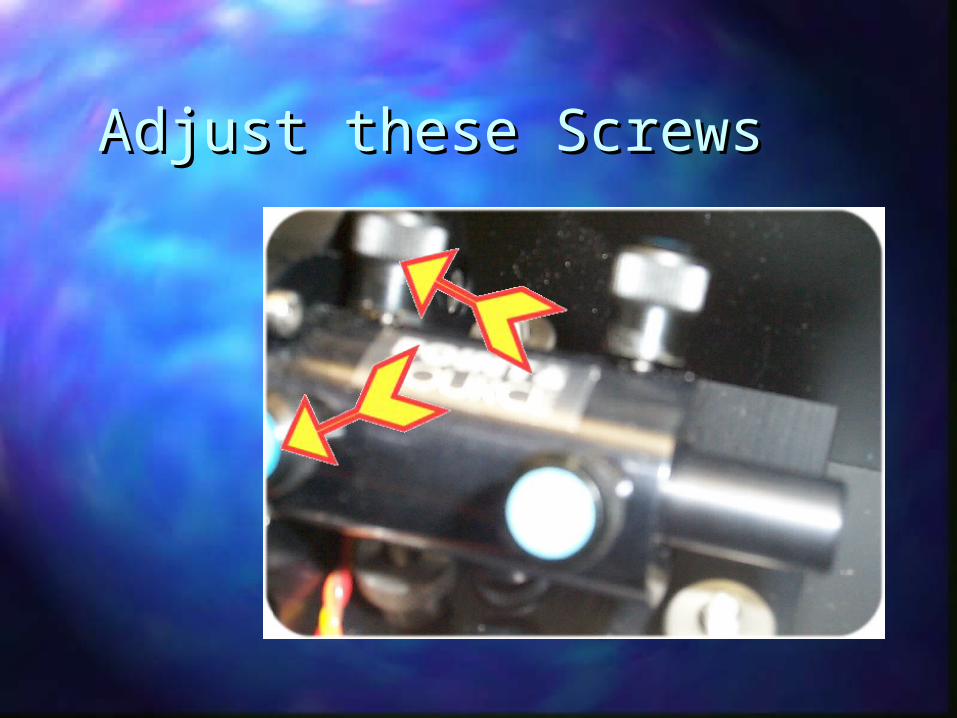
Adjust these ScrewsAdjust these Screws
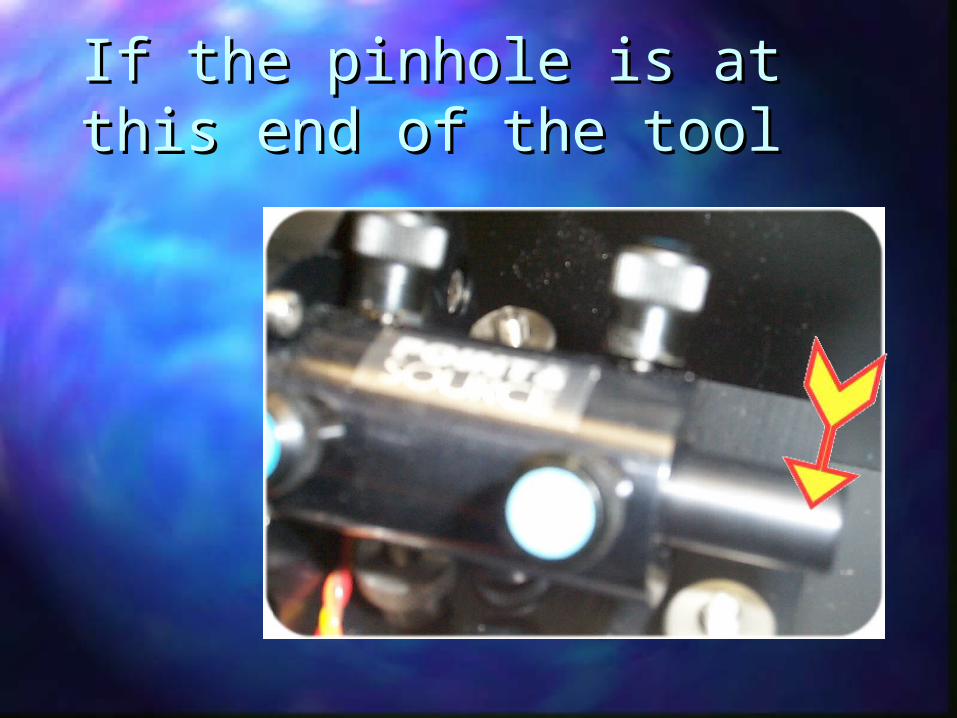
If the pinhole is at this end If the pinhole is at this end of the toolof the tool

Adjust these ScrewsAdjust these Screws
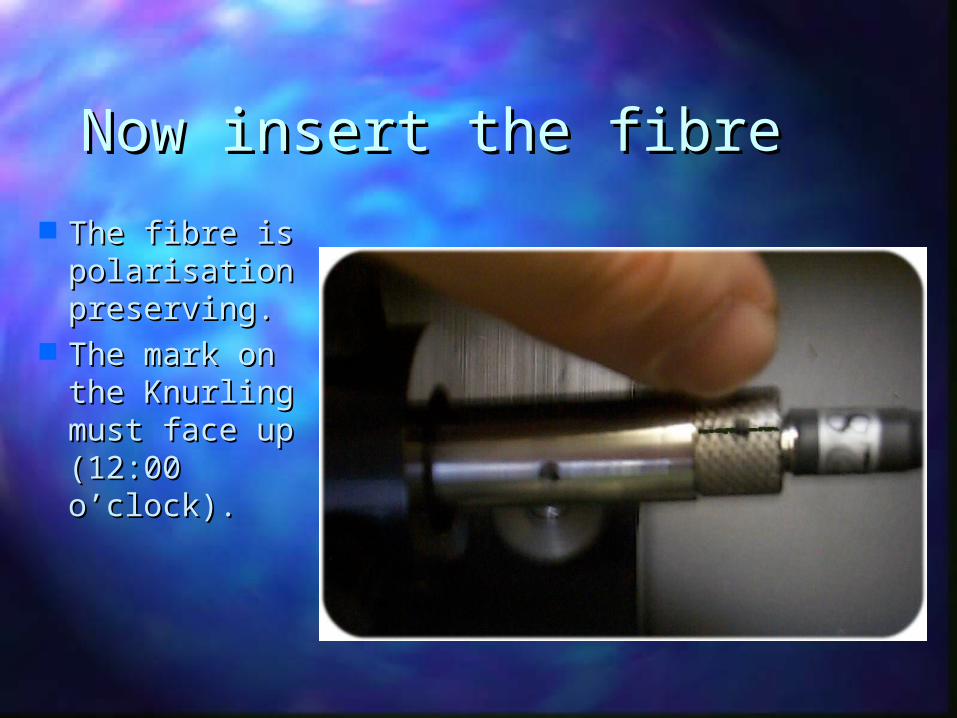
Now insert the fibreNow insert the fibre
The fibre is The fibre is polarisation polarisation preserving.preserving.
The mark The mark on the on the Knurling Knurling must face must face up (12:00 up (12:00 o’clock).o’clock).
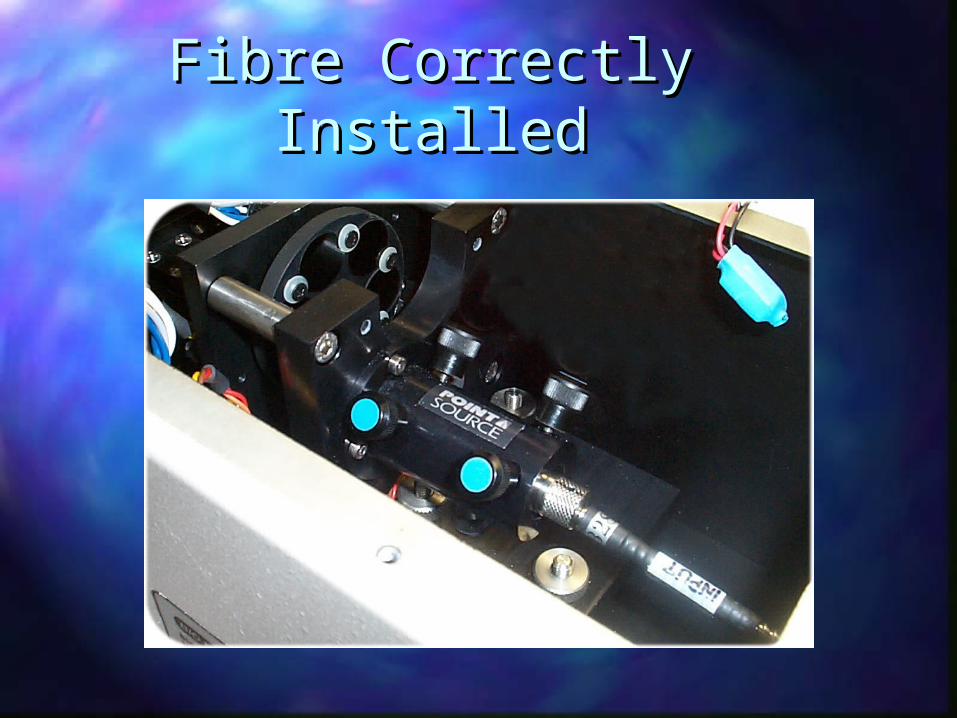
Fibre Correctly InstalledFibre Correctly Installed
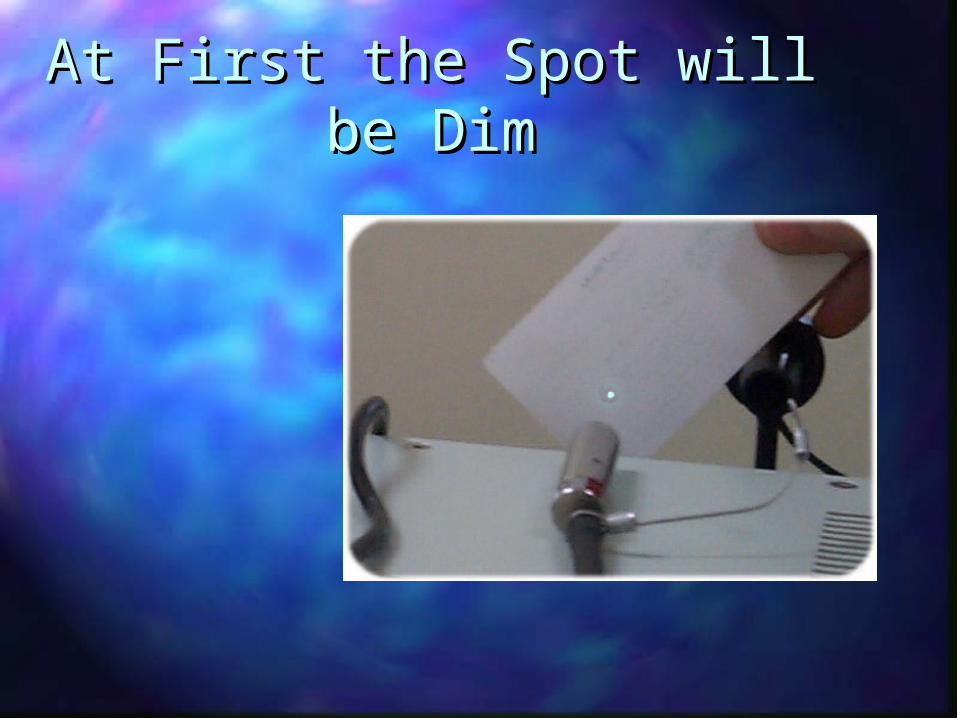
At First the Spot will be At First the Spot will be DimDim

Adjust each Screw in turn Adjust each Screw in turn to Brighten the Spotto Brighten the Spot
Adjust the Adjust the screws one screws one at a time.at a time.
Do not Do not persist too persist too long at this long at this stage.stage.
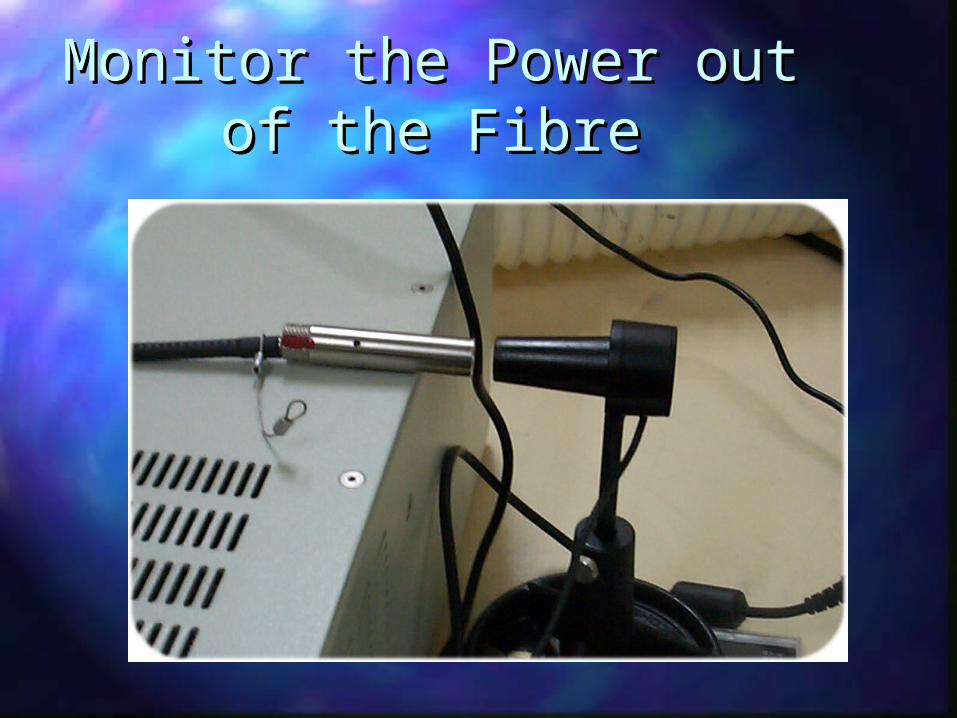
Monitor the Power out of Monitor the Power out of the Fibrethe Fibre

Maximise the Power from Maximise the Power from the Fibre by “the Fibre by “Walking the Walking the
BeamBeam””
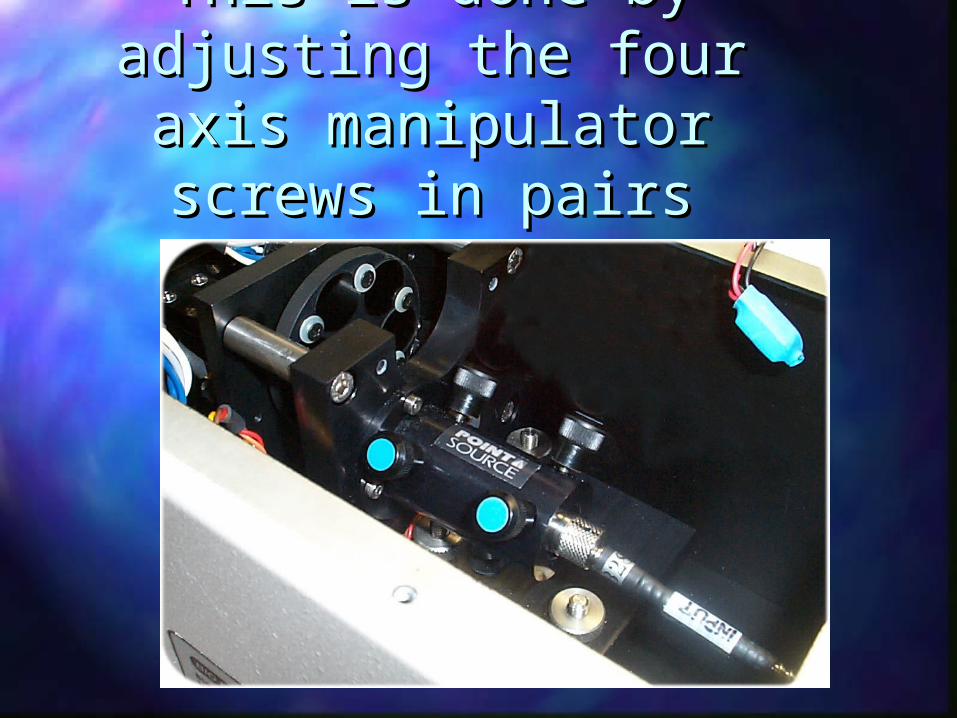
This is done by adjusting This is done by adjusting the four axis manipulator the four axis manipulator
screws in pairsscrews in pairs
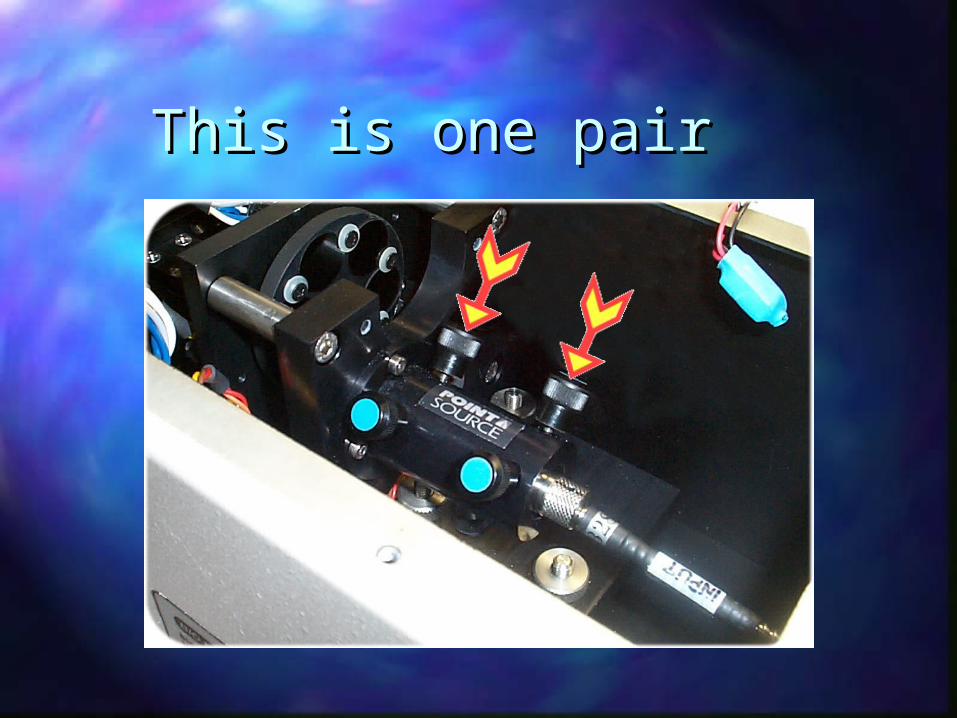
This is one pairThis is one pair
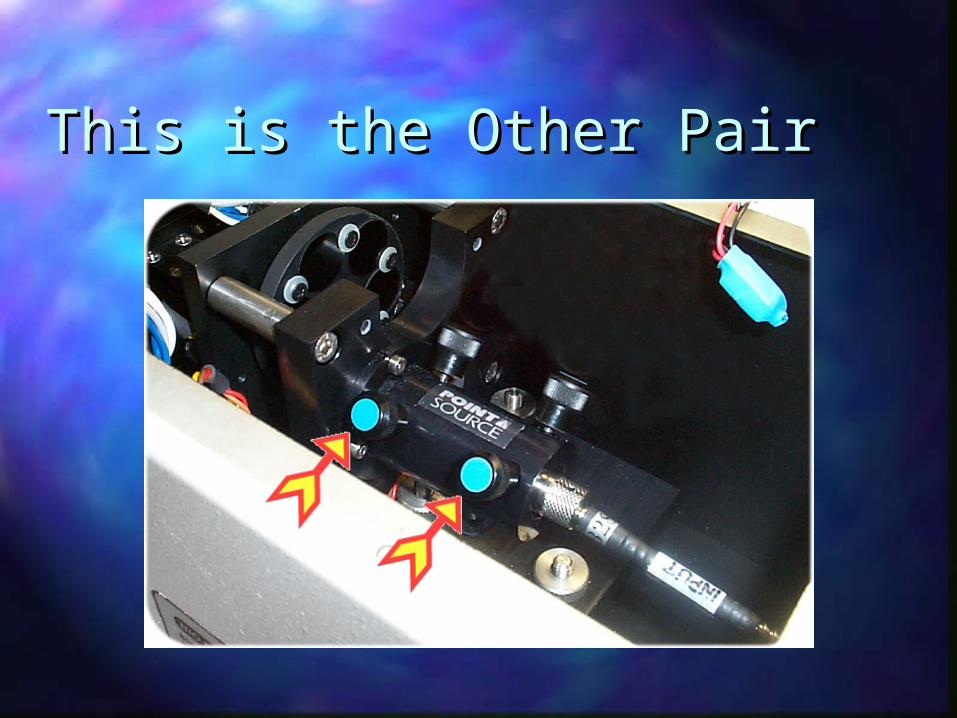
This is the Other PairThis is the Other Pair
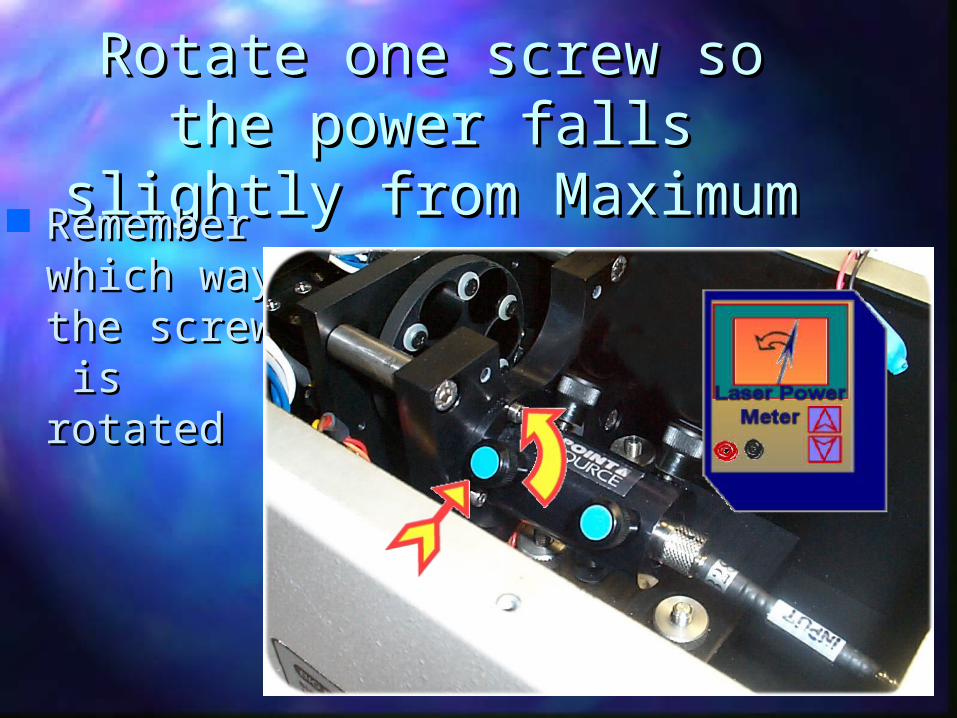
Rotate one screw so the Rotate one screw so the power falls slightly from power falls slightly from
MaximumMaximum RemembeRemember which r which way the way the screw is screw is rotatedrotated
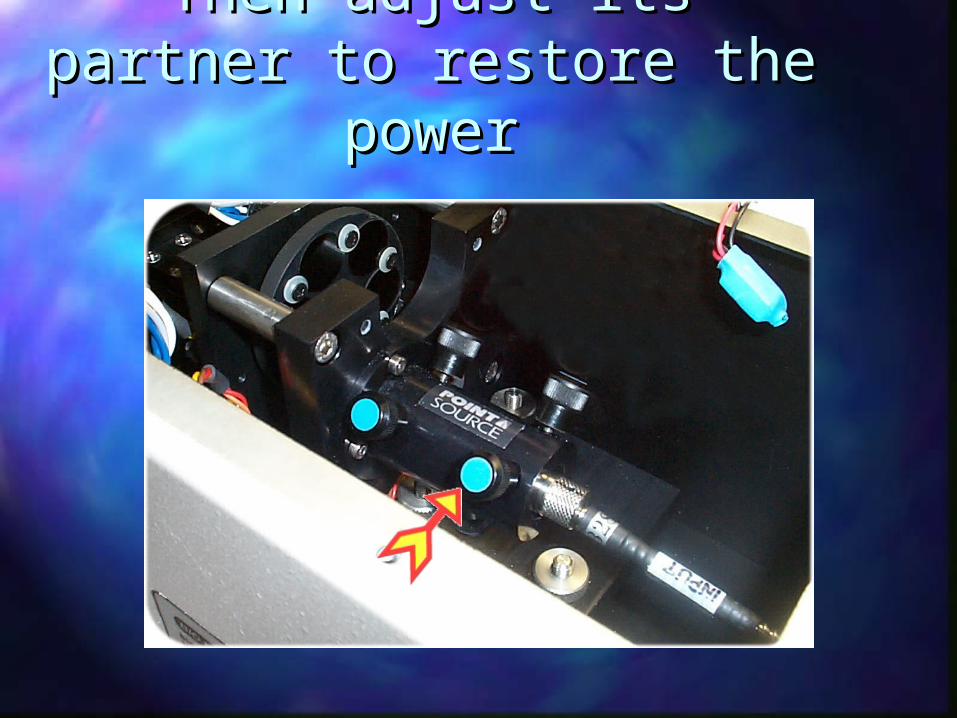
Then adjust its partner to Then adjust its partner to restore the powerrestore the power
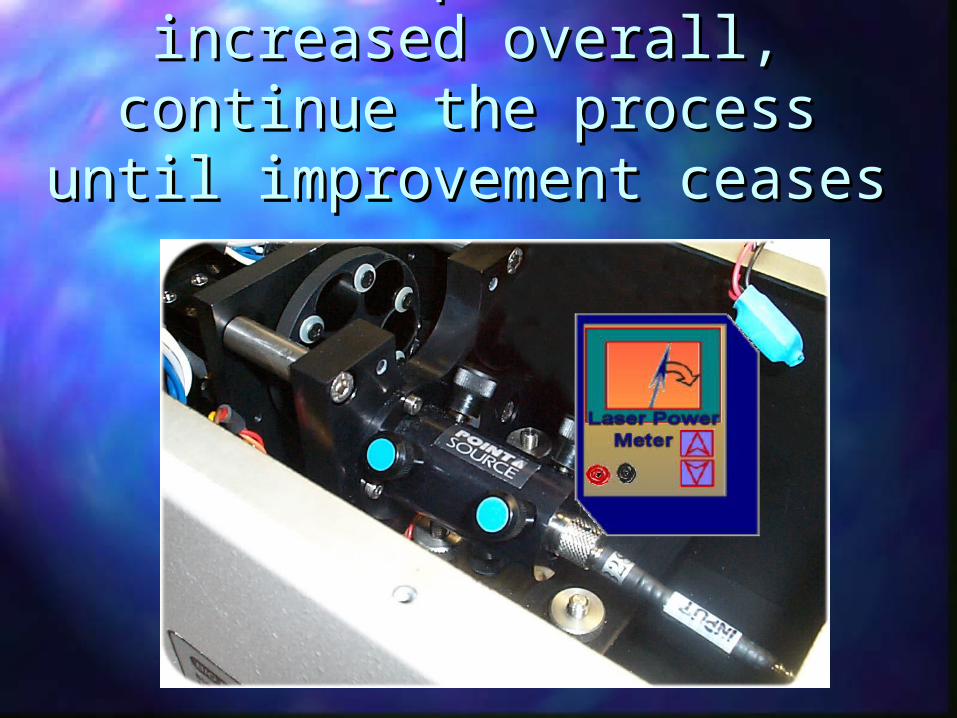
If the power has increased If the power has increased overall, continue the process overall, continue the process
until improvement ceasesuntil improvement ceases
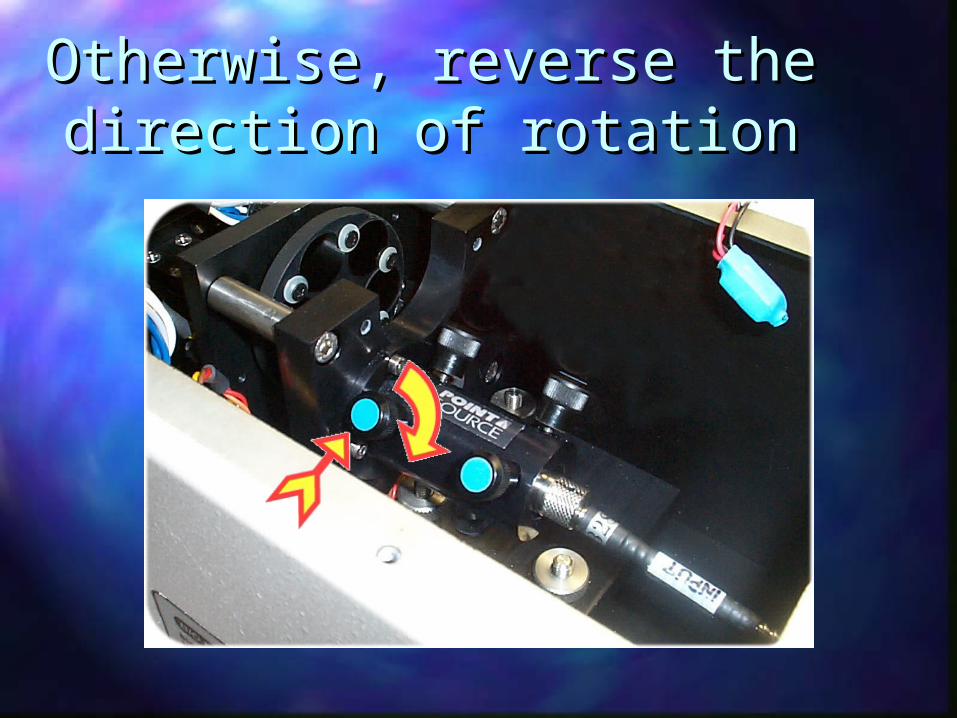
Otherwise, reverse the Otherwise, reverse the direction of rotationdirection of rotation
Repeat for the Other Pair Repeat for the Other Pair of Screwsof Screws
Alternate between each pair until Alternate between each pair until there is no more improvement in there is no more improvement in power from the fibre.power from the fibre.
More than 60% of the input power More than 60% of the input power must be transmitted.must be transmitted.
Rotate the Fibre slightly Rotate the Fibre slightly and Repeat the Walkingand Repeat the Walking
It is necessary to co-align the It is necessary to co-align the polarisation of the laser and the polarisation of the laser and the fibre.fibre.
This is achieved by slightly rotating This is achieved by slightly rotating the fibre and repeating the walking the fibre and repeating the walking until the maximum possible power until the maximum possible power issues from the fibre.issues from the fibre.
WarningWarning. This process is tedious.. This process is tedious.
ConclusionConclusion
Tighten the locking screw.Tighten the locking screw. Replace the shutter and covers.Replace the shutter and covers. The procedure is complete.The procedure is complete.
Related Documents