Joni's Woodworking 1 st Year Journeywomen Carpenter

Joni's woodworking
Jul 16, 2015
Welcome message from author
This document is posted to help you gain knowledge. Please leave a comment to let me know what you think about it! Share it to your friends and learn new things together.
Transcript

Joni's Woodworking 1st Year Journeywomen Carpenter

In this Slideshow you will see some examples of work that I've completed while attending my First year in Carpentry at NSCC, a view of what I had done during my One week work term, as well as some personal woodworking projects I enjoy doing at home.
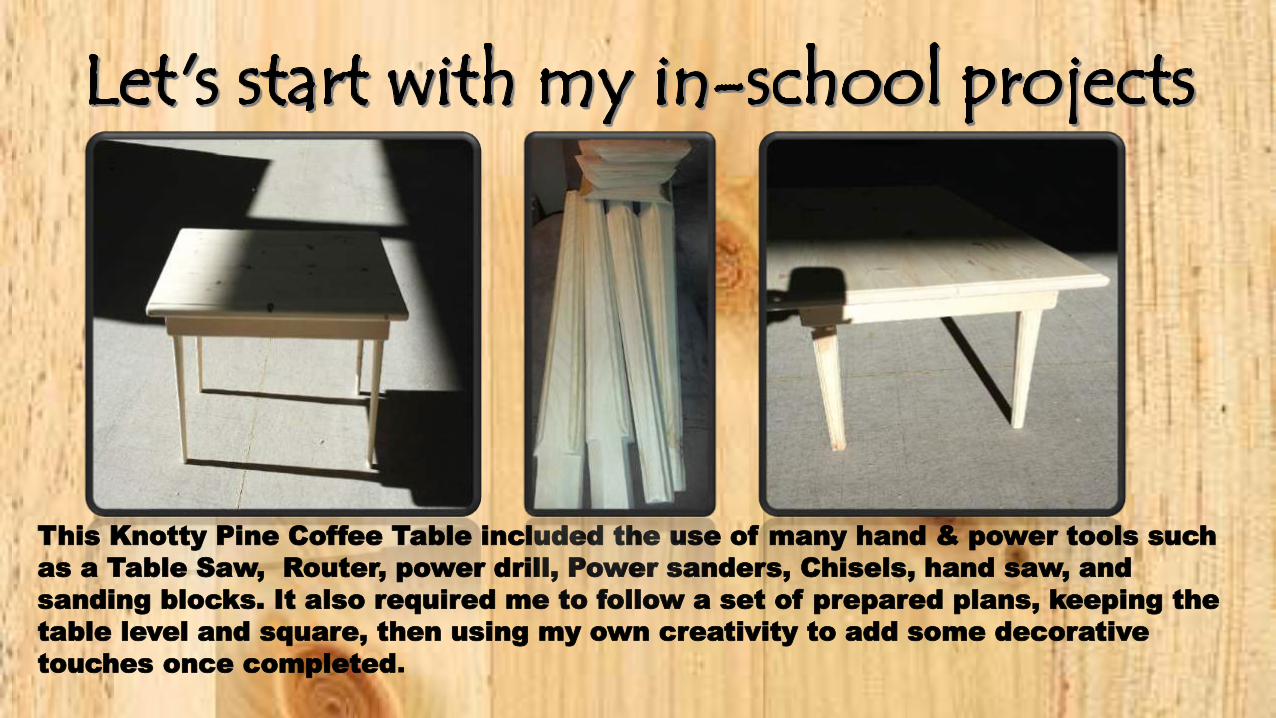
This Knotty Pine Coffee Table included the use of many hand & power tools such
as a Table Saw, Router, power drill, Power sanders, Chisels, hand saw, and
sanding blocks. It also required me to follow a set of prepared plans, keeping the
table level and square, then using my own creativity to add some decorative
touches once completed.
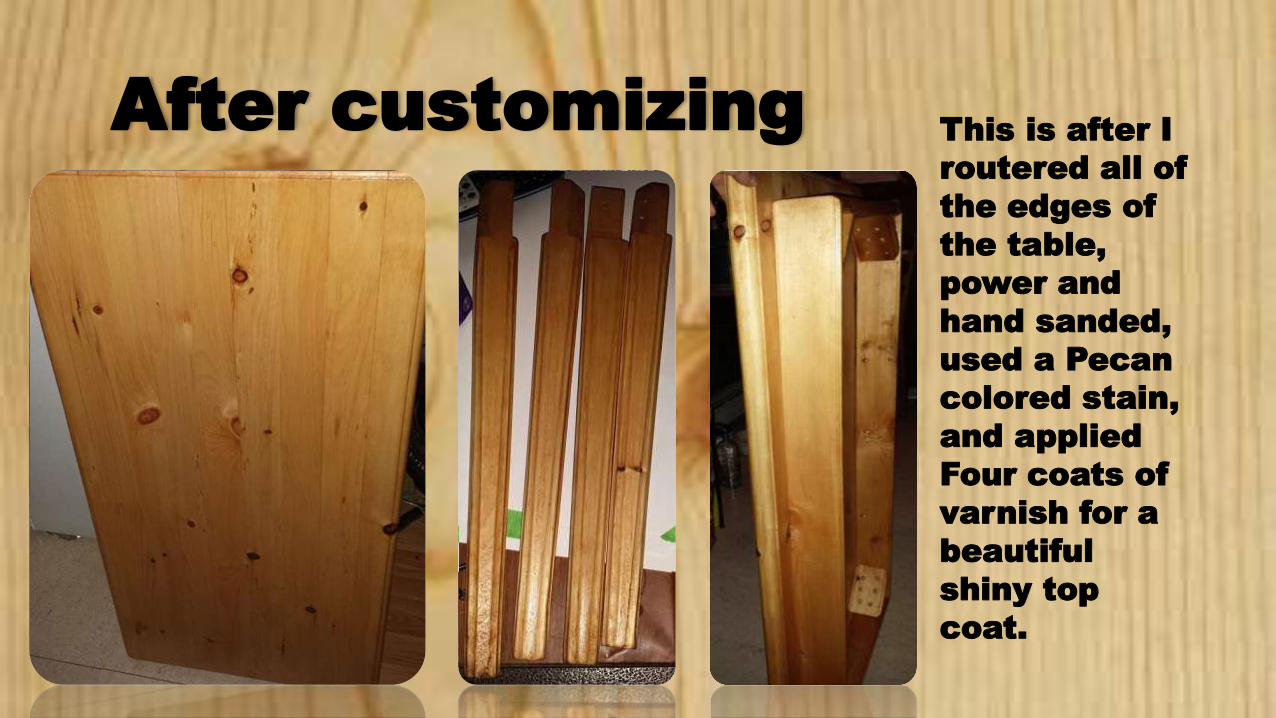
This is after I
routered all of
the edges of
the table,
power and
hand sanded,
used a Pecan
colored stain,
and applied
Four coats of
varnish for a
beautiful
shiny top
coat.
After customizing

His and Hers Serving trays. The
base is
glued and screwed,
supported by a dado cut
to secure it, hand sanded, stained
in Bombay walnut and Ebony.
Notice the Forrest scene indented
into the “Hers” tray to give it some
character.

My learning experience building this shed included: wall
framing at 16” O.C, window, door, and stairwell openings,
Sheathing, Shingling, building a floor with braces, trusses,
metal wind support system, headers, lintels, and doorway
openings and shed door.


Footings and Foundations.
During this week, I learned how to do foundation
Wall paneling, how to secure the ties from panel to
panel while keeping them level to the layout, secure
the rebar in place, coat the panels before installing
the cement so it will not stick, use a vibrator to
release air from the cement when pouring, and
remove the paneling, placing them neatly
back into the cages, when complete.


Bathtub Caddy's

Rabbit play house Rabbit play house Cat scratching post and roost
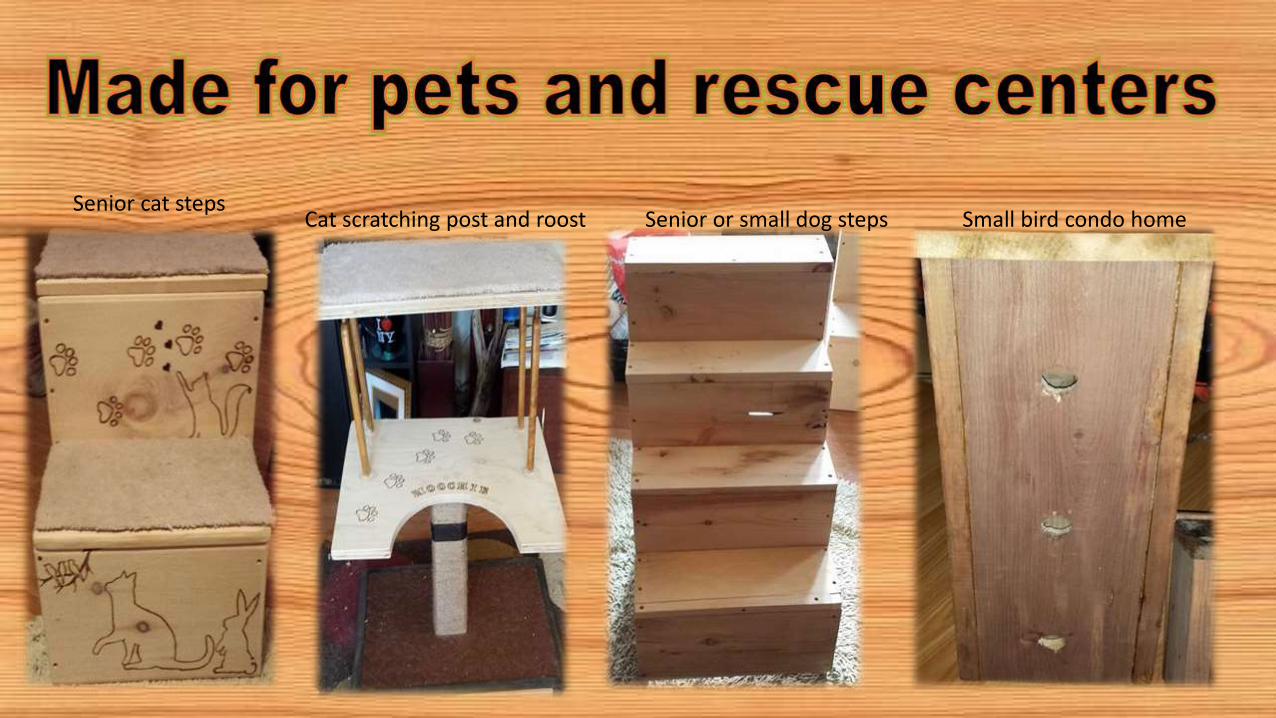
Senior cat stepsCat scratching post and roost Senior or small dog steps Small bird condo home

Window ledge cat bed and scratch post
Bird feeder
Dog house

Kids shoe rack
Recipe/card/ to do list holder
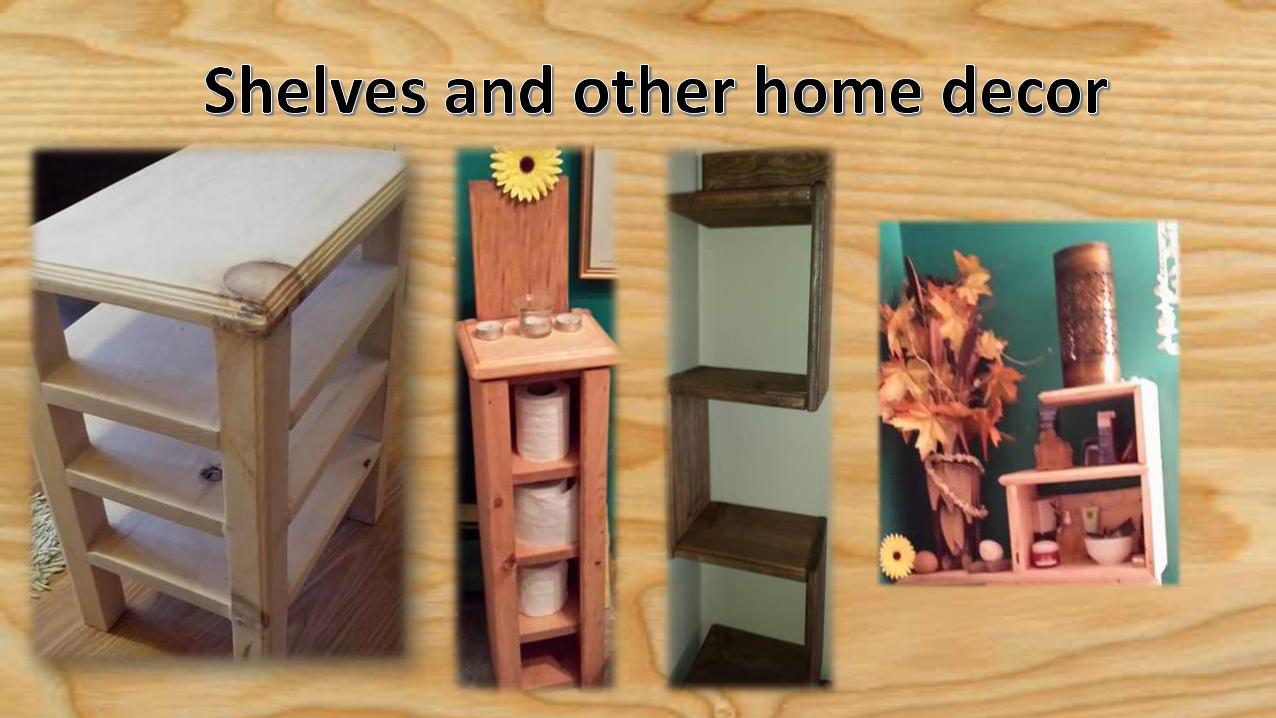
Floating shelf with hole for lamp cords
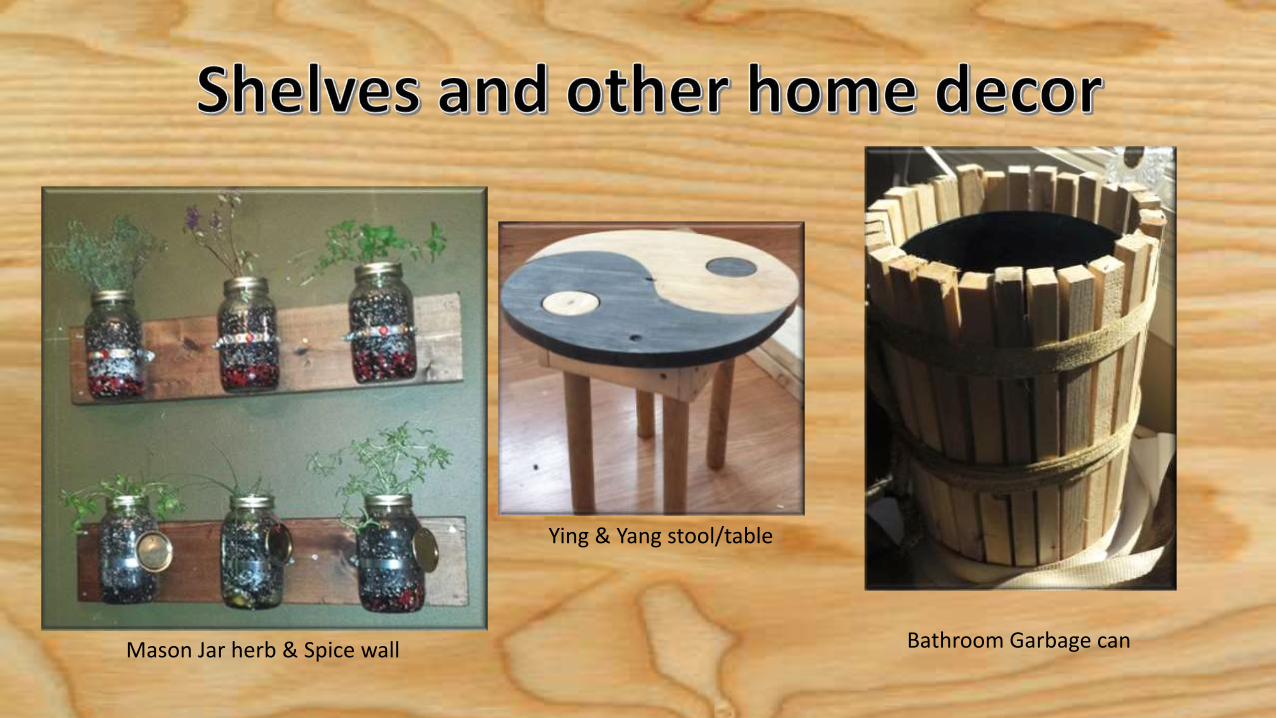
Mason Jar herb & Spice wall
Ying & Yang stool/table
Bathroom Garbage can

Kids Time-Out chair with Chalkboard
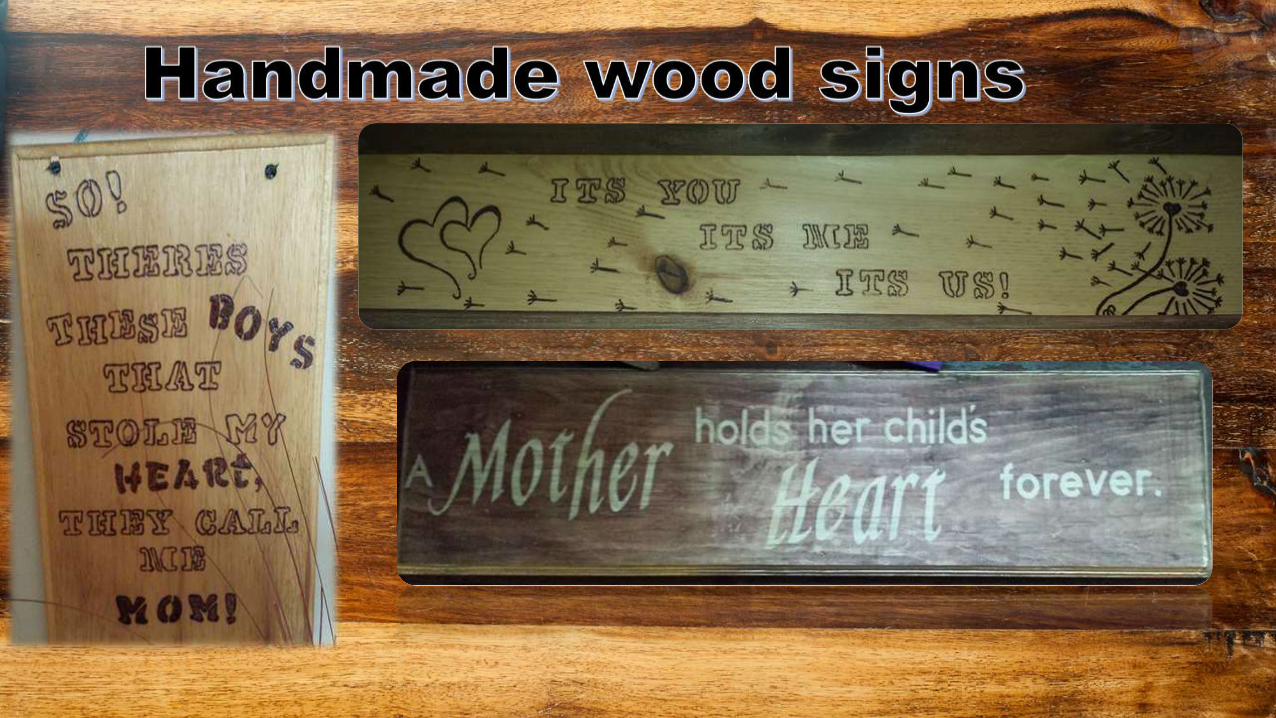
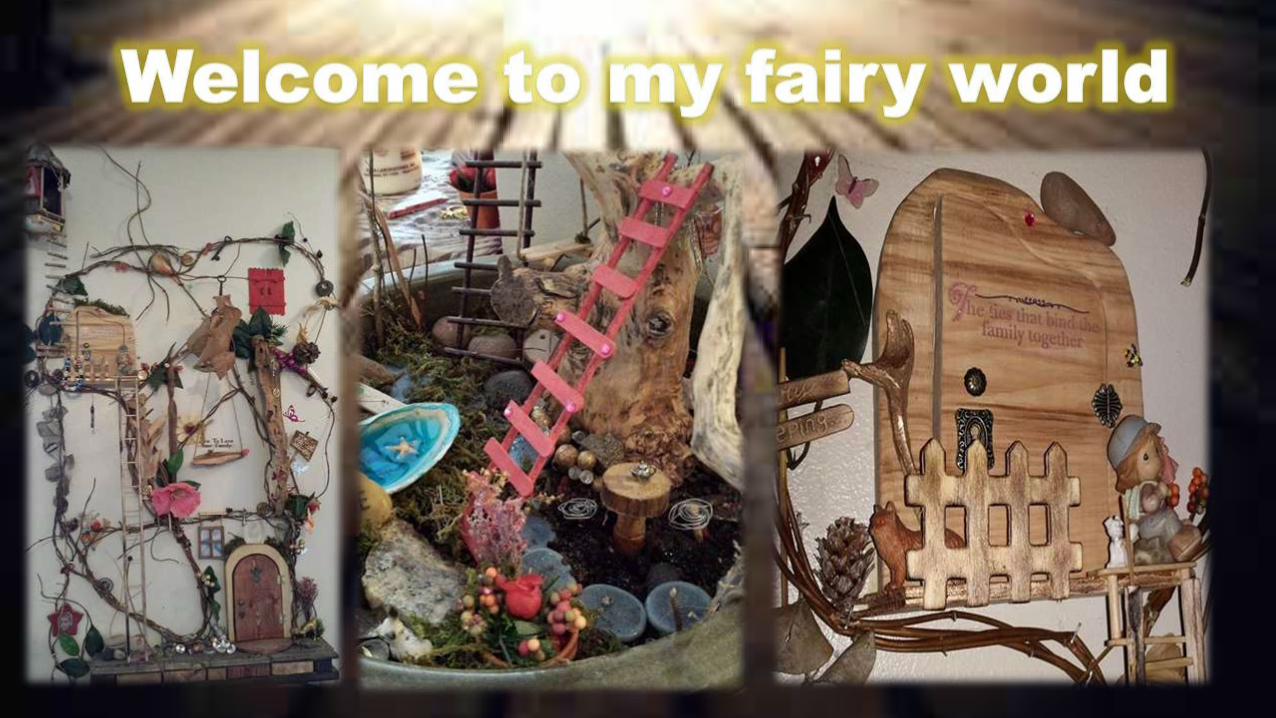
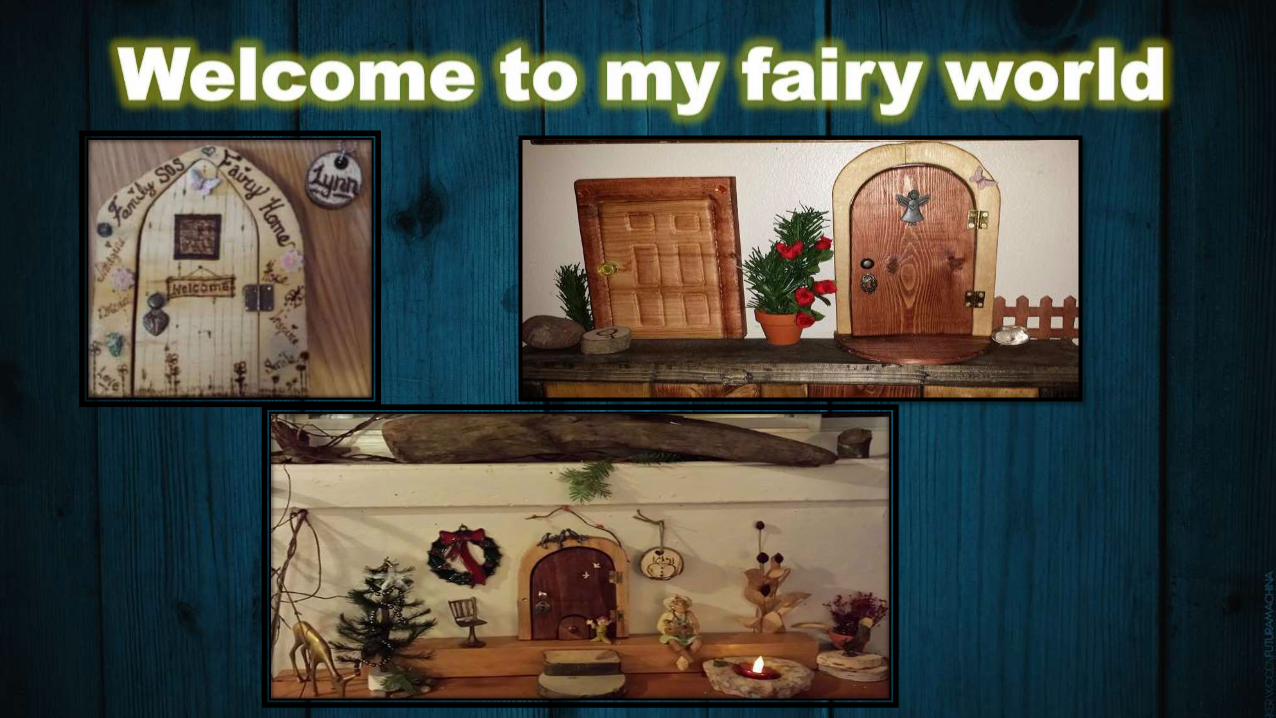
Home decors and wood projects
Kids table and chairs


From a kids stepping stool
To a kids chair

Kids toy box or storage box
Kids stools


Hand made Log slice coasters and key chains
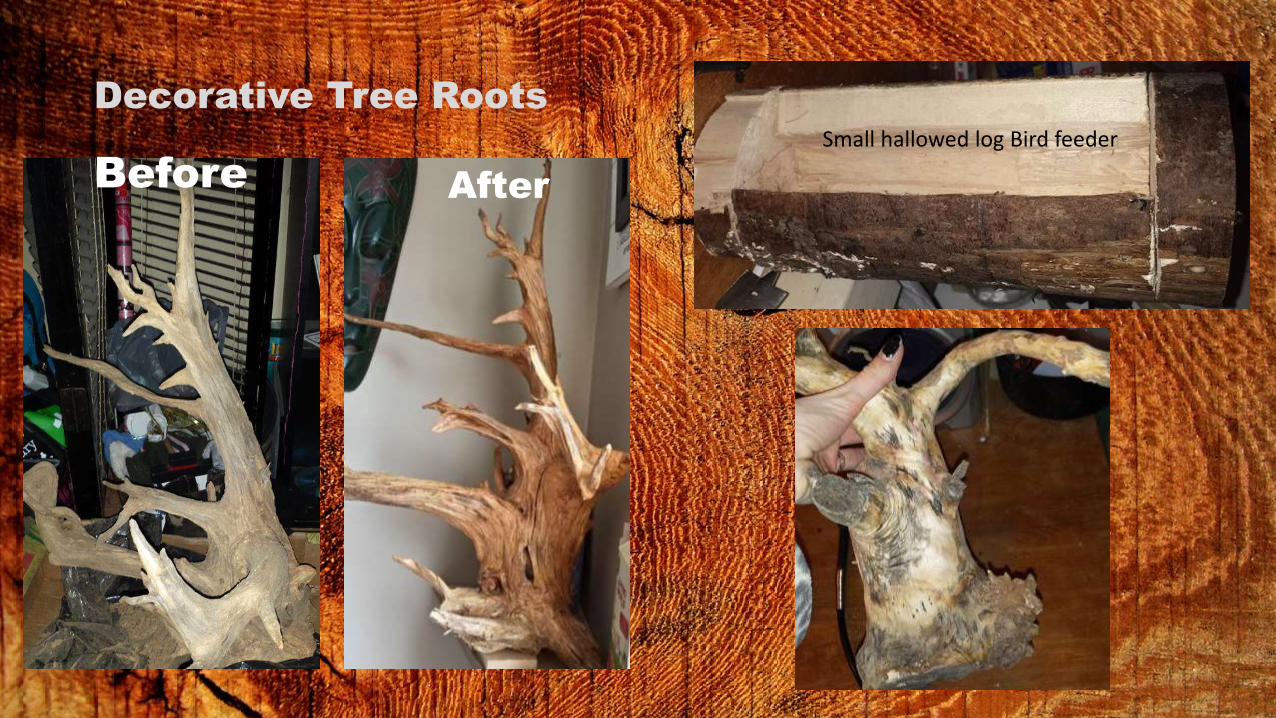
BeforeAfter
Small hallowed log Bird feeder
Decorative Tree Roots


Related Documents