JARS, VASES BOXES, AND BASKETS Ceramic Arts Select Series Editor Sherman Hall J ARS, VASES, BOXES, AND BASKETS

Welcome message from author
This document is posted to help you gain knowledge. Please leave a comment to let me know what you think about it! Share it to your friends and learn new things together.
Transcript
JARS, VASESBOXES, AND
BASKETS
Ceramic Arts Select Series
Editor Sherman Hall
JARS, VASESBOXES, AND
BASKETS
The American Ceramic SocietyCeramicArtsDaily.org
Printed in China
JAR
S, VA
SES, B
OX
ES, A
ND
BA
SKE
TS
Hall
CER
AM
IC A
RTS SELEC
T SERIES
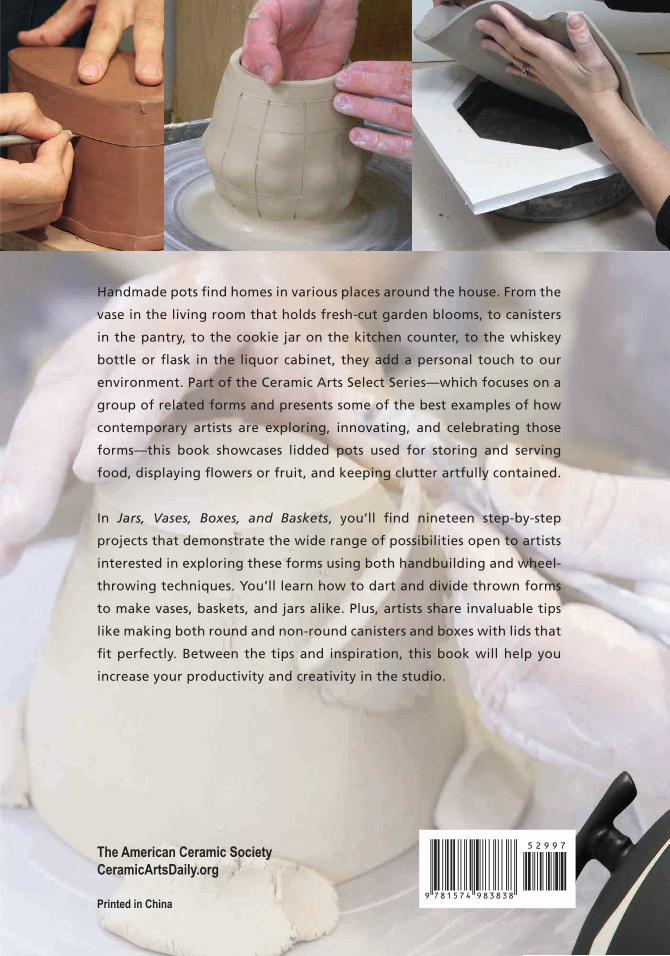
Handmade pots find homes in various places around the house. From the
vase in the living room that holds fresh-cut garden blooms, to canisters
in the pantry, to the cookie jar on the kitchen counter, to the whiskey
bottle or flask in the liquor cabinet, they add a personal touch to our
environment. Part of the Ceramic Arts Select Series—which focuses on a
group of related forms and presents some of the best examples of how
contemporary artists are exploring, innovating, and celebrating those
forms—this book showcases lidded pots used for storing and serving
food, displaying flowers or fruit, and keeping clutter artfully contained.
In Jars, Vases, Boxes, and Baskets, you’ll find nineteen step-by-step
projects that demonstrate the wide range of possibilities open to artists
interested in exploring these forms using both handbuilding and wheel-
throwing techniques. You’ll learn how to dart and divide thrown forms
to make vases, baskets, and jars alike. Plus, artists share invaluable tips
like making both round and non-round canisters and boxes with lids that
fit perfectly. Between the tips and inspiration, this book will help you
increase your productivity and creativity in the studio.
BOOK4_CA164 Cover.indd 1 6/20/16 11:54 AM
iv
The American Ceramic Society
600 N. Cleveland Ave., Suite 210
Westerville, OH 43082
© 2016 by The American Ceramic Society, All rights reserved.
ISBN: 978-1-57498-383-8 (Paperback)
ISBN: 978-1-57498-592-4 (PDF)
No part of this book may be reproduced, stored in a retrieval system or transmitted in any form or by
any means, electronic, mechanical, photocopying, microfilming, recording or otherwise, without written
permission from the publisher, except by a reviewer, who may quote brief passages in review.
Authorization to photocopy for internal or personal use beyond the limits of Sections 107 and 108 of the
U.S. Copyright Law is granted by The American Ceramic Society, provided that the appropriate fee is paid
directly to the Copyright Clearance Center, Inc., 222 Rosewood Drive, Danvers, MA 01923 U.S.A., www.
copyright.com. Prior to photocopying or downloading items for educational classroom use, please contact
Copyright Clearance Center, Inc. This consent does not extend to copyright items for general distribution
or for advertising or promotional purposes or to republishing items in whole or in part in any work in any
format. Requests for special photocopying permission and reprint requests should be directed to Director,
Publications, The American Ceramic Society, 600 N. Cleveland Ave., Westerville, Ohio 43082 USA.
Every effort has been made to ensure that all the information in this book is accurate. Due to differing
conditions, equipment, tools, and individual skills, the publisher cannot be responsible for any
injuries, losses, and other damages that may result from the use of the information in this book. Final
determination of the suitability of any information, procedure or product for use contemplated by any user,
and the manner of that use, is the sole responsibility of the user. This book is intended for informational
purposes only.
The views, opinions and findings contained in this book are those of the authors. The publishers, editors,
reviewers, and authors assume no responsibility or liability for errors or any consequences arising
from the use of the information contained herein. Registered names and trademarks, etc., used in this
publication, even without specific indication thereof, are not to be considered unprotected by the law.
Mention of trade names of commercial products does not constitute endorsement or recommendation for
use by the publishers, editors, or authors.
Publisher: Charles Spahr, Executive Director, The American Ceramic Society.
Series Design and Graphic Production: Paula John, Boismier John Design
Assistant Editor: Forrest Sincoff Gard
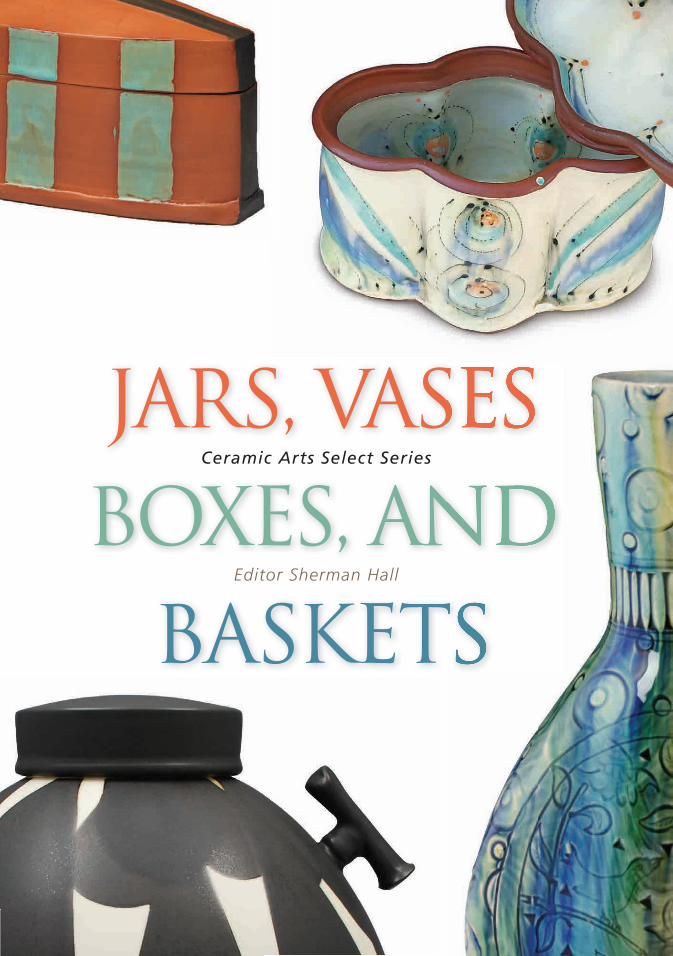
Cover images: top left: triangular box by Marty Fielding; top right: lidded container by Elise W. Pincu Delfield,
bottom left: lidded jar by Sam Scott; bottom right: vase by Paul Linhares.
Frontispiece: Ewer, 8 in. (20 cm) in height, soda-fired porcelain, 2008, by Sam Chung.
Printed in China
BOOK4CA164_jars_i-22.indd 4 6/20/16 11:55 AM
v
Table of Contents
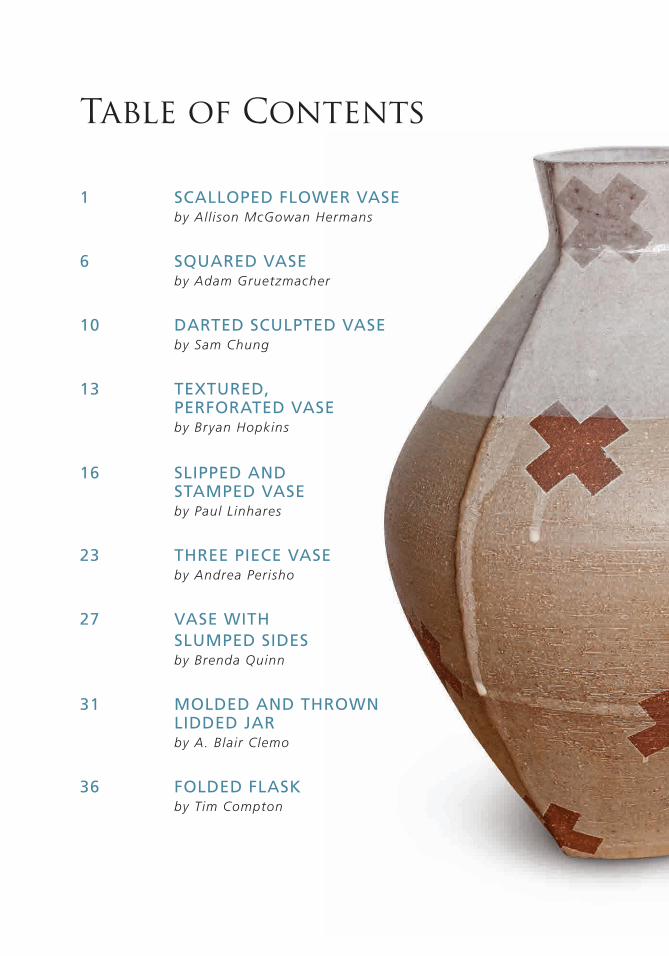
1 SCALLOPED FLOWER VASEby All ison McGowan Hermans
6 SQUARED VASEby Adam Gruetzmacher
10 DARTED SCULPTED VASEby Sam Chung
13 TEXTURED, PERFORATED VASE by Bryan Hopkins
16 SLIPPED AND STAMPED VASEby Paul Linhares
23 THREE PIECE VASEby Andrea Perisho
27 VASE WITH SLUMPED SIDESby Brenda Quinn
31 MOLDED AND THROWN LIDDED JARby A. Blair Clemo
36 FOLDED FLASK by Tim Compton
BOOK4CA164_jars_i-22.indd 5 6/20/16 11:55 AM
vi
Table of Contents
39 PRECISION LIDDED JARSby Bil ly Lloyd
43 WHISKEY BOTTLEby Matt Schiemann
47 CAP-LID JARby Sam Scott
52 SQUARE LIDDED JARSby Bil l Wilkey
57 OUT OF ROUNDby Elise W. Pincu Delfield
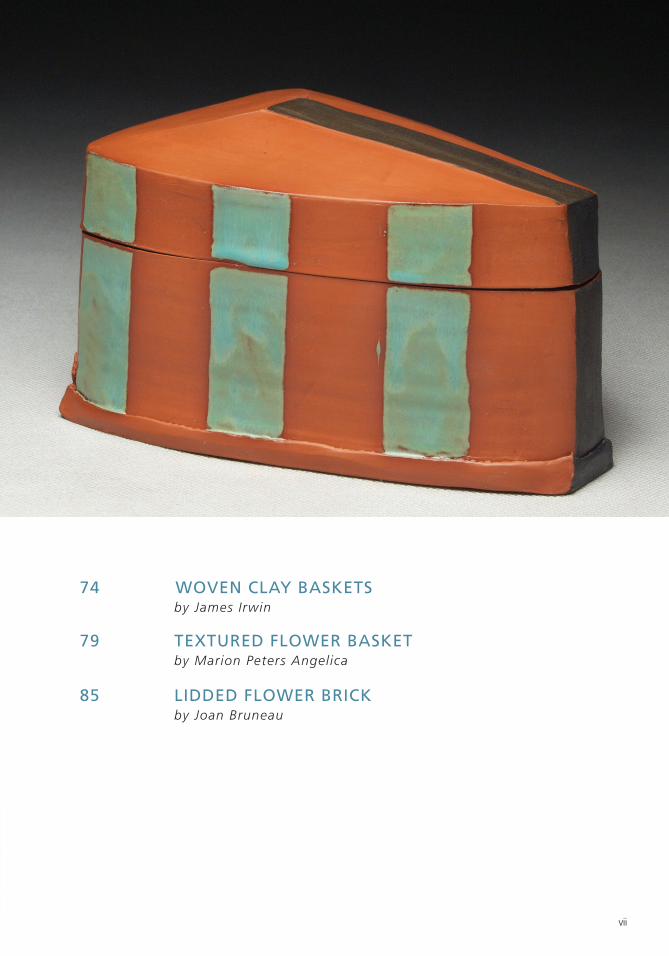
64 TRIANGULAR BOXby Marty Fielding
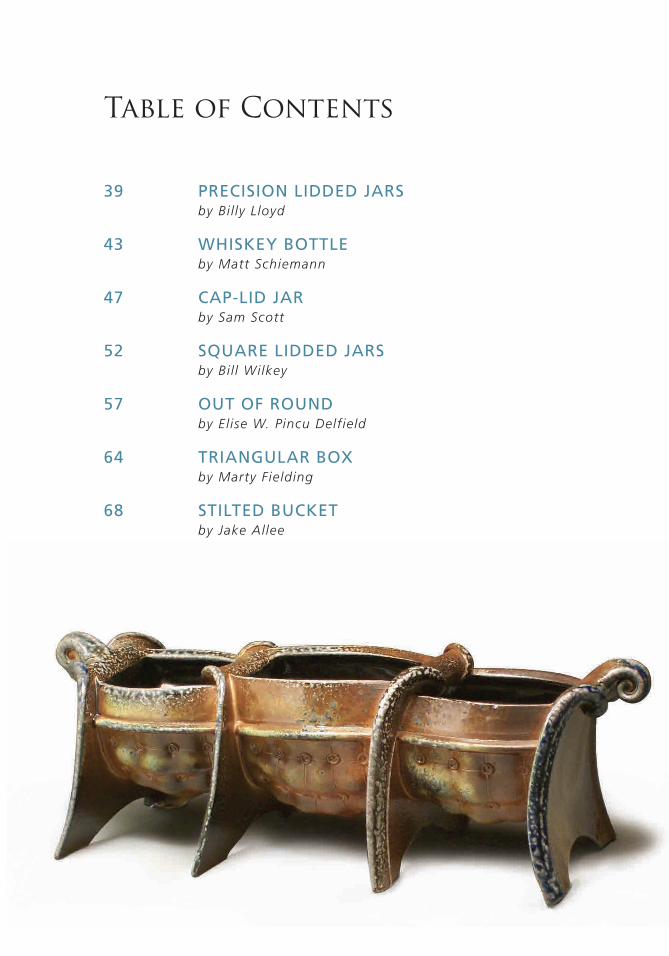
68 STILTED BUCKETby Jake Allee
BOOK4CA164_jars_i-22.indd 6 6/20/16 11:55 AM
vii
74 WOVEN CLAY BASKETSby James Irwin
79 TEXTURED FLOWER BASKETby Marion Peters Angelica
85 LIDDED FLOWER BRICKby Joan Bruneau
BOOK4CA164_jars_i-22.indd 7 6/20/16 11:55 AM
1
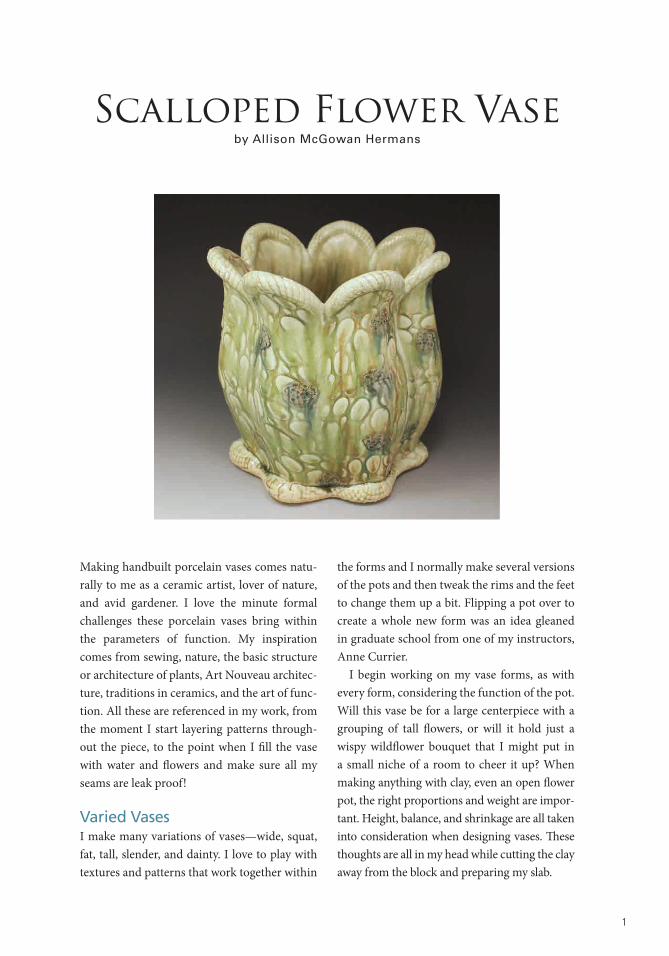
Scalloped Flower Vaseby Allison McGowan Hermans
Making handbuilt porcelain vases comes natu-rally to me as a ceramic artist, lover of nature, and avid gardener. I love the minute formal challenges these porcelain vases bring within the parameters of function. My inspiration comes from sewing, nature, the basic structure or architecture of plants, Art Nouveau architec-ture, traditions in ceramics, and the art of func-tion. All these are referenced in my work, from the moment I start layering patterns through-out the piece, to the point when I �ll the vase with water and �owers and make sure all my seams are leak proof!
Varied VasesI make many variations of vases—wide, squat, fat, tall, slender, and dainty. I love to play with textures and patterns that work together within
the forms and I normally make several versions of the pots and then tweak the rims and the feet to change them up a bit. Flipping a pot over to create a whole new form was an idea gleaned in graduate school from one of my instructors, Anne Currier.
I begin working on my vase forms, as with every form, considering the function of the pot. Will this vase be for a large centerpiece with a grouping of tall �owers, or will it hold just a wispy wild�ower bouquet that I might put in a small niche of a room to cheer it up? When making anything with clay, even an open �ower pot, the right proportions and weight are impor-tant. Height, balance, and shrinkage are all taken into consideration when designing vases. �ese thoughts are all in my head while cutting the clay away from the block and preparing my slab.
BOOK4CA164_jars_i-22.indd 1 6/20/16 11:55 AM
2
Spatial IllusionsI am interested not only in formal elements of the vase but also in creating illusions of space through a combination of layering patterns onto the wet clay surface, then using glazes that pool and �ow to both accentuate and so�en or distort the pattern and create a sense of depth to the sur-face of the pot. Most of my attention in the pro-cess is in the wet state when the surface design is being manipulated and stretched. My glazing is straightforward and entails hitting the texture with di�erent accent glazes, then dunking the piece to cover it completely with a �nal glaze.
Layered InterestsBy layering all of my interests together through structure, texture, pattern, and functionality, I
am never bored with a form. I cut, alter, and tai-lor all of my vessels from a slab, sometimes us-ing a hump or slump mold, or so�-�lled pillow molds to create the form; however, the forms that are the most intriguing to me are ones that start as a straight-forward, slab-built cylinder. I build the body of the pot free-hand and then integrate a foot to li� it o� the table. �e �nal step brings the form to life with a rim to tie the vessel to the foot and emphasize the volume in the form.
Texture, Shape, and VolumeMy Concord Flower Vase has a full-bodied form with its scalloped edges and rounded feet. Like all of my pieces, this vase starts with a slab that I toss out onto my canvas-covered table. I don’t
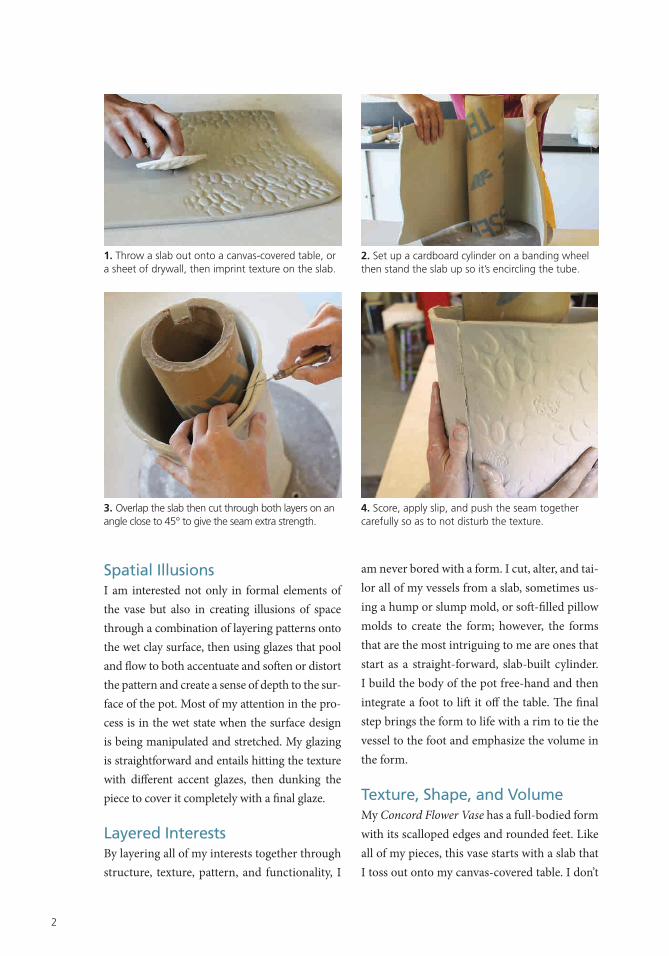
3. Overlap the slab then cut through both layers on an angle close to 45° to give the seam extra strength.
4. Score, apply slip, and push the seam together carefully so as to not disturb the texture.
1. Throw a slab out onto a canvas-covered table, or a sheet of drywall, then imprint texture on the slab.
2. Set up a cardboard cylinder on a banding wheel then stand the slab up so it’s encircling the tube.
BOOK4CA164_jars_i-22.indd 2 6/20/16 11:55 AM

3
6. Use a 2½-inch dowel rod to support the out-side and define the scallops without disrupting the textures.
7. Throw out another slab for the base of the form, add texture to both sides.
5. Create scallops: press out with one hand, while pressing in with your fingers on either side of the bulge.
8. Place the bottom slab on the cylinder and fold the extra clay over to make a bellied foot for each scallop.
use a slab roller; it’s quicker for me to stretch and �ip the clay by hand, and I have more con-trol of the thickness and width by tapping the ends and the top and bottom of the slab. I leave the slab a little thicker than the �nished slab will be since it’s stretched out later to give the piece more volume a�er texturing.
I have a tool box full of treasured textures, found objects, and sewing notions in my studio that I have found all over for my surface tex-tures. I imprint the slab with a texture I took from the sole of a shoe and made into a bisque stamp (1), then layer another pattern over it using a button that was glued to the end of a short dowel. A�er I make the textured slab foreground, I stretch out the slab a little more to distort the impressions by throwing it back out onto the canvas.
I set up a cardboard cylinder on a banding wheel as a support, and then stand the wet slab up against it. Depending on the height and wetness of the slab, I use this cylinder to help keep the clay upright (2) at the beginning of the process.
To form vases, I always work on a bat on my banding wheel so that transferring the pot later is more manageable. I don’t use the cardboard cylinder to shape the vase, just to brace and support it until I �nish joining seams. Overlap the slab according to the desired diameter, then use a sharp knife to cut through both layers at a 45° angle at the same time to create the seam (3). �is type of cut maintains an exact seam that matches up perfectly. I need the seam to be strong because it will be stressed when I alter the form later.
BOOK4CA164_jars_i-22.indd 3 6/20/16 11:55 AM
4
I score both edges, and use a de�occulated slip to adhere the seam. �e de�occulated slip requires less water to stay �uid. It’s made from bone dry clay slaked in a bucket with enough water to create a thick slurry then de�occulant is added before mixing to a honey consisten-cy with a drill mixer. �is de�occulated slip is helpful because its water content is closer to the water content of the slab, so the slip shrinks less as it dries and there’s less stress overall on the seam. I join the ends together, pushing with my palms and thumbs carefully so as to not disturb the texture (4). Pressing the clay against the cardboard cylinder on the inside gives the stability needed to apply some force on the outside without breaking open the seam on the inside.
Once the cylinder is complete, I start to de�ne the scalloped shape. A�er removing the cardboard tube, I use my hands on the in-side and outside at the same time to push out and up in a straight vertical line while using the �ngers of my outside hand to press in on either side of the bulge (5). It’s important to press lightly so as not to disturb the texture while still accentuating the bulge in the form. To further de�ne the scallop of the form with-out disrupting the textures, I use a 2½-inch-diameter dowel rod to provide support on the outside while I use my �ngers to push out from the inside (6).
Once the form is ready, I make a second slab for the base. I place it on a large, 3-inch-thick plaster texture mold that I made using the cover
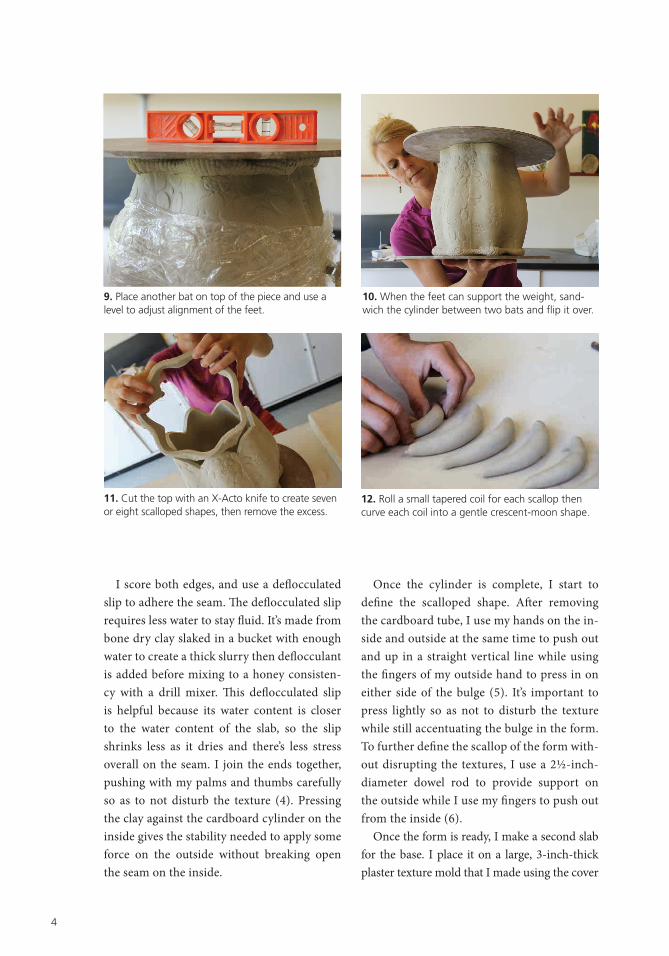
9. Place another bat on top of the piece and use a level to adjust alignment of the feet.
11. Cut the top with an X-Acto knife to create seven or eight scalloped shapes, then remove the excess.
10. When the feet can support the weight, sand-wich the cylinder between two bats and flip it over.
12. Roll a small tapered coil for each scallop then curve each coil into a gentle crescent-moon shape.
BOOK4CA164_jars_i-22.indd 4 6/20/16 11:55 AM
5
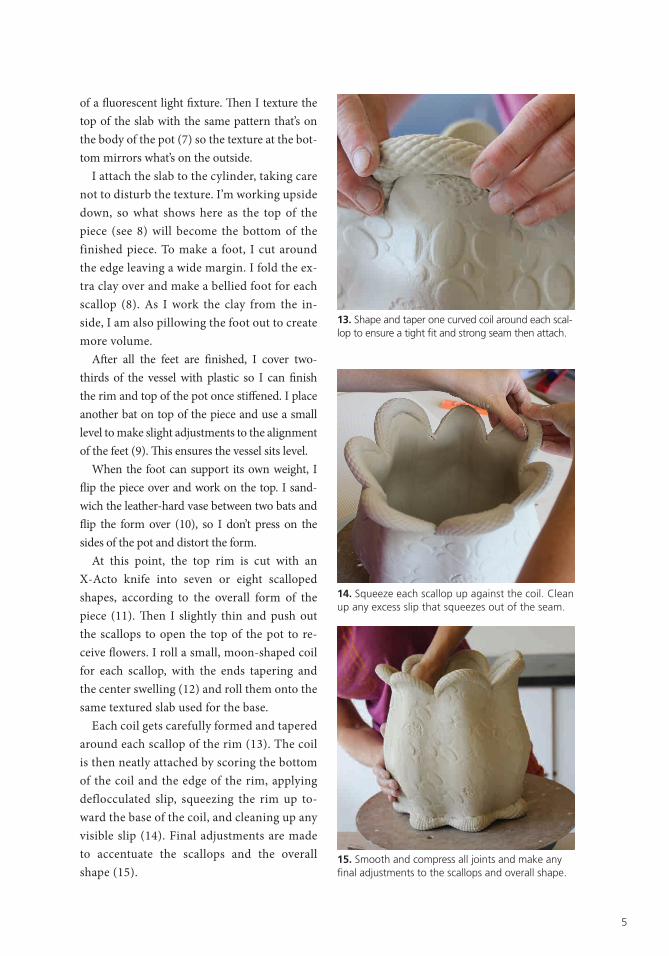
13. Shape and taper one curved coil around each scal-lop to ensure a tight fit and strong seam then attach.
14. Squeeze each scallop up against the coil. Clean up any excess slip that squeezes out of the seam.
15. Smooth and compress all joints and make any final adjustments to the scallops and overall shape.
of a �uorescent light �xture. �en I texture the top of the slab with the same pattern that’s on the body of the pot (7) so the texture at the bot-tom mirrors what’s on the outside.
I attach the slab to the cylinder, taking care not to disturb the texture. I’m working upside down, so what shows here as the top of the piece (see 8) will become the bottom of the finished piece. To make a foot, I cut around the edge leaving a wide margin. I fold the ex-tra clay over and make a bellied foot for each scallop (8). As I work the clay from the in-side, I am also pillowing the foot out to create more volume.
A�er all the feet are �nished, I cover two-thirds of the vessel with plastic so I can �nish the rim and top of the pot once sti�ened. I place another bat on top of the piece and use a small level to make slight adjustments to the alignment of the feet (9). �is ensures the vessel sits level.
When the foot can support its own weight, I �ip the piece over and work on the top. I sand-wich the leather-hard vase between two bats and �ip the form over (10), so I don’t press on the sides of the pot and distort the form.
At this point, the top rim is cut with an X-Acto knife into seven or eight scalloped shapes, according to the overall form of the piece (11). �en I slightly thin and push out the scallops to open the top of the pot to re-ceive �owers. I roll a small, moon-shaped coil for each scallop, with the ends tapering and the center swelling (12) and roll them onto the same textured slab used for the base.
Each coil gets carefully formed and tapered around each scallop of the rim (13). The coil is then neatly attached by scoring the bottom of the coil and the edge of the rim, applying deflocculated slip, squeezing the rim up to-ward the base of the coil, and cleaning up any visible slip (14). Final adjustments are made to accentuate the scallops and the overall shape (15).
BOOK4CA164_jars_i-22.indd 5 6/20/16 11:55 AM
JARS, VASESBOXES, AND
BASKETS
Ceramic Arts Select Series
Editor Sherman Hall
The American Ceramic SocietyCeramicArtsDaily.org
Printed in China
JAR
S, VA
SES, B
OX
ES, A
ND
BA
SKE
TS
Hall
CER
AM
IC A
RTS SELEC
T SERIES
Handmade pots find homes in various places around the house. From the
vase in the living room that holds fresh-cut garden blooms, to canisters
in the pantry, to the cookie jar on the kitchen counter, to the whiskey
bottle or flask in the liquor cabinet, they add a personal touch to our
environment. Part of the Ceramic Arts Select Series—which focuses on a
group of related forms and presents some of the best examples of how
contemporary artists are exploring, innovating, and celebrating those
forms—this book showcases lidded pots used for storing and serving
food, displaying flowers or fruit, and keeping clutter artfully contained.
In Jars, Vases, Boxes, and Baskets, you’ll find nineteen step-by-step
projects that demonstrate the wide range of possibilities open to artists
interested in exploring these forms using both handbuilding and wheel-
throwing techniques. You’ll learn how to dart and divide thrown forms
to make vases, baskets, and jars alike. Plus, artists share invaluable tips
like making both round and non-round canisters and boxes with lids that
fit perfectly. Between the tips and inspiration, this book will help you
increase your productivity and creativity in the studio.
BOOK4_CA164 Cover.indd 1 6/20/16 11:54 AM
Related Documents